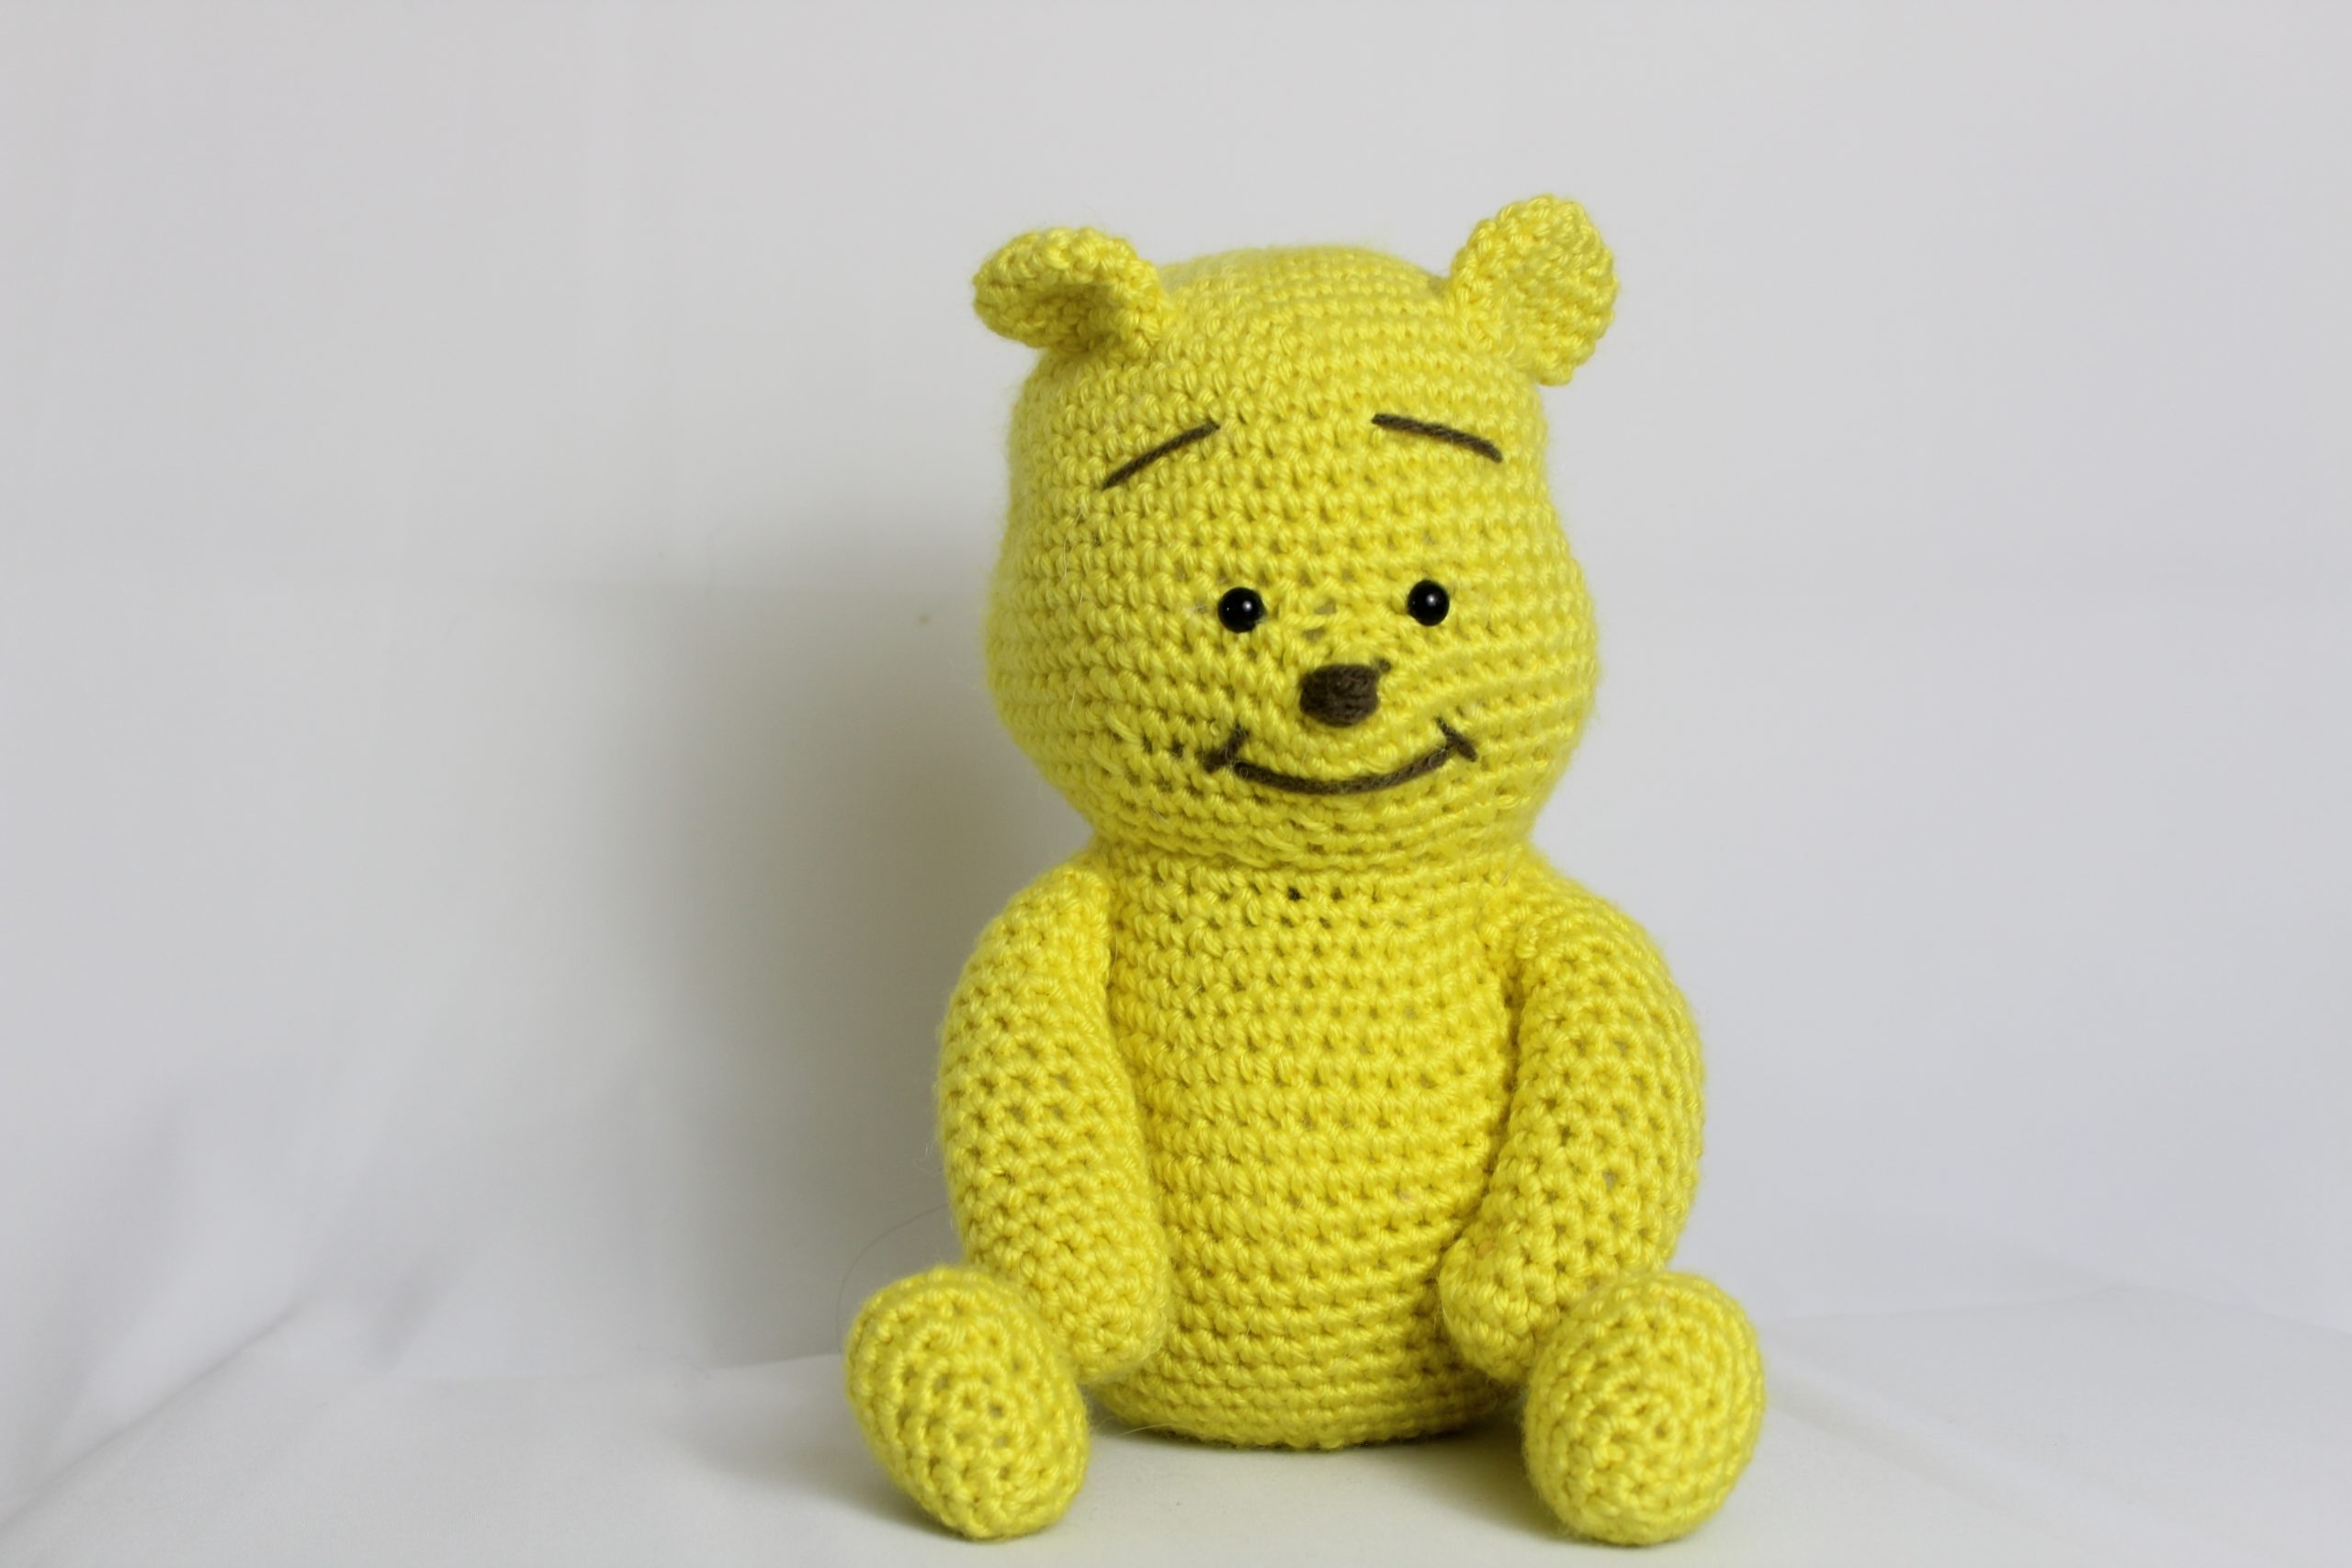
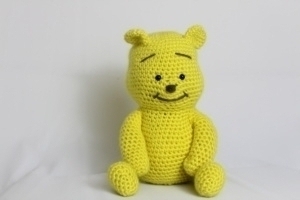
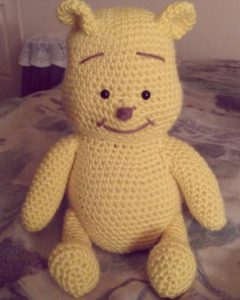
Who else loves this famously cute bear? I do! So much so that I just had to make him into a crochet pattern. Here’s the FREE crochet pattern to this adorable amigurumi bear!
If you finish this, please leave a photo on the Ravelry project page here!
Purchase the PDF version here
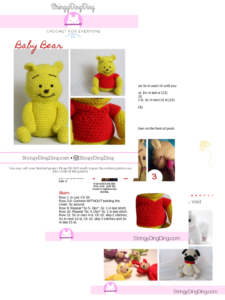
Baby Bear
Use 5 mm hook, 8 mm Safety Eyes, Stuffing, Tapestry Needle, and Scissors
Stitches Used: Magic Ring, Sc, Inc, Dec, Slst, Ch
Yarn Used: Yellow, Grey for mouth, and Red.
Head:
Head works into the body. Stuff body and head gradually throughout pattern.
Row 1: In yellow 6 Sc in magic ring (6)
Row 2: Inc in each stitch (12)
Row 3: *Sc, inc* around (18)
Row 4: *Sc 2, inc* around (24)
Row 5: *Sc 3, inc* around (30)
Row 6: *Sc 4, inc* around (36)
Row 7: *Sc 5, inc* around (42)
Row 8: *Sc 6, inc* around (48)
Row 9: *Sc 7, inc* around (54)
Row 10-17: *Sc* around (54)
Row 18: Sc 30, ch 4, Sc in 2nd ch from hook, Sc in next 2 on ch, Sc in next 24. (59)
Row 19-21: Sc around (59)
Row 22: *Sc 7, Dec* (6 times), Sc in last 5 st (53)
Row 23: *Sc 6 , Dec* (6 times), Sc in last 5 st (47)
Row 24: *Sc 5, Dec* (6 times), Sc in last 5 st (41)
Row 25: *Sc 4, Dec* (6 times), Sc in last 5 st (35)
Row 26: *Sc 3, Dec* all around (28)
Row 27: Sl st around (28)
Row 28: *Sc 3, inc* around (35)
Row 29: Sc around (35)
Row 30: *Sc 4, inc* around (42)
Row 31-32: Sc around (42)
Row 33: *Sc 5, inc* around (49)
Row 34: Sc around (49)
Row 35: *Sc 6, inc* around (56)
Row 36-46: Sc around (56)
Face Assembly Here: Place eyes slight below middle of the head, 5 st apart. Sew nose on. Sew smile on, then sew eyebrows on. Make sure eyebrows raise up.
Row 47: *Sc 6, Dec* around (49)
Row 48: *Sc 5, Dec* around (42)
Row 49: *Sc 4, Dec* around (35)
Row 50: *Sc 3, Dec* around (28)
Row 51: *Sc 2, Dec* around (21)
Row 52: *Sc, Dec* around (14)
Row 53: *Dec* all around (7)
Finish off and sew shut
Legs
Row 1: Ch 6
Row 2: Sc in 2nd ch from hook, put in stitch marker, now Sc in each ch until you meet the st marker. (9)
Row 3: Inc, Sc in next 3 st, Inc in next St, Sc in next 3 st, Inc in last st (12)
Row 4: Sc 3 in first st, Inc in next st, Sc in next 10 st (15)
Row 5: Inc in the next 2 st, Sc 3 in next st, Inc in next 2 st, Sc in next 10 st (21)
Row 6-7: Sc around (21)
Row 8: Sc in next 2 st, *Dec* 5 times, Sc in next 9 st (16)
Row 9: *Dec* 4 times, Sc in next 8 st (12)
Row 10: Sc, *Dec* 2 times, Sc in next 7 st (10)
Stuff here
Row 11-20: Sc around (10)
Stuff here
Now sew on the legs more on the side of pooh rather than on the front of pooh. This will help him sit better and it looks better
Arms
Row 1: In yellow, 6 Sc in magic ring (6)
Row 2: *Inc* all around (12)
Row 3: Sc, *Inc* 3 times, Sc in last 8 st (15)
Row 4-19: Stuff gradually. Sc around (15)
Finish off
Ears
Row 1: 6 Sc in magic ring (6)
Row 2: *Inc* all around (12)
Row 3: 1 Sc, *Inc* 2 times, Sc in last 9 st (14)
Row 4-6: Sc around (14)
Finish off
Defining head
To create cheeks, we sew from one side of the head to the other twice, then tighten the string. It creates definition. You can use yellow yarn so you wont see it.

It should look like this, now pull the tread to tighten the cheeks.


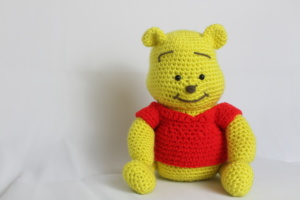
Shirt


Row 1: In red, Ch 50
Row 2-8: Connect WITHOUT twisting the chain. Sc around.
Row 9: Repeat *Sc 5, Dec*, Sc 1 in last stitch.
Row 10: Repeat *Sc 4, Dec* Sc 1 in last stitch.
Row 11: Sc in next 4 st, Ch 10, skip 2 stitches, Sc in next 13 st, Ch 10, skip 2 stitches and Sc in last 15 st.
Row 12: Sc 4, Sc in the ch we made (so sc 10), Sc 13, Sc 10 in the ch, Sc in next 15 st.
Row 13: Sc 3, *Dec* 6 times, Dc in next 4 st, Slst in next 2 st, Dc in next 5 st, *Dec* 6 times, Sc in next 14 st.
Finish off.
Sleeves
Row 1: Connect red yarn to the sleeve, sc in first sc. Add a marker. Sc around
Row 2-3: Sc around
Finish off.


7 Comments
Hello
Love the bear & your directions are great. I do have a question. When you say to sew the face for more definition, not sure what you mean? Can you please help?
Thanks!
Bette
Hi Bette, great question! So this is optional but I like to add a little definition to the face. What this means is to bring the sides of the face in, thus creating chubbier looking cheeks. To do this, insert needle with yellow thread into the right side of the head, and pull out of the opposite side of the head (the left side). Reinsert the needle one stitch over, and pull the needle out one stitch over on the right side of the head. So you’re pulling the needle out very close to where you originally inserted it. Pull both ends of yarn firmly to get the face definition. Tie a knot with the ends of the yarn and weave the ends into the head.
I hope that helps you out! Please feel free to let me know if I can clarify anything, or if you need any more help. Happy crocheting 🙂
que veut dire les abreviations des points utilises
Thank you for this pattern!
Thank you for this pattern.
How much yarn needed for Pooh?
What stitches do you use to shape the head? (Row and stitch number)
Thanks!