
Purchase the PDF version here

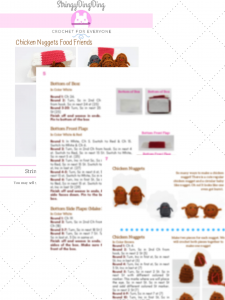
This pattern is written in US terms. Click HERE for the UK terms version of this pattern.
Supplies:
4mm crochet hook, 4/Medium weight yarn in Brown, Grey, White, and Red. 6mm safety eyes or small black beads for eyes. Black and red embroidery thread, stuffing, tapestry needle, and scissors.
Additional Information:
Difficulty: Easy
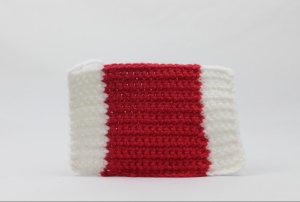
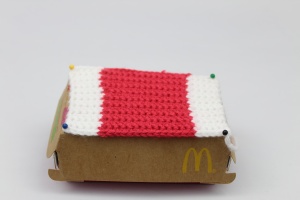
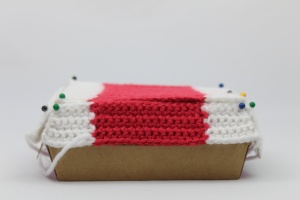
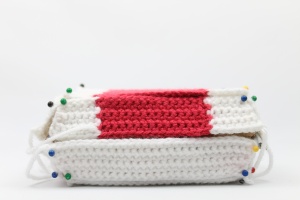
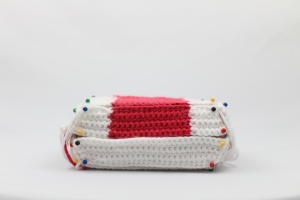
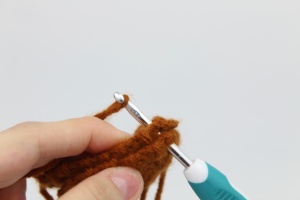
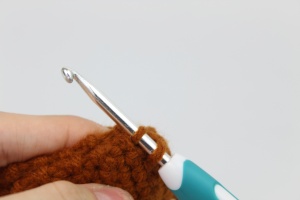
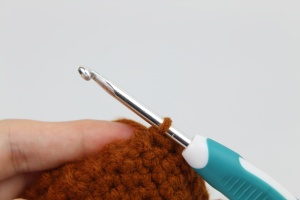
We start by making the box first. The box is made with a total of 10 pieces, then we sew them together. You can create “bobbles” when color changing on the box so you can have an easier time crocheting and changing colors. “Bobbles” are separate small balls of yarn used in separate sections of color changes. The chicken nuggets are made in two pieces, then crocheted together. You can crochet on arms and legs if desired.
Box:
This box has a total of 10 pieces. 5 pieces are 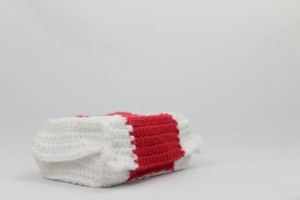 for the top of the box and 5 pieces are for the bottom of the box. We start by making the pieces for the top of the box, pinning them together as we create each piece. After creating the top 5 pieces, we create the bottom 5 pieces and pin those together.
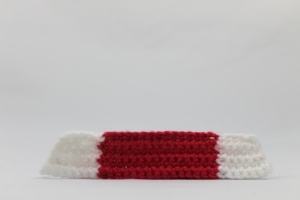
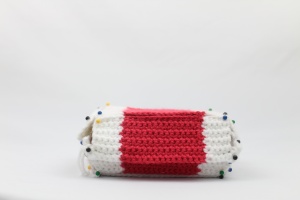
Top of Box:
In colors White & Red
Round 1: In White, Ch 5. Switch to Red & Ch 15. Switch to White & Ch 6.
Round 2: Turn, Sc in 2nd Ch from hook. Sc in next 4 st. Switch to Red, Sc in next 15 St. Switch to White, Sc in next 5 st. (25)
Round 3-20: Turn, Sc in next 5 St. Switch to Red, Sc in next 15 St. Switch to White, Sc in last 5 st. (25)
Finish off and weave in ends.
Top Front Flap
In Colors White & Red
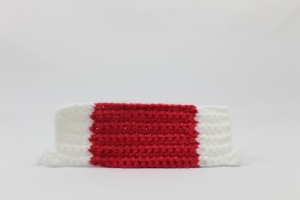
Round 1: In white, Ch 5. Switch to Red & Ch 15. Switch to White & Ch 6.
Round 2: Turn, Sc in 2nd Ch from hook. Sc in next 4 st. Switch to Red, Sc in next 15 St. Switch to White, Sc in next 5 st. (25)
Round 3-10: Turn, Sc in next 5 St. Switch to Red, Sc in next 15 St. Switch to White, Sc in last 5 st. (25)
Round 11: Turn, Sc 5 in next st, Sc in next 4 st, Switch to Red, Sc in next 15 St. Switch to White, Sc in next 4 st, Sc 5 in last St (33)
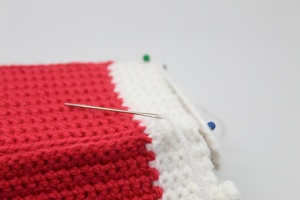
Finish off and weave in end. Make sure longer side faces the bottom. Pin to the front side of the box.
Top Sides: (Make 2)
In Color White
Round 1: Ch 19.
Round 2: Turn, Sc in 2nd Ch from hook, Sc in next 17 St (18)
Round 3-6: Turn, Sc in next 18 St (18)
Round 7: Turn, Sc in next 14 St, *Dec* 2 times (16)
Round 8: Turn,*Dec* 2 times, Sc in next 12 st (14)
Finish off and weave in ends. Make sure rounded side faces the front of the box. Pin to the top sides of the box.
Top Back Piece:
In Colors White & Red
Round 1: In White, Ch 5. Switch to Red & Ch 15. Switch to White & Ch 6.
Round 2: Turn, Sc in 2nd Ch from hook. Sc in next 4 st. Switch to Red, Sc in next 15 St. Switch to White, Sc in next 5 st. (25)
Round 3: Turn, Inc in first Sc, Sc in next 4 St. Switch to Red, Sc in next 15 St. Switch to White, Sc in next 4 st, Inc in last st. (27)
Round 4-5: Turn, Sc in next 6 st, Switch to Red, Sc in next 15 st, Switch to White, Sc in next 6 st (27)
Round 6: Turn, Inc in first St, Sc in next 5 St. Switch to Red, Sc in next 15 st. Switch to White, Sc in next 5 st, Inc in last St (29)
Round 7: Turn, Sc in next 7 st. Switch to Red, Sc in next 15 st. Switch to White, Sc in next 7 st. (29)
Finish off and weave in ends. Make sure longer side faces down. Pin to the back of the box.
Now we have the top of the box done. Now we will create the bottom part of the box.
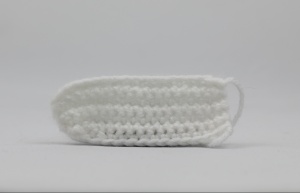
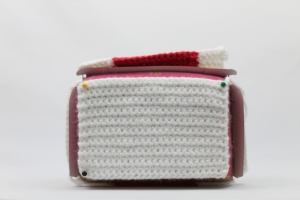
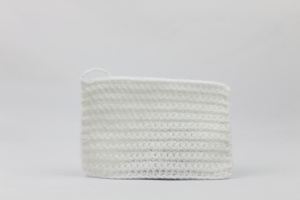
Bottom of Box
In Color White
Round 1: Ch 26.
Round 2: Turn, Sc in 2nd Ch from hook. Sc in next 24 st (25)
Round 3-20: Turn, Sc in next 25 St (25)
Finish off and weave in ends. Pin to bottom of the box
Bottom Front Flap:
In Color White & Red
Round 1: In White, Ch 5. Switch to Red & Ch 15. Switch to White & Ch 6.
Round 2: Turn, Sc in 2nd Ch from hook. Sc in next 4 st. Switch to Red, Sc in next 15 St. Switch to White, Sc in next 5 st. (25)
Round 3: Turn, Inc in first Sc, Sc in next 4 St. Switch to Red, Sc in next 15 St. Switch to White, Sc in next 4 st, Inc in last st. (27)
Round 4-5: Turn, Sc in next 6 st, Switch to Red, Sc in next 15 st, Switch to White, Sc in next 6 st (27)
Round 6: Turn, Inc in first St, Sc in next 5 St. Switch to Red, Sc in next 15 st. Switch to White, Sc in next 5 st, Inc in last St (29)
Finish off and weave in ends. Make sure shorter side faces down. Pin to the bottom front of the box.
Bottom Side Flaps: (Make 2)
In Color White
Round 1: Ch 19.
Round 2: Turn, Sc in 2nd Ch from hook Sc in next 17 Ch (18)
Round 3-7: Turn, Sc in next 18 St (18)
Round 8: Turn, Sc in next 7 St. Turn, Sc in next 6 St. Sc in last st, 3 Dc in same st.
Finish off and weave in ends. Pin to the bottom sides of the box. Make sure the flaps face the front of the box.
Bottom Back Piece:
In Color White
Round 1: Ch 26
Round 2: Turn, Sc in 2nd Ch from hook. Sc in next 24 Ch (25)
Round 3: Turn, Inc in first Sc, Sc in next 23 St, Inc in last st. (27)
Round 4-5: Turn, Sc in next 27 St (27)
Round 6: Turn, Inc in first St, Sc in next 25 St, Inc in last St (29)
Round 7: Turn, Sc in next 29 St (29)
Finish off and weave in ends. Place piece with shorter side facing down. Place piece on bottom back of the box.
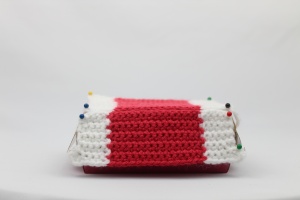
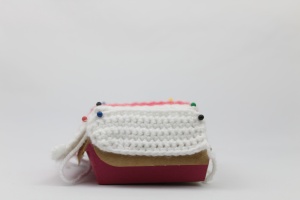
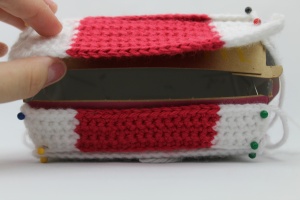
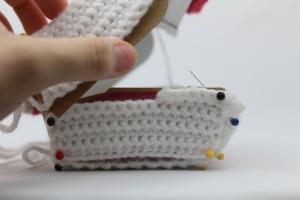
Assembly of box:
Now that we have all of the pieces in place, we can start to sew the top of the box together. Do not sew the top box to the bottom box yet.
Front of box
Back of box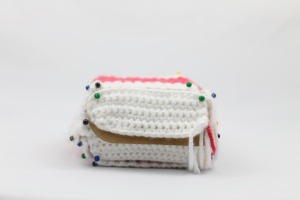 Side of box
Sew all top pieces together, changing colors accordingly when needed.

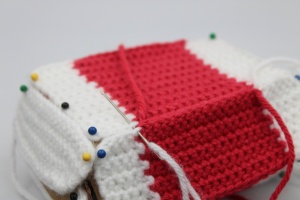
Now that all top pieces are sewn together, sew bottom pieces together. Do not connect the top and bottom box yet.
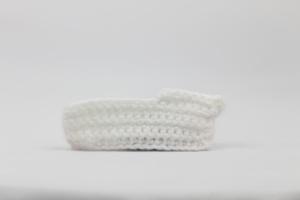
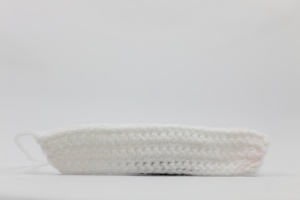
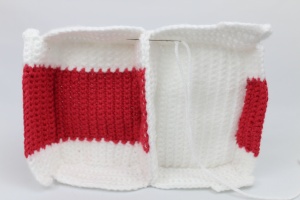 Now that the top box and bottom box are done, line up the backs together. Sew together the aligned part down the middle. Now the box is done!
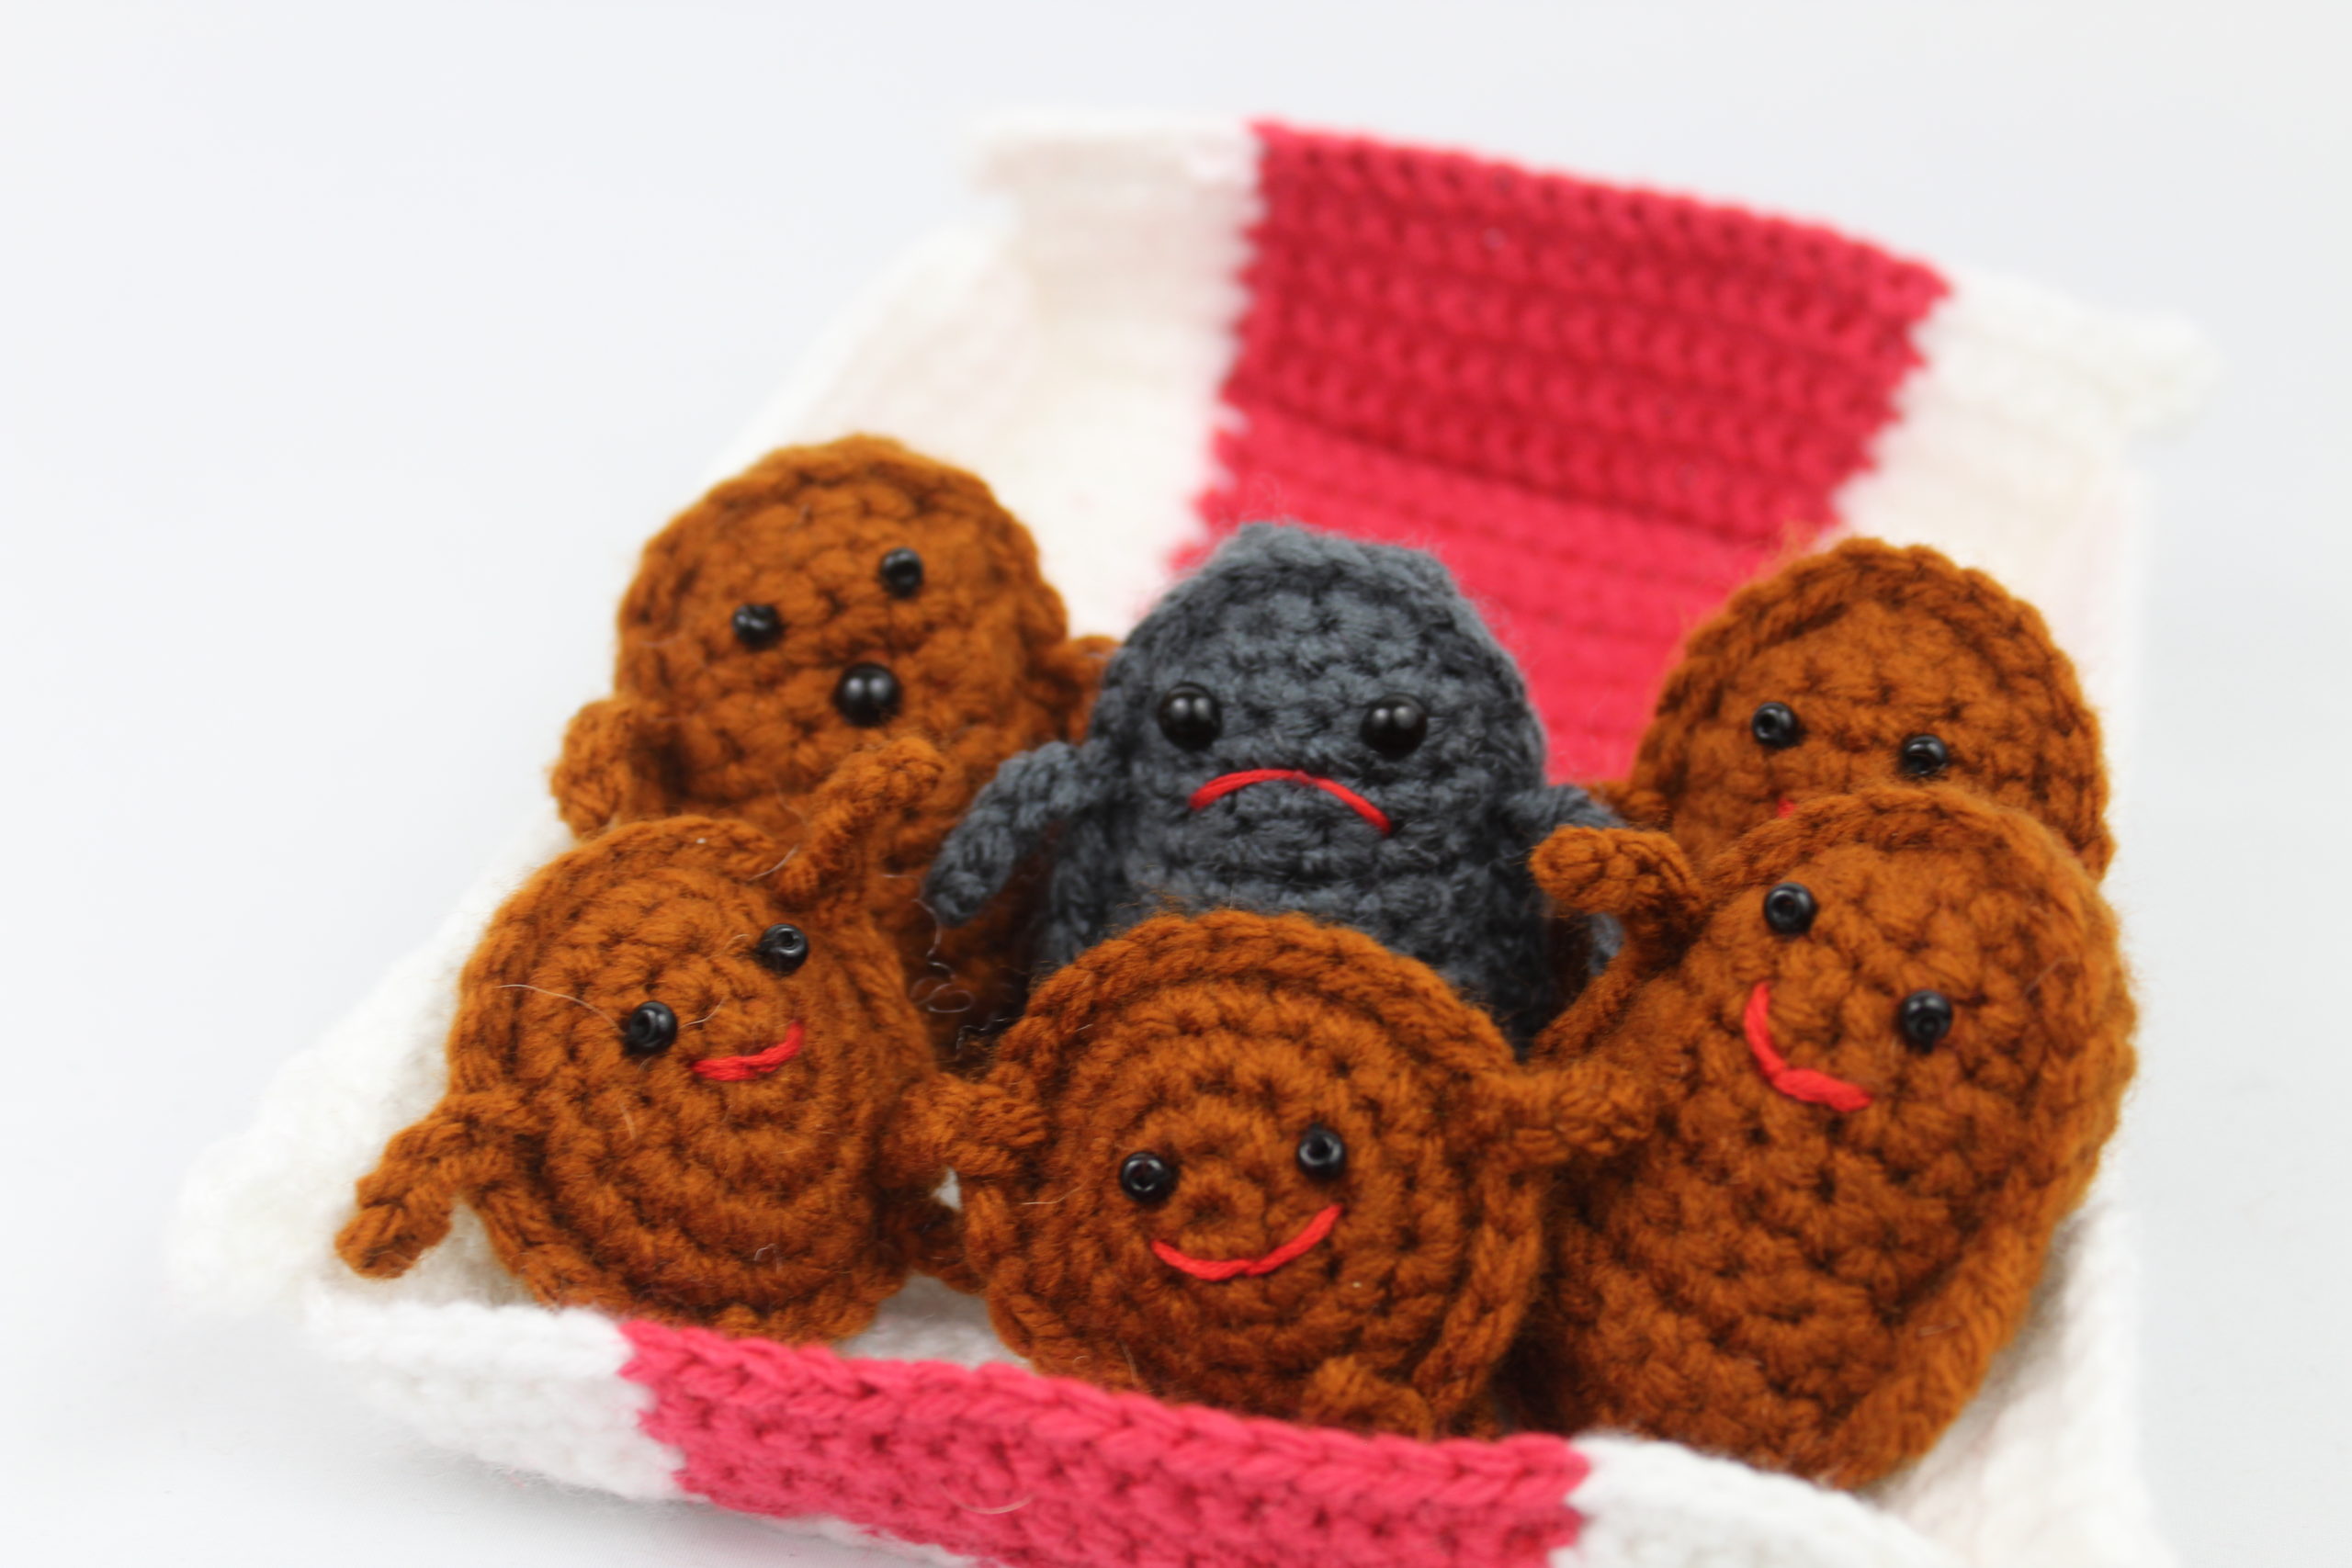
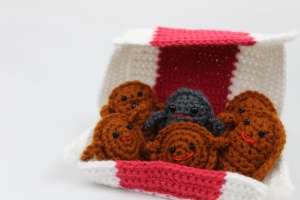
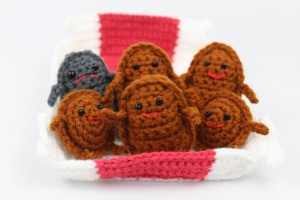
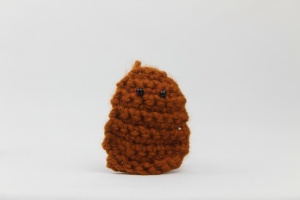
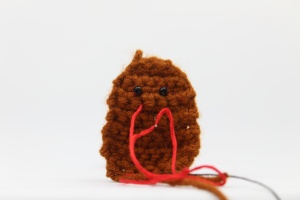
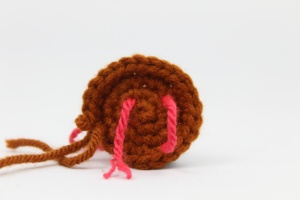
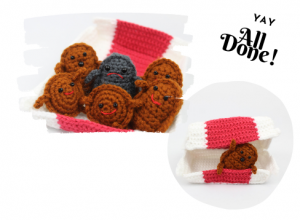
Chicken Nuggets
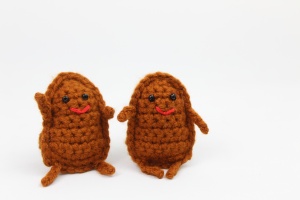
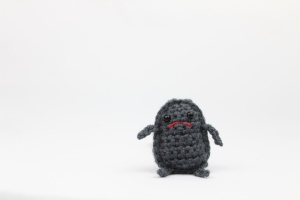
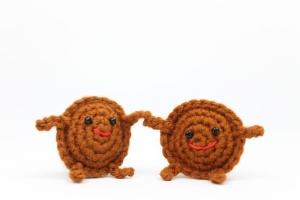
So many ways to make a chicken nugget! There is a cute regular chicken nugget and a circular baby like nugget. Oh no! It looks like one even got burnt.
Chicken Nuggets:
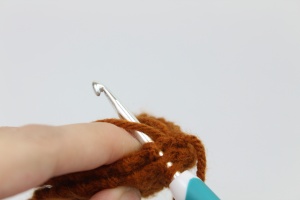
In Brown
Round 1: Ch 4.
Round 2: Turn, Sc in 2nd Ch from hook, Sc in next 2 St (3)
Round 3: Turn, Inc in first st, Sc in next St, Inc in last st (5)
Round 4: Turn, Inc in first st, Sc in next 3 St, Inc in last st (7)
Round 5: Turn, Sc in next 2 St. Sc in next St with different colored St marker. This marks where we will place the eye. Sc in next St. Sc in next St and add different colored St marker. Sc in next 2 St (7)
Round 6-9: Turn, Sc in next 7 st (7)
Round 10: Turn, Inc in first St, Sc in next 5 St, Inc in last St (9)
Round 11-12: Turn, Sc in next 9 St (9)
Round 13: Turn, Dec 1 time, Sc in next 5 St, Dec 1 time (7)
Round 14: Turn, Dec 1 time, Sc in next 3 st, Dec 1 time (5)
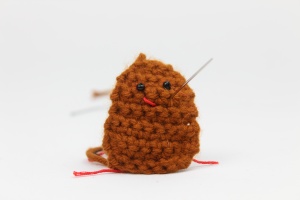
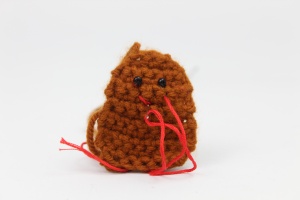
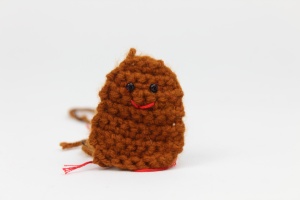
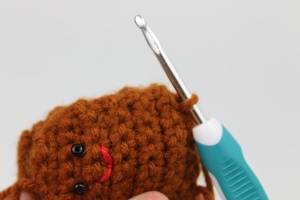
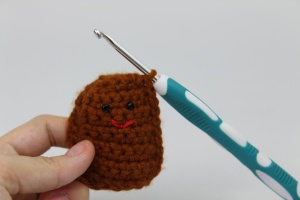
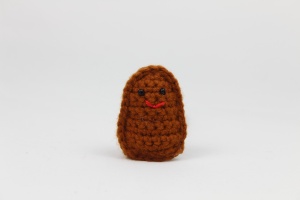
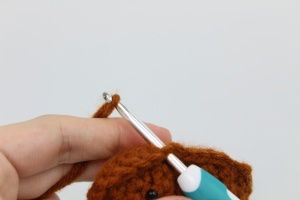
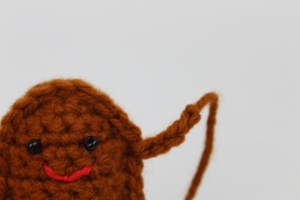
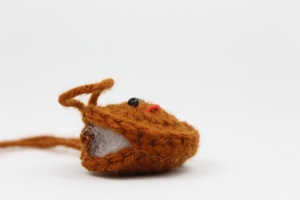
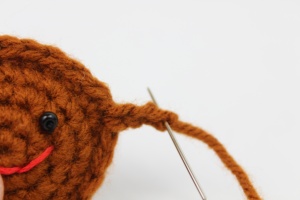
Finish off. Add in safety eyes to marked areas. Add smiley as show.

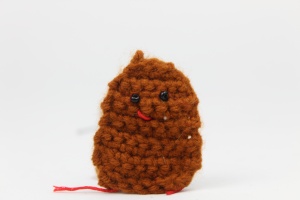
Chicken Nugget Assembly:
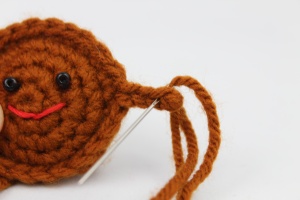
Line up both pieces together. Take a new strand of brown yarn and attach it to the nugget. Sc along entire nugget. Stuff before fully closing.
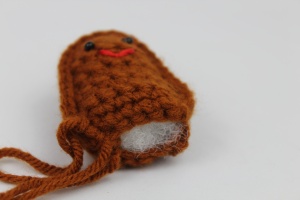
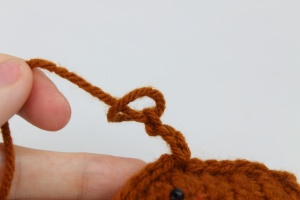
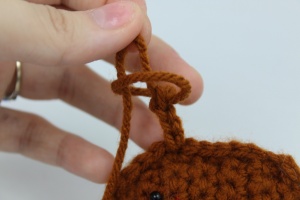
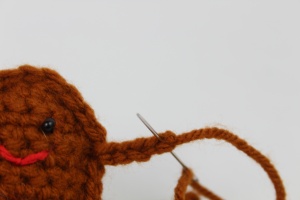
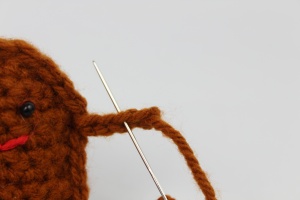
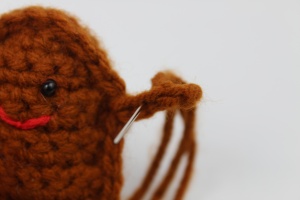
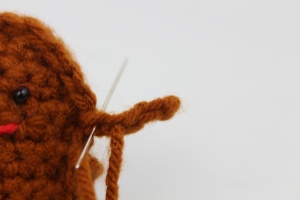
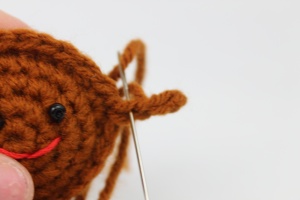
Arms/Legs: (Optional)
Insert hook into arm/leg area. Attach brown yarn. Ch 4. Finish off by cutting the yarn and pulling it through the loop. Weave in ends and pull on arm to loosen.
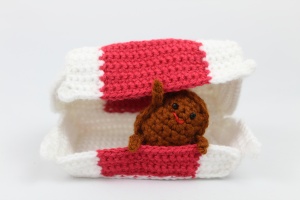
Circle Chicken Nuggets:
In Brown
Round 1: 6 Sc in Magic Ring (6)
Round 2: *Inc* in first St. Sc in next St. Add different colored St marker to Sc just made. This marks where we will place the eye. Sc in same St. Inc in next St. Sc in next St. Add different colored St marker to Sc just made. Sc in same St. Inc in next 2 st (12)
Round 3: *Inc, Sc* all around (18)
Round 4: *Inc, 2 Sc* all around (24)
Finish off. Add in safety eyes to marked areas. Add smiley as show earlier.
Chicken Nugget Assembly:
Line up both pieces together. Take a new strand of brown yarn and attach it to the nugget. Sc along entire nugget. Stuff before fully closing.
Arms/Legs: (Optional)
Insert hook into arm/leg area. Attach brown yarn. Ch 3. Finish off by cutting the yarn and pulling it through the loop. Weave in ends and pull on arm to loosen.


![]()
 If you finished this pattern, I would be SO HAPPY if you could tag me on Instagram @StringyDingDing, or “try” it on Pinterest!


8 Comments
I’m sorry but for the top of the box how do you switch the colors for the first round?
Hi Natalie! What I do is chain 4 in white. Then yarn over with red and pull it through the loop on your hook. This will make a 5th white chain and now you can start making the red chains. So yarn over and chain in red for the next 14 chains. Now yarn over with white and pull through the loop in your hook. This will make the 15th red chain and now we continue on with the white yarn on our hook. Yarn over and chain for the next 5 chains. This will complete Row 1 on the top box!
When continuing to change colors in the following rows, you can carry your yarn through the crochet piece until you need to use that color again. (So if you were crocheting in white then changed to red, just crochet holding the white yarn along your red crochet piece and you will be crocheting the white yarn into the red section. A little confusing but there are video tutorials that show how to do this better than I can explain haha 😂)
I always just cut the yarn, leaving a tail for weaving in, then continue on with the new color. Note that doing it this way means you’ll have a lot more ends to weave in!
Hope this helps! Please let me know what else you may need help with 🙂
Ok thank you this does help. I was confused on how I couldn’t see any knots and their tails.
Hi I’m wondering how much yarn of each color is needed
If I made something using this pattern, could I sell the product if I credit you for the pattern? I love the cute design!
Noice
What if I don’t have a McDonald’s Chicken nuggets box?
i love this pattern. and it’s on your worst pattern list…how can this be. they are soooooo cute i love how all of them but the burnt one are happy and the burnt is sad…because it’s burnt