
Purchase the PDF here!


From Nov 8-Dec 20 2020, enter in our member’s Christmas Crochet Along for a chance to win a $100 gift card! + Become a member and unlock current and upcoming Christmas patterns!

Supplies:
• Yarn 4/Medium Weight Yarn in…
Green, White, and Yellow. Brown if making optional “stump”
• 4mm Crochet Hook
•12mm safety eyes
•Tapestry needle
•Scissors
•Stuffing
•Black Embroidery Thread
•Card Board for Bottom of tree (Optional)
Additional Information:
Difficulty: Easy
• Getting Started…
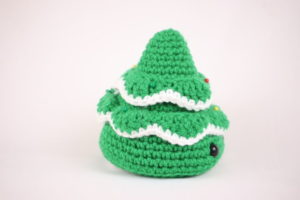
We will first start with making the tree. The tree starts at the very top and we work our way down to the bottom. At the very bottom I provide an option to crochet on a stump!
After this, we make 3 different “leaf strips”. These leaf strips will then be sewed onto the tree.
Finally, we make the star!
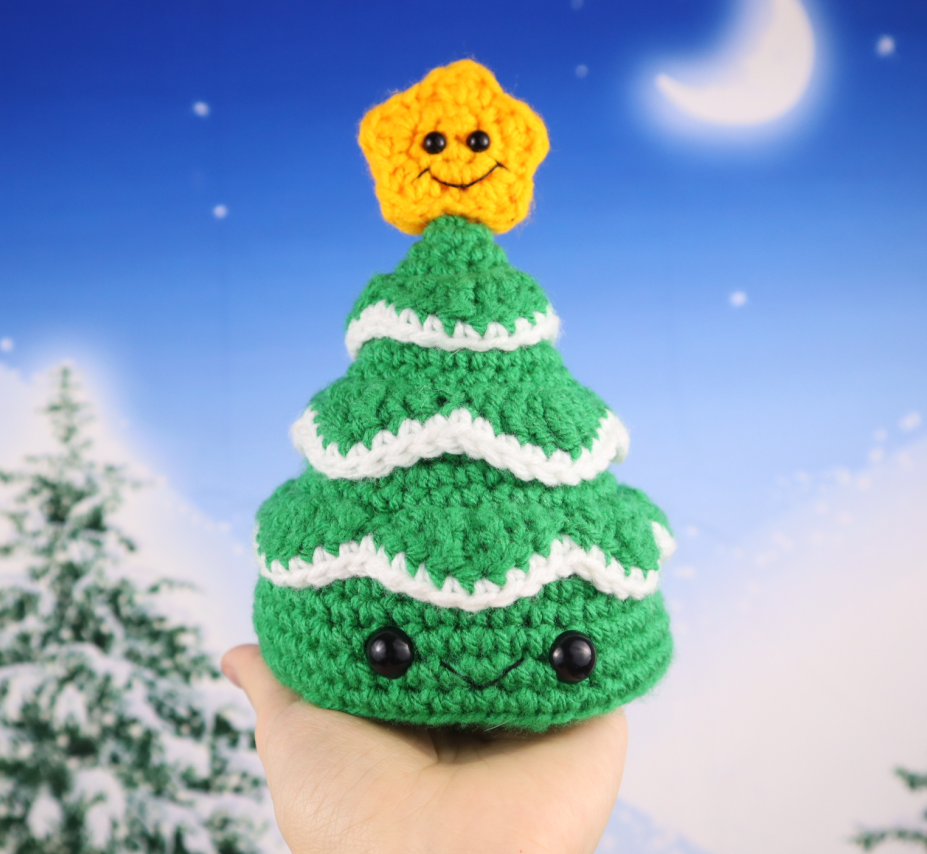
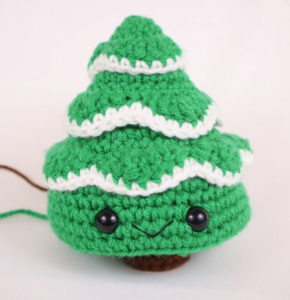
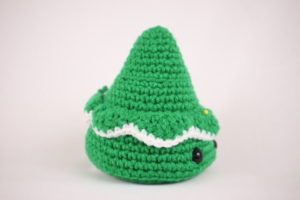
Let’s start making the Christmas tree, starting at the very top!
Christmas Tree:
In Green
Round 1: 6 Sc into a Magic Ring (6)
Round 2: *Inc* all around (12)
Round 3: *Sc* all around (12)
Round 4: *Inc, Sc* all around (18)
Round 5: In the BLO (Back Loop Only) *Sc* all around (18)
Round 6: In BOTH Lops, *Sc* all around (18)
Round 7: *Inc, Sc 2* all around (24)
Round 8-9: *Sc* all around (24)
Round 10: In the BLO, *Inc, Sc 3* all around (30)
Round 11-12: In BOTH Loops *Sc* all around (30)
Round 13: *Inc, Sc 4* all around (36)
Round 14: *Sc* all around (36)
Round 15: In the BLO *Sc* all around (36)
NOTE: We work in the BLO because later we will sew the leaves to the front loop left in those rounds.
Round 16: In BOTH Loops, *Inc, Sc 5* all around (42)
Round 17-18: *Sc* all around (42)
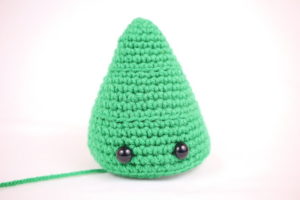
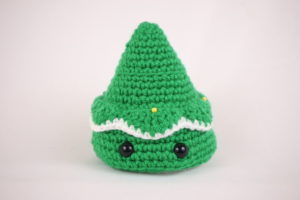
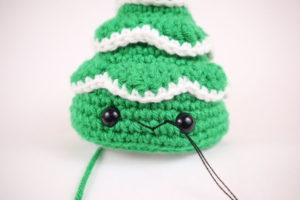
In the next round we will add 2 eye stitch markers. These will mark where to place the eyes later.
Round 19 eye markers will look like this
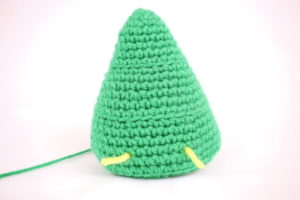
Round 19: Repeat *Inc, Sc 6* 2 times. Inc in the next st, Sc in the next st and add a different colored st marker to the Sc just made. This marks where to place the eye. Sc in the next 5 st. Sc in the next st and add a different colored st marker to the Sc just made. Sc again into that same stitch. Sc in the next 6 st. Repeat *Inc, Sc 6* 2 more times (48)
Round 20-21: *Sc* all around (48)
Round 22: In the BLO *Dec, Sc 6* all around (42)
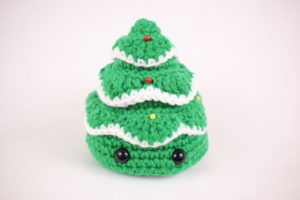
Add eyes in the marked areas now
Round 23: In BOTH Loops *Dec, Sc 5* all around (36)
Add stuffing now. Be sure to add all of the needed stuffing, because we won’t add anymore after we put in the cardboard! We will now add cardboard.
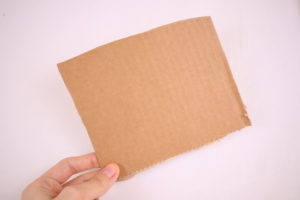
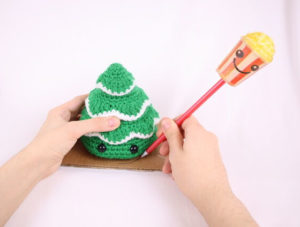
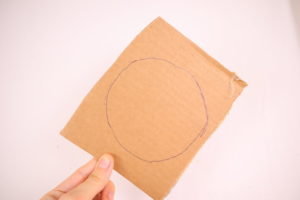
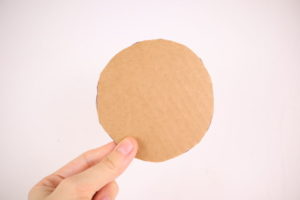
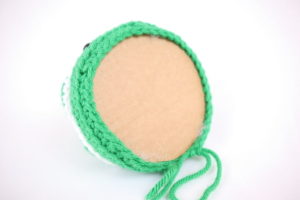
Adding Cardboard:
Take a piece of cardboard (Pic 1). Place the body onto the cardboard as shown and outline around it (Pic 2). You will have a circle on your cardboard, go ahead and cut it around the outline (Pic 3-5). Now place it into the tree (Pic 6), you will have to fiddle around to get it completely in, just tuck it under the decrease round!
1.  2.
2. 
3.  4.
4. 
5.  6.
6. 
Round 24: *Dec, Sc 4* all around (30)
Round 25: *Dec, Sc 3* all around (24)
Round 26: *Dec, Sc 2* all around (18)
We have 2 options now! We can close off the tree and have it sit flat, or we can crochet a tree stump from here. Continue on with the pattern directly below for a flat tree. Scroll down for the “stump version” of the tree.
Round 27: *Dec, Sc* all around (12)
Round 28: *Dec* all around (6)
Finish off and sew closed.
Stump Version:
Round 27: Change to Brown. In the FLO *Sc* all around (18)
Round 28: In BOTH Loops, *Sc* all around (18)
Round 29: In the BLO *Dec, Sc* all around (12)
Stuff the stump firmly here. You can add cardboard for this to sit flat if preferred.
Round 30: In BOTH Loops, *Dec* all around (6)
Finish off and sew closed.
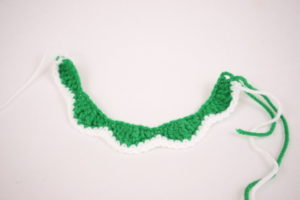
Leaves:
We will add “leaves’ to the tree. We create a different length “strip” for the bottom, middle, and top. We will then sew the strip on to the tree.
NOTE: Tension may affect how your leaves fit. the bottom leaves have 2 versions in case the first one comes out too long.
Bottom Leaves: (Makes 7 leaves)
In Green

Row 1: Ch 51. Dc in the 3rd Ch from the hook. Dc into the next ch. Trc 3 times in the next Ch. Dc in the next 2 st. SlSt in the next 2 st. Repeat *Dc in the next 2 st, Trc 3 times in the next st. Dc in the next 2 st, SlSt in the last 2 st* 6 times (63)
Row 2: Change to White. Ch 1 and turn. Sc in the next 63 st (63)
Finish off, leaving a long tail for sewing. Pin leaf strip onto Round 15, right under where the Front loop was left. Sew on following “assembly” instructions below the next leaf pattern.
Bottom Leaves: (Ver. 2)
In Green
Row 1: Chain 44. Dc in the 3rd Ch from the hook. Dc into the next ch. Trc 3 times in the next Ch. Dc in the next 2 ch. SlSt in the next 2 st. Repeat * Dc in the next 2 st, Trc 3 times in the next st. Dc in the next 2 st, SlSt in the last 2 st* 5 times (54)
Row 2: Change to White. Ch 1 and turn. Sc in the next 63 st (63)
Finish off, leaving a long tail for sewing. Pin leaf strip onto Round 15, right under where the Front loop was left. Sew on following “assembly” instructions below.
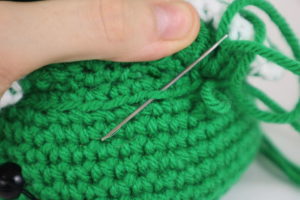
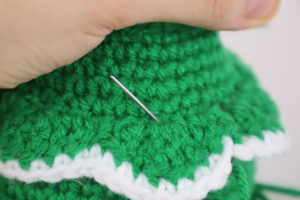
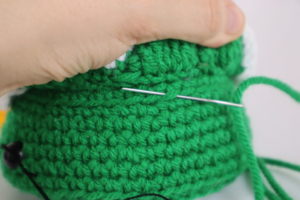
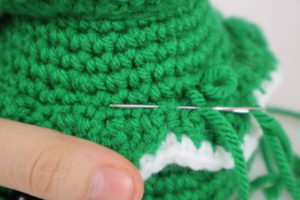
Assembly:
In Green
Sew on going from the loop left in Round 15 (Pic 1), to the leaf part (Pic 2). Repeat this until it’s fully sewed on. Weave in tail ends of yarn to hide. Be sure to do this for the white yarn as well.
1.  2.
2. 
3.  4.
4. 
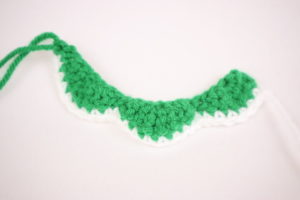
Middle Leaves:
In Green
Row 1: Ch 41. Dc in the 3rd Ch from the hook. Dc in the next ch. Trc 3 times into the next Ch. Dc in the next 2 st. SlSt in the next 2 st. Repeat *Dc in the next 2 st, Trc 3 times in the next st. Dc in the next 2 st, SlSt in the last 2 st* 4 times. SlSt in the last st (46)
Row 2: Change to White. Ch 1 and turn. Sc in the next 46 st (46)
Finish off, leaving a long tail for sewing. Pin the tree strip right onto Round 10, underneath where the Front Loop is.

Sew on following the “Assembly” instructions above, only sewing on from Round 10 instead of 15! Once done, weave in tail ends of yarn to hide. Be sure to do this for the white yarn as well.
Top Leaves:
In Green
Row 1: Ch 22. Dc in 3rd ch from hook. Dc into the next ch. Trc 3 times in the next Ch. Dc in the next 2 st. SlSt in the next 2 st. Repeat *Dc in the next 2 st, Trc 3 times in the next st. Dc in the next 2 st, SlSt in the last 2 st* 2 times (27)
Row 2: Change to White. Ch 1 and turn. Sc in the next 27 st (27)
Finish off, leaving a long tail for sewing. Pin the tree strip right onto Round 5, underneath where the Front Loop is. Sew on following the “Assembly” instructions above, only sewing on from Round 5 instead of 15!

Smile:
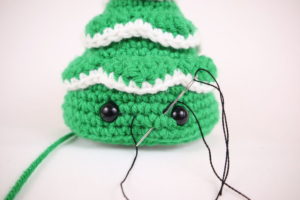
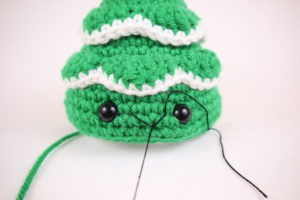
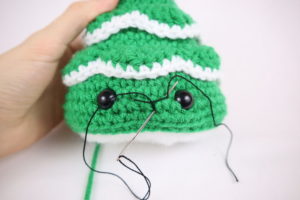
In Black Embroidery Thread
Insert needle with thread 1 stitch to the left of the right eye (Pic 1). Pull the needle out 2 stitches away (Pic 2). Reinsert needle back into the first insertion spot (Pic 3) and pull needle out at the middle, 1 stitch down (Pic 3). When doing this make sure the needle lands ABOVE the smile thread (Pic 4). Reinsert needle into the very same stitch, but BELOW the smile thread (Pic 6) and pull needle out at the very first insertion spot (Pic 6).
1.  2.
2.
3. 4.
4.
5. 6.
6.
Star: (Make 2)
In Yellow

Round 1: 6 Sc into a Magic Ring (6)
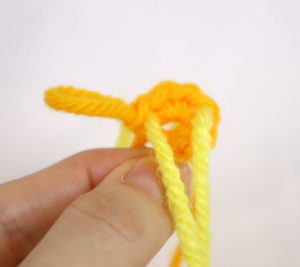
We will add 2 eye stitch markers into the Round 1 we just made. Add 1 marker into the 3rd stitch made, and 1 stitch marker to the 6th stitch made. Don’t move these stitch markers. It will look like the pic below. (NOTE: Only add eye markers to 1 of the stars you make. The other star will be the back side.)
Round 2: *Inc* all around (12)
Round 3: SlSt into the next st. Hdc into the next st, Dc into that very same st, Hdc into that very same st. SlSt into the next st.
Repeat *SlSt into the next st. Hdc into the next st, Dc into that very same st, Hdc into that very same st* 2 times.
SlSt into the next st.
Repeat *SlSt into the next st. Hdc into the next st, Dc into that very same st, Hdc into that very same st* 2 times.
SlSt to very first st made in the Round to complete. (22)
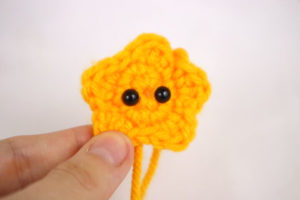
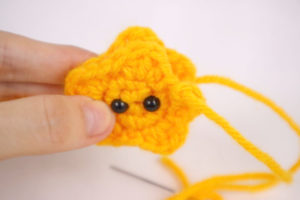
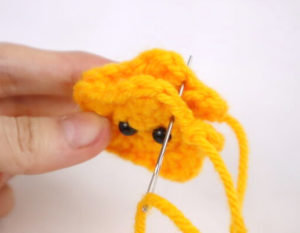
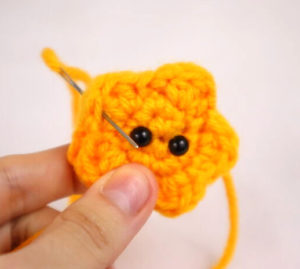
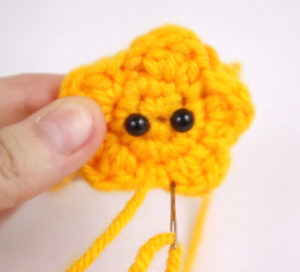
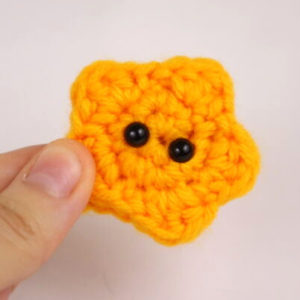
Finish off, leaving a long tail for sewing on the first star made. Our star will look like Pic 2 after Round 3. Add safety eyes now (Pic 3). Make the second star and line it up to the front star. You can tell which sides align because the finished off tail yarn will roughly be in the same area (Pic 4). Sew the two sides together as shown (Pic 6-10).
1. 2. 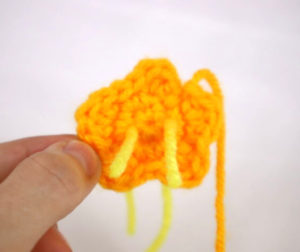
3.  4.
4. 
5.  6.
6. 
7.  8.
8. 
9.  10.
10. 
Smile:
In Black Embroidery Thread
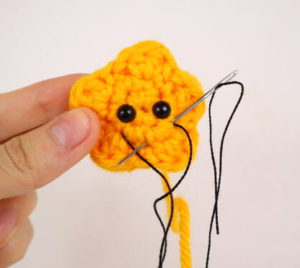
Insert needle with thread under the right eye (Pic 1) and pull needle out under the left eye (Pic 1). Reinsert needle back into the first insertion spot (Pic 2) and pull needle out at the middle, 1 stitch down (Pic 2). When doing this make sure the needle lands ABOVE the smile thread. Reinsert needle into the very same stitch, but BELOW the smile thread (Pic 3) and pull needle out at the very first insertion spot (Pic 3). Weave in ends of thread to hide.
1.  2.
2. 
3.  4.
4. 
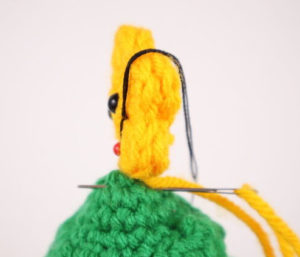
Star Assembly:
In Yellow
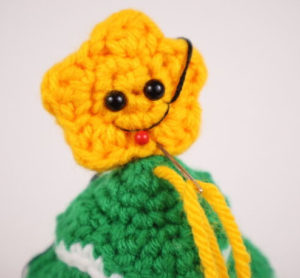
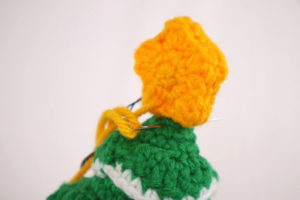
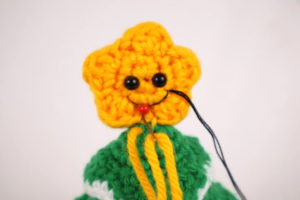
Pin the star to the very top of the tree (Pic 1). Sew it on going from the back to the front of the tree (Pic 2) To the front, then back of the star (Pic 3). Insert back into the tree and bring it to the front of the tree (Pic 4). Insert into the front of the star and bring to the back (Pic 5). Tie the tail of yarn into a firm knot and bring into the tree to hide. Weave in any excess ends.
1.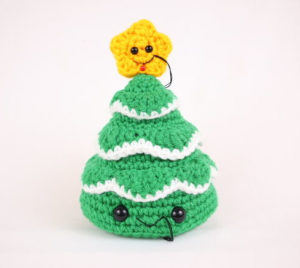 2.
2.
3. 4.
4.
5. 6.
6.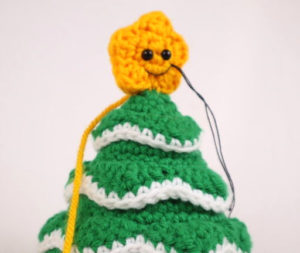
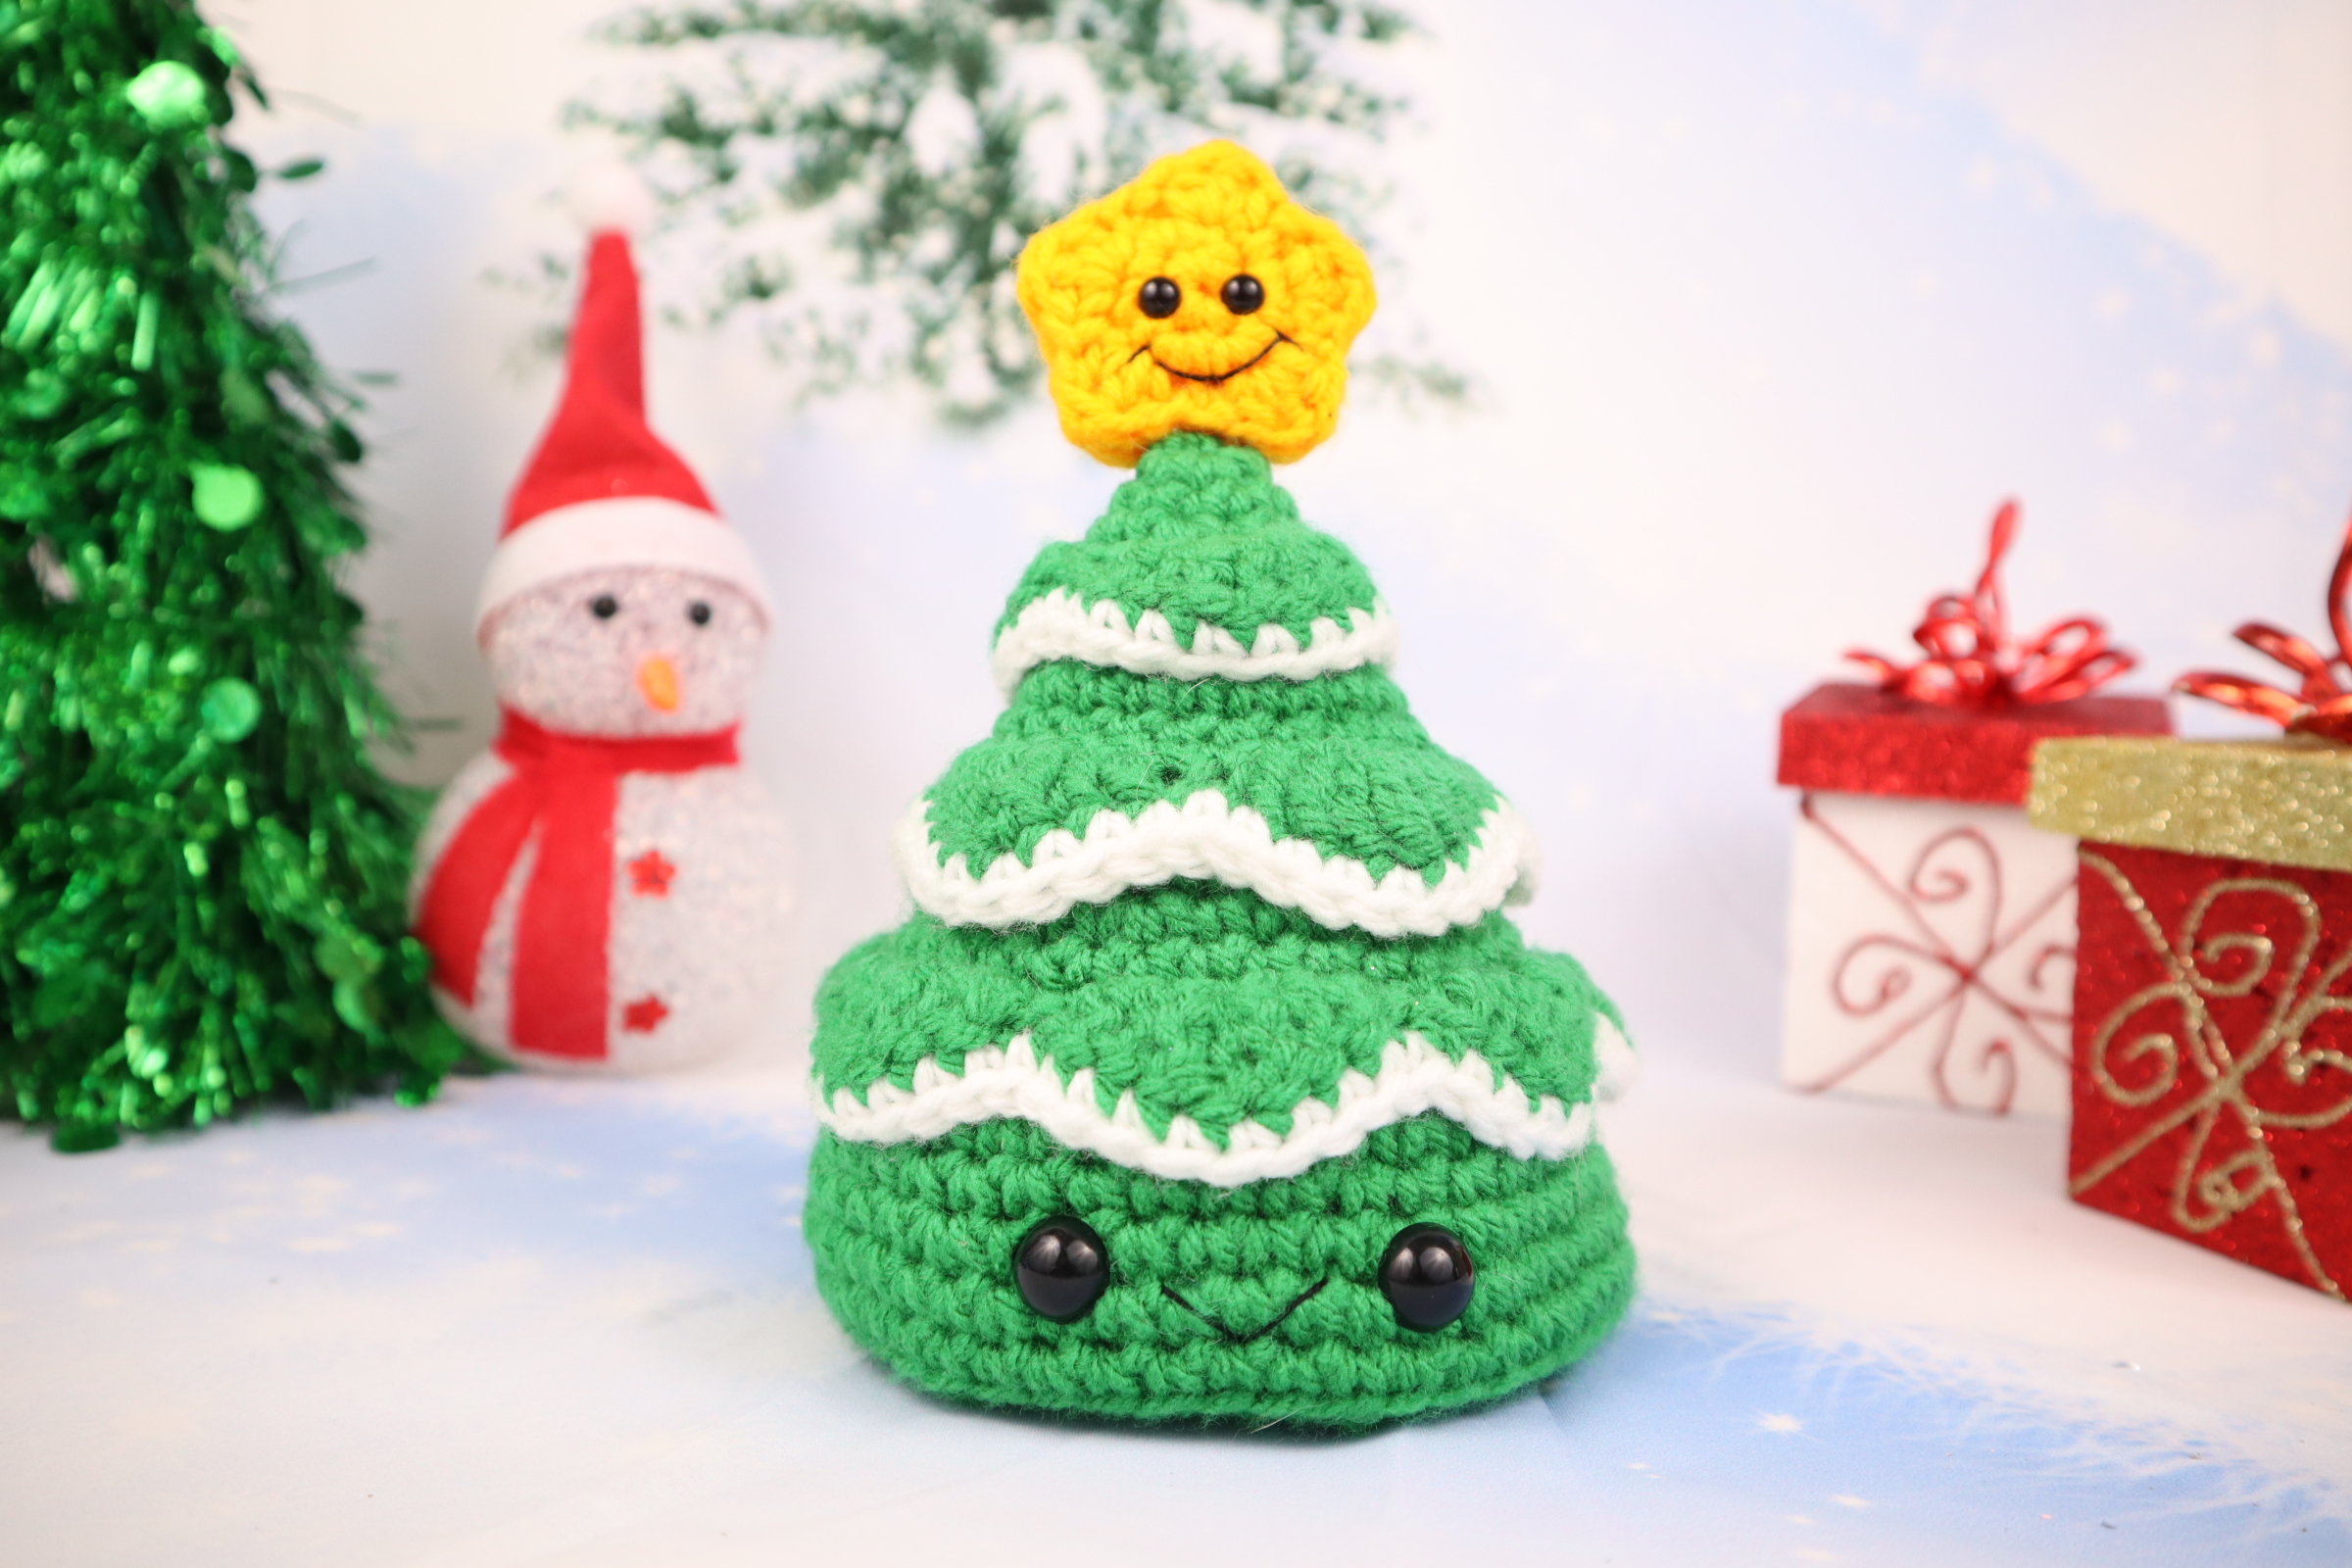
MERRY CHRISTMAS! I hope you had fun with this pattern! Post a picture in the comments, I really would love to see yours 🙂


17 Comments
Thank you very much for the pattern! It was fun to make and I’m really happy with the end result 🙂 !
Your tree is so awesome! The snow looks really great on it, I wish I had done that too! I love the color of the eyes too 🙂 Thank you so much for sharing your adorable tree ❤️❤️❤️
Aww I love your Christmas tree 🎄❤
Thank you for this very sweaty tree!
Easy to follow even if I am French 😉
Awww such a cutie! You made it look so adorable, the star is such a cute addition ❤️ Thank you so much for sharing, I am so happy that it was easy to follow!
Such a nice project!
Awww this is so cute! He looks so tiny 😍 You did an awesome job, I love it a ton!❤️
Thanks so much for the great pattern, really enjoyed making this cute tree 🙂
Turned out pretty nice
How do I add a picture of my finished tree?
Fun one
I loved making this! Wish I could figure out how to add a picture! 🤦🏼♀️
Ahaha I figured out how to add a picture 🤣
Loved this pattern! Such a cute idea and turned out great. I used chenille yarn for the snow which I think added a nice touch
This was soo fun to make!!! Thank you for the cute pattern!
Thank you for the great pattern!! Merry Christmas!
Thankyou for this gorgeous pattern!😍 it’s the quickest I’ve completed a pattern! So adorable 🥰🥰