Grave Amigurumi – Free Halloween Crochet Pattern

Print this pattern out – purchase the PDF here!


Supplies:
• Yarn 4/Medium Weight Yarn in…
Grey, green, dark grey, and brown
•4mm Crochet Hook
•Tapestry needle
•Scissors
•Stuffing
•Cardboard
•Black Embroidery Thread
•12mm safety eyes
Additional Information:
•Difficulty: Easy
•Size: Grave is 5″ tall.
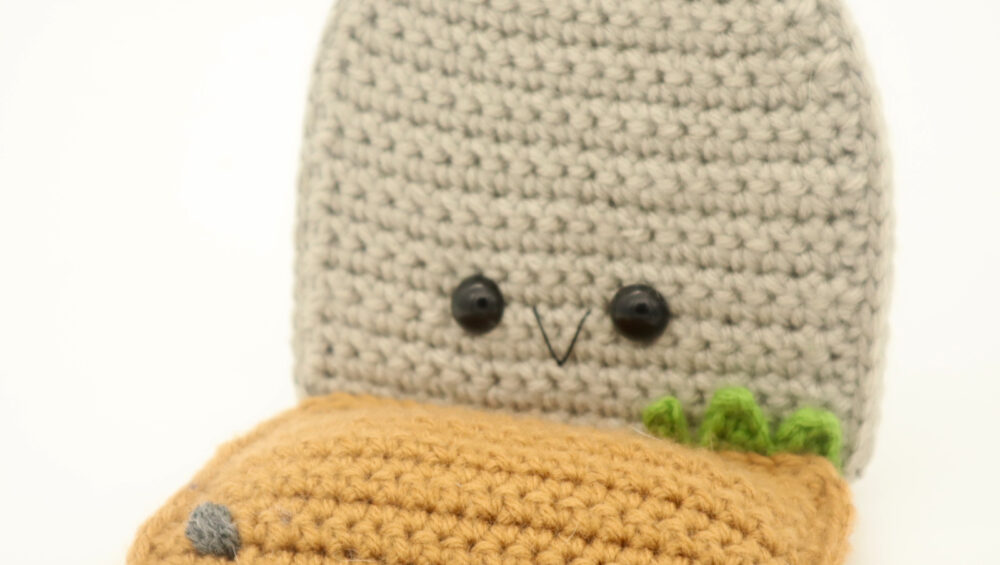
Happy Halloween! This grave is so cute and makes the perfect decoration for Halloween! The great thing about this pattern is how easy and quick it is to make. This entire pattern is worked in rows. If you would like, you can use dark grey puffy paint and write anything you’d want onto the grave! Maybe your name would be fun 🙂 Or creepy? Haha!
Let’s get started!
Grave: (Make 2)
In grey
Make 2 pieces. We will make the back piece first, then the front piece second. Then, we will crochet them together.
Row 1: Ch 11. Sc in the 2nd Ch from the hook. Sc in the next 9 st (10)
Row 2: Ch 1 and turn. Inc in the next st, Sc in the next 8 st, Inc in the last st (12)
Row 3: Ch 1 and turn. Sc in the next 12 st (12)
Row 4: Ch 1 and turn. Inc in the first st, Sc in the next 10 st, Inc in the next st (14)
Row 5: Ch 1 and turn. Sc in the next 14 st (14)
Row 6: Ch 1 and turn. Inc in the next st, Sc in the next 12 st, Inc in the last st (16)
Row 7: Ch 1 and turn. Sc in the next 16 st (16)
Row 8: Ch 1 and turn. Inc in the next st, Sc in the next 14 st, Inc in the next st (18)
Row 9-16: Ch 1 and turn. Sc in the next 18 st (18)
Only do this step if you’re making the second piece, which will be the front piece:
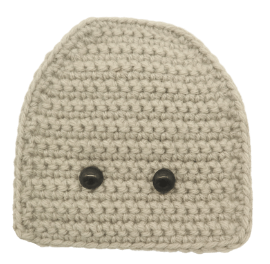
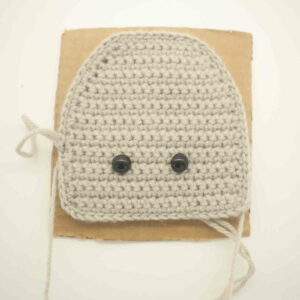
Now we will mark where to place the safety eyes. Add a stitch marker into the 8th and 14th stitch in the row we just finished.
Row 17-22: Ch 1 and turn. Sc in the next 18 st (18)
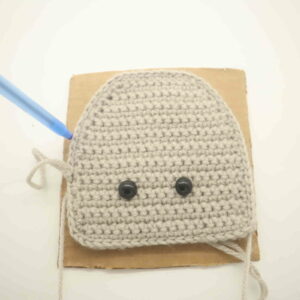
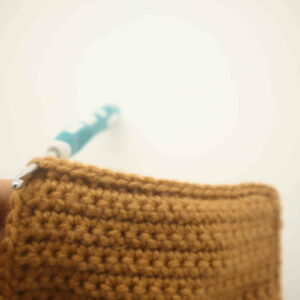
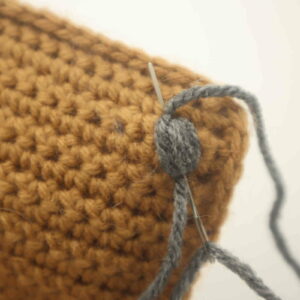
Make 1 single crochet in each stitch around the entire gravestone (Pic 1-3). This will help make the gravestone look smoother!
1.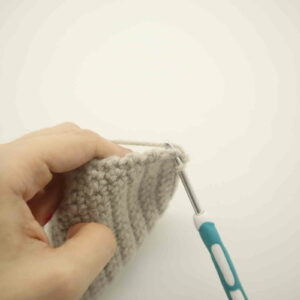 2.
2. 3.
3.
Finish off the first piece now. Make the second piece, do not finish off the second piece! Instead, we will continue on with the next step.
Grave Assembly:
In Grey
Now we will make a cardboard piece to add into the gravestone, then crochet both grave pieces together.
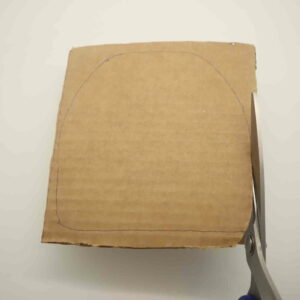
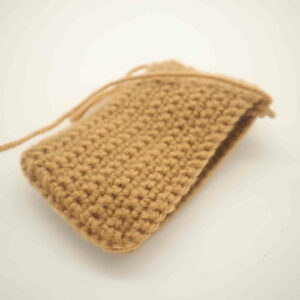
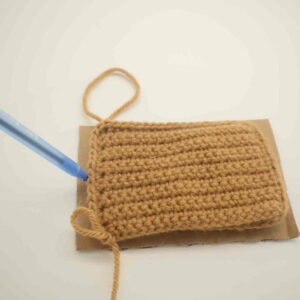
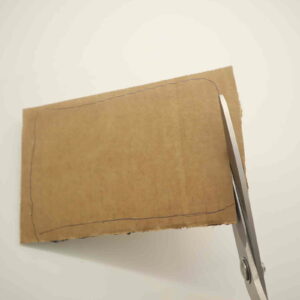
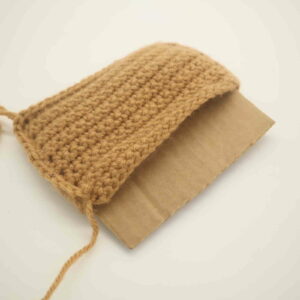
First, place the grave onto the cardboard (Pic 2). Trace around the grave (Pic 3). Cut around the outline (Pic 4). Set the cardboard aside for now.
1. 2.
2. 3.
3. 4.
4. 5.
5. 6.
6.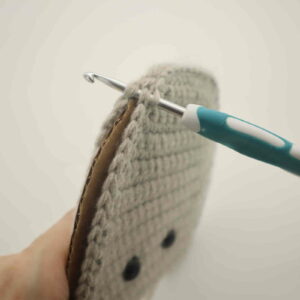
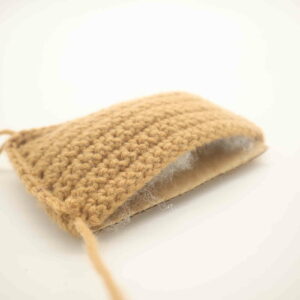
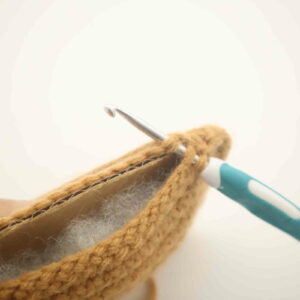
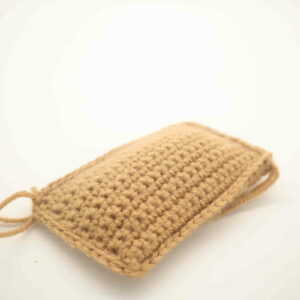
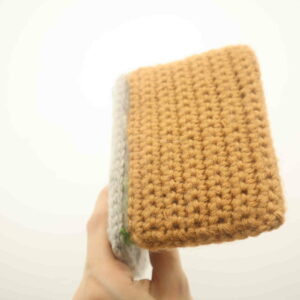
Now we will crochet both pieces together. Place each piece on top of each other, making sure the stitches align. Insert your crochet hook through BOTH layers of the stone and make a slip stitch (Pic 6). Now place this cardboard into the stone. Continue crocheting the stone together. Once done, finish off and weave in ends.
Dirt: (Make 2)
In Brown
Row 1: Ch 21. Sc in the 2nd Ch from the hook. Sc in the next 19 st (20)
Row 2-12: Ch 1 and turn. Sc in the next 11 st (11)
Finish off the first piece made. Do not finish off the second piece made.
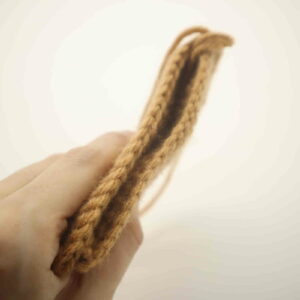
Place both pieces of dirt together (Pic 1). Make sure the stitches line up! Insert your hook into the next stitch, making sure to go through both layers (Pic 2). Make a single crochet. Continue crocheting the pieces together by making a single crochet until you’ve crocheted 3 sides shut (Pic 3-4).
1. 2.
2. 3.
3. 4.
4.
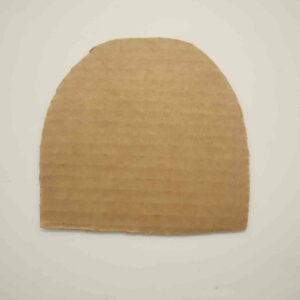
Now, place the dirt onto a piece of cardboard. Trace around the dirt with a pen (Pic 5). Cut around the outline (Pic 6), and place the cardboard into the dirt (Pic 7).
5. 6.
6. 7.
7.
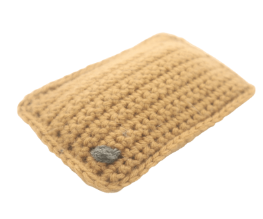
Add a small amount of stuffing into the dirt, making sure to not over stuff (Pic 8). Now continue crocheting the rest closed (Pic 9-10). Once done, finish off and weave in ends.
8. 9.
9. 10.
10.
Rock: Place dark grey yarn onto a needle. Insert needle into the bottom left hand corner of the dirt, and pull the needle out a few stitches to the right (Pic 11). Repeat the process of *Insert needle into original insertion spot, pull needle out a few stitches to the right*. Stop this process once the rock is the size you’d like. Tie the ends of yarn into firm knots, then bring the knots inside the dirt to hide. Cut any excess yarn.
11. 12.
12.
Grass:
Start in Green
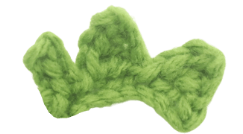
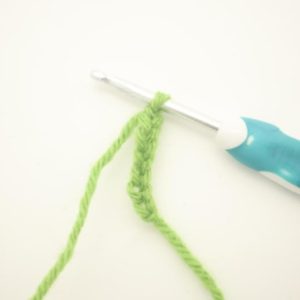
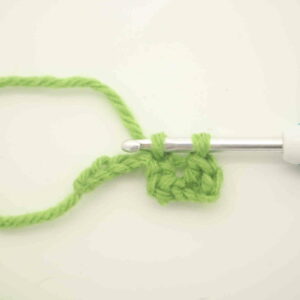
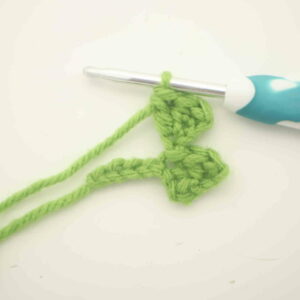
Row 1: Ch 7 (Pic 1). SlSt in the 2nd ch from the hook. Ch 3 (Pic 2), Sc in 2nd ch. Dc in next ch (Pic 3). Now working on the original chain we made, SlSt in the next ch (Pic 4).
Ch 4, Sc in 2nd ch from the hook. Hdc in the next ch, Dc in the next ch. (Pic 5). Skip the next 2 ch, SlSt in next st of the original chain we made. SlSt in the next ch.
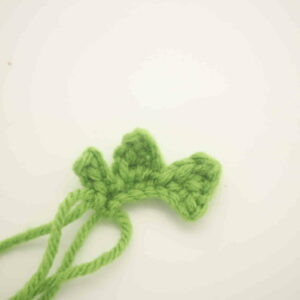
Ch 4, SlSt in the 2nd ch, SlSt in the next 2 st, SlSt in the next Ch on the original chain we made.
Finish off, leaving a long tail for sewing. Place the grass onto the lower right hand corner of the stone. Sew on or hot glue on. Weave in any ends and cut excess yarn.
1. 2.
2. 3.
3. 4.
4. 5.
5. 6.
6.
Smile:
In Black Embroidery Thread
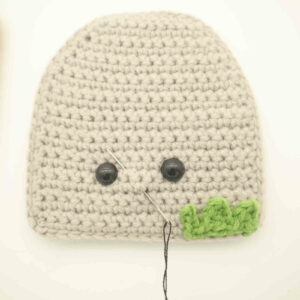
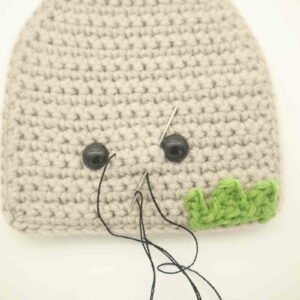
Insert needle with thread into the middle mouth area of the toy, and pull the needle out next to the toy’s left eye as shown (Pic 1). Reinsert needle into the middle mouth area (Pic 2) and pull needle out next to the right eye (Pic 2). Reinsert needle into the middle mouth area and pull needle out a few stitches over. Tie the ends of thread into firm knots and bring them inside the toy to hide. This will secure the smile. Done!
1. 2.
2. 3.
3. 4.
4.
Assembly:
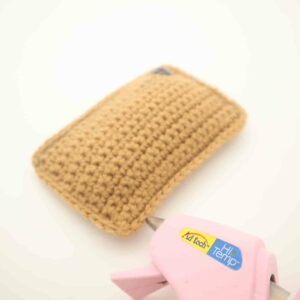
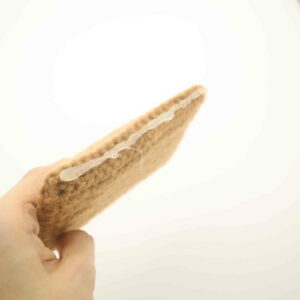
Place a strip of hot glue on the edge of the dirt patch as shown (Pic 1-2). Make sure you are not putting the glue on the side with the rock!
Now squish the edge of the dirt to the grave and hold it together for about 2 minutes (Pic 3). You can place more hot glue on the edge where the grave and stone meet to secure it better!
1. 2.
2.
 3.
3. 4.
4.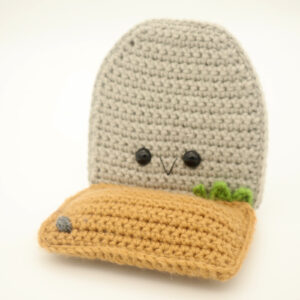
Done! If you made this amigurumi, I would love to see! You can show me by posting a picture in the comments underneath this post 🙂


1 Comment
Hi there,
Thank you for all of the great patterns!
I was wondering, for the dirt-
Rows 2-12, do you mean sc in next 20? (Instead of 11)