Purchase the PDF version here
Supplies:
4.0mm Crochet Hook, Stuffing, Tapestry Needle, Scissors, 8mm Safety Eyes.
Yarn Used: 4/Medium Weight in Red, Brown, Yellow, and Tan.
Additional Information:
Pattern Difficulty: Easy
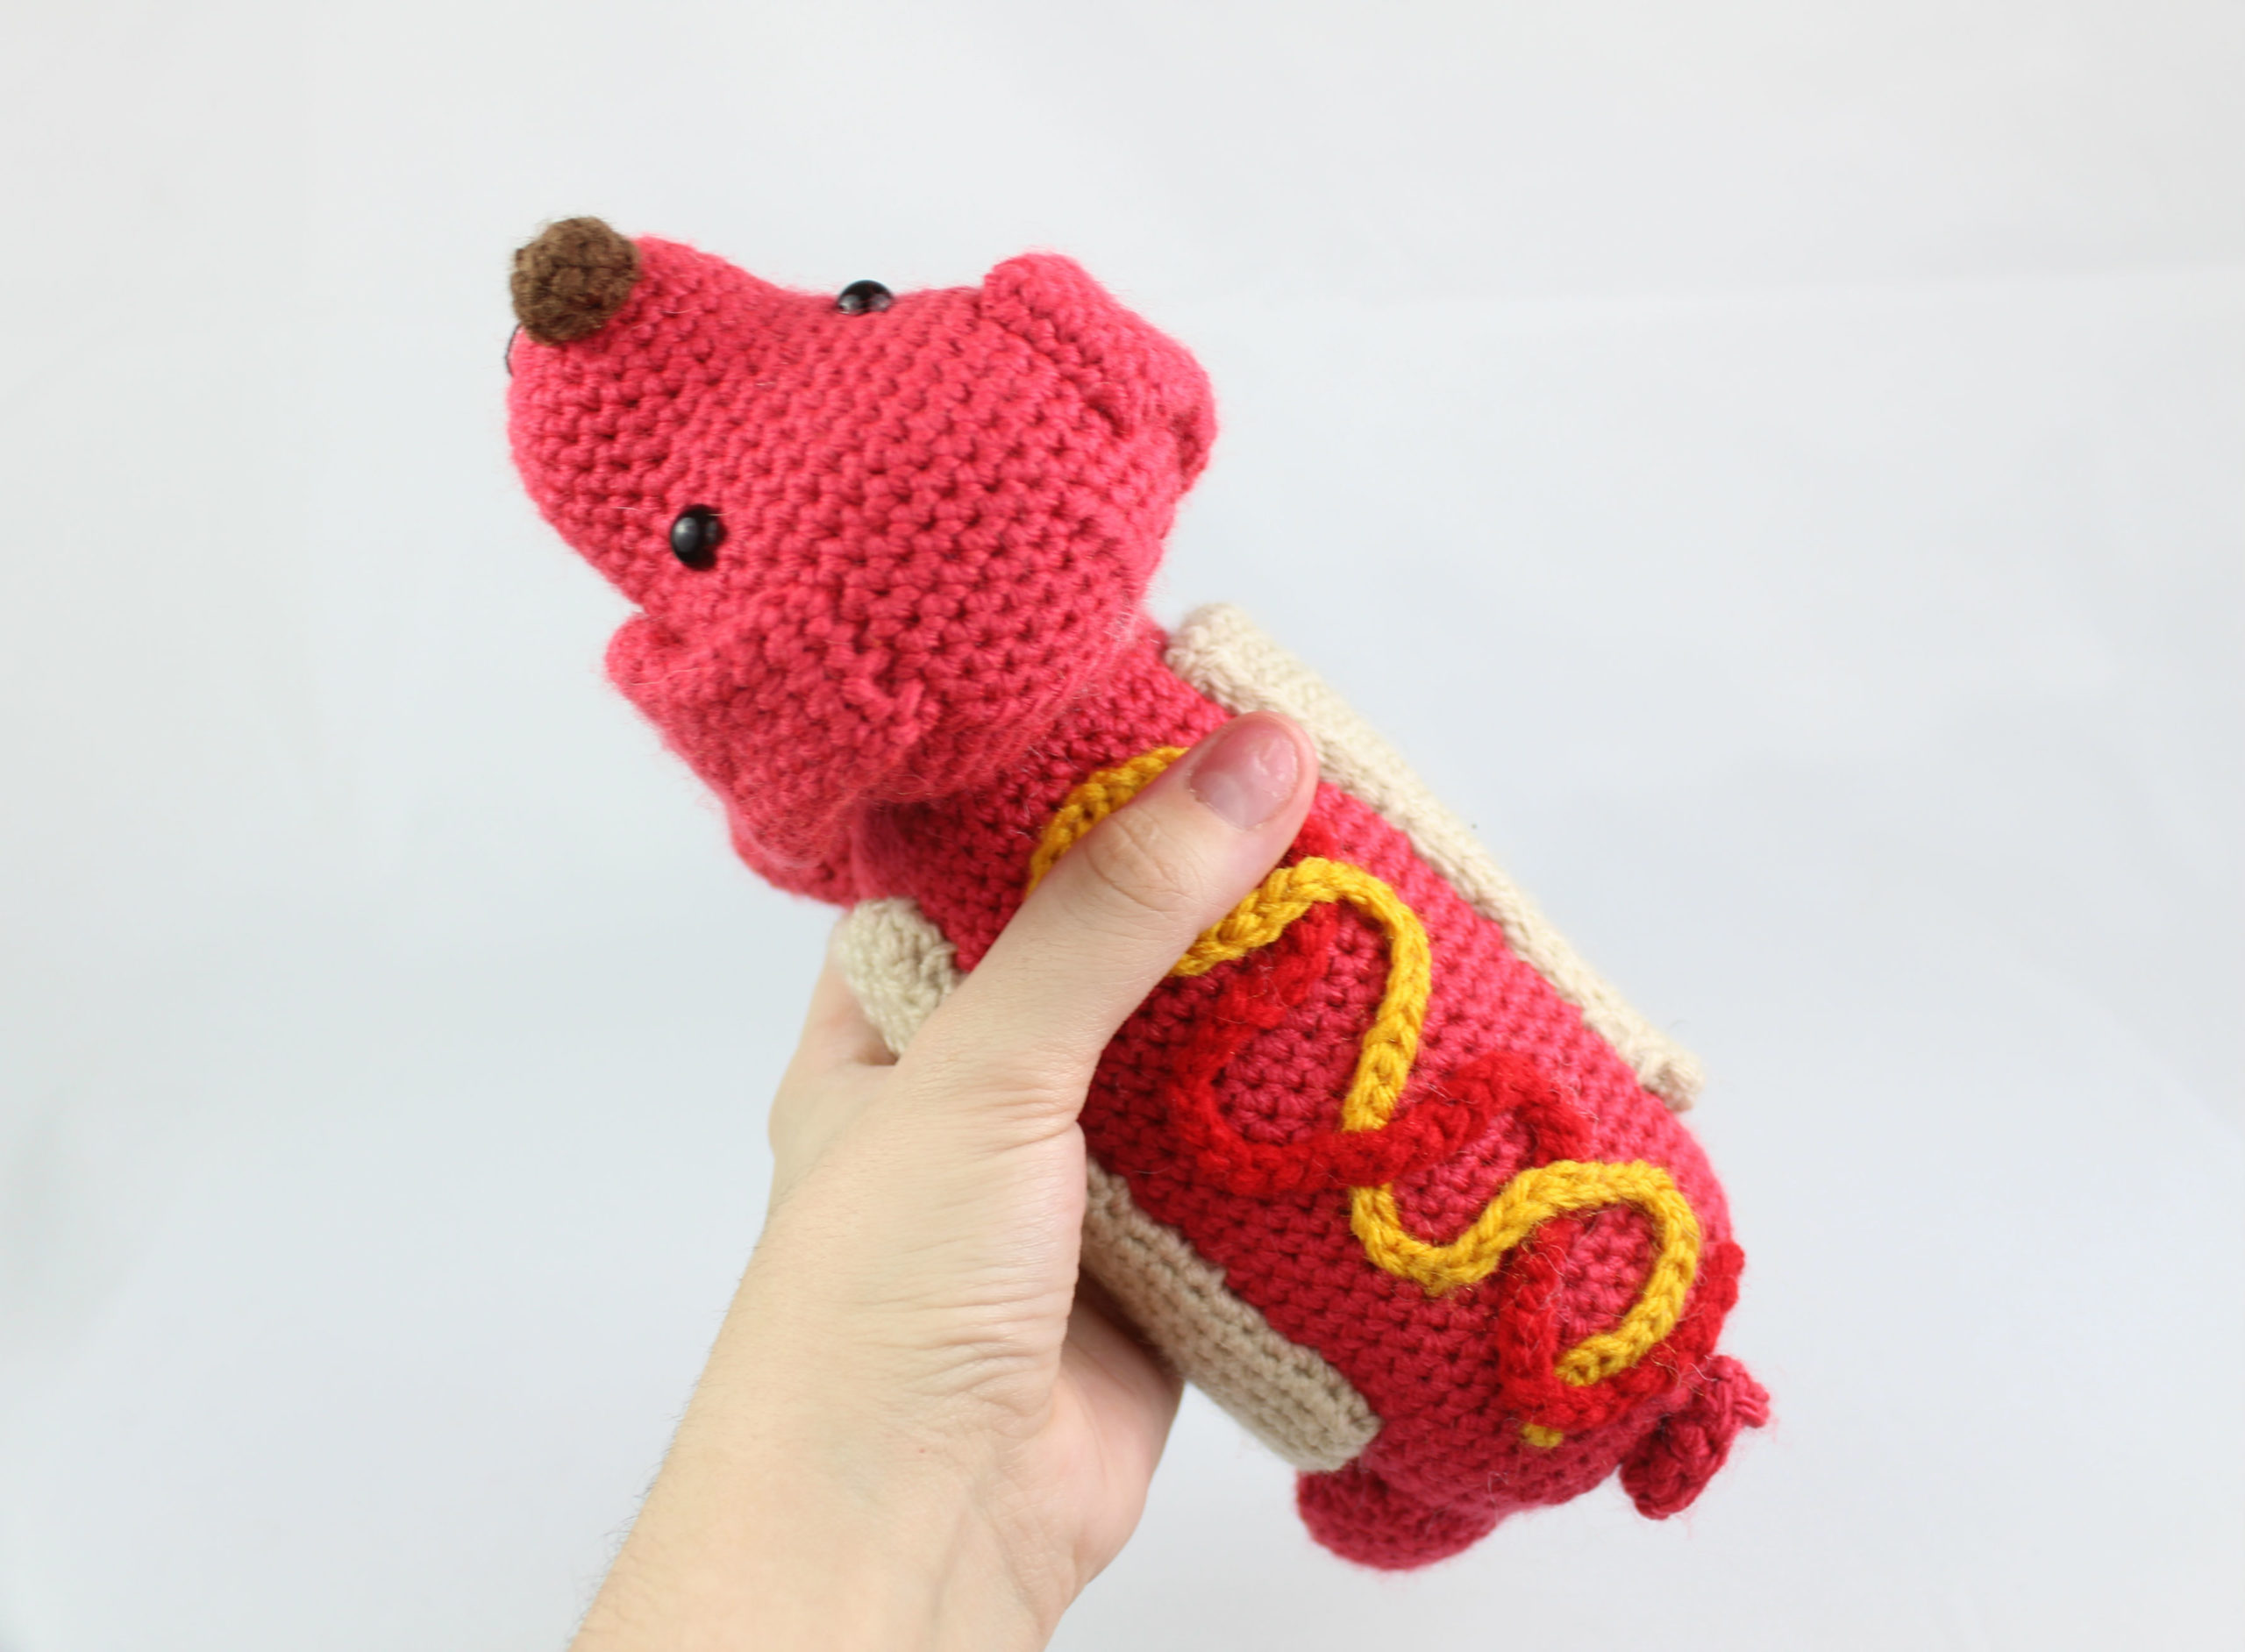
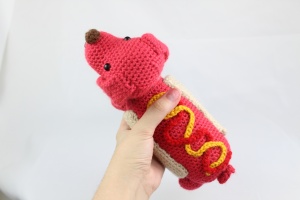
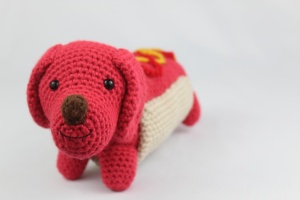
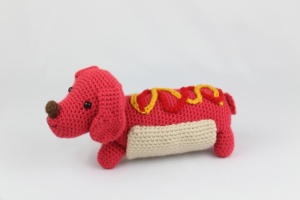
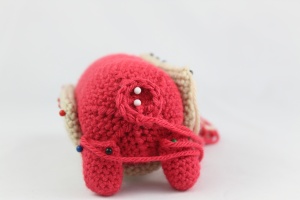
We start by making the head. After that we make his nose, and ears. Then we assemble the face. Next we make the body, arms/legs, tail, and bun. After assembly, we make the ketchup and mustard on top.
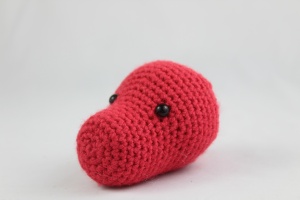
Head:
In Red
Round 1: In red, 6 Sc in Magic Ring (6)
Round 2: *Inc* in each stitch (12)
Round 3: *Inc, Sc* all around (18)
Round 4: *Inc, Sc 2* all around (24)
Round 5-10: *Sc* all around (24)
Round 11: *Inc, Sc 3* 3 times, Sc in next 12 st (27)
Round 12: *Inc, Sc 4* 3 times, Sc in next 12 st (30)
Round 13: *Inc, Sc 5* 3 times, Sc in next 12 st (33)
Round 14: *Inc, Sc 6* 3 times, Sc in next 12 st (36)
Round 15: *Inc, Sc 7* 3 times, Sc in next 12 st (39)
Round 16: *Inc, Sc 8* 3 times, Sc in next 12 st (42)
Round 17-22: *Sc* all around (42)
Round 23: *Dec, Sc 5* all around (36)
Round 24: *Dec, Sc 4* all around (30)
Round 25: *Dec, Sc 3* all around (24)
Stuff here and add in Safety Eyes
Round 26: *Dec, Sc 2* all around (18)
Round 27: *Dec, Sc* all around (12)
Round 28: *Dec* all around (6)
Finish off and stuff any additional stuffing, sew shut.
Nose:
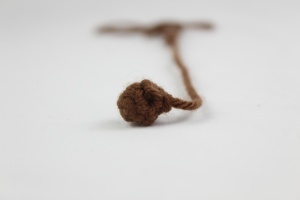
In Brown
Round 1: In Brown, 6 Sc in Magic Ring (6)
Round 2-3: *Sc* all around (6)
Finish off and pin to the head.
Ears: (Make 2)

In Red
Round 1: In Red, 6 Sc in Magic Ring (6)
Round 2: *Inc* in each stitch (12)
Round 3: *Inc, Sc* all around (18)
Round 4-9: *Sc* all around (18)
Round 10: *Dec, Sc* all around (12)
Round 11-17: *Sc* all around (12)
Finish off and pin to the head.
Assembly:
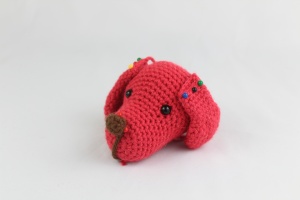
Readjust any pieces to your liking. Sew on each piece to the head.
Body:
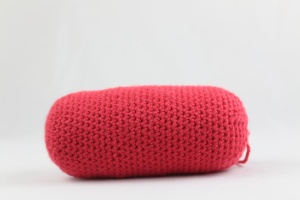
In Red
Round 1: In Red, 6 Sc in Magic Ring (6)
Round 2: *Inc* in each stitch (12)
Round 3: *Inc, Sc* all around (18)
Round 4: *Inc, Sc 2* all around (24)
Round 5: *Inc, Sc 3* all around (30)
Round 6: *Inc, Sc 4* all around (36)
Round 7: *Inc, Sc 5* all around (42)
Round 8-37: *Sc* all around (42)
Round 38: *Dec, Sc 5* all around (36)
Stuff here
Round 39: *Dec, Sc 4* all around (30)
Round 40: *Dec, Sc 3* all around (24)
Round 41: *Dec, Sc 2* all around (18)
Round 42: *Dec, Sc* all around (12)
Round 42: *Dec* all around (6)
Finish off and add any additional stuffing. Sew closed.
Tail:
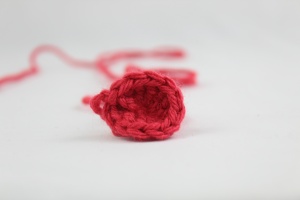
In Red
Round 1: Make a Magic Ring. Ch 3, Trc 12 into the Magic Ring. (13)
Pull shut and finish off. Pin to the back of the body.
Arms/Legs: (Make 4)
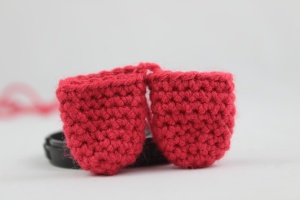
In Red
Round 1: 6 Sc in Magic Ring (6)
Round 2: *Inc* all around (12)
Round 3: Inc in first st, Sc in next 5 st, Inc in next st, Sc in last 5 st (14)
Round 4-9: *Sc* all around (14)
Finish off and pin the the back sides of the body.
Bun:
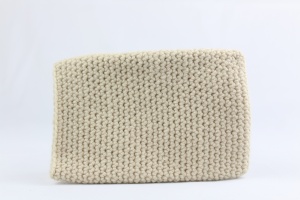
In Tan
Round 1: Ch 21. Sc in 2nd Ch from hook. Sc in the next 18 st, Inc in the next st. Turn to the other side of the Ch. Sc in next 19 st (40)
Round 2-36: *Sc* all around (40)
Finish off. Sew shut.

Assembly:
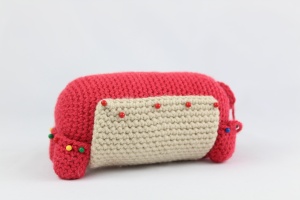
Pin Bun between legs, lining it up evenly with the body. Sew the bun on. Now sew the legs on, and stuff each leg before fully sewing shut. Next, sew on the tail. Finally, pin the head on the front of the body and sew on.
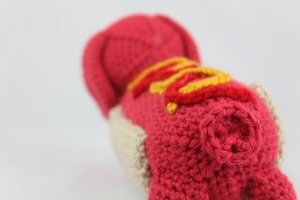
Ketchup & Mustard:
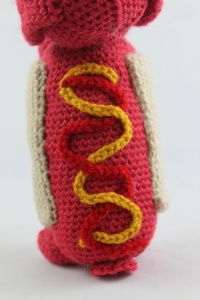
In Red for Ketchup or Yellow for Mustard, Ch 50. Finish off and pin in a wavy motion to the top of the hot dog. Sew on, but not too tightly as it will make the ketchup/mustard look tighter and not as natural.
![]()
Yay! You’re all done. If you finished this project, I would be SO HAPPY if you could upload a picture to the Ravelry project page, or tag me on Instagram @StringyDingDing, or “try” it on Pinterest.


28 Comments
it says free pattern (hot dog) but you cannot copy the pattern. Tried to do print friendly and doesn’t show pattern. What’s free about it?
Hi Judith,
The free pattern in it’s entirety is all on the page we’re viewing 🙂 All of the instructions to make the hot dog are here. However, to print it you can purchase the PDF here for $1.99. If you are confused on why I must charge for this, please view here.
This was a fun pattern and worked up quickly. It turned out really cute. Thanks
Aw that’s so great to hear, I’m so happy you made it! Thanks for your comment 🙂
Hi there, does your printed PDF indicate the rows where you insert the eyes, rows where to sew on the ears, legs and so on. If so, I don’t mind purchasing the PDF
Hi Jo,
The PDF includes exactly everything in the free version, but put together for a PDF. Unfortunately it’s a little difficult for me to indicate exactly where to put the limbs. Though I do include photos showing where I put mine!
I hope this helps 🙂 Please let me know if you have any more questions! Have a good day.
Thank you for taking time to reply, will enlarge picture to see the positioning. Thanks again for sharing your beautiful work
Hello,
I find attaching the head to its body is so hard, needed some advice here.
Please help me, thank you sooo much in advance.
Hi there,
A good way to attach the head to the body is to pinch the part of the head where you’re going to sew it on. This way it’s easier to get your thread onto the head, and no stuffing is in the way of your sewing. Then pick a point on the body to where you want to sew the head, and pull the yarn from the head into the body. Now, take this thread and insert it back into the head, making sure yo pick a point close to where you first inserted the needle. This way it is more secure, rather than picking sewing points too far away which would result in a floppy and less secure head. Repeat this in sections slowly around the entirety of the head, and you can even go around a second time to make sure it isn’t as floppy and extra secure. I really hope this makes sense, but if not, please let me know!
I know this is a long shot but i am having trouble with row 2 and 3 i don’t understand what you mean by increase sc around but only getting like 3 extra stiches
Hi Emily, do you mean for the head? If so, I can explain 🙂 So Round 2: *Inc* all around (12). This means make 2 single crochets in each stitch all around. So two sttiches in each of the 6 sttiches will result in a total of 12 stitches at the end of the round. Then for Round 3: *Inc, Sc* all around (18). This means make 2 single crochets in the next stitch, then only one single crochet in the next stitch. Repeat the pattern of *2 single crochets in the next stitch, then only one single crochet in the next stitch* all around, resulting in a total of (18) stitches at the end of the round. I hope that helps, please let me know if I can clarify anything!
Hi I was wondering how you got from “SC in the next 19 st” to “sc all around 40” for the bun, a reply would be really helpful thanks!
Hi there Alex, thank you for your question! So the bun is worked around a chain. This means that we make a chain and work around the entirety of the chain, not turning it like we would a row but rather once we reach the end of the chain we will turn it to the unworked side and continue on that side, making the chain into a round.
So let me explain the first round of the bun:
Round 1: Ch 21. Sc in 2nd Ch from hook. Sc in the next 18 st, Inc in the next st. Now we meet the end of the chain.
Turn to the other side of the Ch, where we haven’t worked any stitches into that side of the chain yet. Sc in next 19 st on that side of the chain (40)
If you need a visual for working around a chain, please view the head of my dragon pattern here: https://stringydingding.com/dragon-amigurumi-free-crochet-pattern/
That pattern’s pictures should give you an idea on how to work the bun!
I hope this helps! Please let me know if you have any questions and I’d be happy to answer them 🙂
Hi! Thank you for sharing this pattern – I think it’s so cute and can’t wait to make it. I was wondering if you happened to remember which yarn you used for the dog’s body? I like the coloring in your photo, but the only red yarn I have right now looks more like your ketchup and I am wondering where I could find a burnt orange shade more like what you have for the body here. If you don’t remember, no worries – but would love to know!
Hi Ray! Thanks so much, I love that you like the pattern!
The yarn I used for the actual hot dog part was Big Twist in Red. They’ve since changed their yarn colors and the current Big Twist red doesn’t match up to the red in the hot dog.
The closest red I could find is by I Love This Yarn in the color Fire Red: https://www.hobbylobby.com/Yarn-Needle-Art/Yarn/Fire-Red-I-Love-This-Yarn/p/35910
It’s not as red as it looks online. That yarn is a more orangey-red color, so it should work! Thanks so much for your question and kind words, please let me know how the pattern goes for you! I would love to see it when you finish 😍
I work on it almost finish and it look great I love it thank you for sharing with us
That’s really great to hear Ghalya, I’m so happy that your hot dog is coming out great! I hope you have fun with the pattern 🙂
How much Red yarn do i need?
Hi Charlotte, thank you for the question! I don’t measure yarn specifically, but I would guess you will need around 130 yards or less in red! I’m sorry to not have a specific number for you, but I hope this was able to help 🙂 Please feel free to let me know if you have any other questions, I’m always happy to help! ❤️
Re: Hot Dog With Bun
I had a question about the Bun. I understand now that when crocheting the 40 sts (for R2-R36) I am working both sides of the chain (and not working 1 side of the chain), I am at R14 (13 rounds of 40 sts) and its becoming like a purse shape. The problem is the Bun is significantly smaller then the body of the hot dog. Should I use a bigger Hook for the Bun? Or am I supposed to have used the same hook size thru the whole process (which is what I did)?
If the Bun is not big enough, should I start over and ch more? To make it longer?
Hi there Aleasha! Thank you so much for your question 🙂 The bun coming out like a purse shape is correct! As for the bun, the bun should be coming out smaller than the body. However, it depends how much smaller yours is. It should give enough room for the legs on each side, and be long enough to cover each side of the hot dog. If yours is so small that there’s way too much room for the legs and it doesn’t cover the sides, then you might want to use a larger hook and yarn.
However, this pattern uses the same size yarn and hook throughout the pattern! So that shouldn’t be an issue unless you’re using a smaller size hook and yarn compared to what you used for the hot dog. My advice would be keep making the bun and make sure it looks similar to the bun in my photos. If it’s still coming out way too small, you can increase the number of chains to make a longer bun! Then crochet more rounds to make it as long as you need it.
If you have any other questions or if the bun is still giving you trouble, please let me know! I’m happy to help figure out what the issue may be 🙂 You can also attach a photo in these comments if that helps! ❤️
This was a super fun pattern. Thank you for sharing it and allowing me to use it for free. I didn’t have the exact colors but I improvised. Hope it does your pattern justice.
Love this pattern so much! So cute and creative. Thank you for your quality, free patterns! Will post to IG and ytag you in attribution when I’ve finished sewing all the parts together 💜
I made this for my MIL. Her sweet girl, Daisy passed a few years ago and she was family to us! Me and the kids have worked hard making this! Thank you so much for sharing this pattern with us!
I have made your pattern and everyone that sees it instantly falls in love. I’ve been asked to make some that I could then sell. I would always state you as the pattern designer, I was wondering if it would be OK with you for me to sell my finished product?
Loved this pattern! My wiener dog turned out way better than I expected.
so adorable :)))))))
super cute