Ice Cream Sandwich Amigurumi – Free Crochet Pattern


Print this pattern out – purchase the PDF version here!

 Supplies:
• Yarn 4/Medium Weight Yarn in…
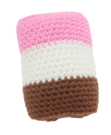
Brown, pink, and white
•4mm Crochet Hook
•10mm Safety Eyes
•Tapestry needle
•Scissors
•Stuffing
Additional Information:
•Difficulty: Easy
•Size: 4″ tall 3″ wide
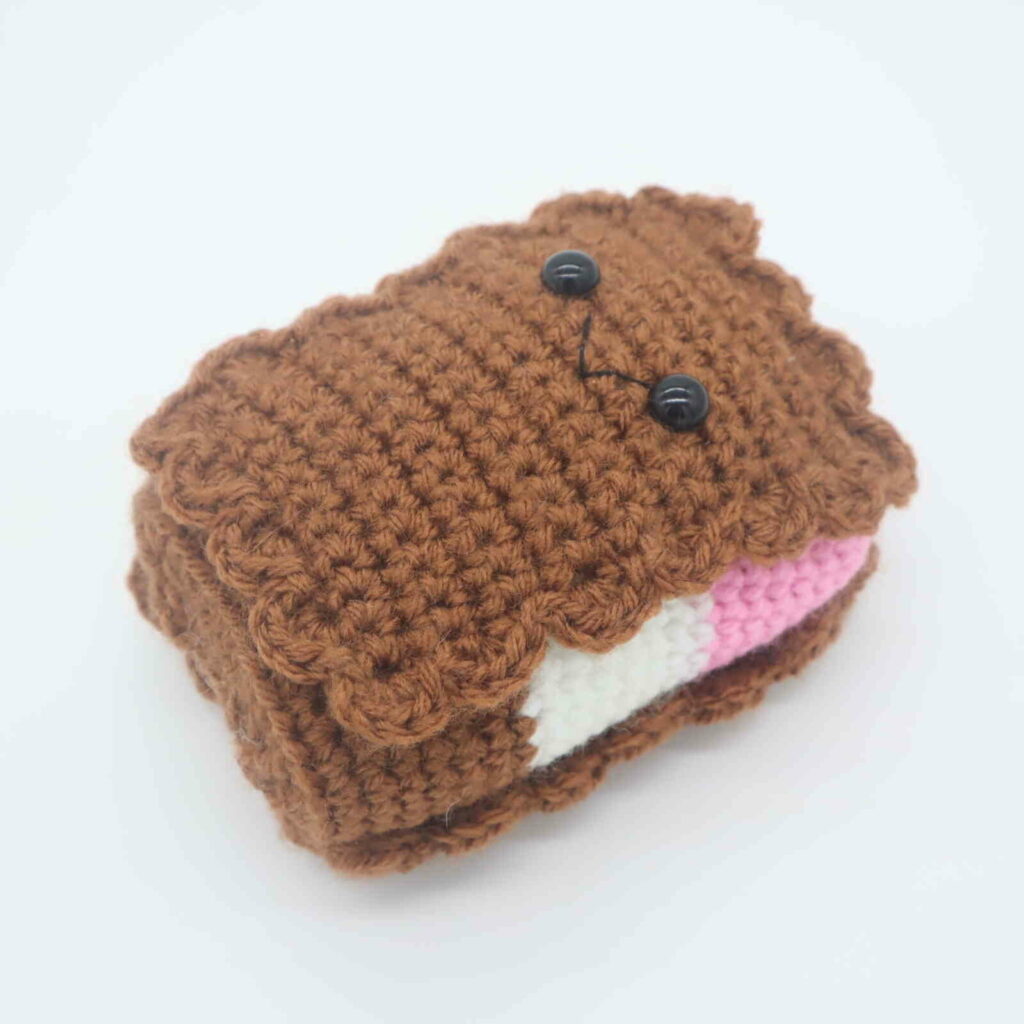
Ice cream is not only tasty, but apparently can look oh-so-cute! I decided to turn one of my favorite treats into an amigurumi! This ice cream sandwich amigurumi is quick and easy to make, and would be a great toy for any child. Let’s get started!
Ice Cream:
Start in pink
Round 1: Ch 12 (Pic 1). Sc 4 times in the 2nd Ch from the hook (Pic 2). Sc in the next 9 st. Sc 4 times in the next st. Now we’re at the end of the chain (Pic 3). Turn to the OTHER side, where we haven’t made any stitches yet. Working on that other side, Sc in the next 9 st (Pic 5). (26)
1.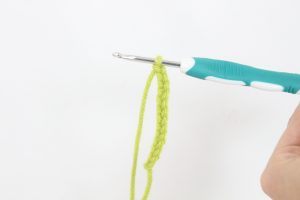 2.
2.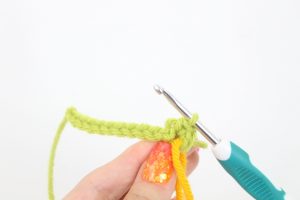 3.
3.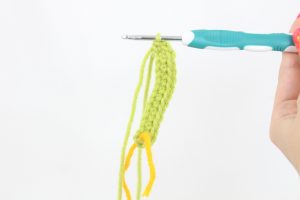 4.
4. 5.
5.
Round 2: Sc 3 times in the next st, SlSt in the next st, Sc 3 times in the next st, SlSt in the next 11 st, Sc 3 times in the next st, SlSt in the next st, Sc 3 times in the next st, SlSt in the next 9 st (34)
Round 3: In the BLO (Back Loop Only), *Sc* all around (34)
Round 4-9: In BOTH loops, *Sc* all around (34)
Round 10-16: Change to white. *Sc* all around (34)
Round 17-23: Change to brown. *Sc* all around (34)
Round 24: Work in the BLO for this round. Sc in the next 7 st. Dec 4 times. Sc in the next 9 st. Dec 4 times. Sc in the next 2 st (26)
Round 25: Work in BOTH loops for the remaining rounds. Sc in the next 5 st. Dec 4 times. Sc in the next 5 st. Dec 4 times (18)
Round 26: Sc in the next 4 st. Dec 3 times. Sc in the next 3 st. Dec 2 times. Sc in the next st (13)
Finish off, leaving a long tail for sewing. Stuff the ice cream firmly now. Once stuffed, sew the remaining stitches together to close. Weave in ends and cut any excess yarn.
Cookie: (Make 2)
In Brown

Row 1: Ch 13. Sc in the 2nd Ch from the hook. Sc in the next 11 st (12)
Row 2-6: Ch 1 and turn. Sc in the next 12 st (12)
Now we will mark where to place the safety eyes. Add an eye stitch marker into the 4th and 9th stitch in Row 6.
Row 7-19: Ch 1 and turn. Sc in the next 12 st (12)
Add safety eyes into the marked areas in Row 6 now. Now we will work completely around the square to form the frilly edge. Since we are working on the sides of the rows, it’s much harder to count the exact stitch count. Guesstimate where each stitch will go, it will follow this pattern until you finish completely around the square.
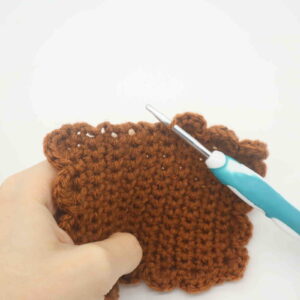
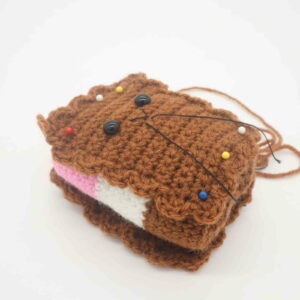
Row 20: Working on the edge of the square, repeat *4 Hdc in the next st, SlSt in the next 2 st*. Once you’ve completed going around the square, finish off and leave a long tail for sewing. Pin each square onto the ice cream as shown. Sew or hot glue on. Hot gluing is a little easier and gives a cleaner look 🙂 Once done, weave in ends.
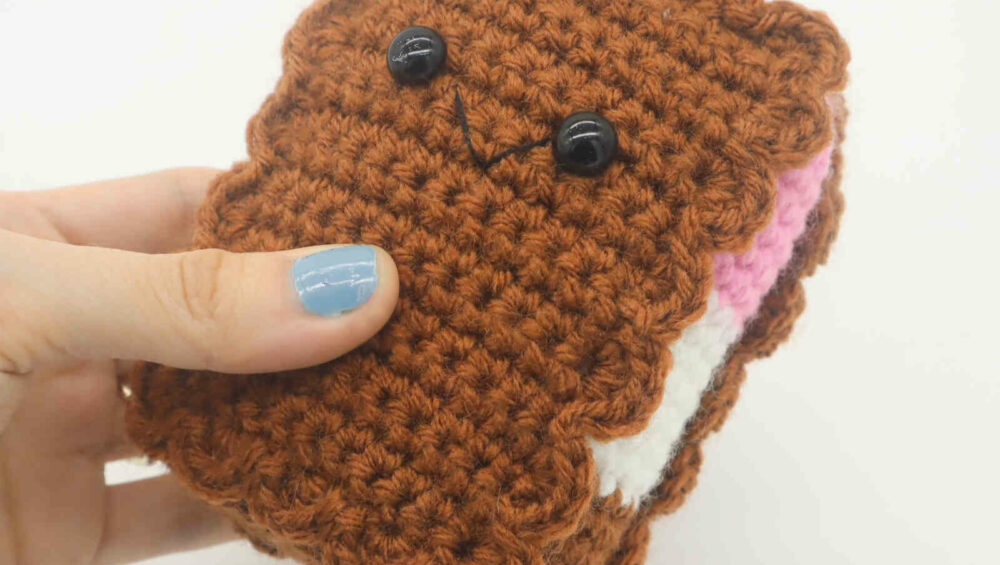
Smile:
In Black Embroidery Thread
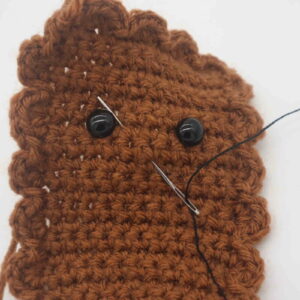
Insert needle with thread into the middle mouth area of the toy, and pull the needle out next to the toy’s left eye as shown (Pic 1). Reinsert needle into the middle mouth area (Pic 2) and pull needle out next to the right eye (Pic 2). Reinsert needle into the middle mouth area and pull needle out a few stitches over. Tie the ends of thread into firm knots and bring them inside the toy to hide. This will secure the smile. Done!
1. 2.
2.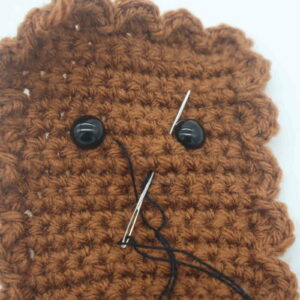 3.
3.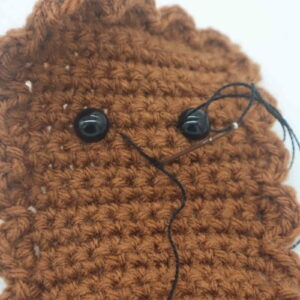 4.
4.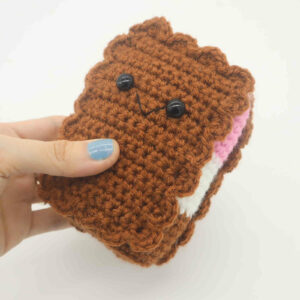
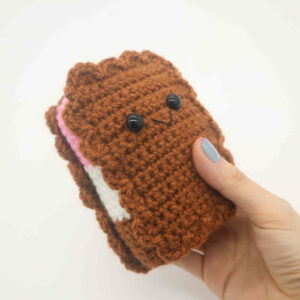
Done! If you made this ice cream sandwich, I would love to see! You can show me by posting a picture in the comments underneath this post 🙂


