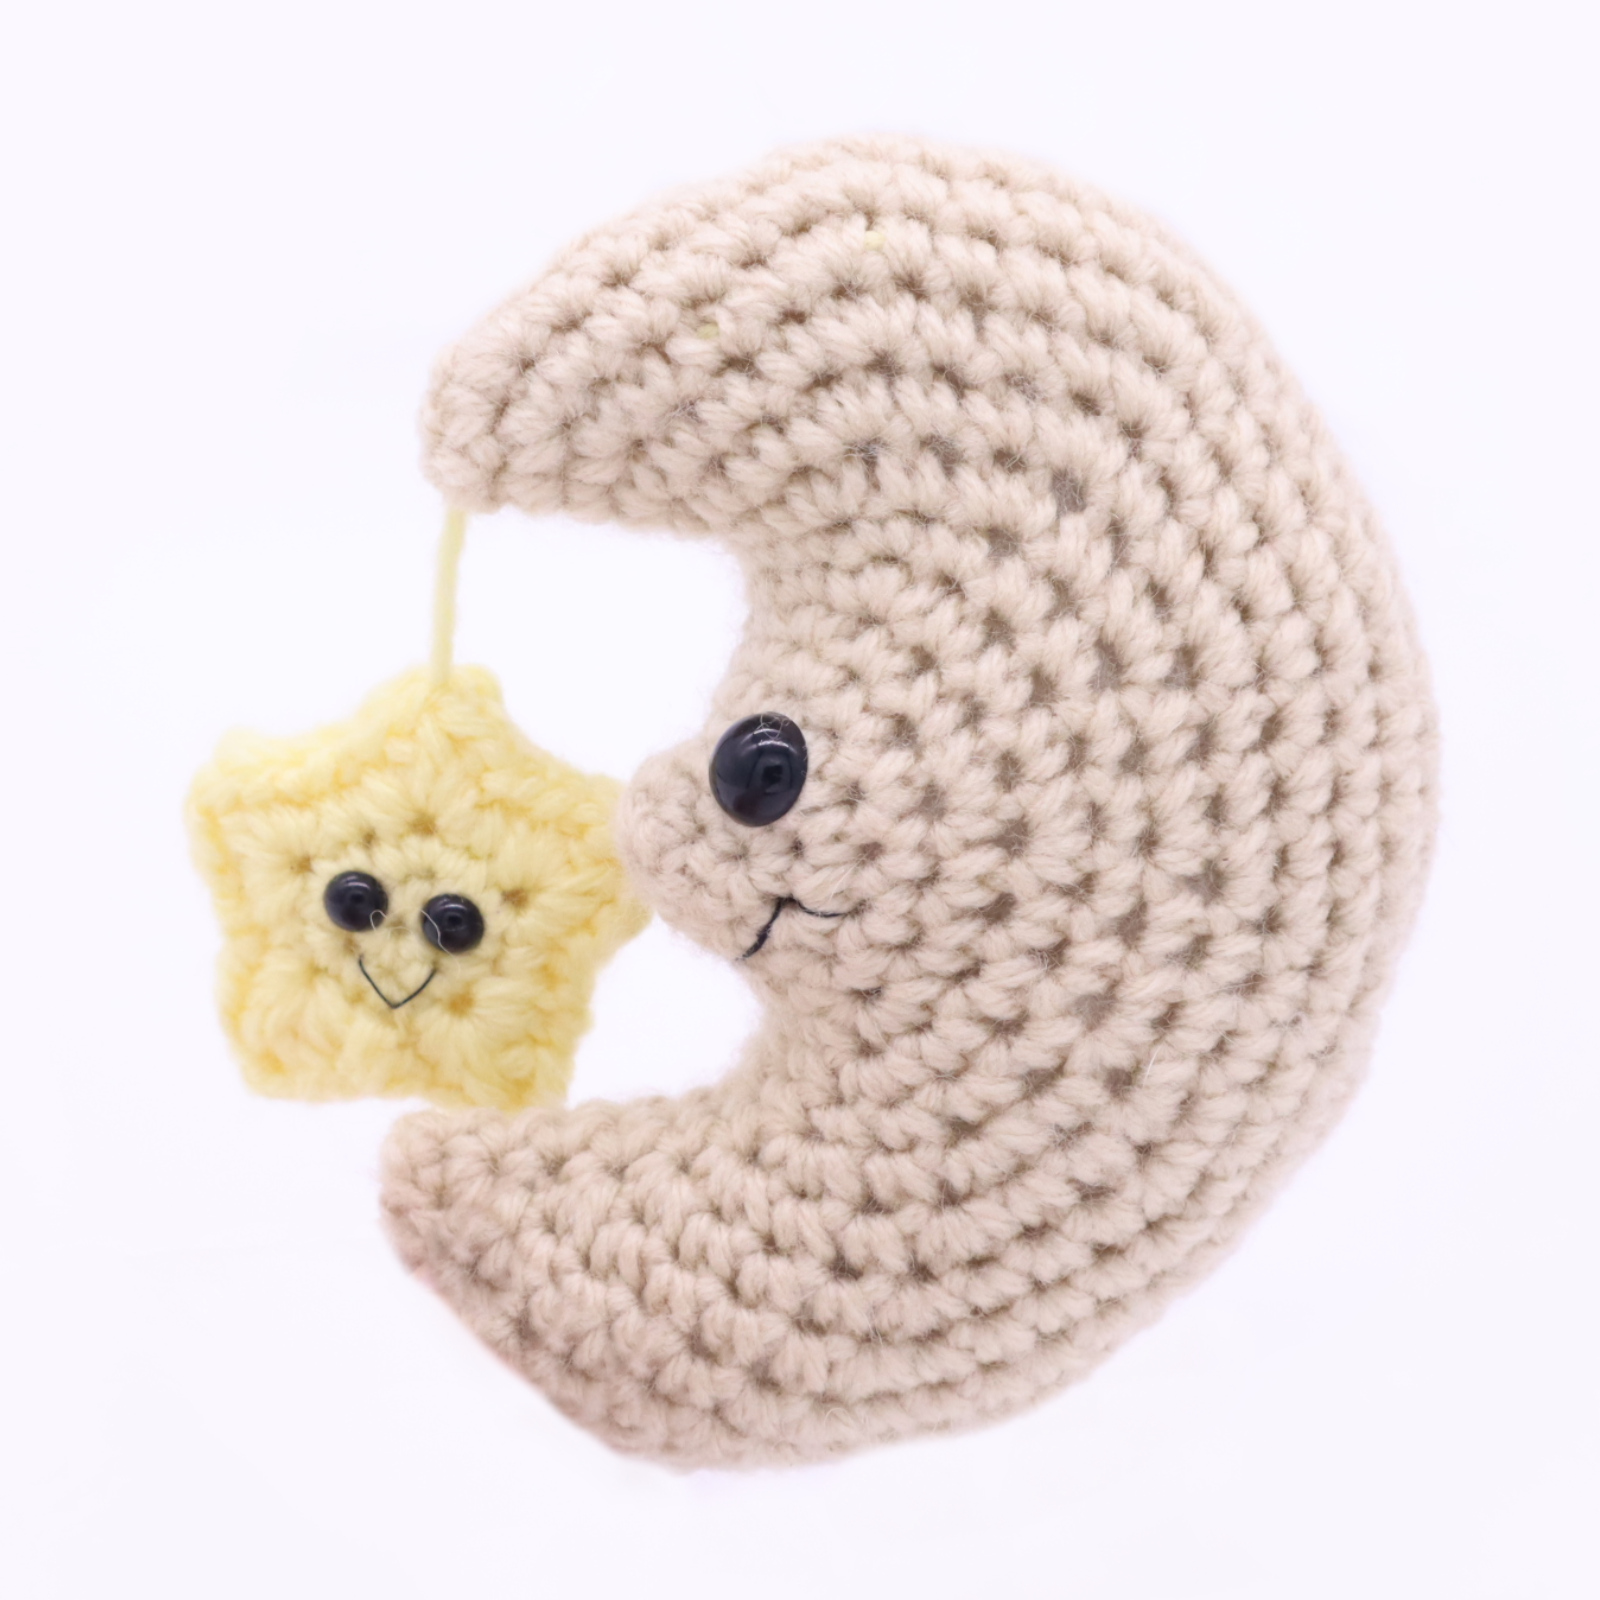
Moon and Star Amigurumi – Free Crochet Pattern
This week I’m really excited to bring you this free moon amigurumi crochet pattern! It was a challenge figuring out how to make the moon shape. I’m not a huge fan of short rows, just because the stitches look different when you do short rounds, so I made this moon pattern with no short rounds! This moon is also mostly no-sew. The only sewing we do is when we close him up. I hope you like this pattern, I would love to do a weather series with things like a rainbow, cloud, raindrop, lightening, all that fun stuff 🙂
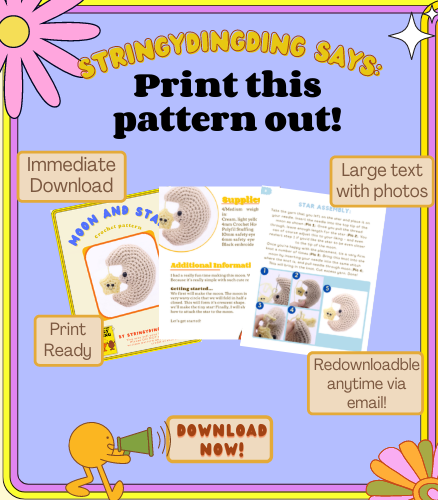
Print this pattern out – purchase the PDF version here!

Supplies:
4/Medium weight yarn in:
Cream, light yellow
4mm Crochet Hook
Polyfil Stuffing
10mm safety eyes (moon)
6mm safety eyes (star)
Black embroidery thread
Additional Information:
I had a really fun time making this moon. Why? Because it’s really simple with such cute results.
Getting started…
We first will make the moon. The moon is actually a very wavy circle that we will fold in half and sew closed. This will form it’s crescent shape. After this, we’ll make the tiny star! Finally, I will show you how to attach the star to the moon.
Let’s get started!
Moon:
Start in cream color
To make the moon we will make a circle, then fold that circle in half to form the crescent shape.
Round 1: 6 Sc in Magic Ring (6)
Round 2: *Inc, Sc in the next 2 st* all around (8)
Round 3: *Sc* all around (8)
Round 4: *Inc, Sc in the next st* all around (12)
In round 4 we will mark where to place the safety eyes later. Add a differently colored stitch marker (to not confuse your round and eye stitch markers) into the 4th stitch and 8th stitch in Round 4. We’ll add the eyes in those areas later! Continue:
Round 5: *Inc, Sc in the next st* all around (18)
Round 6: *Sc* all around (18)
Round 7: *Inc, Sc in the next 2 st* all around (24)
Round 8: *Inc, Sc in the next 3 st* all around (30)
Round 9: *Sc* all around (30)
Round 10: *Inc, Sc in the next st* all around (45)
Round 11: *Inc, Sc in the next 2 st* all around (60)
Round 12: *Inc, Sc in the next 3 st* all around (75)
Round 13: *Inc, Sc in the next 4 st* all around (90)
Round 14: *Inc, Sc in the next 5 st* all around (105)
Round 15: *Inc, Sc in the next 6 st* all around (120)
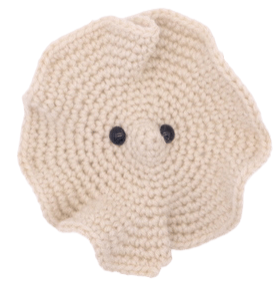
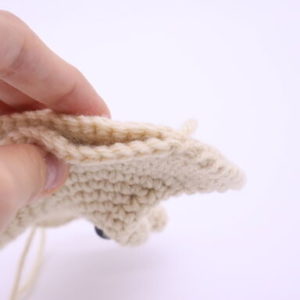
Finish off, leaving a long tail for sewing. Your moon will look very wavy as shown! Now add your safety eyes into the marked areas from Round 4. Let’s continue to close the moon on the next step.
Moon Assembly:
Now that we have the moon made, let’s assemble it together to finish it!
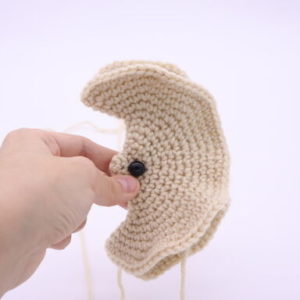
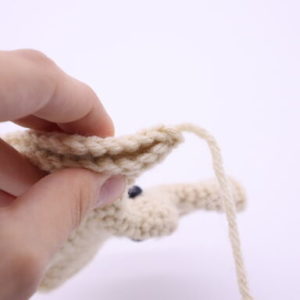
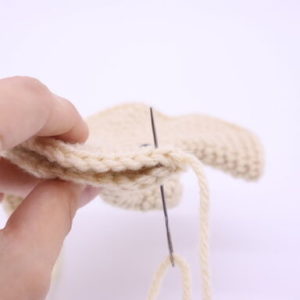
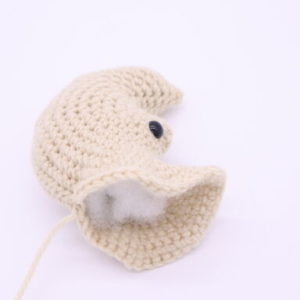
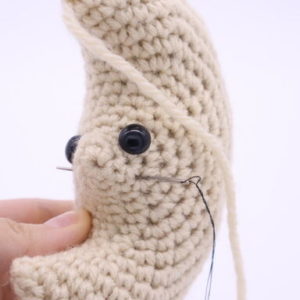
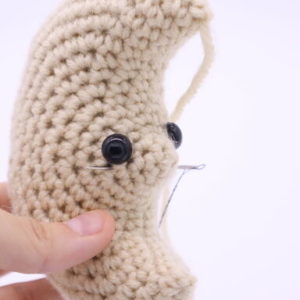
Your moon will look very wavy (Pic 1). Fold the moon in half, make sure the point lands centered with the eyes (Pic 2-3). Make sure your stitches line up together as shown (Pic 4). Take the tail end of yarn and insert it through both lines up stitches (Pic 5-6). Repeat this down the moon, and add stuffing before fully sewing closed (Pic 7). Continue sewing closed and stuffing! Done (Pic 8). Weave in ends.
1. 2.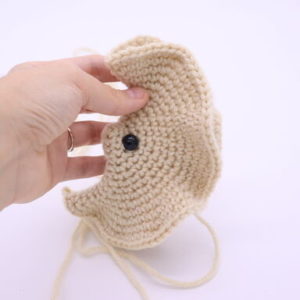
3. 4.
4.
5. 6.
6.
7. 8.
8.
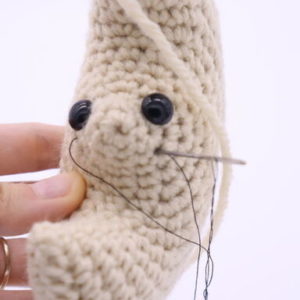
Moon Smile:
In Black Thread
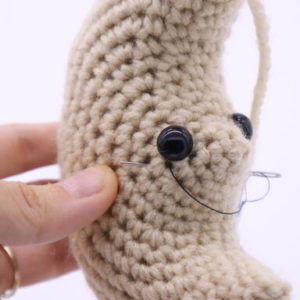
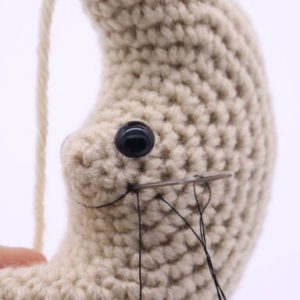
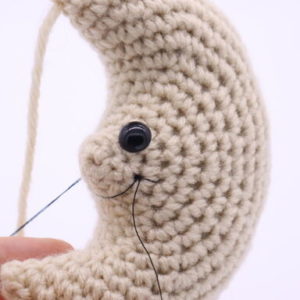
Insert needle with thread into the right side of the moon, about 2 stitches under the right eye (Pic 1). Pull needle out at the left side of the moon, about 2 stitches under the left eye (Pic 2). Reinsert needle into the same spot at the right eye (Pic 3). Pull needle out to the left side of the moon, about 1 stitch left of where the smile starts (Pic 4)
1. 2.
2.
3. 4.
4.
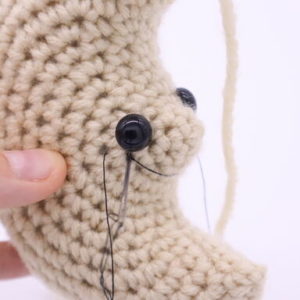
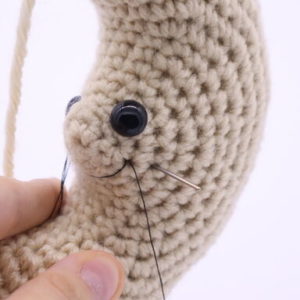
Reinsert needle into the corner of the smile (Pic 5). Pull needle out at the right side, 1 stitch to the right of the corner of the smile (Pic 6). Reinsert needle 1 stitch to the left (Pic 7). Pull needle out anywhere – then weave in ends. Done!
5. 6.
6.
7. 8.
8.
Star:
Start in yellow
Round 1: 5 Sc into a Magic Ring (5)
Round 2: *Inc* all around (10)
Round 3: Repeat *Sc in the next st. Sc 2 times in the next st, Hdc in that same st, Ch 1, Hdc in the same st, Sc 2 times in the same st* 5 times. SlSt to the next st to complete.
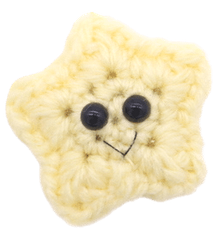
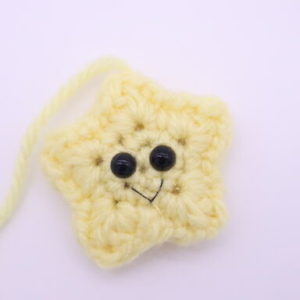
Finish off. Weave in ends on the first star – leave a long tail for sewing on the second star. Add two 6mm safety eyes in between rounds 1 and 2, 1 stitch apart. Make sure the eyes line up with the top tip of the star.
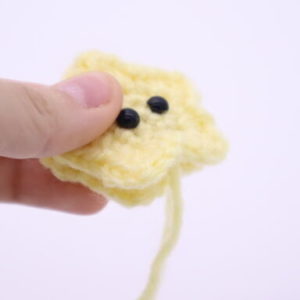
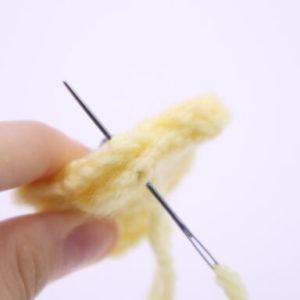
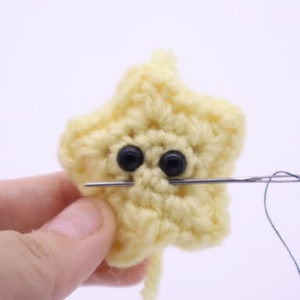
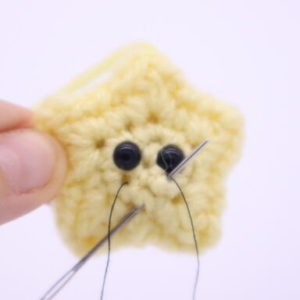
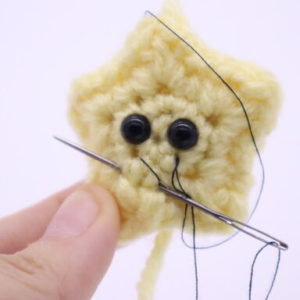
Place both stars together, make sure the eyes are facing out (Pic 1). Take the tail end of yarn and sew both stars together (Pic 2). Leave the tail end of yarn into the very top tip of the star. We will later use this yarn to sew the star to the moon. Now take black embroidery thread and insert it under the right eye of the star, and pull needle out under the left eye as shown (Pic 3). Insert needle where shown, and pull out under the right eye as shown (Pic 4). Now insert needle into that same middle area, and pull out anywhere (Pic 5). Weave in ends and you’re done!
1. 2.
2.
3. 4.
4.
5. 6.
6.
Star Assembly:
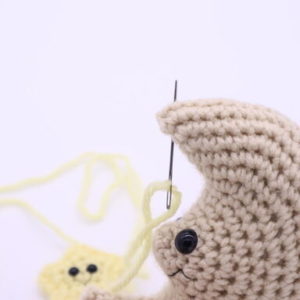
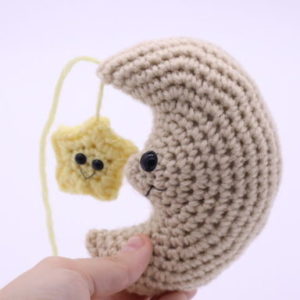
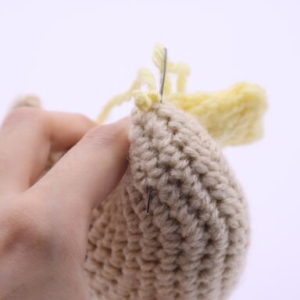
Take the yarn that you left on the star and place it on your needle. Insert the needle into the top tip of the moon as shown (Pic 1). Once you pull the thread through, leave enough length for the star (Pic 2). You can of course adjust this to your liking – and even restart step 1 if you’d like the star to be even closer to the tip of the moon.
1. 2.
2.
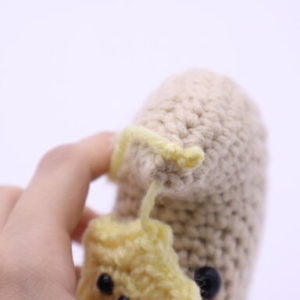
Once you’re happy with the placement, tie a very firm knot a number of times (Pic 3). Bring this knot into the moon by inserting your needle into the same stitch where the knot is, and pull needle through moon (Pic 4). This will bring in the knot. Cut excess yarn. Done!
3. 4.
4.
5.
Done! If you made this moon, I would LOVE to see 🙂 You can post a picture in the comments below this post!


4 Comments
I loved making this little moon and star. The pattern instructions were so clear and the result is really cute.
That is so CUTE, Hannah! I’m so glad you liked the pattern and how it came out. I’m really impressed with your moon 😍
I love this. It’s adorable!
Oh my gosh that is so cute! I love the blue color you used on the moon, it goes perfectly with the star 😍 You did an awesome job!!! Thank you so much for sharing a picture. Your adorable work has totally made my day!