

Purchase the PDF version here
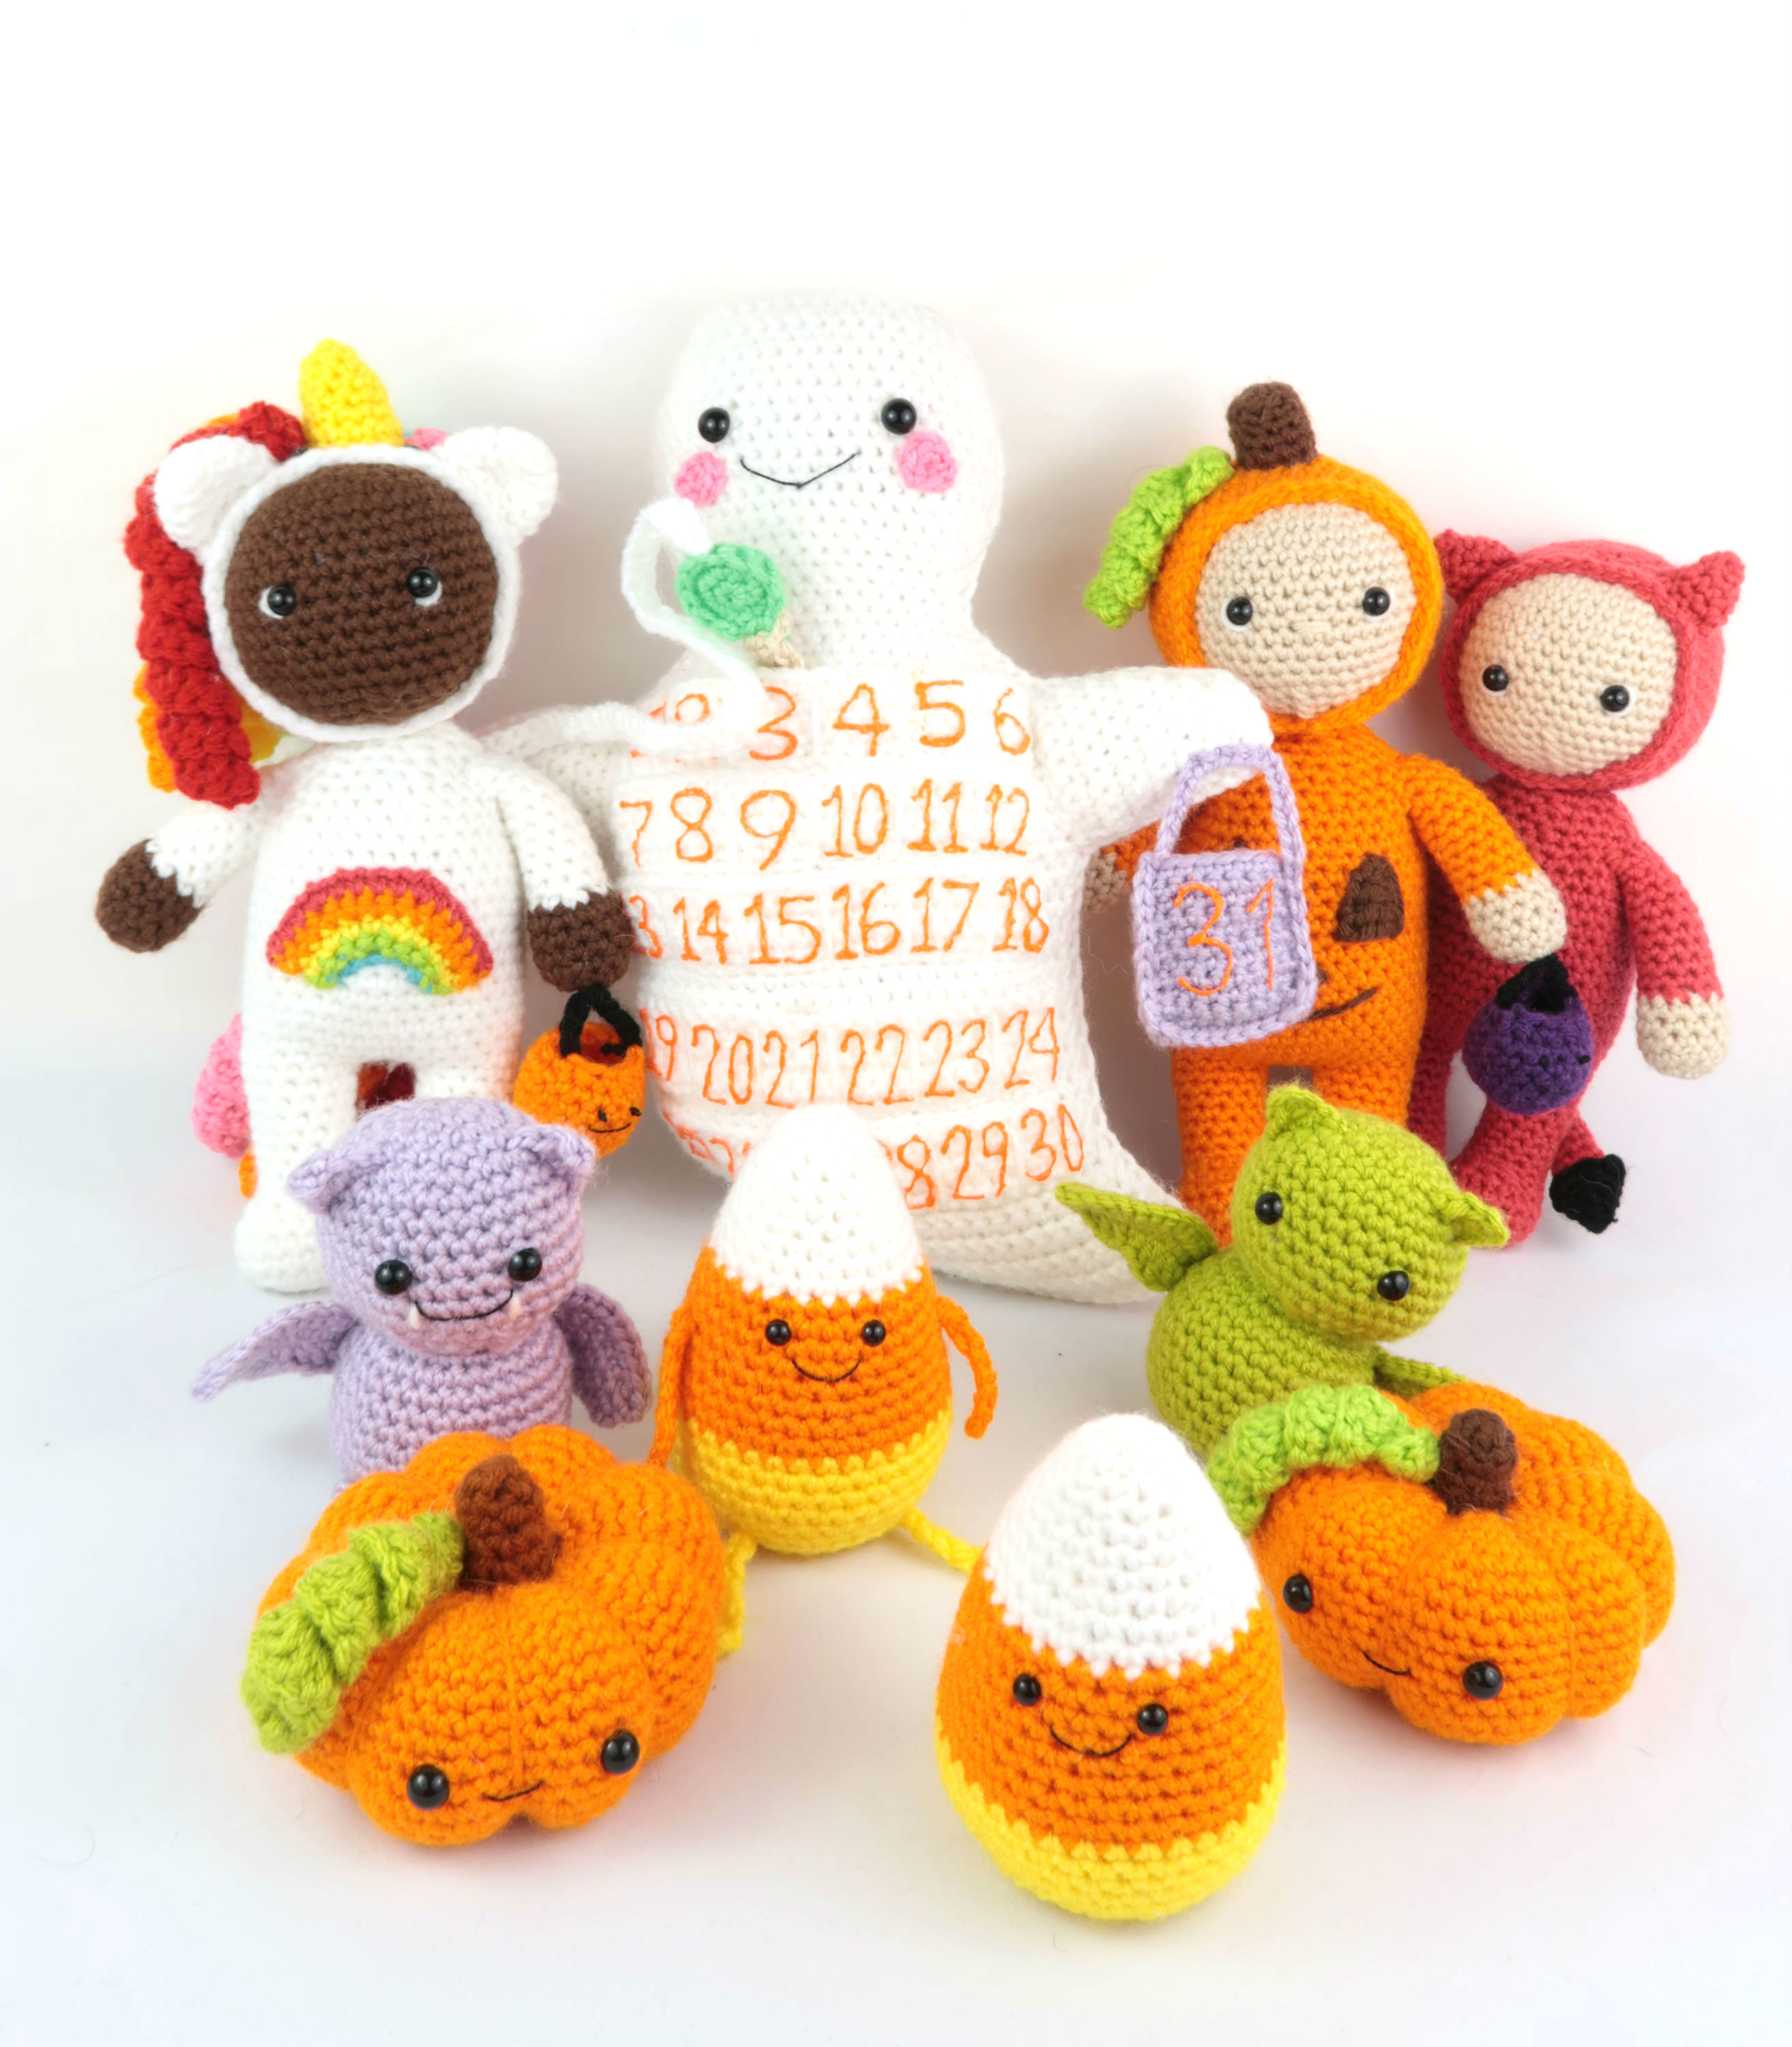
Or buy the Halloween Crochet Pattern PDF Bundle!
Watch the video version when you become a member!

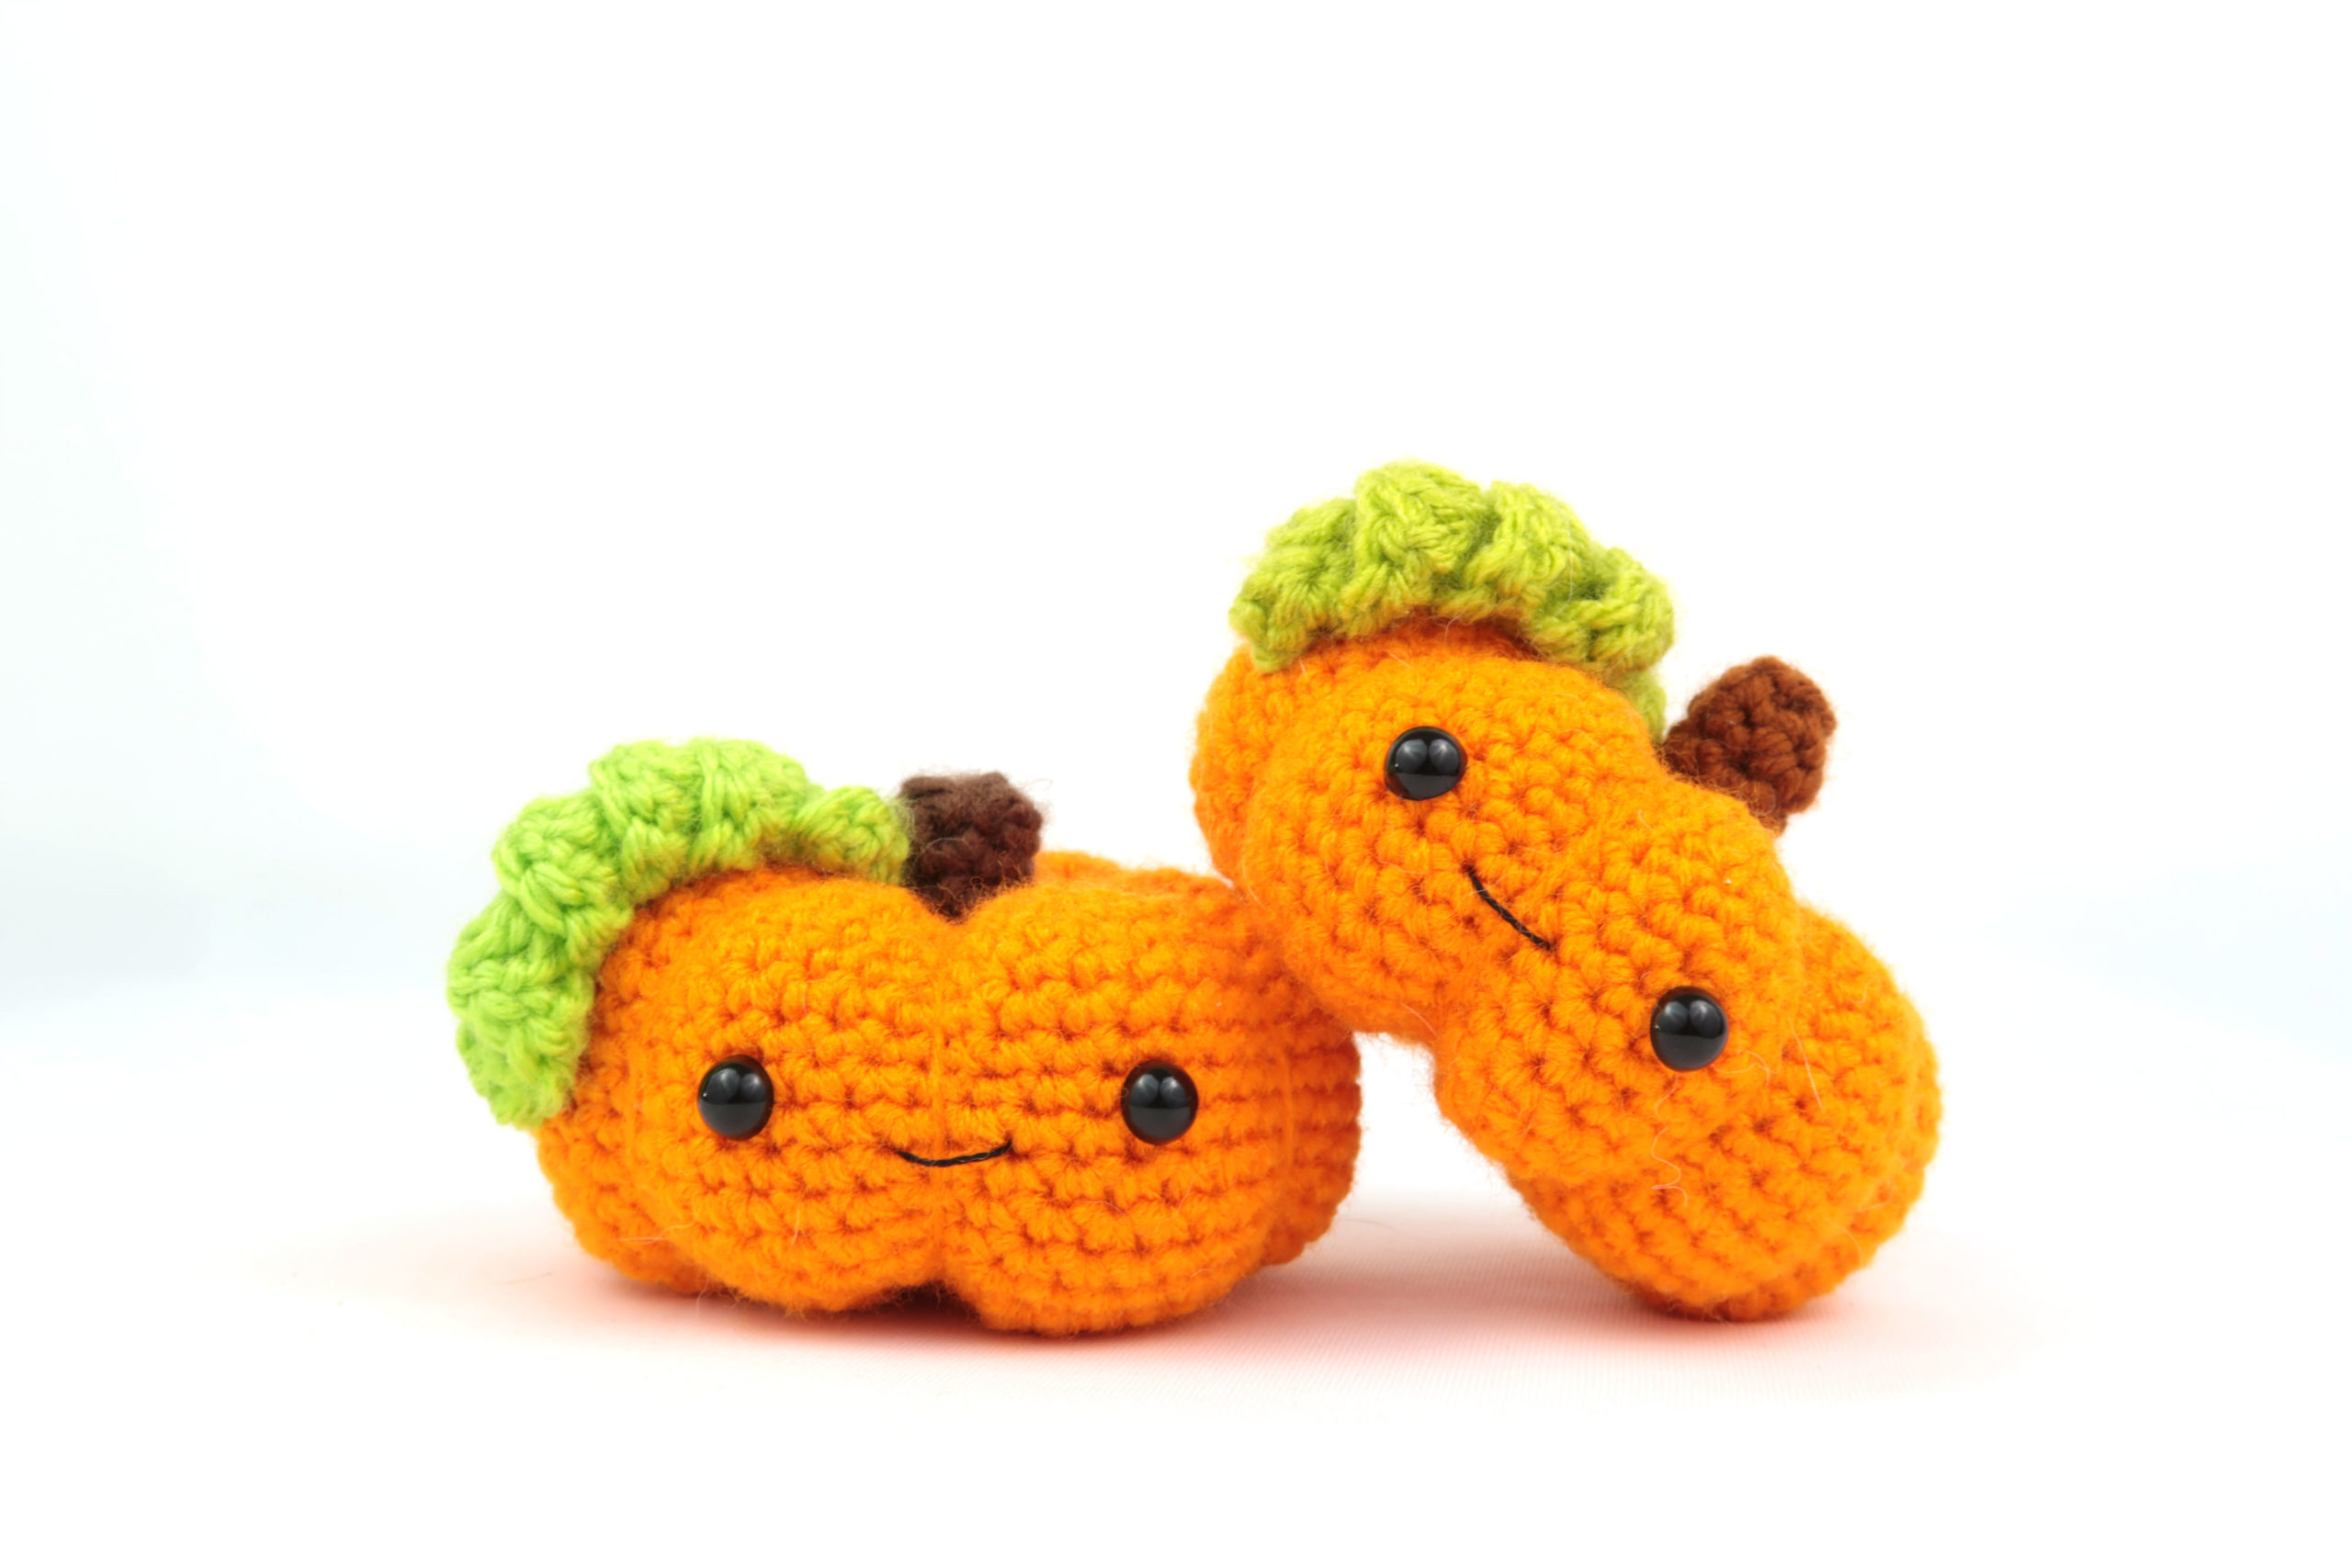
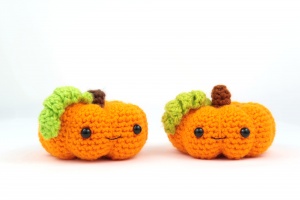
Happy Halloween and fall! These pumpkins are really fun to make and are just too cute. I hope you enjoy the pattern I’ve made.
Supplies:
4mm crochet hook. 4/Medium weight yarn in orange, green, and brown. Black embroidery thread. 8mm safety eyes. Stuffing. Scissors. Tapestry needle.
Additional Information:
Difficulty: Easy
This pumpkin is very easy to make! We make a circle and give it the pumpkin definition by sewing from the middle of the top of the pumpkin to the bottom of the pumpkin, and pull this yarn tight to give it the crease. We then make the stem and leaf, and finally a smile.
(Specific yarn I used is Red Heart’s Pumpkin for orange, Big Twists green and brown)
Pumpkin
In Orange

Round 1: 6 Sc in Magic Ring (6)
Round 2: *Inc* all around (12)
Round 3: *Inc, Sc* all around (18)
Round 4: *Inc, Sc 2* all around (24)
Round 5: *Inc, Sc 3* all around (30)
Round 6: *Inc, Sc 4* all around (36)
Round 7: *Inc, Sc 5* all around (42)
Round 8: *Inc, Sc 6* all around (48)
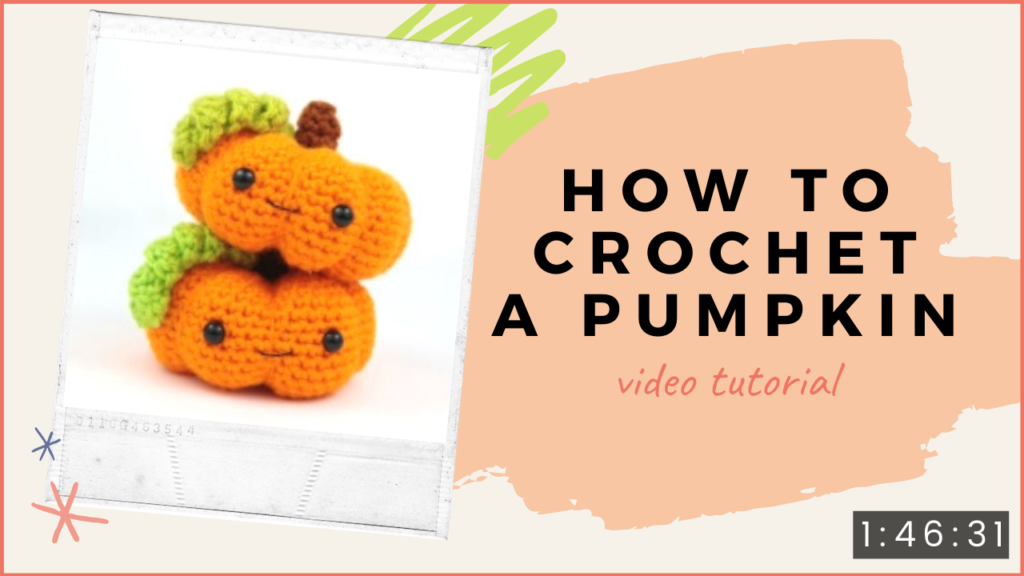
Round 9-12: *Sc* all around (48)
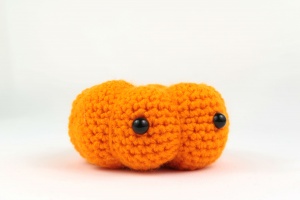
Round 13: Sc in next 20 St. Sc in next St and add different colored St marker. This marks where we will place the eye. Sc in next 6 St. Sc in next st and add different colored St marker. Sc in next 20 St (48)
Round 14-18: *Sc* all around (48)
Round 19: *Dec, Sc 6* all around (42)
Round 20: *Dec, Sc 5* all around (36)
Round 21: *Dec, Sc 4* all around (30)
Round 22: *Dec, Sc 3* all around (24)
Round 23: *Dec, Sc 2* all around (18)
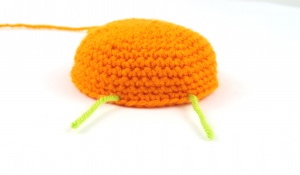
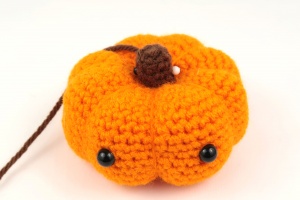
Add safety eyes in the marked areas now. Stuff pumpkin.
Round 24: *Dec, Sc* all around (12)
Round 25: *Dec* all around (6)
Add any additional stuffing. Finish off but leave a very long tail, about 21″ long. Continue to Assembly.
Assembly
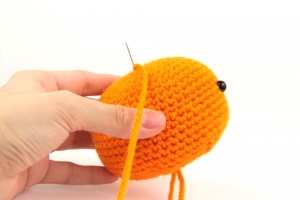
With tail of yarn
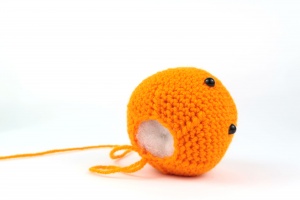
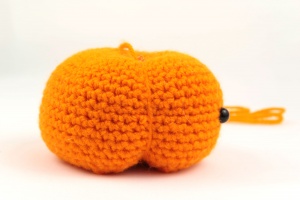
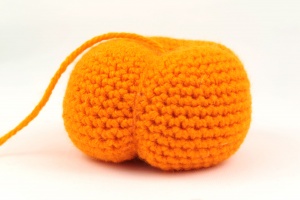
After sewing the bottom of the pumpkin shut, insert the same yarn into the very middle of the bottom of the pumpkin (Pic 1), and pull the yarn to the top middle of the pumpkin (Pic 2). Reinsert into the very bottom middle of the pumpkin (Pic 3), and pull back up to the top middle of the pumpkin (Pic 4). Pull fairly tight. This creates the crease of the pumpkin. (Pic 5). Repeat this process 5-8 times. I did this a total of 8 times. Once finished, make a knot with remaining yarn and weave into the pumpkin.


Stem
In Brown
Round 1: 6 Sc in Magic Ring (6)
Round 2: In BLO, *Sc* all around (6)
Round 3-5: In BOTH Loops, *Sc* all around (6)
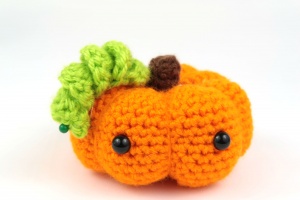
Finish off and stuff. Pin to the top middle of the pumpkin and sew on.
Leaf
In Green
Round 1: Ch 15. Dc in 2nd Ch from hook. Dc 2 more times in same St. Dc 3 times in each of the next 13 Ch.
Finish off and twist to make curly. Pin to the right of the stem and sew on.
Smile Assembly
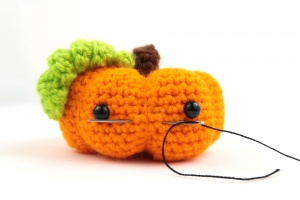
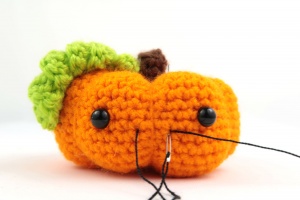
With Black Embroidery Thread
Insert needle slightly below and in the middle of the eyes. Keep 2 stitches between the smile (Pic 1). Pull thread through. Reinsert needle in the original area (Pic 2) and pull. Weave in ends.


7 Comments
I am pretty new to crochet. Your patterns have been some of my favourite to practice with. Thank you for creating them, hosting this site, and making it accessible for us.
Hi Katie! Awww this made me so happy to read. I think it’s so wonderful that you are enjoying my silly patterns, I love that I’m able to create something and share it with the world. Your kindness really means a lot to me, I promise to continue making lots more patterns for your to enjoy! 😍
So adorable! Excited to try it out. 🙂
Awww thank you so much, Joe! It means a lot that you let me know you like this pattern 😍 I hope you have fun with it. Feel free to let me know if you have any questions, I’m always happy to help!
Olive
I love this pattern! Perfect gift for someone who loves fall!
do you think this would be suitable for a keychain? i think i wanna make seasonal keychains, i love adding keychains to my set of keys lol
I’m making your Pumpkin Amigurumi, I’ve made 2 and almost finished with the 3rd one. I’ve made them all in different sizes. Thank you for all the free patterns. I made 5 ghosts last year! I’m going to make some of the Halloween patterns after the pumpkins 🎃 are done:) Have a great week!