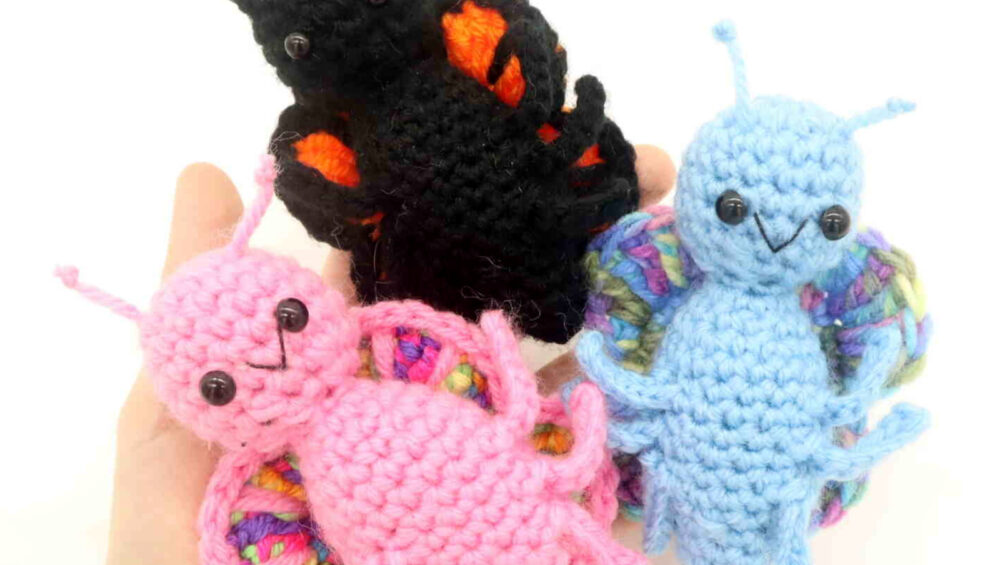
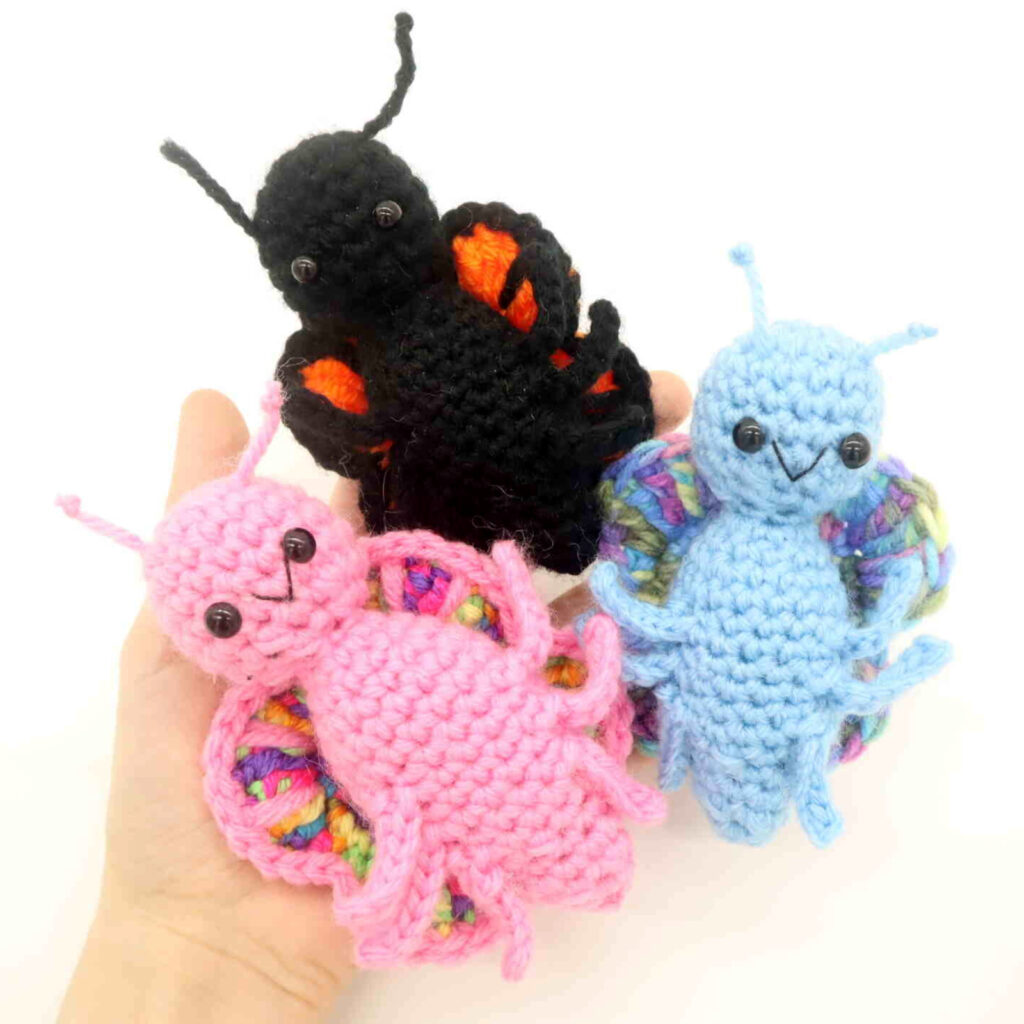
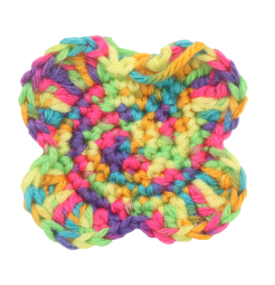
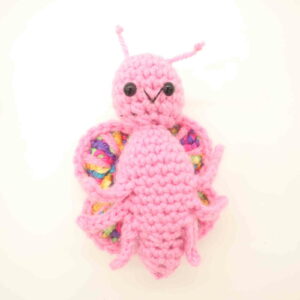
Scrap Butterfly Amigurumi – Free Crochet Pattern
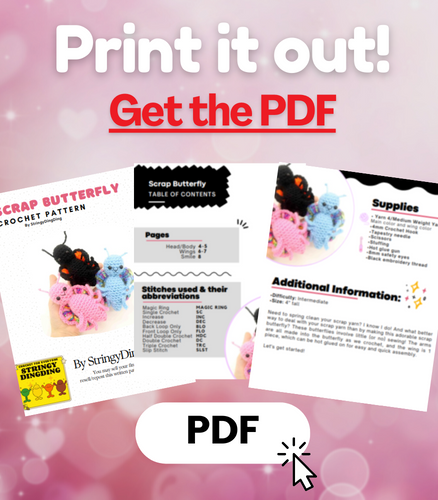
Print this pattern out – purchase the PDF version here!

 Supplies:
• Yarn 4/Medium Weight Yarn in…
Main color and wing color
•4mm Crochet Hook
•Tapestry needle
•Scissors
•Stuffing
•Hot glue gun
•8mm safety eyes
•Black embroidery thread
Additional Information:
•Difficulty: Intermediate
•Size: 4″ tall
Need to spring clean your scrap yarn? I know I do! And what better way to deal with your scrap yarn than by making this adorable scrap butterfly? These butterflies involve little (or no) sewing! The arms are all made into the butterfly as we crochet, and the wing is 1 piece, which can be hot glued on for easy and quick assembly.
Let’s get started!
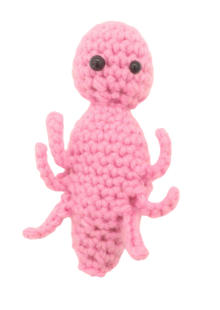
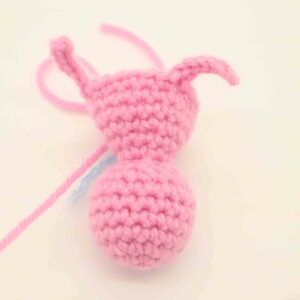
Head/Body:
In Main Color
Round 1: 6 Sc into a Magic Ring (6)
Round 2: *Inc* all around (12)
Round 3: *Inc, Sc in the next st* all around (18)
Round 4-6: *Sc* all around (18)
Now we will mark where to place the safety eyes. Add a different colored eye stitch marker into the 4th and 7th stitch in Round 6. We will later replace these markers with safety eyes.
Round 7: *Sc* all around (18)
Round 8: *Dec, Sc in the next st* all around (12)
Add the safety eyes into the marked area. Stuff the head firmly here
Round 9: *Dec* all around (6)
Round 10: In the FLO (Front Loop Only), *Sc* all around (6)
Round 11: In BOTH loops, *Inc* all around (12)
Round 12: *Sc* all around (12)
Round 13: *Inc, Sc in the next st* all around (18)
Round 14: *Sc* all around (18)
In the following round we will make arms. Follow the instructions below on how to make arms when called for.
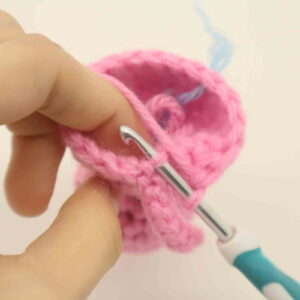
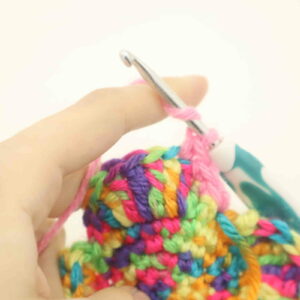
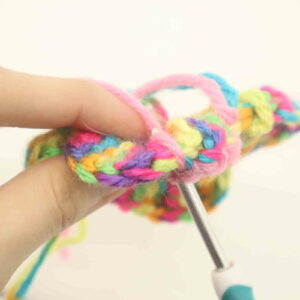
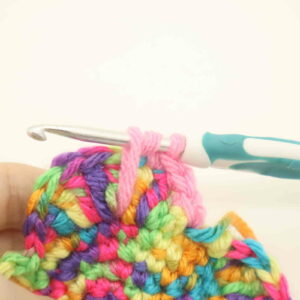
How to make arms:
Working in the FLO (Front Loop Only) of the next st, SlSt into the next st (Pic 1). Ch 7 (Pic 2). SlSt in the 2nd Ch from the hook, SlSt in the next 5 ch (Pic 3). Working in the same FLO st, SlSt in the same st (Pic 4).
1.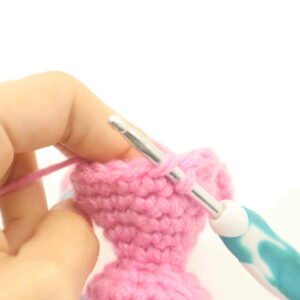 2.
2.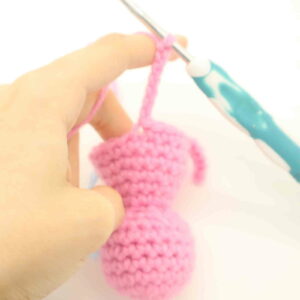 3.
3.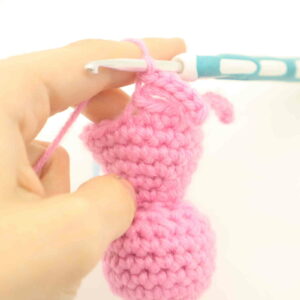 4.
4. 5.
5.
Round 15: Sc in the next 6 st. Make an arm in the next stitch. Sc in the next 5 st. Make an arm in the next stitch. Sc in the next 5 st (Stitch count: 18. Each arm counts as 1 stitch, since we count the back loop left behind the arm as the stitch)
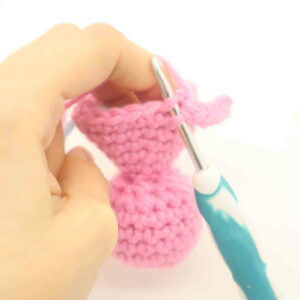
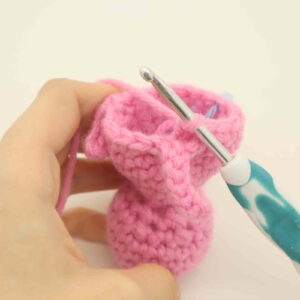
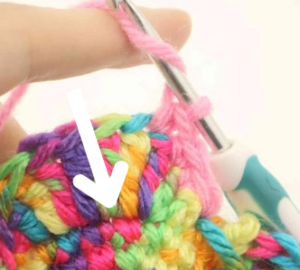
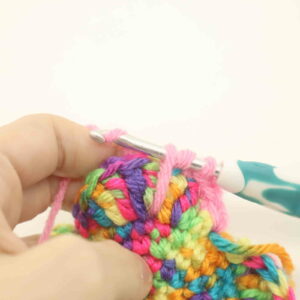
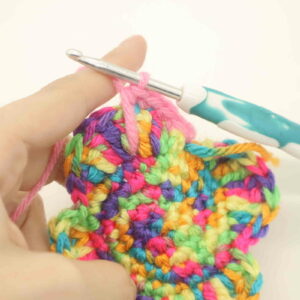
Round 16: Sc in the next 6 st. Bend the arm towards you (Pic 1). You will see the back loop we left behind the arm. Working in that back loop, Sc behind the arm (Pic 2-3). Working in both loops, Sc in the next 5 st (Pic 4). Working behind the arm, Sc in the next st. Working in both loops, Sc in the next 5 st (18)
1. 2.
2. 3.
3. 4.
4.
Round 17: Sc in the next 6 st. Make an arm in the next stitch. Sc in the next 5 st. Make an arm in the next stitch. Sc in the next 5 st (18)
Round 18: Sc in the next 6 st. Sc behind the arm. Sc in the next 5 st. Sc behind the arm. Sc in the next 5 st (18)
Round 19: Sc in the next 7 st. Make an arm in the next st. Sc in the next 4 st. Make an arm in the next st. Sc in the next 5 st (18)
Round 20: Sc in the next 7 st. Sc behind the arm. Sc in the next 4 st. Sc behind the arm. Sc in the 5 st (18)
Round 21: *Dec, Sc in the next st* all around (12)
Round 22-23: *Sc* all around (12)
Round 24: *Dec* all around (6)
Round 25: *Sc* all around (6)
Finish off, leaving a tail for sewing. Sew the remaining stitches together and weave in ends. Once done, cut any excess yarn.
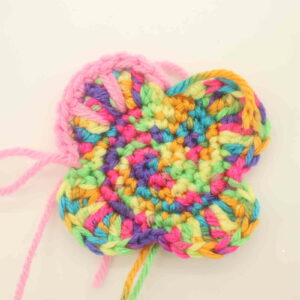
Wings:
In wing color
Round 1: 6 Sc into a Magic Ring (6)
Round 2: *Inc* all around (12)
Round 3: *Inc, Sc in the next st* all around (18)
Round 4: *Inc, Sc in the next 2 st* all around (24)
We will make the wings in the next round. Each new line is the next new side of the wing. Stitches written without a comma separating them means the stitches are to be placed in the same stitch.
Round 5: Dc Trc Trc into the same stitch. Trc 2 times into the next st. Trc 2 times into the next st. Dc in the next st, Hdc in the next st, SlSt in the next 2 st.
•Dc Trc Trc into the same st. Trc 2 times into the next st. Trc Dc into the next st. Dc into the next st, Hdc into the next st, SlSt into the next st.
•Hdc into the next st, Dc into the next st. Dc Trc into the next st. Trc 2 times into the next st. Trc Trc Dc into the next st. SlSt into the next st.
•Hdc into the next st, Dc into the next st, Trc 2 times into the next st, Trc 2 times into the next st, Trc Trc Dc into the next st. SlSt into the same st.
If desired, you can add a trim around the wings. Follow the next page for instructions on how to do this. If you would like to keep the wings as is, finish off and leave a tail of yarn. Weave in ends. Hot glue the wings to the butterfly, making sure the right side of the wings face the front of the butterfly.
Wing trim:
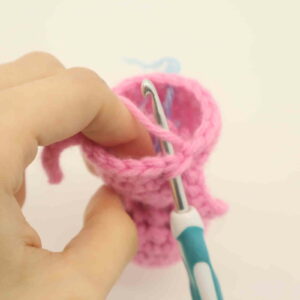
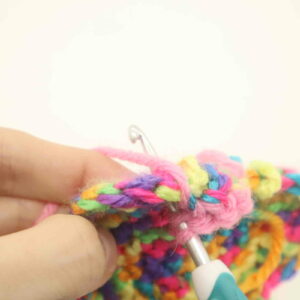
Sc around the wings. When you reach the middle of each wing, we will do a long single crochet. To do this, yarn over (Pic 1), insert your hook into the previous round’s next stitch (Pic 2-3)
1. 2.
2. 3.
3.
Yarn over again (Pic 4) and pull the yarn through (Pic 5).
4. 5.
5.
Yarn over and pull through all 3 loops on your hook (Pic 6-7). Sc in the next 2 st, then make a long Sc into the next st (Pic 8). Continue making regular single crochets until you meet the middle of the wings, making the long single crochets. Once done, finish off and weave in ends.
6. 7.
7. 8.
8.
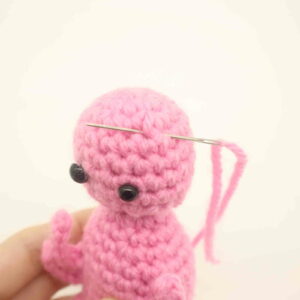
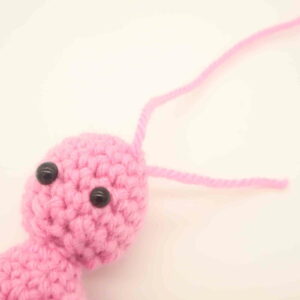
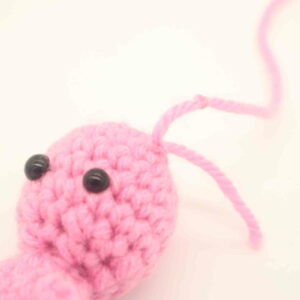
Antennas:
In Body Color
Cut a long piece of yarn. Place the yarn on a needle and insert the needle as shown (Pic 1). Tie a knot with the yarn on the base of the toy’s head (Pic 2-3). Now tie a knot for the antenna. Once done, cut the excess yarn above the knots. Repeat this for the other antenna.
1. 2.
2. 3.
3. 4.
4.
How to make a smile:
In black embroidery thread
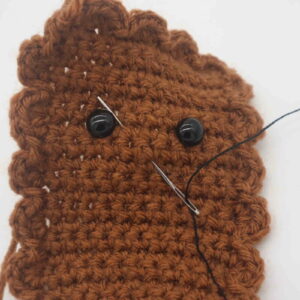
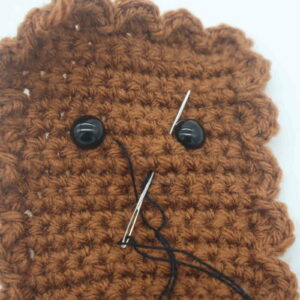
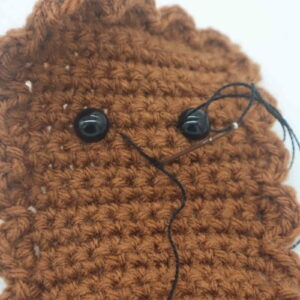
Insert needle with thread into the middle mouth area of the toy, and pull the needle out next to the toy’s left eye as shown (Pic 1). Reinsert needle into the middle mouth area (Pic 2) and pull needle out next to the right eye (Pic 2). Reinsert needle into the middle mouth area and pull needle out a few stitches over. Tie the ends of thread into firm knots and bring them inside the toy to hide. This will secure the smile. Done!
1. 2.
2. 3.
3.
4.
If you made a butterfly, I would LOVE to see! You can show me by posting a picture in the comments section underneath this post.


