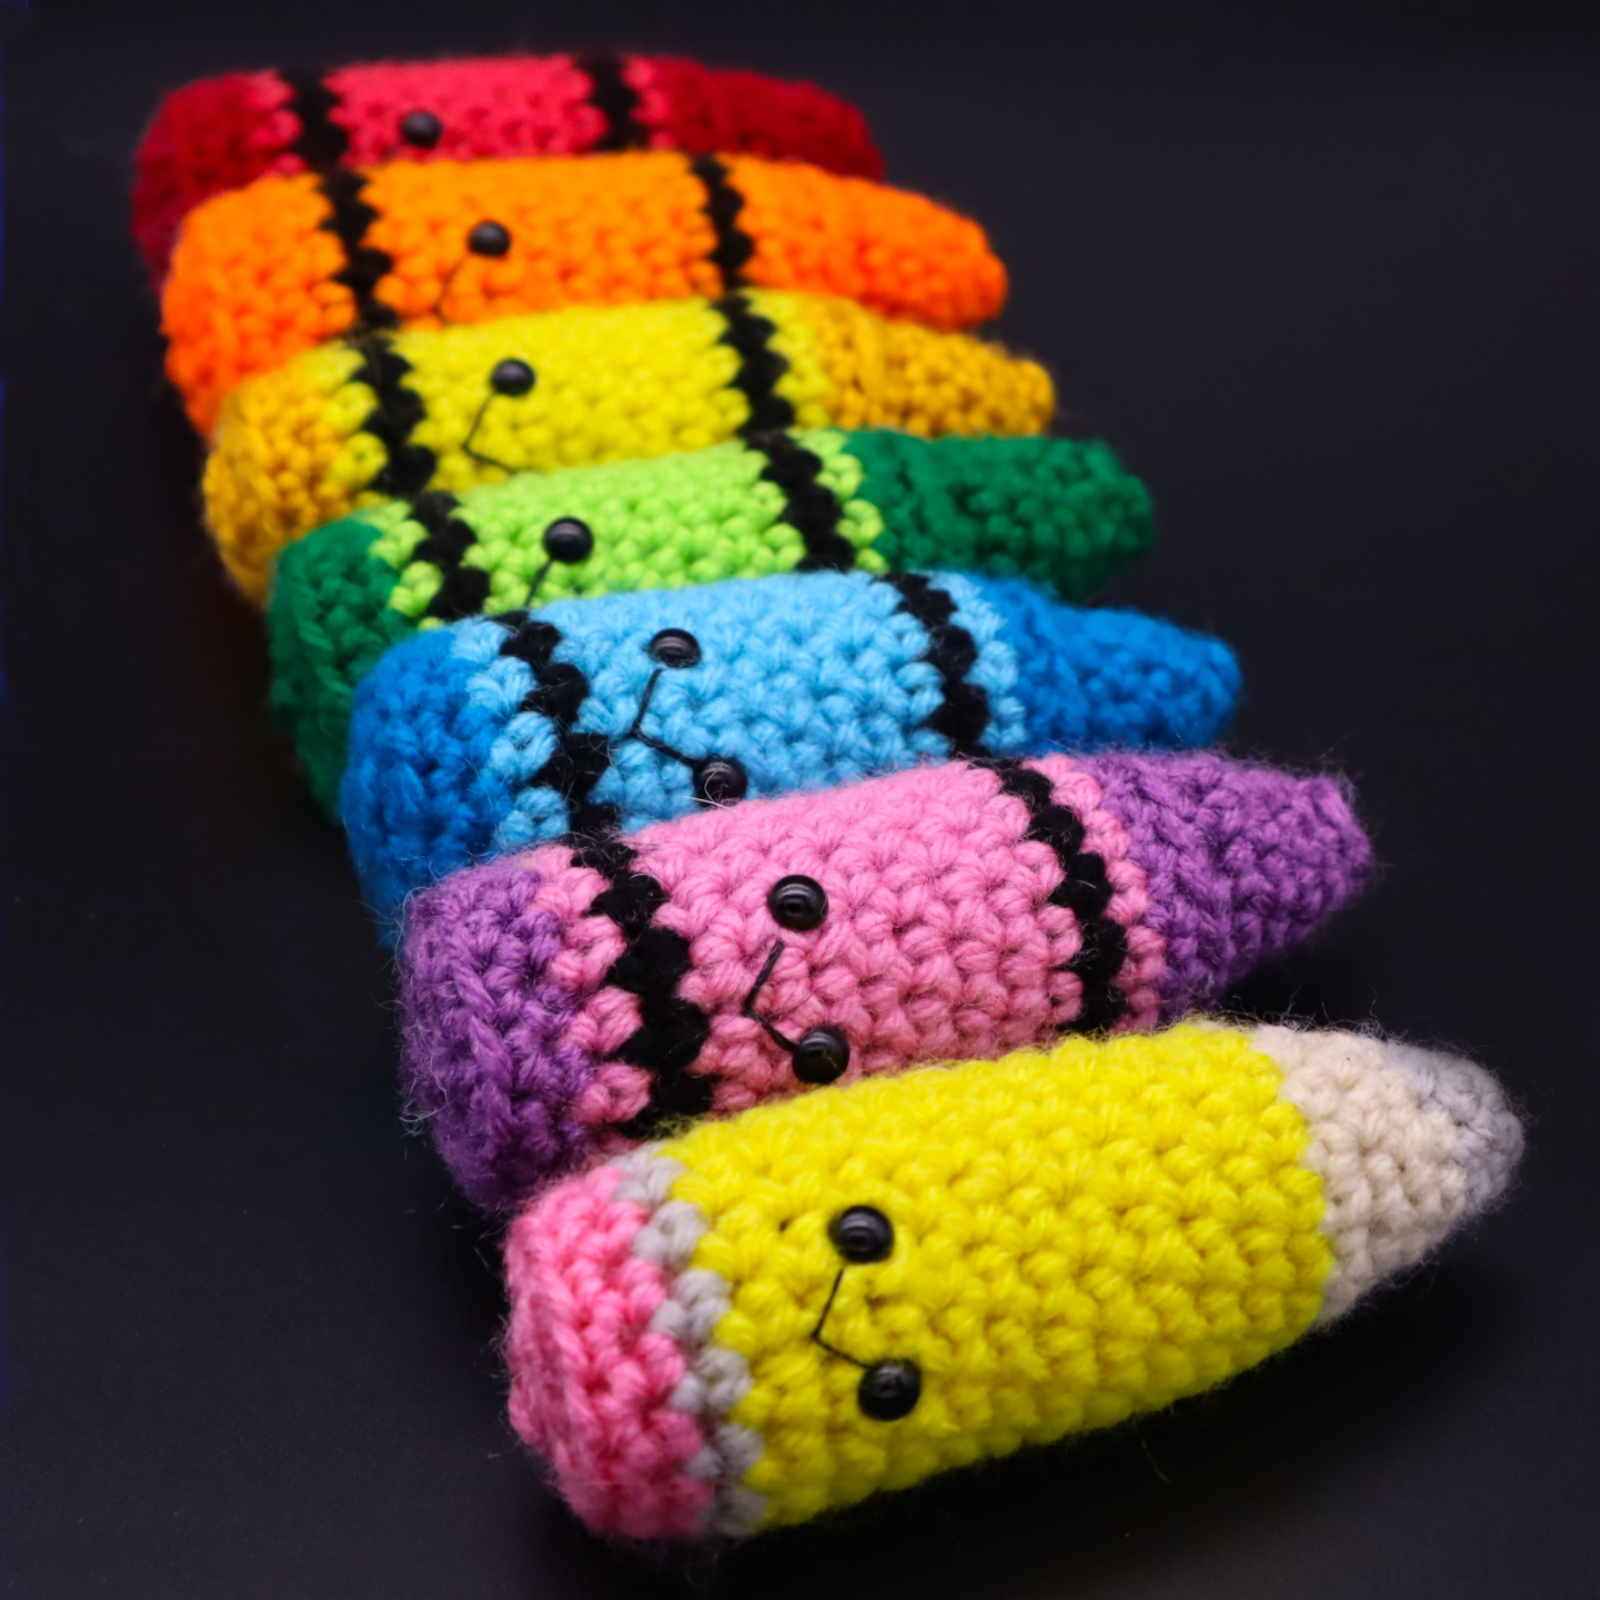
Scraptacular Crayons & Pencil Amigurumi – Free Crochet Pattern
Hi everyone! Well, it’s officially that time of year where kids and teachers start thinking about school. First of all, I’m really sorry for putting any school go-ers through the disappointment of being reminded of school by my pattern. Ugh… I used to haaate when school supplies started coming out in the stores because it meant school was right around the corner. BUT for those who love school, this pattern is for you! LOL
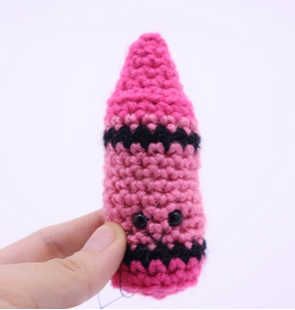
Seriously though, I actually think this is a really fun pattern to make for a younger kid or for a teacher. These are small enough to be a keychain for a backpack (or a regular keychain if you use smaller thread and hook). I also had some suggestions that these would make great earrings (again if using smaller supplies), or a great chap stick holder! Enough rambling, let’s get started!
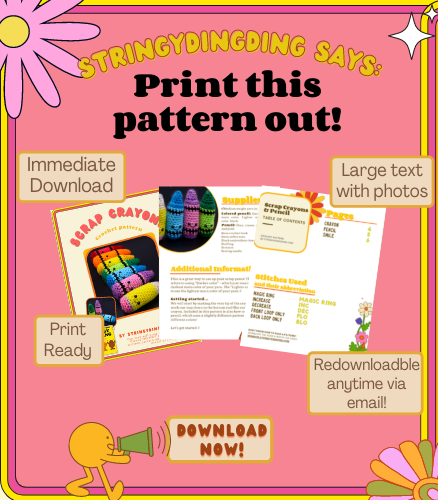
Print the pattern out – purchase the PDF here!

 Supplies:
4/Medium weight yarn in:
Colored pencil: Darker main color, Lighter main color, black.
Pencil: Grey, cream, yellow, and pink
4mm crochet hook
6mm safety eyes
Black embroidery thread
Stuffing
Scissors
Sewing needle
Additional Information:
This is a great way to use up your scrap yarns! The pattern refers to using “Darker color” – which just means to use the darkest main color of your yarn. The “Lighter color” means to use the lightest main color of your yarn 🙂
Getting started…
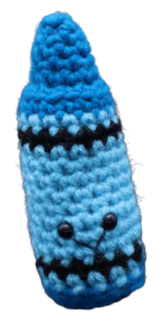
We will start by making the very tip of the crayon, and work our way down to the bottom end (flat end) of the crayon. Included in this pattern is also how to make a scrap pencil, which uses a slightly different pattern and different colors! Let’s get started 🙂
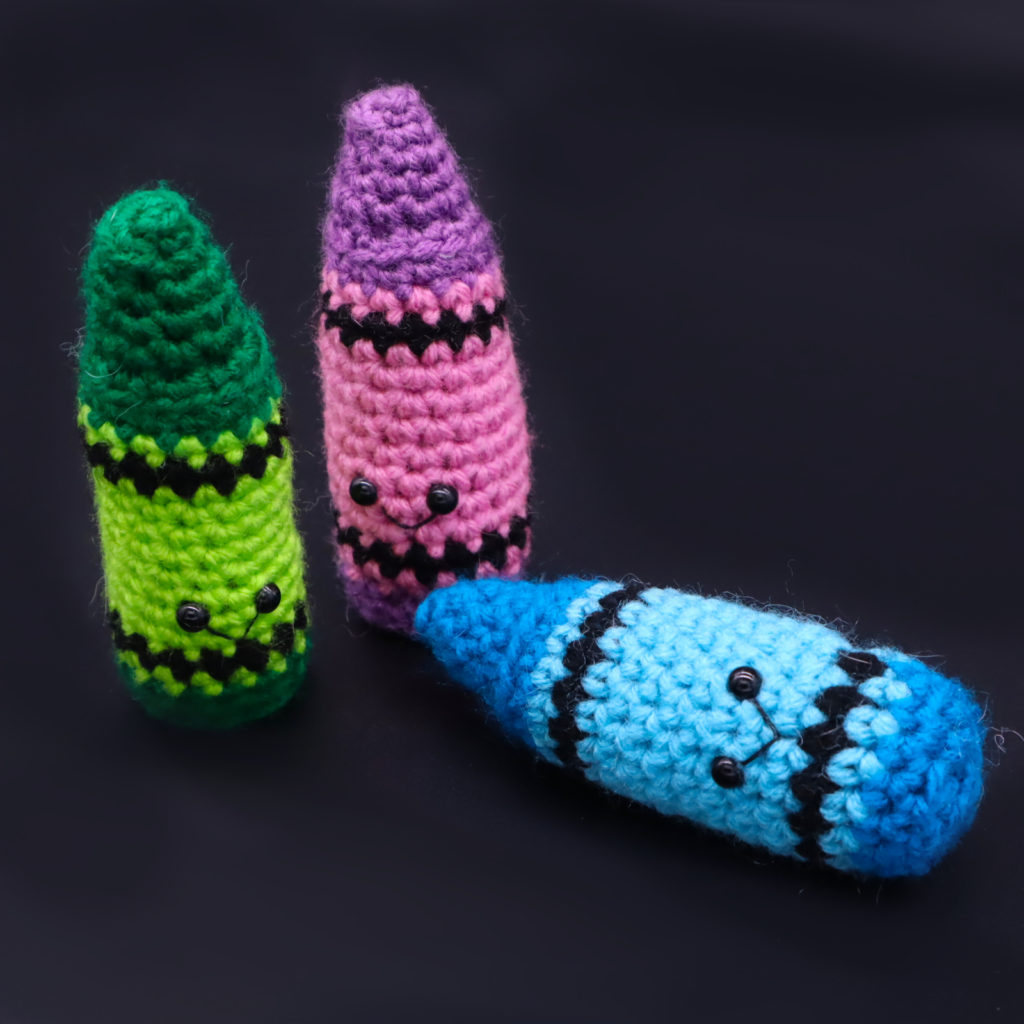
Scrap Crayons:
Start in darker main color
We’ll be starting at the very tip of the crayon, and work our way down!
Round 1: 6 Sc into a Magic Ring (6)
Round 2: In the BLO (Back Loop Only), *Sc* all around (6)
Round 3: In BOTH Loops *Inc, Sc in the next 2 st* all around (8)
Round 4: *Sc* all around (8)
Round 5: *Inc, Sc in the next 3 st* all around (10)
Round 6: *Sc* all around (10)
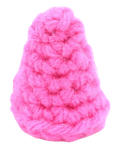
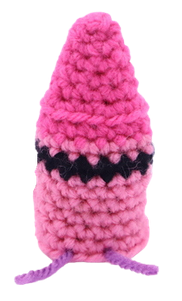
Round 6 will look like photo below
Round 7: In the FLO *Inc, Sc in the next st* all around (15)
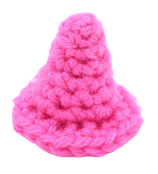
Round 7 will look like photo below
Round 8: In the BLO *Sc* all around (15)
Round 9: Change to your lighter main color now. In BOTH Loops *Sc* all around (15)
Round 10: Change to black and *Sc* all around (15)
Round 11-16: Change to lighter main color. *Sc* all around (15)
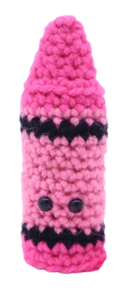
Now we will add 2 eye stitch markers into Round 16. These eye markers will mark where to place the eyes later. Add a differently colored stitch marker in the 9th and 11th stitch. Round 16 will look like photo below
Round 17-18: *Sc* all around (15)
Round 19: Change to black and *Sc* all around (15)
Round 20: Change to your lighter main color. *Sc* all around (15)
Round 21-22: Change to your darker main color. *Sc* all around (15)
Add safety eyes in the marked areas from Round 16 now. Add stuffing into the crayon now – be careful to not overstuff the very tip of the crayon.
Round 23: In the BLO *Dec, Sc in the next st* all around (10)
Round 24: In BOTH Loops *Dec* all around (5)
Finish off, leaving a tail for sewing. Sew the remaining stitches closed and weave in ends.
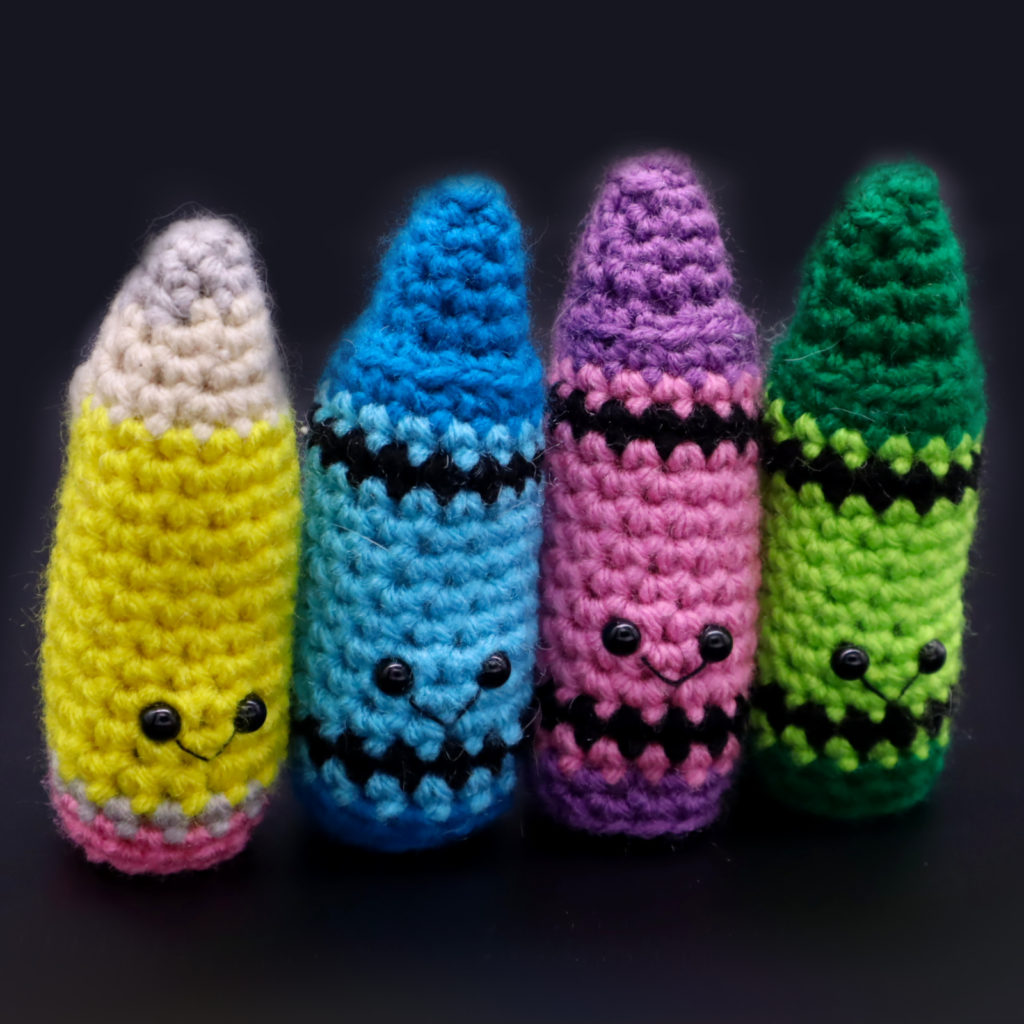
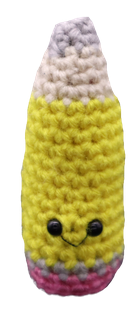
Scrap Pencil:
Start in grey
We’ll be starting at the very tip of the pencil, and work our way down!
Round 1: 6 Sc into a Magic Ring (6)
Round 2: *Sc* all around
Round 3: *Inc, Sc in the next 2 st* all around (8)
Round 4: *Sc* all around (8)
Round 5: Change to cream color. *Inc, Sc in the next 3 st* all around (10)
Round 6: *Sc* all around (10)
Round 6 will look like photo below
Round 7: *Inc, Sc in the next st* all around (15)
Round 8: *Sc* all around (15)
Round 9-16: Change to yellow. *Sc* all around (15)
Now we will add 2 eye stitch markers into Round 16. These eye markers will mark where to place the eyes later. Add a differently colored stitch marker in the 9th and 11th stitch. Round 16 will look like photo below
Round 17-18: *Sc* all around (15)
Round 19: Change to grey and *Sc* all around (15)
Round 20-22: Change to pink and *Sc* all around (15)
Add safety eyes in the marked areas from Round 16 now. Add stuffing into the pencil now – be careful to not overstuff the very tip of the pencil.
Round 23: In the BLO *Dec, Sc in the next st* all around (10)
Round 24: In BOTH Loops *Dec* all around (5)
Finish off, leaving a tail for sewing. Sew the remaining stitches closed and weave in ends.
Smile:
In Black Embroidery Thread
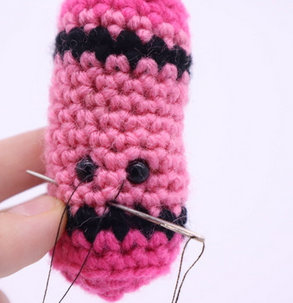
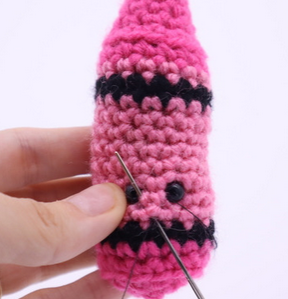
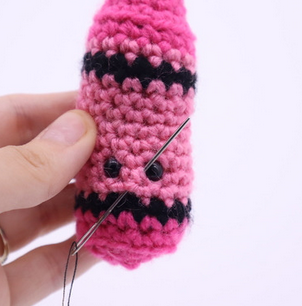
Insert needle with thread into the middle area, below the two eyes and show (Pic 1). Then, pull needle out at next to the right eye as shown (Pic 1). Reinsert needle into the same middle area (Pic 2), and pull needle out next to the left eye (Pic 2). Reinsert needle back into the middle area and pull needle out anywhere (Pic 3). Tie ends of thread into firm knots, and bring into the crayon to hide. Cut excess yarn.
1. 2.
2.
3. 4.
4.
Done! If you made this crayon or pencil, I would LOVE to see. Post a picture in the comments!


4 Comments
Thank you so much for sharing your patterns
Your crayon came out amazing, I love it! The colors you picked go together so nicely, too 😍 Thank you so much for sharing a picture, you’re very talented!
I used a few different types of thread, and then made my crayons a box! so cute, thanks so much for the pattern!!
Your patterns are so easy to follow! I’ve made quite a few things now. Planning on making a bunch of crayon keyrings for my class 🙂