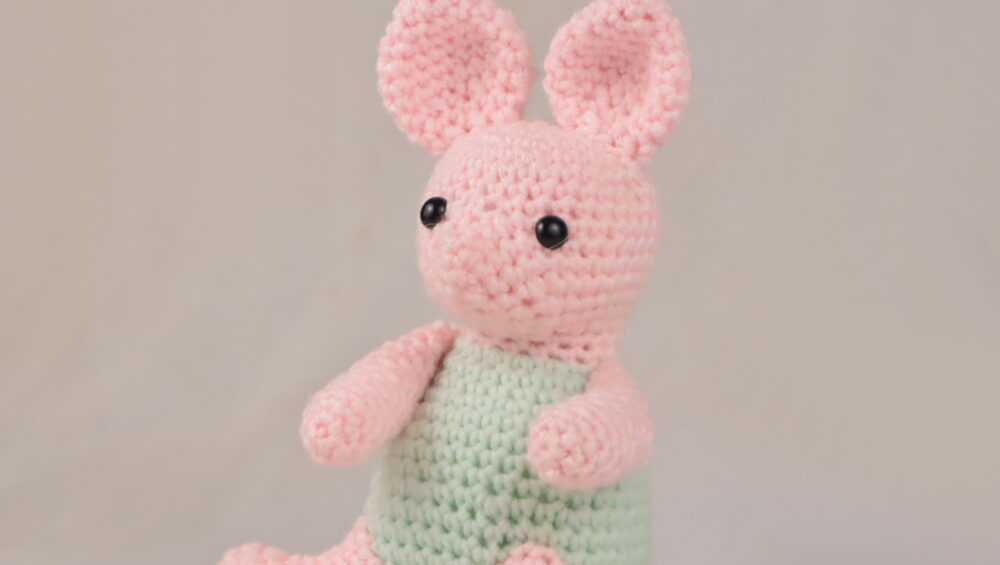
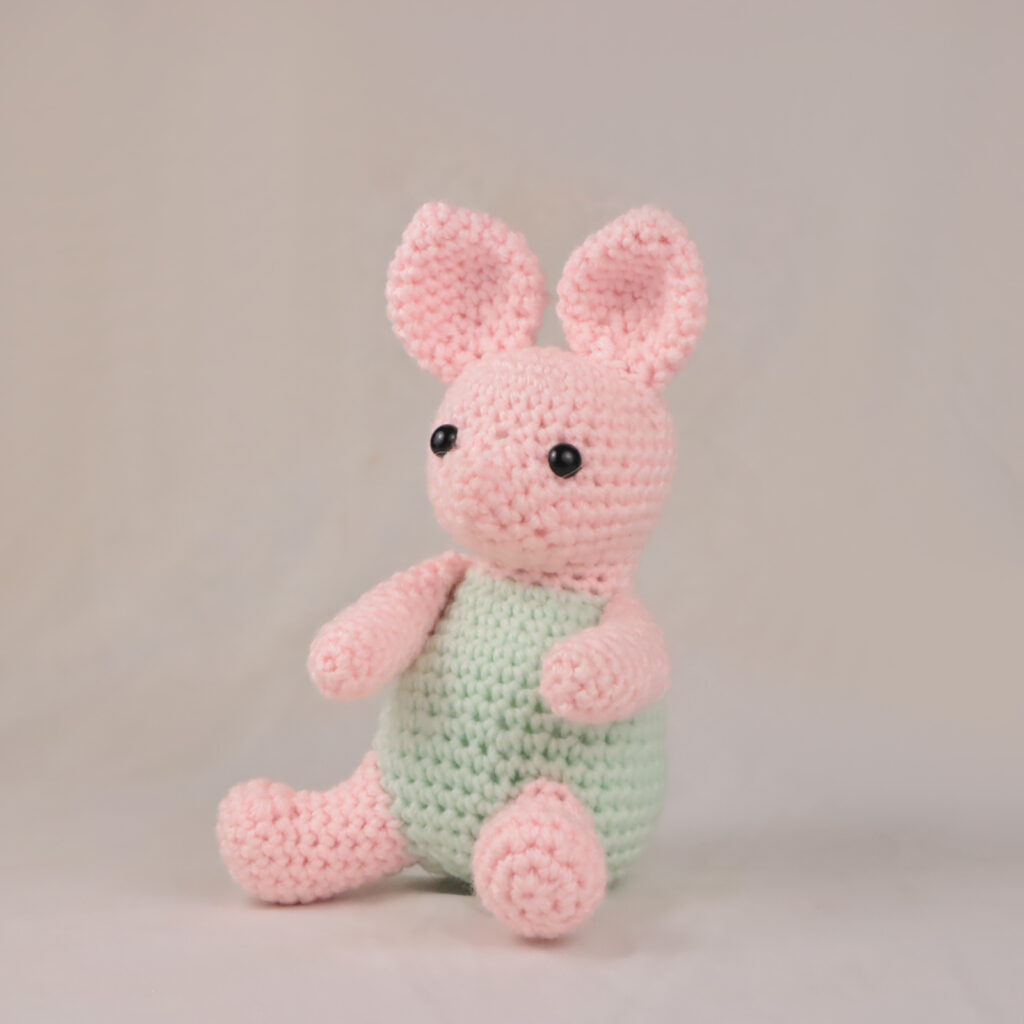
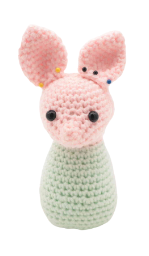
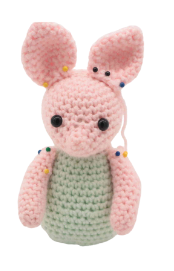
Classic Piglet Amigurumi – Free Crochet Pattern
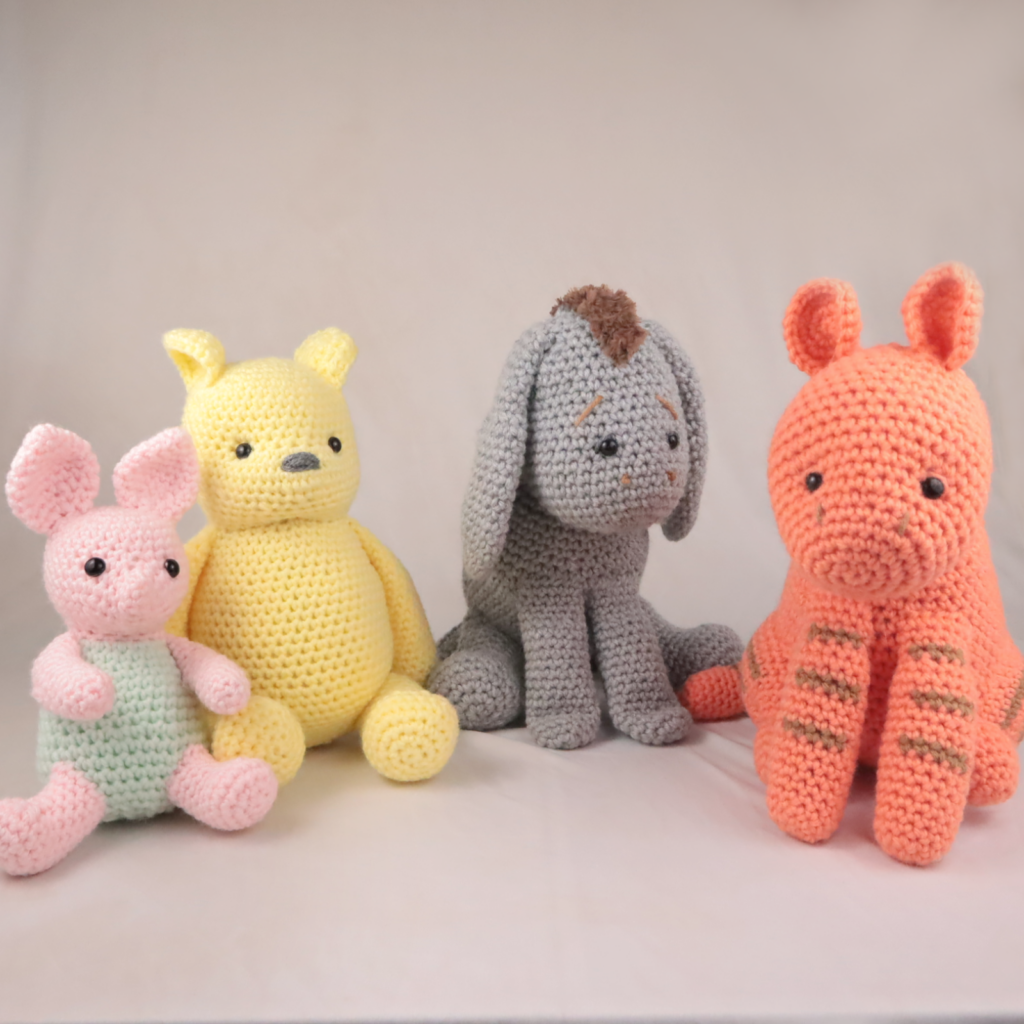
This is only 1 of 4 patterns in this free Winnie The Pooh bundle! Click here for the other patterns!

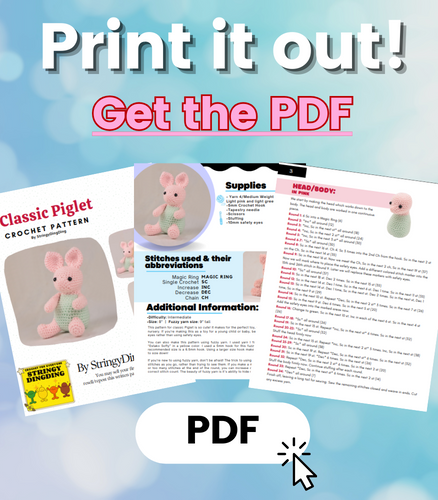
Print this pattern out – purchase the PDF version here!
 Supplies:
• Yarn 4/Medium Weight Yarn in…
Light pink and light green
•5mm Crochet Hook
•Tapestry needle
•Scissors
•Stuffing
•10mm safety eyes
Additional Information:
•Difficulty: Intermediate
•Size: 8″ | Fuzzy yarn size: 9″ tall
This pattern for classic Piglet is so cute! It makes for the perfect toy, especially for a baby’s nursery. If you’re making this as a toy for a young child or baby, be sure to embroider the eyes rather than using safety eyes.
You can also make this pattern using fuzzy yarn. I used discontinued yarn by Red Heart called Hygge. I used this type of yarn in pink and in green. I used a 5mm hook for this fuzzy yarn, even though the recommended size is a larger hook. Using a larger size hook makes the toy too floppy, try to size down!
If you’re new to using fuzzy yarn, don’t be afraid! The trick to using fuzzy yarn is to count the stitches as you go, rather than trying to see them. If you make a mistake and have too little or too many stitches at the end of the round, you can increase or skip stitches to get the correct stitch count. The beauty of fuzzy yarn is it’s ability to hide mistakes!
Head/Body:
In Pink
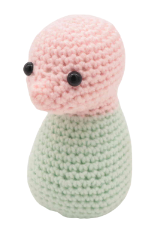
We start by making the head which works down to the body. The head and body are worked in one continuous piece.
Round 1: 6 Sc into a Magic Ring (6)
Round 2: *Inc* all around (12)
Round 3: *Inc, Sc in the next st* all around (18)
Round 4: *Inc, Sc in the next 2 st* all around (24)
Round 5: *Inc, Sc in the next 3 st* all around (30)
Round 6-7: *Sc* all around (30)
Round 8: Sc in the next 16 st. Ch 4. Sc 3 times into the 2nd Ch from the hook. Sc in the next 2 st on the Ch. Sc in the next 14 st (35)
Round 9: Sc in the next 16 st. Now we meet the Ch, Sc in the next 2 ch, Sc in the next 19 st (37)
Now we will mark where to place the safety eyes. Add a different colored stitch marker into the 15th and 26th stitch in Round 9. Later we will replace these markers with safety eyes.
Round 10: *Sc* all around (37)
Round 11: Sc in the next 18 st. Dec 2 times. Sc in the next 15 st (35)
Round 12: Sc in the next 14 st. Dec 1 time. Sc in the next 6 st. Dec 1 time. Sc in the next 11 st (33)
Round 13: Sc in the next 14 st. Dec 1 time, Sc in the next st. Dec 2 times. Sc in the next st, Dec 1 time, Sc in the next 9 st (29)
Round 14: Sc in the next 10 st. Repeat *Dec, Sc in the next 2 st* 3 times. Sc in the next 7 st (26)
Round 15: Sc in the next 9 st. Dec 6 times. Sc in the next 5 st (20)
Add the safety eyes into the marked areas now.
Round 16: Change to green. Sc in the next 10 st. Inc in each of the next 6 st. Sc in the next 4 st (26)
Round 17-18: *Sc* all around (26)
Round 19: Sc in the next 13 st. Repeat *Inc, Sc in the next st* 6 times. Sc in the next st (32)
Round 20-23: *Sc* all around (32)
Stuff the head firmly now
Round 24: Sc in the next 15 st. Repeat *Inc, Sc in the next 2 st* 5 times. Inc, Sc in the next st (38)
Round 25-29: *Sc* all around (38)
Round 30: Sc in the next 19 st. Repeat *Dec, Sc in the next st* 6 times. Sc in the next st (32)
Round 31: Sc in the next 19 st. *Dec* 6 times. Sc in the next st (26)
Round 32: Repeat *Dec, Sc in the next 2 st* 6 times. Sc in the next 2 st (20)
Stuff the body firmly now. Continue stuffing after each round.
Round 33: Repeat *Dec, Sc in the next st* 6 times. Sc in the next 2 st (14)
Round 34: *Dec* all around (7)
Finish off, leaving a long tail for sewing. Sew the remaining stitches closed and weave in ends. Cut any excess yarn.
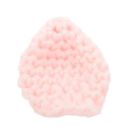
Ears: (Make 2)
In Pink
Round 1: 6 Sc into a Magic Ring (6)
Round 2: *Sc* all around (6)
Round 3: *Inc* all around (12)
Round 4: *Sc* all around (12)
Round 5: *Inc, Sc in the next st* all around (18)
Round 6-8: *Sc* all around (18)
Round 9: *Dec, Sc in the next st* all around (12)
Round 10: *Sc* all around (12)
Round 11: *Dec* all around (6)
Finish off, leaving a long tail for sewing. Pin the ears on as shown and sew on. Once done, weave in ends and cut any excess yarn.
Arms: (Make 2)
In Pink
Round 1: 6 Sc into a Magic Ring (6)
Round 2: *Inc, Sc in the next st* all around (9)
Round 3-8: *Sc* all around (9)
Round 9: Sc in the next 2 st, Hdc in the next st, Dc in each of the next 3 st, Hdc in the next st, Sc in the next 2 st (9)
Round 10-15: *Sc* all around (9)
Finish off now, leaving a long tail for sewing. Stuff the tip of the arm firmly, but stuff the rest of the arm lightly, and leave no stuffing at the last few rounds of the arm. This makes the arm sit more naturally to the body. Pin the arms on as shown and sew on. Once done, weave in ends and cut any excess yarn.
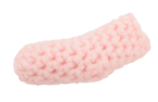
Feet: (Make 2)
In Pink
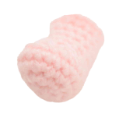
Round 1: 6 Sc into a Magic Ring (6)
Round 2: *Inc* all around (12)
Round 3: *Inc, Sc in the next st* all around (18)
Round 4: *Sc* all around (18)
Round 5: Sc in the next 7 st. Repeat *Dec, Sc in the next st* 3 times. Sc in the next 2 st (15)
Round 6: Sc in the next 7 st. *Dec* 3 times. Sc in the next 2 st (12)
Round 7: Sc in the next 7 st. Working in the FLO (Front Loop Only), Sc in the next 3 st. Working in BOTH stitches, Sc in the next 2 st (12)
Round 8-11: *Sc* all around (12)
Finish off, leaving a long tail for sewing. Stuff the feet firmly and pin on as shown. Sew on. Once done, weave in ends and cut any excess yarn.

Done!


