Supplies:
4mm crochet hook, 4/Medium weight yarn in Main Color. 9mm safety eyes, tapestry needle, scissors, and stuffing.
Additional Information:
Difficulty: Easy
This pattern refers to “Main Color”. This is the main color you will use for your isopod. We start by creating the body, which is almost like a “shell”. We then create the bottom of the shell and crochet the shell to the body, which we also make the legs in this process. Next, we make the tail. Finally, we create the antennas.
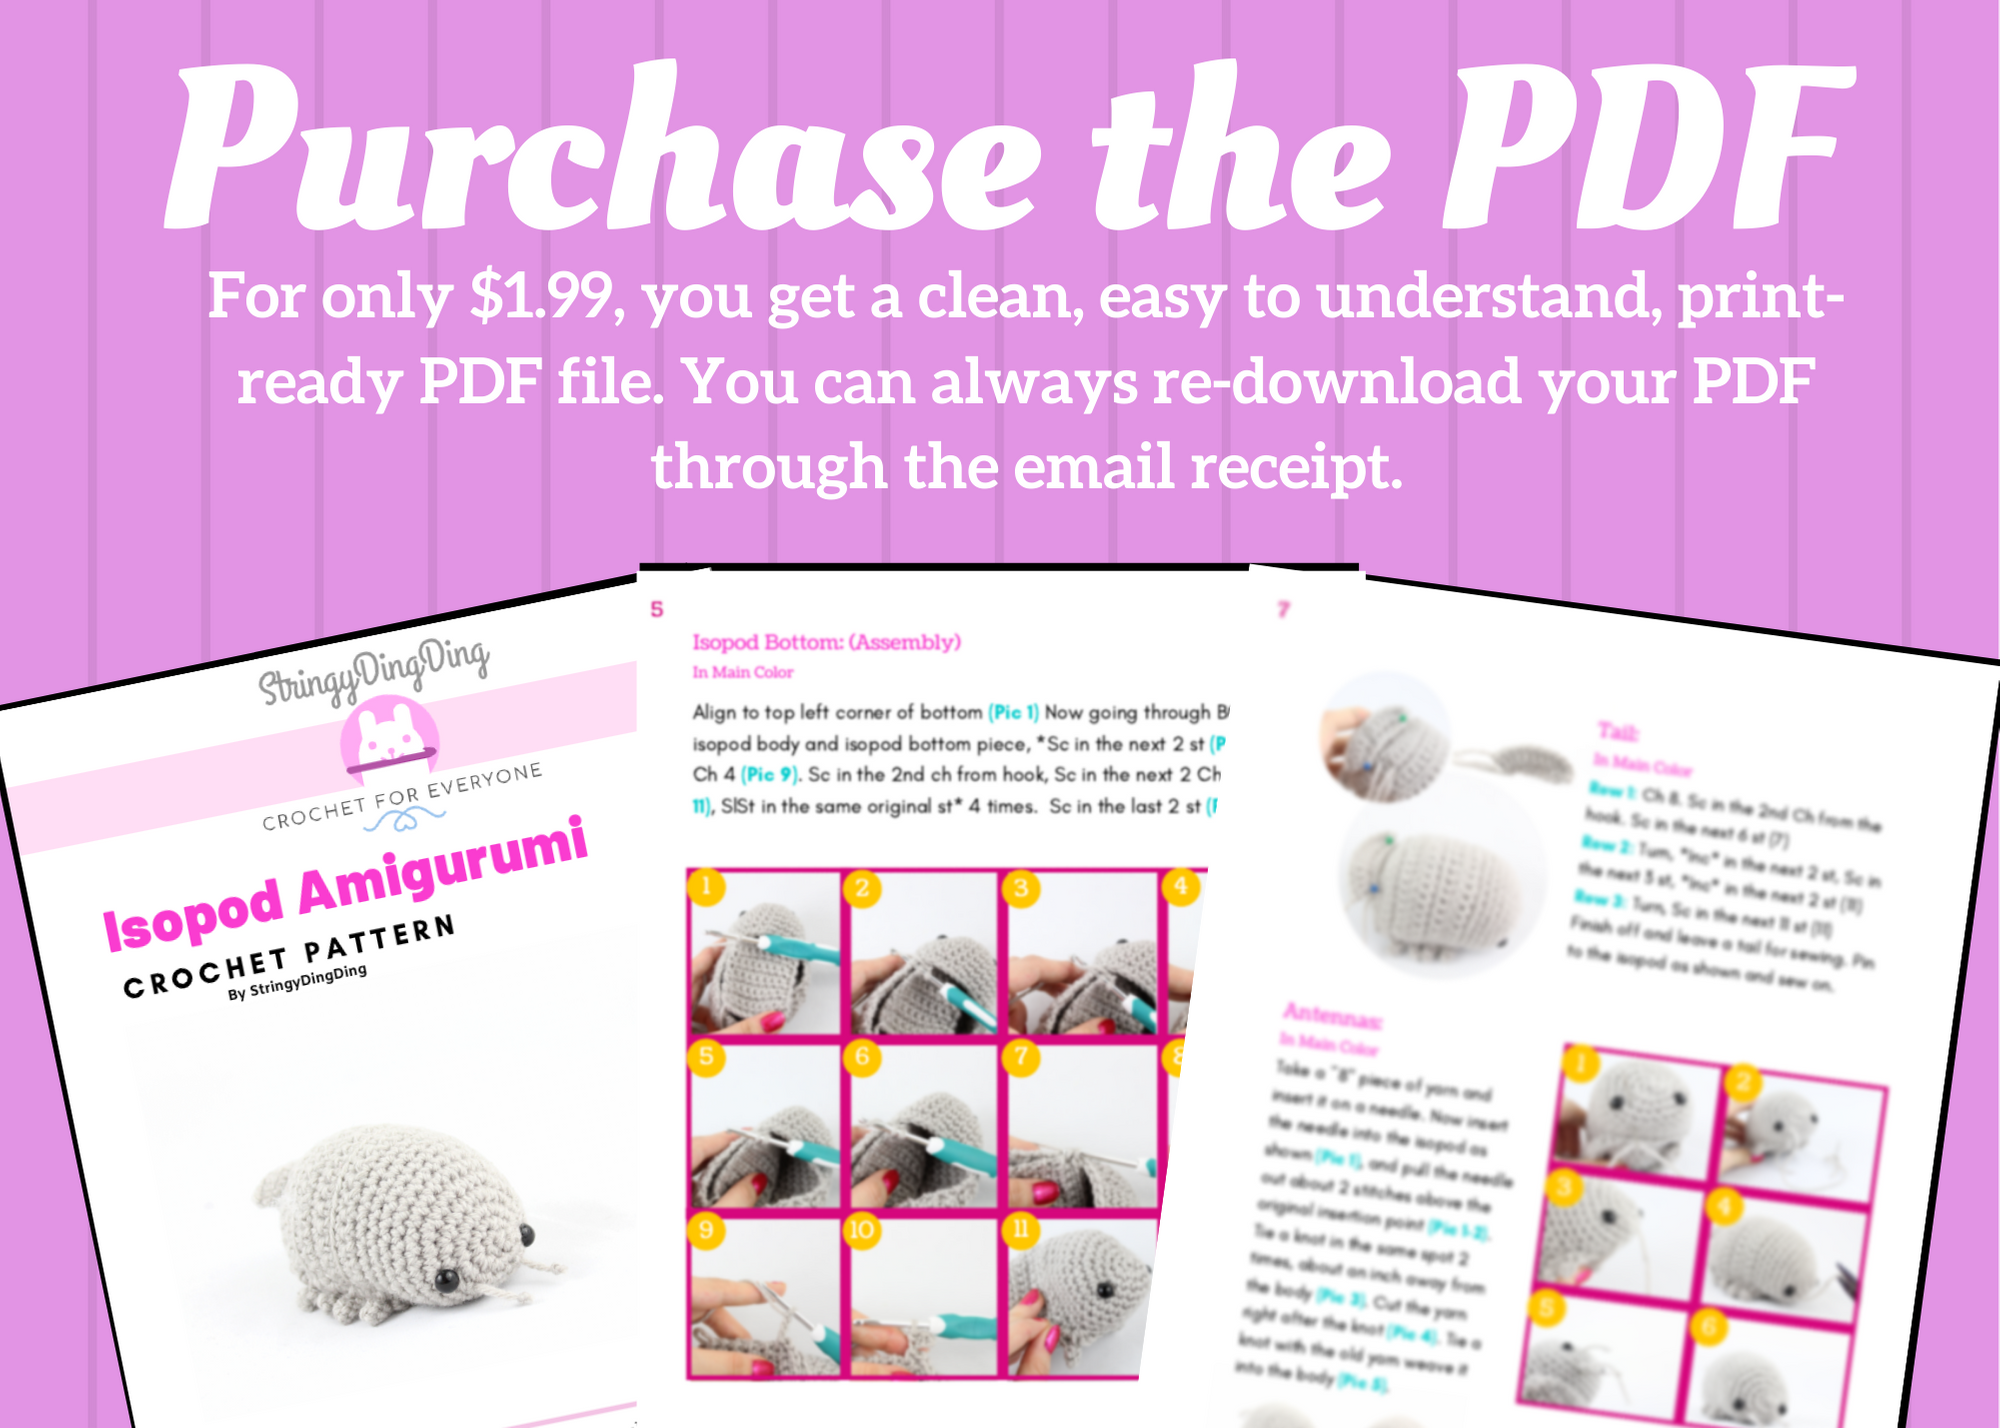
Purchase the PDF version here

Isopod Body:
In Main Color

Round 1: 6 Sc in Magic Ring (6)
Round 2: *Inc* all around (12)
Round 3: Sc in the next 3 st, *Inc* in the next 6 st, Sc in the next 3 st (18)
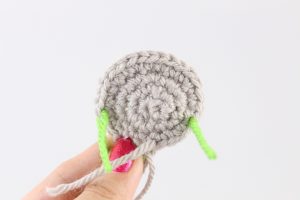
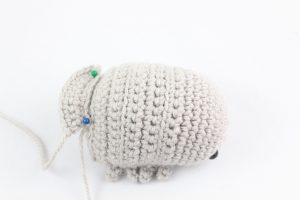
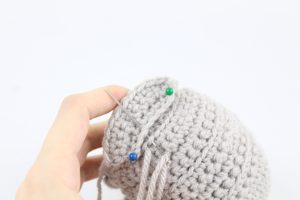
Round 4: Sc in the next 3 st. Sc in the next st and add a different colored st marker to the sc just made. This marks where we will place the eye. Sc in that same st. Sc in the next st, Repeat *Inc in the next st, Sc in the next st* 4 times. Sc in the next st. Sc in that same st and add a different colored st marker to the sc just made. Sc in the next 4 st (24)
Round 4 eye markers will look like the picture below
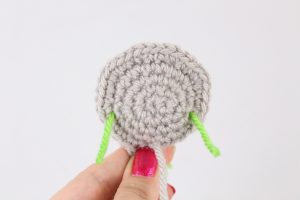
Round 5: Sc in the next 3 st, Repeat *Inc in the next st, Sc in the next 2 st* 6 times, Sc in the last 3 st (30)
Round 5 will look like the picture below
Round 6-9: *Sc* all around (30)
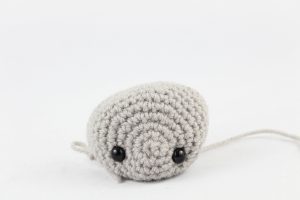
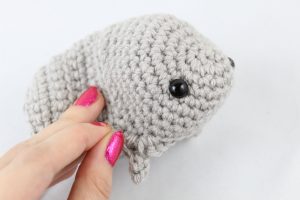
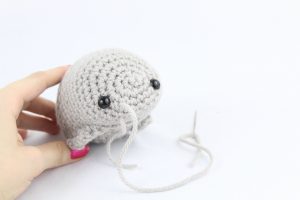
Add safety eyes in the marked areas now
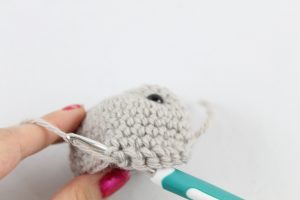
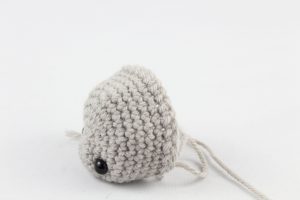
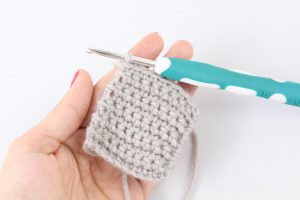
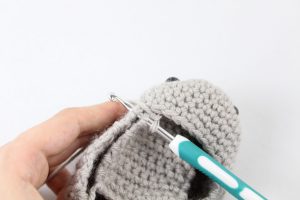
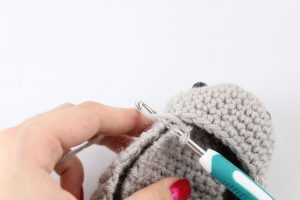
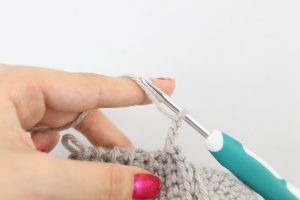
Round 10: Sc in the next 28 st (Pic 1). Turn (Pic 2), and Sc in the next 22 st (Pic 3)
1. 2.
2.
3. 4.
4.
We are now working in rows
Row 11: Turn, Sc next 22 st (22)
Row 12: Turn, in BLO (Back Loop Only), Sc next 22 st (22)
Row 13-15: Turn, in BOTH loops, Sc next 22 st (22)
Row 16: Turn, in BLO, Sc next 22 st (22)
Row 17-19: Turn, in BOTH loops, Sc next 22 st (22)
Row 20: Turn, in BLO, *Dec, Sc in the next 2 st* 5 times, *Dec* 1 time (16)
Row 21: Turn, in BOTH loops *Dec, Sc in the next st* 5 times, Sc last st (11)
Row 22: Turn, *Dec* 5 times, Sc in the last st (6)
Finish off and set aside for now.
Isopod Bottom:
In Main Color
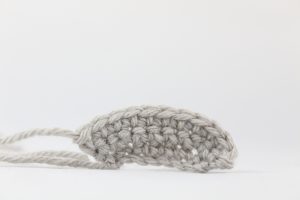
Row 1: Ch 10. Sc in the 2nd Ch from hook. Sc in the next 8 Ch (9)
Row 2-11: Turn, Sc in the next 9 st (9)
Now we will crochet the bottom piece to the isopod.
Note: When crocheting the bottom part to the body, don’t worry if things don’t line up exactly. Since we’re crocheting them together in a bit of a weird way it’s normal to have stitches be off slightly. However, they should be pretty close to the pattern. So no worries if you’re say, 1 stitch or so off.
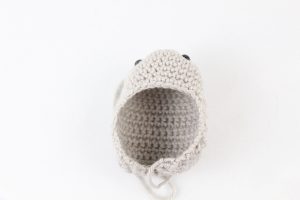
Align to top left corner of bottom (Pic 1) Now going through BOTH the isopod body and isopod bottom piece, *Sc in the next 2 st (Pic 2-8), Ch 4 (Pic 9). Sc in the 2nd ch from hook, Sc in the next 2 Ch (Pic 10-11), SlSt in the same original st* 4 times. Sc in the last 2 st (Pic 12)
1. 2.
2.
3. 4.
4.
5. 6.
6.
7. 8.
8.
9. 10.
10.
11. 12
12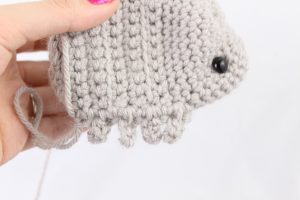
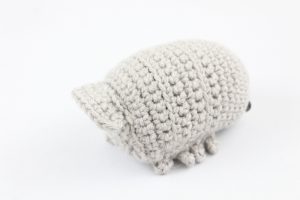
Now were on the back of the bug. Sc in the next 8 st.


Now were on left side. *Sc in the next 2 st, Ch 4, Sc in the 2nd Ch from hook, Sc in the next 2 Ch, SlSt in the same original st* 4 times. Sc in the next 2 st
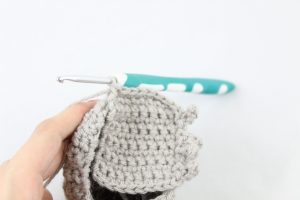
Stuff the bug here

Now we have the top part to crochet together last.
SlSt in the next 8 st. Finish off. Weave in ends.
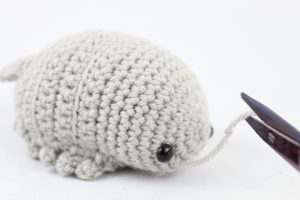
Tail:
In Main Color
Row 1: Ch 8. Sc in the 2nd Ch from the hook. Sc in the next 6 st (7)
Row 2: Turn, *Inc* in the next 2 st, Sc in the next 3 st, *Inc* in the next 2 st (11)
Row 3: Turn, Sc in the next 11 st (11)
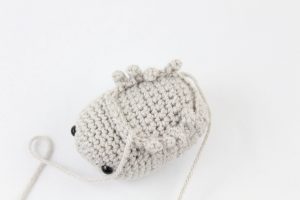
Finish off and leave a tail for sewing. Pin to the isopod as shown and sew on.
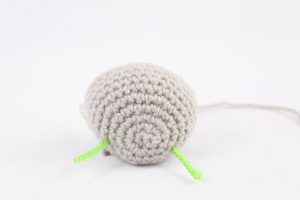
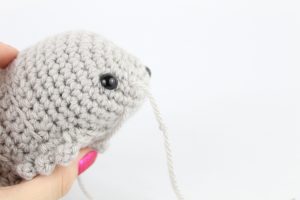
Antennas:
In Main Color
Take a ~8″ piece of yarn and insert it on a needle. Now insert the needle into the isopod as shown (Pic 1), and pull the needle out about 2 stitches above the original insertion point (Pic 1-2). Tie a knot in the same spot 2 times, about an inch away from the body (Pic 3). Cut the yarn right after the knot (Pic 4). Tie a knot with the old yarn weave it into the body (Pic 5).
1. 2.
2.
3. 4.
4.
5. 6.
6.
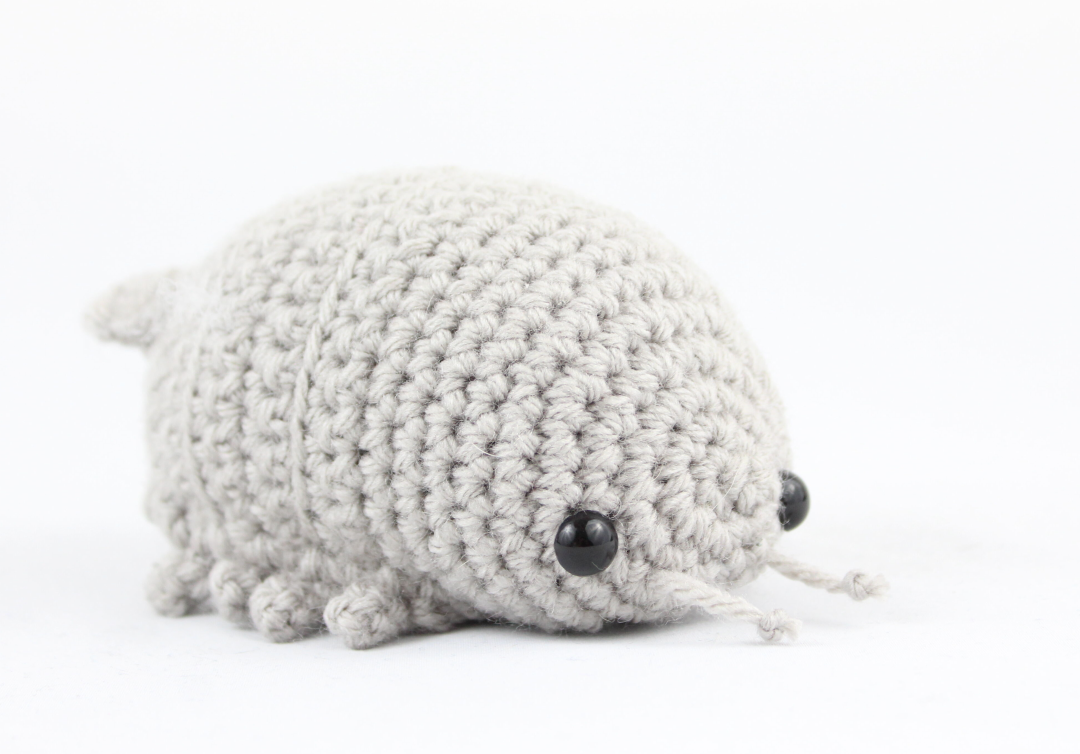
 Done! I hope you enjoyed this pattern. If you made an isopod and want to show me, you can “try” it on Pinterest!


7 Comments
I love this more than I can say! <3 I am going to give it a shot as soon as I have a yarn in the color I want. I will probably go with a slightly darker grey.
Thank you so much, Mia! I am so happy to hear that you like the isopod so much 😍 I’m excited for you to try this pattern out, I think a darker grey will look awesome! I’ve even seen people make one in purple, blue, and pink 🙂 Good luck on making yours, please let me know if I can help answer any questions! ❤️❤️❤️
In the body when you start working in the rows when the pattern says turn are we supposed to ch 1 turn or just turn without chaining?
Btw I love your patterns!
I’m confused about row 10. When I sc 28, what do I do next?
In the body when you start working in the rows when the pattern says turn are we supposed to ch 1 turn or just turn without chaining?
Btw I love your patterns!
I’m very new to crochet and this is the first project I’ve been able to read a pattern, I usually watch a YouTube tutorial so this was a huge step for me! I have an isopod tattoo and decided to slightly alter the pattern to match it (image attached). I’m so happy with this! It was extremely beginner friendly <3
I would also like to know if I should chain 1 when I get to the end of the rows.