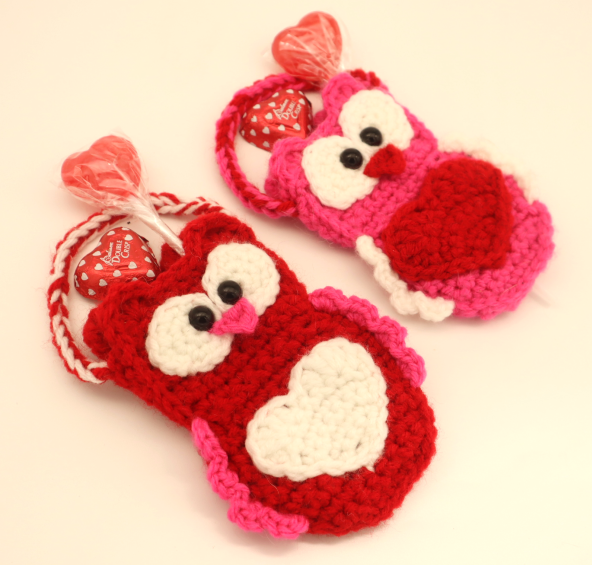
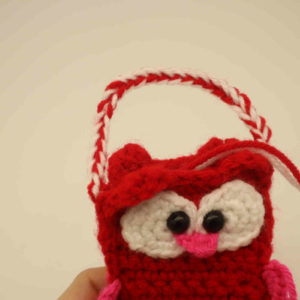
Owl Candy Bag – Free Valentine’s Day Crochet Pattern

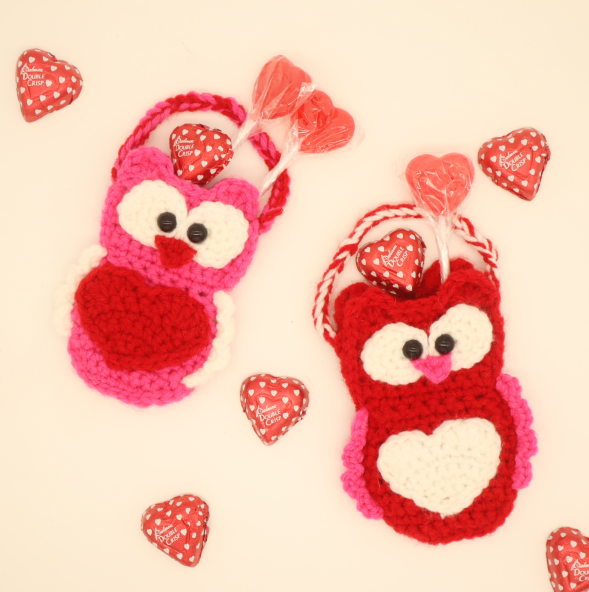
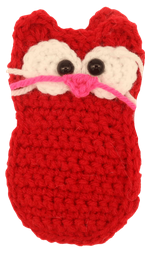
This FREE owl candy bag crochet pattern is perfect for Valentine’s Day. These are quick and easy to make, and you can stuff them with small chocolates, lolipops, and gift cards! You can easily turn this owl bag into an amigurumi as well. If you’d like to do that, just stuff the owl and crochet it shut entirely. Happy Valentine’s Day!
Print this pattern out – purchase the PDF here!


 Supplies:
• Yarn 4/Medium Weight in…
Main Color, Contrast Color, and White
•4mm Crochet Hook
•Tapestry needle
•Scissors
•10mm Safety Eyes
Additional Information:
Difficulty: Easy
Let’s get started!
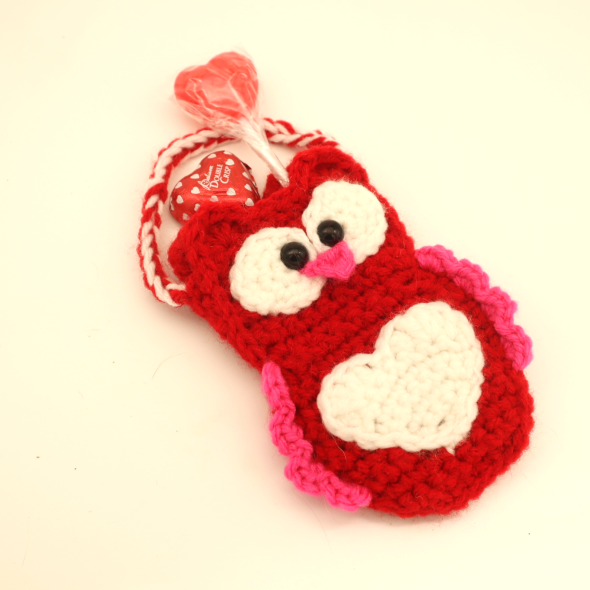
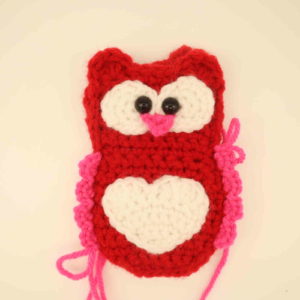
This owl candy bag is super cute to give out to your friends and family. It can fit small pieces of candy, suckers, and even a gift card!
This project is fairly quick. First, we make the owl’s body by creating 2 of the same piece and crocheting the pieces together. After this, we make the eyes, beak, and heart. Finally, we create the wings and the handle.
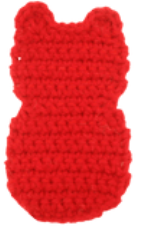
Owl: (Make 2)
In Main Color
Row 1: Ch 8. Sc in the 2nd Ch from the hook, Sc in the next 6 st (7)
Row 2: Ch 1 and turn. Inc in the next st, Sc in the next 5 st, Inc in the last st (9)
Row 3: Ch 1 and turn. Inc in the next st, Sc in the next 7 st, Inc in the next st (11)
Row 4-10: Ch 1 and turn. Sc in the next 11 st (11)
Row 11: Ch 1 and turn. Dec 1 time, Sc in the next 7 st, Dec 1 time (9)
Row 12: Ch 1 and turn. Dec 1 time, Sc in the next 5 st, Dec 1 time (7)
Row 13: Ch 1 and turn. Inc in the next st, Sc in the next 5 st, Inc in the next st (9)
Row 14: Ch 1 and turn. Inc in the next st, Sc in the next 7 st, Inc in the next st (11)
Row 15-19: Ch 1 and turn. Sc in the next 11 st (11)
Row 20: Ch 1 and turn. Dec 1 time, Sc in the next 7 st, Dec 1 time (9)
Row 21: Turn. SlSt in the next st, Dc in the next st, Trc in the same st, Ch 1, Trc in the same st, Dc in the same st. SlSt in the next 5 st. Dc in the next st, Trc in the same st, Ch 1, Trc in the same st, Dc in the same st, SlSt in the next st.
Assembly:
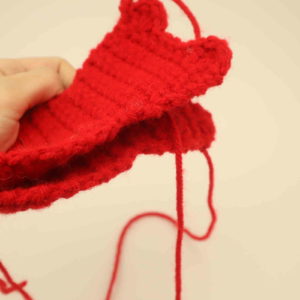
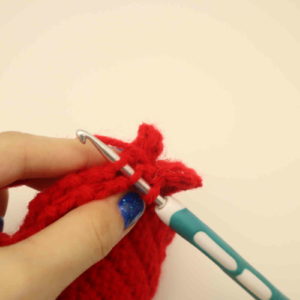
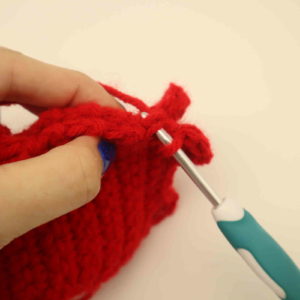
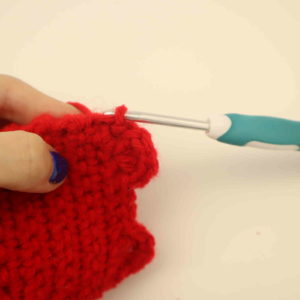
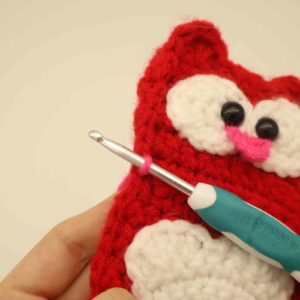
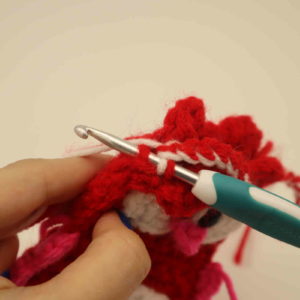
Line up both pieces together, making sure they line up (Pic 1). Insert your hook into the working loop of the 2nd piece we made. Go through BOTH pieces at the same time (Pic 2), yarn over (Pic 3), pull the loop through (Pic 4), you will have two loops on your hook (Pic 5).
1. 2.
2. 3.
3. 4.
4. 5.
5.
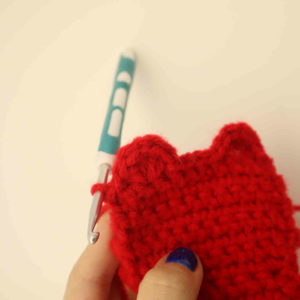
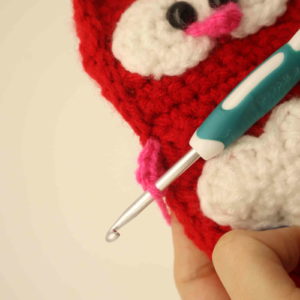
Pull the left loop through the right loop on your hook (Pic 6). You have just made one slip stitch. Continue slip stitching both pieces together, stopping and finishing off once you meet the start of the next ear (Pic 8). Once done, weave in ends.
6. 7.
7. 8.
8.
Eyes: (Make 2)
In White
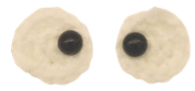
Round 1: 6 Sc into a Magic Ring (6)
Round 2: *Inc* all around (12)
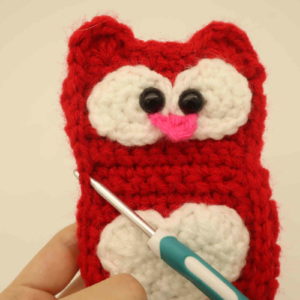
Round 3: *Inc, Sc in the next st* 3 times. Finish off, leaving a long tail for sewing. Place a safety eye into any stitch in the last round.
Note: Push the stubs of the safety eyes through to the inside of the bag between Row 17 and 18, 2 stitches apart. Place on a safety eye washer to secure the eyes in place.

Beak:
In contrast color

Row 1: Ch 3. Sc in the 2nd Ch from the hook, Dc in the next st.
Finish off, leaving a long tail for sewing. Place the beak on as shown and sew on. Once done, weave in ends.
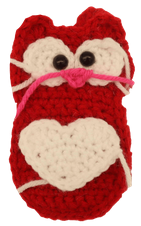
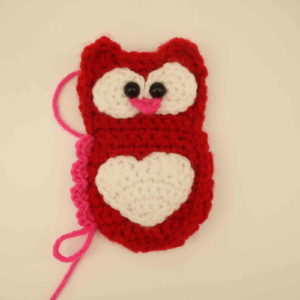
Heart:
In Contrast Color
Row 1: Ch 3. Sc in the 2nd Ch from the hook. Sc in the next st (2)
Row 2: Ch 1 and turn. *Inc* in the next 2 st (4)
Row 3: Ch 1 and turn. Inc in the next st, Sc in the next 2 st, Inc in the next st (6)
Row 4: Ch 1 and turn. Inc in the next st, Sc in the next 4 st, Inc in the next st (8)
Row 5-6: Ch 1 and turn. Sc in the next 6 st (6)
Row 7: Dc in the next st, Dc 3 times in the next st, Dc in the next st. SlSt in the next 2 st, Dc in the next st, Dc 3 times in the next st. Dc in the next st.
SlSt down the sides of the heart. Once you meet the two humps of the heart, finish off, leaving a long tail for sewing. Place the heart on the toy’s belly as shown and sew on. Weave in ends.
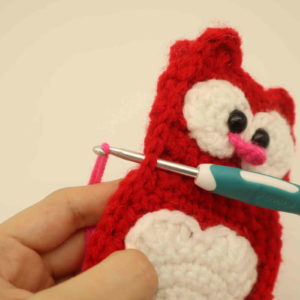
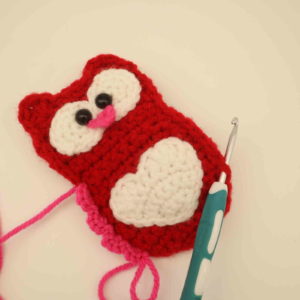
Wings:
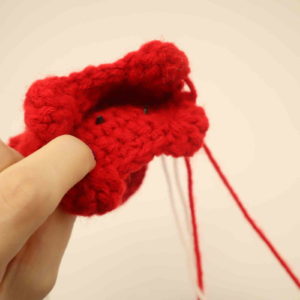
Attach your hook into the side of the toy’s arm where shown (Pic 1). Yarn over with a contrasting color (Pic 2-3). Sc 4 times in the next st (Pic 4). SlSt in the next st. Repeat *Sc 4 times in the next st, SlSt in the next st* 2 times (Pic 5). Once done, finish off and weave in ends.
1. 2.
2. 3.
3. 4.
4. 5.
5.
Now connect your hook about 8 stitches down from the owl’s right shoulder (Pic 6). Pull a contrasting color yarn through (Pic 7). Repeat *Sc 4 times in the next st, SlSt in the next st* 4 times. Once done, finish off and weave in ends (Pic 8).
6. 7.
7. 8.
8.
Handle:
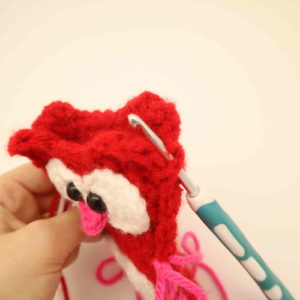
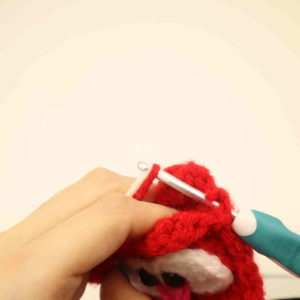
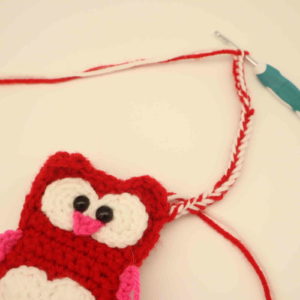
Insert your hook into the edge of the owl as shown (Pic 1). Yarn over with TWO strands of yarn – using two strands of different yarn will make the strap look more colorful (Pic 2). Ch 26 (Pic 3). Insert your hook into the opposite edge of the owl as shown (Pic 4). Yarn over and make a slip stitch (Pic 5). Once done, finish off and tie the tail ends of yarn into firm knots, cutting the excess yarn (Pic 6).
1. 2.
2. 3.
3. 4.
4. 5.
5.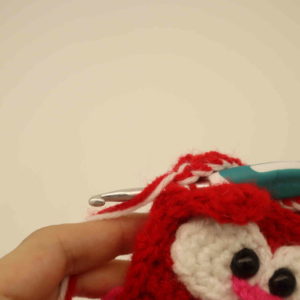 6.
6.
Done!


5 Comments
Body row 12 is confusing me after last dec rows 1?? I cannot see this in diagrams? Please help?
Hi Sherri,
Thanks so much for your question! I accidentally placed Row 1 after Row 12, I went ahead and removed the Row 1 that was under Row 12. Now it should all be good to go 🙂
Thank you very much for the pattern. So quick and easy. I made several for my granddaughter’s valentines party. She’s in k4. She loved them, she was so excited to take them to school.
Thank you
Absolutely love this pattern. I’m making 22 of them for my sons kindergarten class for valentines day