

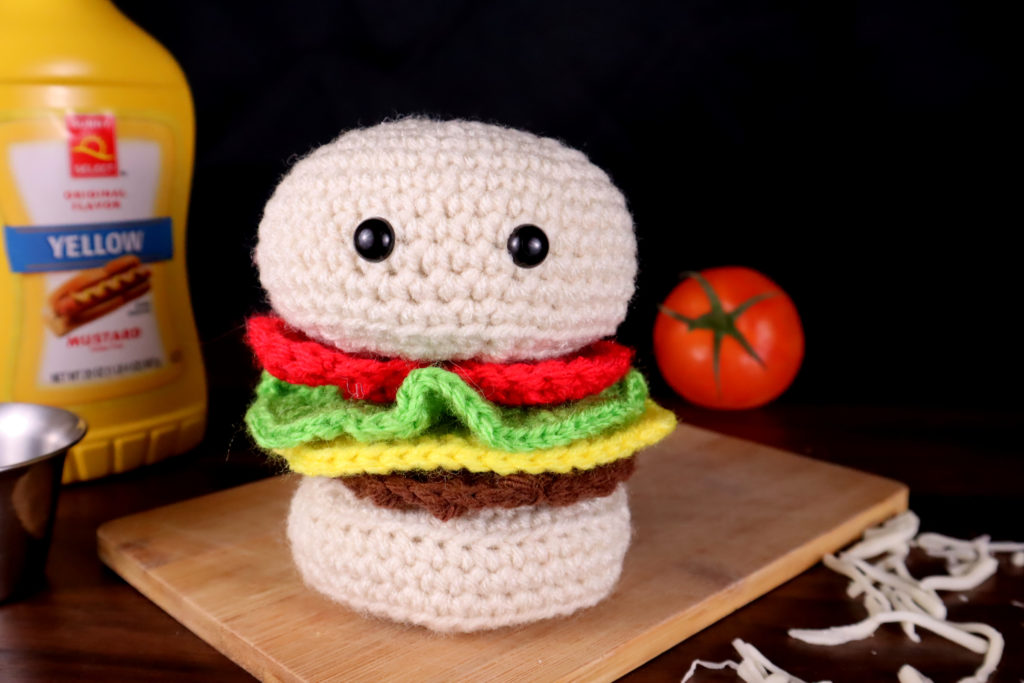
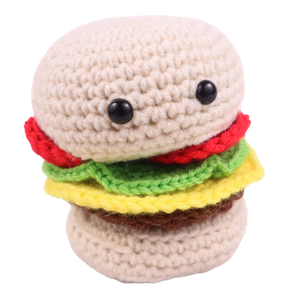
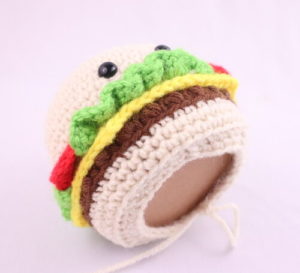
Free stackable amigurumi hamburger crochet pattern
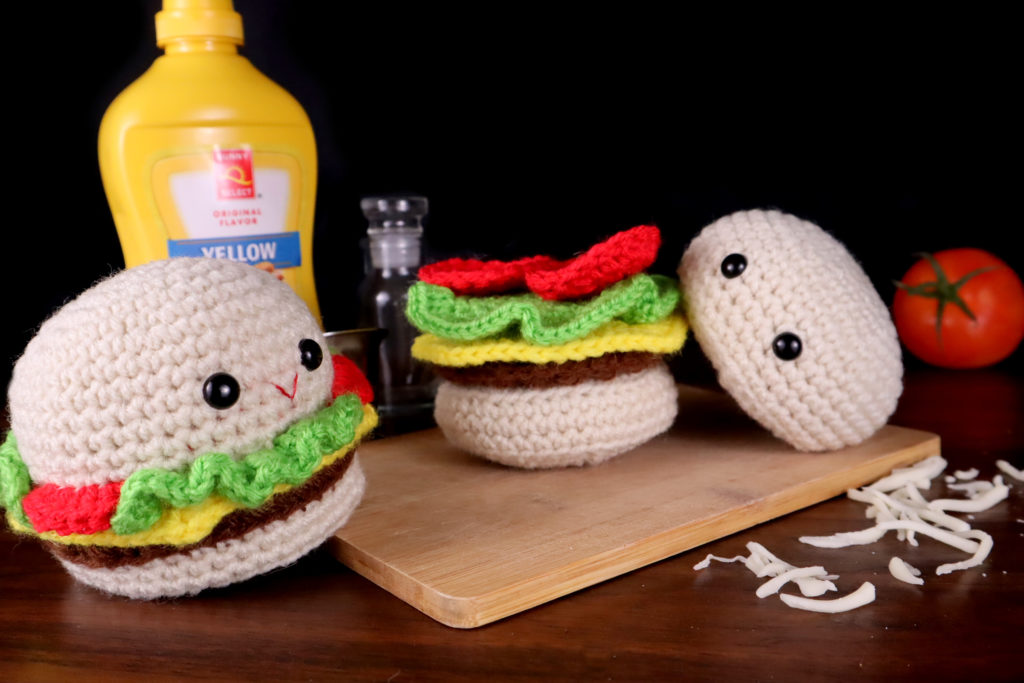
 Hi everyone, this week I present to you: a free stackable amigurumi hamburger crochet pattern! I originally made a crochet pattern for a no-sew hamburger. I was super happy with that pattern, but then I remembered why I originally got this idea in the first place. One of you lovely gals requested a hamburger play food when I had my pattern survey!
So this pattern is thanks to your idea 🙂 This pattern is perfect for kids looking to build a hamburger and play with pretend food! I have a lot more food patterns that you can also use as play food. You can find them here: https://stringydingding.com/category/food/.
I hope you have fun with this pattern, if you have any questions when making it please let me know in the comments! I’m always happy to help, so please don’t hesitate. Okay, let’s get to crocheting!
Print this pattern out! Purchase the PDF here
(You get 2 PDF patterns in 1! Included is the stack-able and no-sew burger in 1 purchase 🥰)

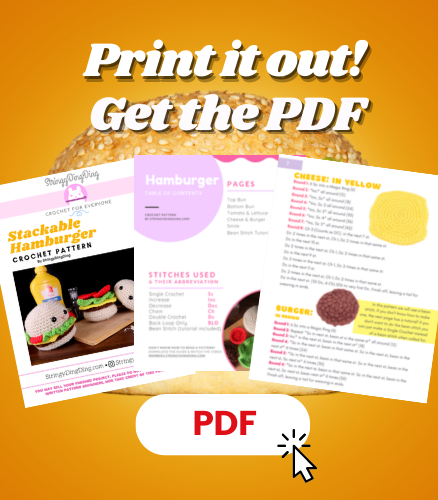
LIMITED TIME: From March 8th, 2021 – April 8th, 2021
Join the StringyDingDing Member’s Group and unlock this PDF pattern PLUS current and upcoming PDF patterns. Join now!
Supplies:

• Yarn colors in size 4/Medium Yarn…
Bun Color, Red, Green, Yellow, and Brown
• 4mm Crochet Hook
•10mm safety eyes
•Tapestry needle
•Scissors
•Stuffing
•Red or Black Embroidery Thread
• Optional: Cardboard for sturdy base
Additional Information:
Difficulty: Intermediate
Pattern is in US Terms
• Getting started…
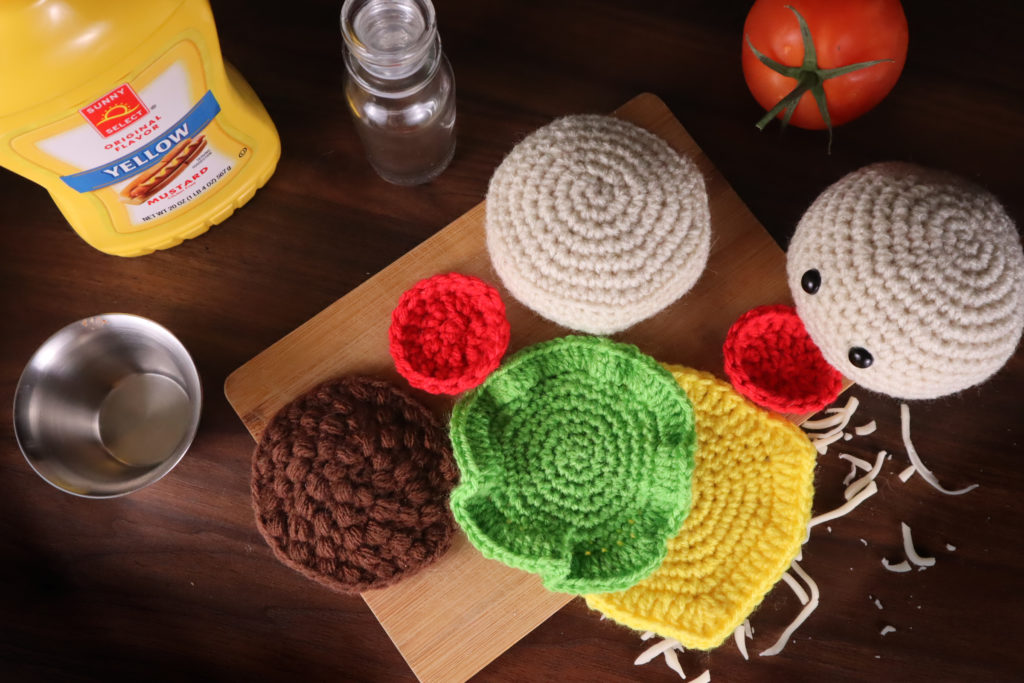
To make this hamburger we will first start off by making the buns. Then we will make the tomatoes, lettuce, cheese, and burger! The burger uses a bean stitch, which I will show you how to do. If you prefer to not use this stitch, you can replace it with a regular single crochet.
• Note
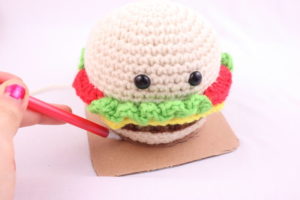
For a sturdy base of the burger we can add a piece of cardboard to the bottom. If you do this, please know that you can’t wash this toy because of the cardboard.•
Recommended Yarns:
• JoAnn Fabric’s “Big Twist” Yarn
• Red Heart Super Saver Yarn
• Hobby Lobby’s “I Love This Yarn!”
Top Hamburger Bun:
Start in Bun Color
Round 1: 6 Sc into a Magic Ring (6)
Round 2: *Inc* all around (12)
Round 3: *Inc, Sc* all around (18)
Round 4: *Inc, Sc 2 all around (24)
Round 5: *Inc, Sc 3* all around (30)
Round 6: *Inc, Sc 4* all around (36)
Round 7: *Inc, Sc 5* all around (42)
Round 8-10: *Sc* all around (42)
Now we will add 2 eye stitch markers into Round 10. Add an different colored stitch marker in the 19th st and in the 24th st.
Round 11-12: *Sc* all around (42)
Round 13: In the BLO, *Dec, Sc 5* all around (36)
Round 14: In BOTH Loops, *Dec, Sc 4* all around (30)
Add safety eyes in the marked areas now.
Round 13: In the BLO, *Dec, Sc 5* all around (36)
Round 14: In BOTH Loops, *Dec, Sc 4* all around (30)
Stuff the bun very firmly now
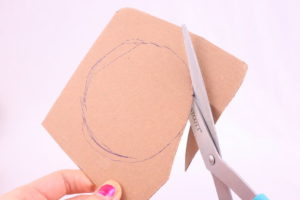
Optional: To make the bottom of the hamburger flat and able to sit better, we can add a piece of cardboard to the bottom. Place the hamburger onto a piece of cardboard. Trace around the base of the hamburger with a pen (Pic 1-2). Cut out the circle (Pic 3-4). Now stuff the cardboard into the hamburger (Pic 5).
1. 2.
2.
3. 4.
4.
5.
Round 15: *Dec, Sc 3* all around (24)
Round 16: *Dec, Sc 2* all around (18)
Round 17: *Dec, Sc* all around (12)
Round 18: *Dec* all around (6)
Finish off, leaving a long tail for sewing. Sew the remaining stitches closed.
Bottom Hamburger Bun:
Start in Bun Color

Round 1: 6 Sc into a Magic Ring (6)
Round 2: *Inc* all around (12)
Round 3: *Inc, Sc* all around (18)
Round 4: *Inc, Sc 2 all around (24)
Round 5: *Inc, Sc 3* all around (30)
Round 6: *Inc, Sc 4* all around (36)
Round 7: *Inc, Sc 5* all around (42)
Round 8: In the BLO, *Sc* all around (42)
Round 9-10: In BOTH Loops, *Sc* all around (42)
Round 11: In the BLO, *Dec, Sc 5* all around (36)
Round 12: In BOTH Loops, *Dec, Sc 4* all around (30)
Stuff firmly here. If wanted, add cardboard as explained above.
Round 13: *Dec, Sc 3* all around (24)
Round 14: *Dec, Sc 2* all around (18)
Round 15: *Dec, Sc* all around (12)
Round 16: *Dec* all around (6)
Finish off, leaving a long tail for sewing. Sew the remaining stitches closed.
Tomatoes: (Make 2)
In Red

Round 1: Make a magic ring. Chain 2 while the magic ring is on your hook. This Ch 2 counts as a stitch. Make 9 Dc into the Magic Ring (10)
Round 2: SlSt to the very first Dc. Chain 2. Dc into the first st. *2 Dc into the next st* all around. SlSt to the first st to complete a clean circle (20)
Finish off, leaving a tail for weaving in ends.
Lettuce:
In Green
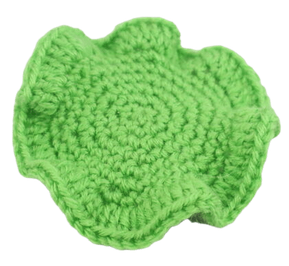
Round 1: 6 Sc into a Magic Ring (6)
Round 2: *Inc* all around (12)
Round 3: *Inc, Sc* all around (18)
Round 4: *Inc, Sc 2 all around (24)
Round 5: *Inc, Sc 3* all around (30)
Round 6: *Inc, Sc 4* all around (36)
Round 7: *Inc, Sc 5* all around (42)
Round 8: Ch 3 (Counts as Dc) Take 2 Dc into each st all around (85)
Finish off, leaving a tail for weaving in ends.
Cheese:
In Yellow
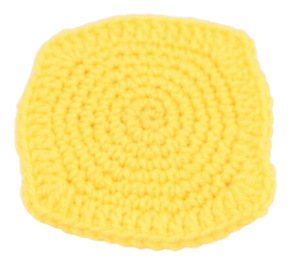
Round 1: 6 Sc into a Magic Ring (6)
Round 2: *Inc* all around (12)
Round 3: *Inc, Sc* all around (18)
Round 4: *Inc, Sc 2 all around (24)
Round 5: *Inc, Sc 3* all around (30)
Round 6: *Inc, Sc 4* all around (36)
Round 7: *Inc, Sc 5* all around (42)
Round 8: Ch 3 (Counts as DC). in the next 7 st.
Dc 2 times in the next st, Ch 1, Dc 2 times in that same st.
Dc in the next 10 st.
Dc 2 times in the next st, Ch 1, Dc 2 times in that same st.
Dc in the next 9 st.
Dc 2 times in the next st, Ch 1, Dc 2 times in that same st.
Dc in the next 11 st.
Dc 2 times in the next st, Ch 1, Dc 2 times in that same st.
Dc in the next st. (55 Dc, 4 Ch) SlSt to very first Dc. Finish off, leaving a tail for weaving in ends.
Burger:
In Brown
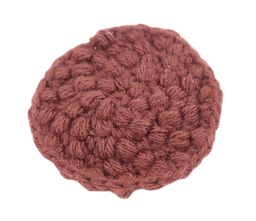
In this pattern we will use a bean stitch. If you don’t know how to make one, under the burger pattern there’s a tutorial! If you don’t want to do the bean stitch you can just make a Single Crochet instead of a bean stitch when called for.
Round 1: 6 Sc into a Magic Ring (6)
Round 2: Repeat *Sc in next st, bean st in the same st* all around (12)
Round 3: Inc* in the next st, bean in the next st* (18)
Round 4: *Sc in the next st, bean in that same st. Sc in the next st, bean in the next st* 6 times (24)
Round 5: *Sc in the next st, bean in that same st. Sc in the next st, bean in the next st, Sc next st* 6 times (30)
Round 6: *Sc in the next st, bean in that same st. Sc in the next st, bean in the next st, Sc next st, bean next st* 6 times (30)
Finish off, leaving a tail for weaving in ends.
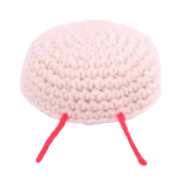
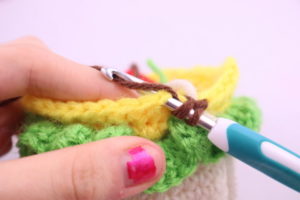
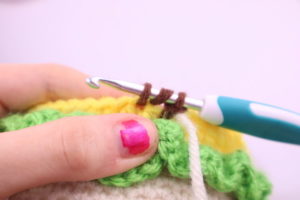
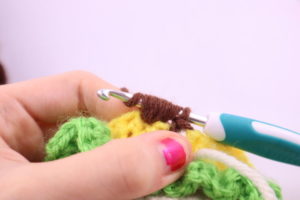
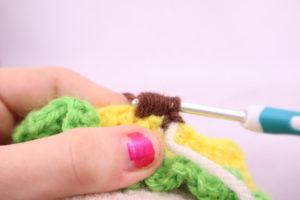
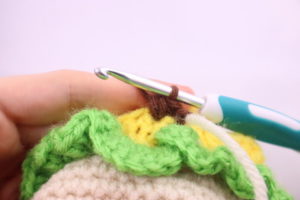
How to do a bean stitch:
Bean Stitch
Repeat *Yarn over, Insert hook into the next stitch, pull up a loop* into the same stitch a total of 3 times. You will have 7 loops on your hook (Pic 5). Yarn over (Pic 6) and pull through all 7 loops at the same time (Pic 7-8). Done!
1. 2.
2.
3. 4.
4.
5. 6.
6.
7. 8.
8.
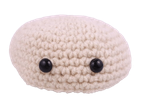
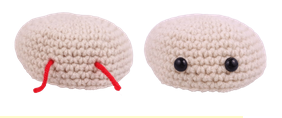
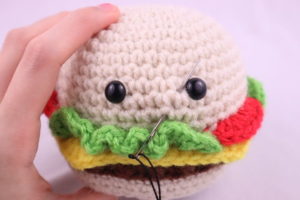
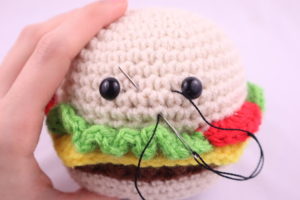
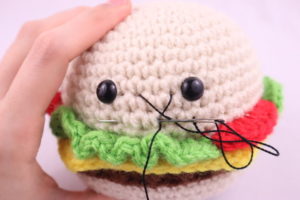
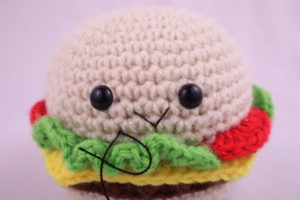
Smile:
In Black or Red Embroidery Thread
Insert needle with thread into the middle area as shown, and pull needle out one stitch over from the right eye (Pic 1). Reinsert needle into the same middle area, and pull needle out one stitch over from the left eye (Pic 2). Reinsert needle into the middle area, and pull needle out a few stitches away (Pic 3). Tie both tail ends of yarn into firm knots and bring the knots inside the hamburger to hide. Cut any excess thread.
1. 2.
2.
3. 4.
4.
Done! I hope you liked this pattern as much as I did. If you made this hamburger, I would LOVE to see it! You can show me by posting a picture in the comments, or you can “try” it on Pinterest.


