

Purchase the PDF version here

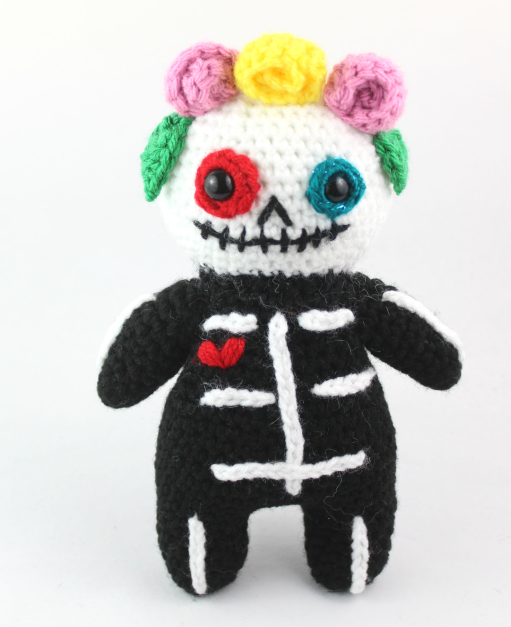
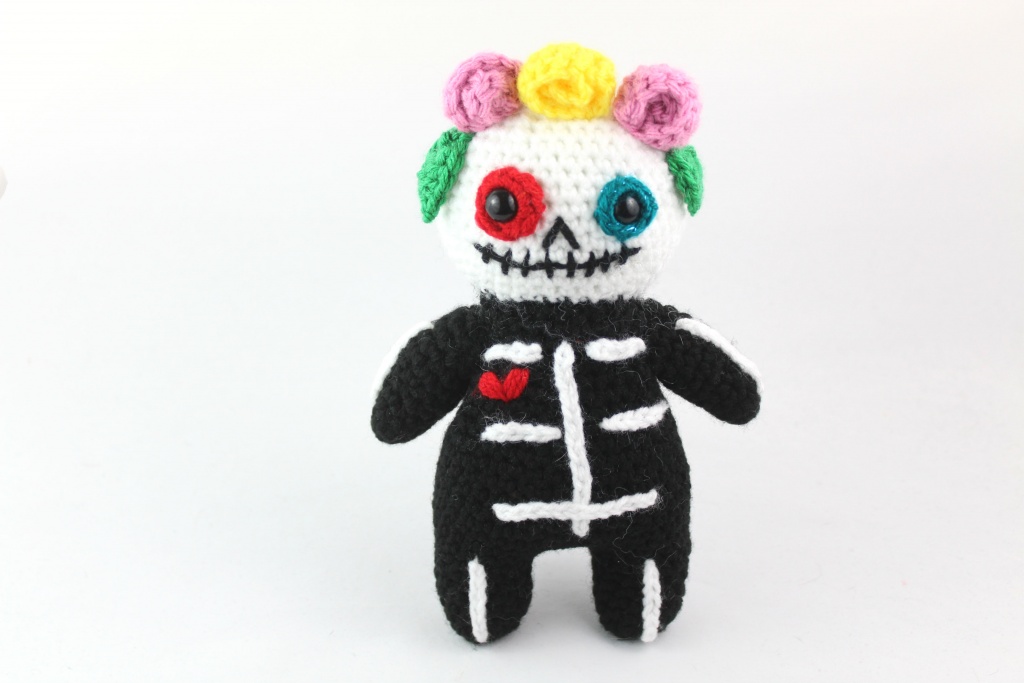
For Día de les Muertos AKA Day of the Dead or Halloween if you want. Celebrate your loved ones by making this pattern 🙂 You can leave the flowers off to make just a skeleton.
Supplies:
4mm crochet hook. 4/Medium weight yarn in black, white, green, and any color you’d like for flowers/eye rings. 12mm safety eyes. Stuffing. Scissors. Tapestry needle.
Additional Information:
Difficulty: Easy
This pattern is to make a super cute skeleton/sugar skull! We start by making his legs, then connecting them together, which forms the body and leads into the head. All of that is made in one piece. We then make the arms. After that we create and sew on all the head accessories. Finally, we make the bones and sew them on. You can even embroider a small heart if you want!
Legs: (Make 2)
In Black
Round 1: 6 Sc in Magic Ring (6)
Round 2: *Inc* all around (12)
Round 3-7: *Sc* all around (12)
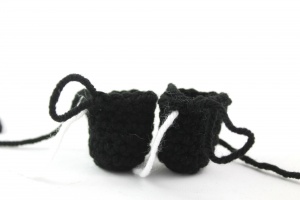
Finish off the first leg. DON’T finish off second leg. Continue the following rounds with the second leg.
Round 8: *Inc, Sc 3* all around (15)
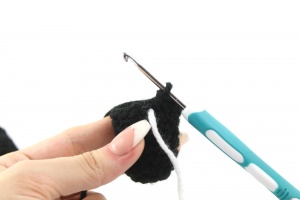
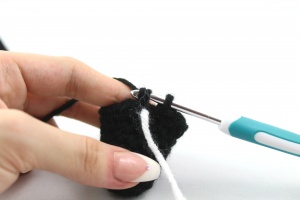
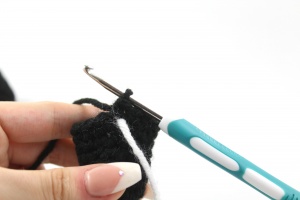
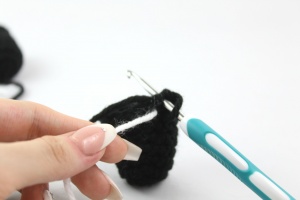
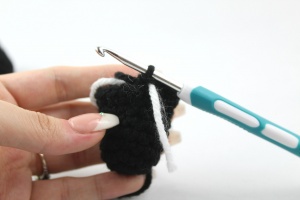
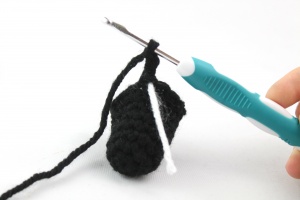
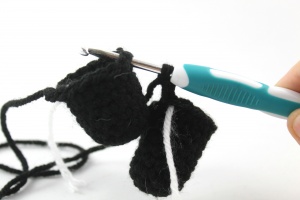
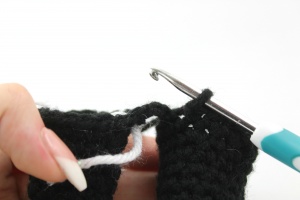
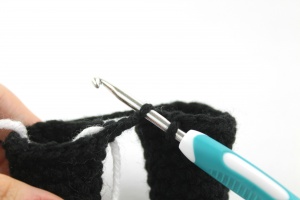
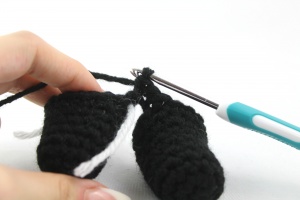
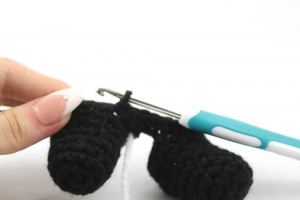
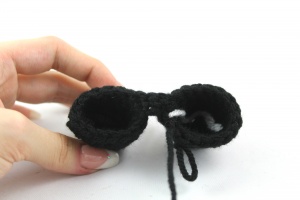
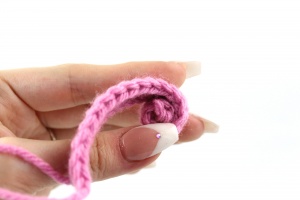
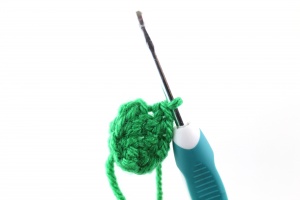
Round 9: Sc in next st on second leg. Replace st marker to Sc just made (Pic 1-5). Remove st marker from first leg. Now Ch 3 (Pic 6). Sc anywhere on first leg (Pic 7). Now on the first leg, Sc in next 14 st. Now we meet the 3 Ch (Pic 8). Sc along the next 3 Ch (Pic 9-11). Now we meet the second leg. Sc in next 15 st (Pic 12) (Stitch count: 36. Remember to count ch 3 on both sides)
Round 10-18: *Sc* all around (36)
Round 19: *Dec, Sc 4* all around (30)
Round 20-22: *Sc* all around (30)
Round 23: *Dec, Sc 3* all around (24)
Round 24-26: *Sc* all around (24)
Stuff here
Round 27: *Dec, Sc 2* all around (18)
Switch to White
Round 28: In Front Loop Only, *Inc, Sc 2* all around (24)
Round 29: In BOTH loops, *Inc, Sc 3* all around (30)
Round 30: *Inc, Sc 4* all around (36)
Round 31: *Inc, Sc 5* all around (42)
Round 32-40: *Sc* all around (42)
Round 41: *Dec, Sc 5* all around (36)
Round 42: *Dec, Sc 4* all around (30)
Round 43: *Dec, Sc 3* all around (24)
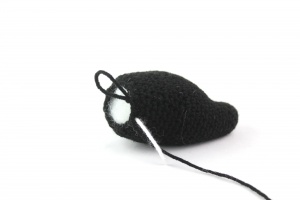
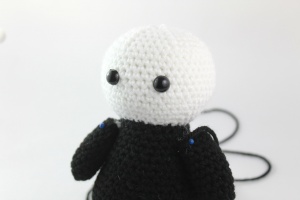
Stuff here. Insert safety eyes in between Round 35 and 36, 6 stitches apart.
Round 44: *Dec, Sc 2* all around (18)
Round 45: *Dec, Sc* all around (12)
Round 46: *Dec* all around (6)
Finish off and add any additional stuffing. Sew closed.
Arms: (Make 2)
In Black
Round 1: 6 Sc in magic ring (6)
Round 2: *Inc, Sc* all around (9)
Round 3-5: *Sc* all around (9)
Round 6: *Inc, Sc 2* (12)
Round 7-11: *Sc* all around (12)
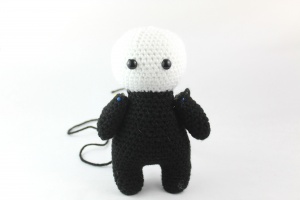
Finish off and stuff. Pin and sew to the body as shown.
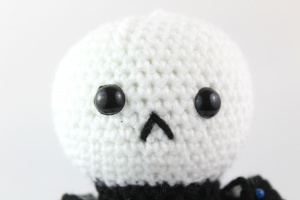
Nose:
In Black
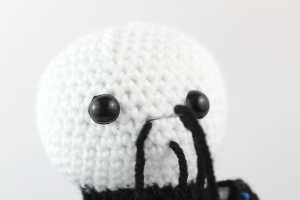
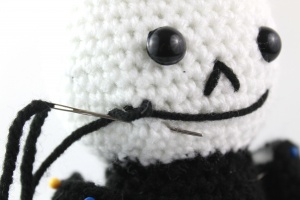
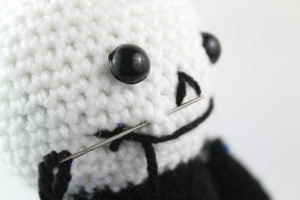
Insert needle with yarn going from the left to the middle of the eyes (Pic 1). Pull the yarn through, and reinsert needle back into original left area (Pic 2). Pull needle out to right area (Pic 2). Finally, reinsert needle into middle area between eyes (Pic 3). Pull through and weave in ends (Pic 4).

Smile:
In Black
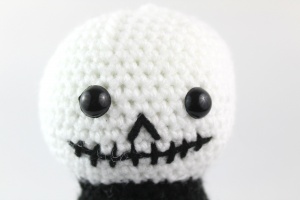
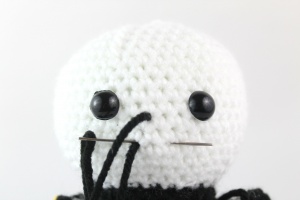
First, pin the smile as shown (Pic 1). With the ends of the yarn on both sides, sew them into the head. Now starting from one side of the mouth, insert needle with black yarn above the mouth (Pic 2). Insert needle below mouth, lining up with above insertion (Pic 3). Pull needle out about 1-2 stitches away, and repeat the process of making these lines until you meet the other side of the mouth.
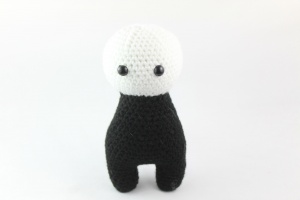
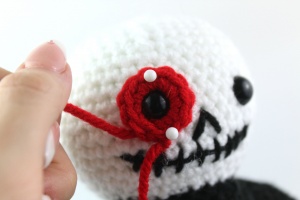
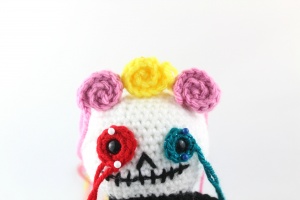
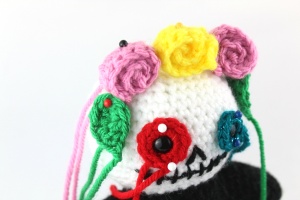
Your skeleton should look like this now!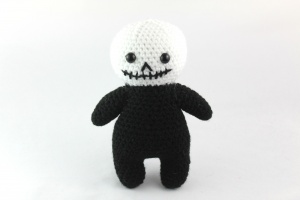
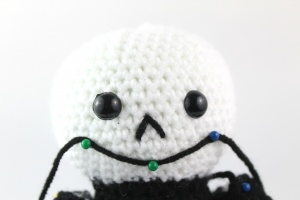
Eye Circles: (Make 2)
In Any Color
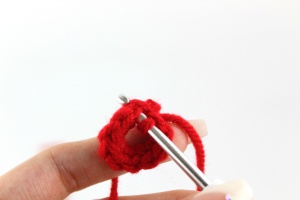
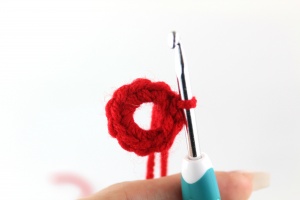
Make a magic ring but don’t close it shut. Sc 10 into magic ring (Pic 1). Now adjust the ring around the safety eye. We make it tighter and snug around the safety eye (Pic 2). Now take the ring off the eye. SlSt to the first Sc to shut the ring (Pic 3-4). Pin back on to the skull’s eye. The ring is now around the safety eye.
Flowers: (Make 3)
In Any Color
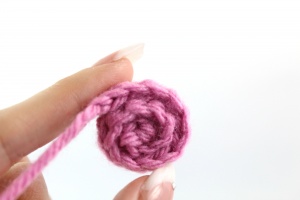
Row 1: Ch 20. Dc in 2nd Ch from hook. Dc in next 18 Ch. Roll this piece as shown to make a flower. Sew down the middle of the flower to secure. Pin as shown.Row 1: Ch 20. Dc in 2nd Ch from hook. Dc in next 18 Ch. Roll this piece as shown to make a flower. Sew down the middle of the flower to secure. Pin as shown.
Leaf: (Make 2)
In Green
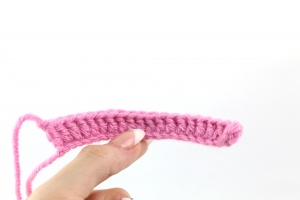
Row 1: Ch 5. Sc in 2nd Ch from hook, Dc in next 2 st, Trc in last (Pic 2). Turn to the other side of Ch. Trc in next st, Dc in next 2 st, Sc in next 2 st (Pic 3).
Finish off and pin to the head as shown.

Assembly:
Adjust any placement you’d like to make now. Now sew on each piece and weave in ends.
Bones

Now we make the bones. These are optional of course.
Spine: (Make 1)
In White
Row 1: Ch 15. Finish off and pin directly in the middle of the body.
Ribs: (Make 4)
In White
Row 1: Ch 4. Finish off and pin two ribs on each side of the spine.
Leg Bones: (Make 2)
In White
Row 1: Ch 7. Finish off and pin each leg bone to the middle of the leg.
Arm Bones: (Make 2)
In White
Row 1: Ch 8. Finish off and pin each arm bone to the middle of the arm.
Assembly:
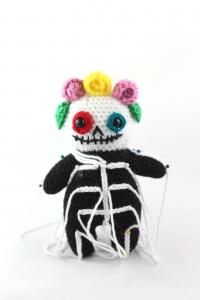
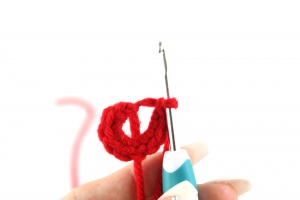
Sew each bone on. I sewed the first Ch and last Ch of the bone to the body, and the middle of the bone down. You can also sew on a red heart now if desired.
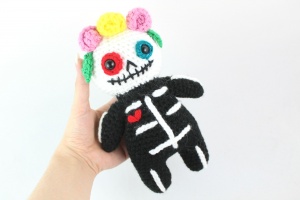 Done! If you finished this pattern, I would be SO HAPPY if you “try” it on Pinterest, or tag me on Instagram @StringyDingDing, or #StringyDingDing


8 Comments
This pattern is SOOO COOL!!! And, you are so generous to share it for free ( I’m so broke! LOL) Your imagination is so refreshing, and you pop up patterns so regurlarly, it is awesome! Be sure that you make some of us happy, and every time I can, I talk about your patterns and your website…Bye for now, a crochet friend from Montreal, Chantale
Yay thank you so so much! I’m so happy you like my patterns and it means so much that you try to share the word about them 🙂 You’re so kind I love it! I try to release a pattern about every week so sometimes it’s tough thinking of new ideas, but hearing that you enjoy my ideas really gives me motivation to bring you more amigurumis. Thanks so much Chantale for your positivity! <3
I absolutely love the creativity that goes into your designs! Thank you for having 2 options for the pattern. You’ve made a new friend here in chilly Edmonton, AB Canada. I love celebrating other cultures and what they mean. So thank you for this opportunity to be able to share with my grandson other cultures.
Cora
Hi Cora 🙂 Thank you so much! I’m sure it’s absolutely beautiful where you’re at right now! I’m really happy you enjoy this piece of Mexican culture and can share it with your grandson. It’s a great way to not only give a gift, but share a little education on other cultures and holidays. The Day of the Dead is something everyone can celebrate, and it would be beautiful if you shared the meaning of the holiday with others <3 Thank you so much for your comment, it inspires me to make more patterns like this one. I hope you have an amazing day and stay warm!
I just love your patterns and so does my great grand kids , when I make tham something that you put out there.
Thank You
So much
Wouldn’t it be 33 st when attaching the legs together? Your instructions for the first leg stop at round 7, 12 st. The instructions for the second leg continue to round 8, 15 st. That would make round 9, 27 st plus the ch3 with 3 sc when combining the two legs. That would equal to 33 st instead of 36 st because round 7 on the first leg only goes up to 12 st.
Hi, read your comment and I had the same question. Don’t know if you’ve resolved the issue but this is what I’m doing. I stop Leg 1 at row 7 as instructed and continue with Leg 2. When it says to pick up Leg 1 I followed the Row 8 instructions and continued to Row 9 for both. So far that seems to be working.
I LOOOVE this pattern, but the first couple of rows are VERY unclear. I was able to fix it really easily, but you should move the note to finish off the first leg to AFTER round 8. Aka it’s unclear that both legs need to have (15) stitches before starting the chain. <333