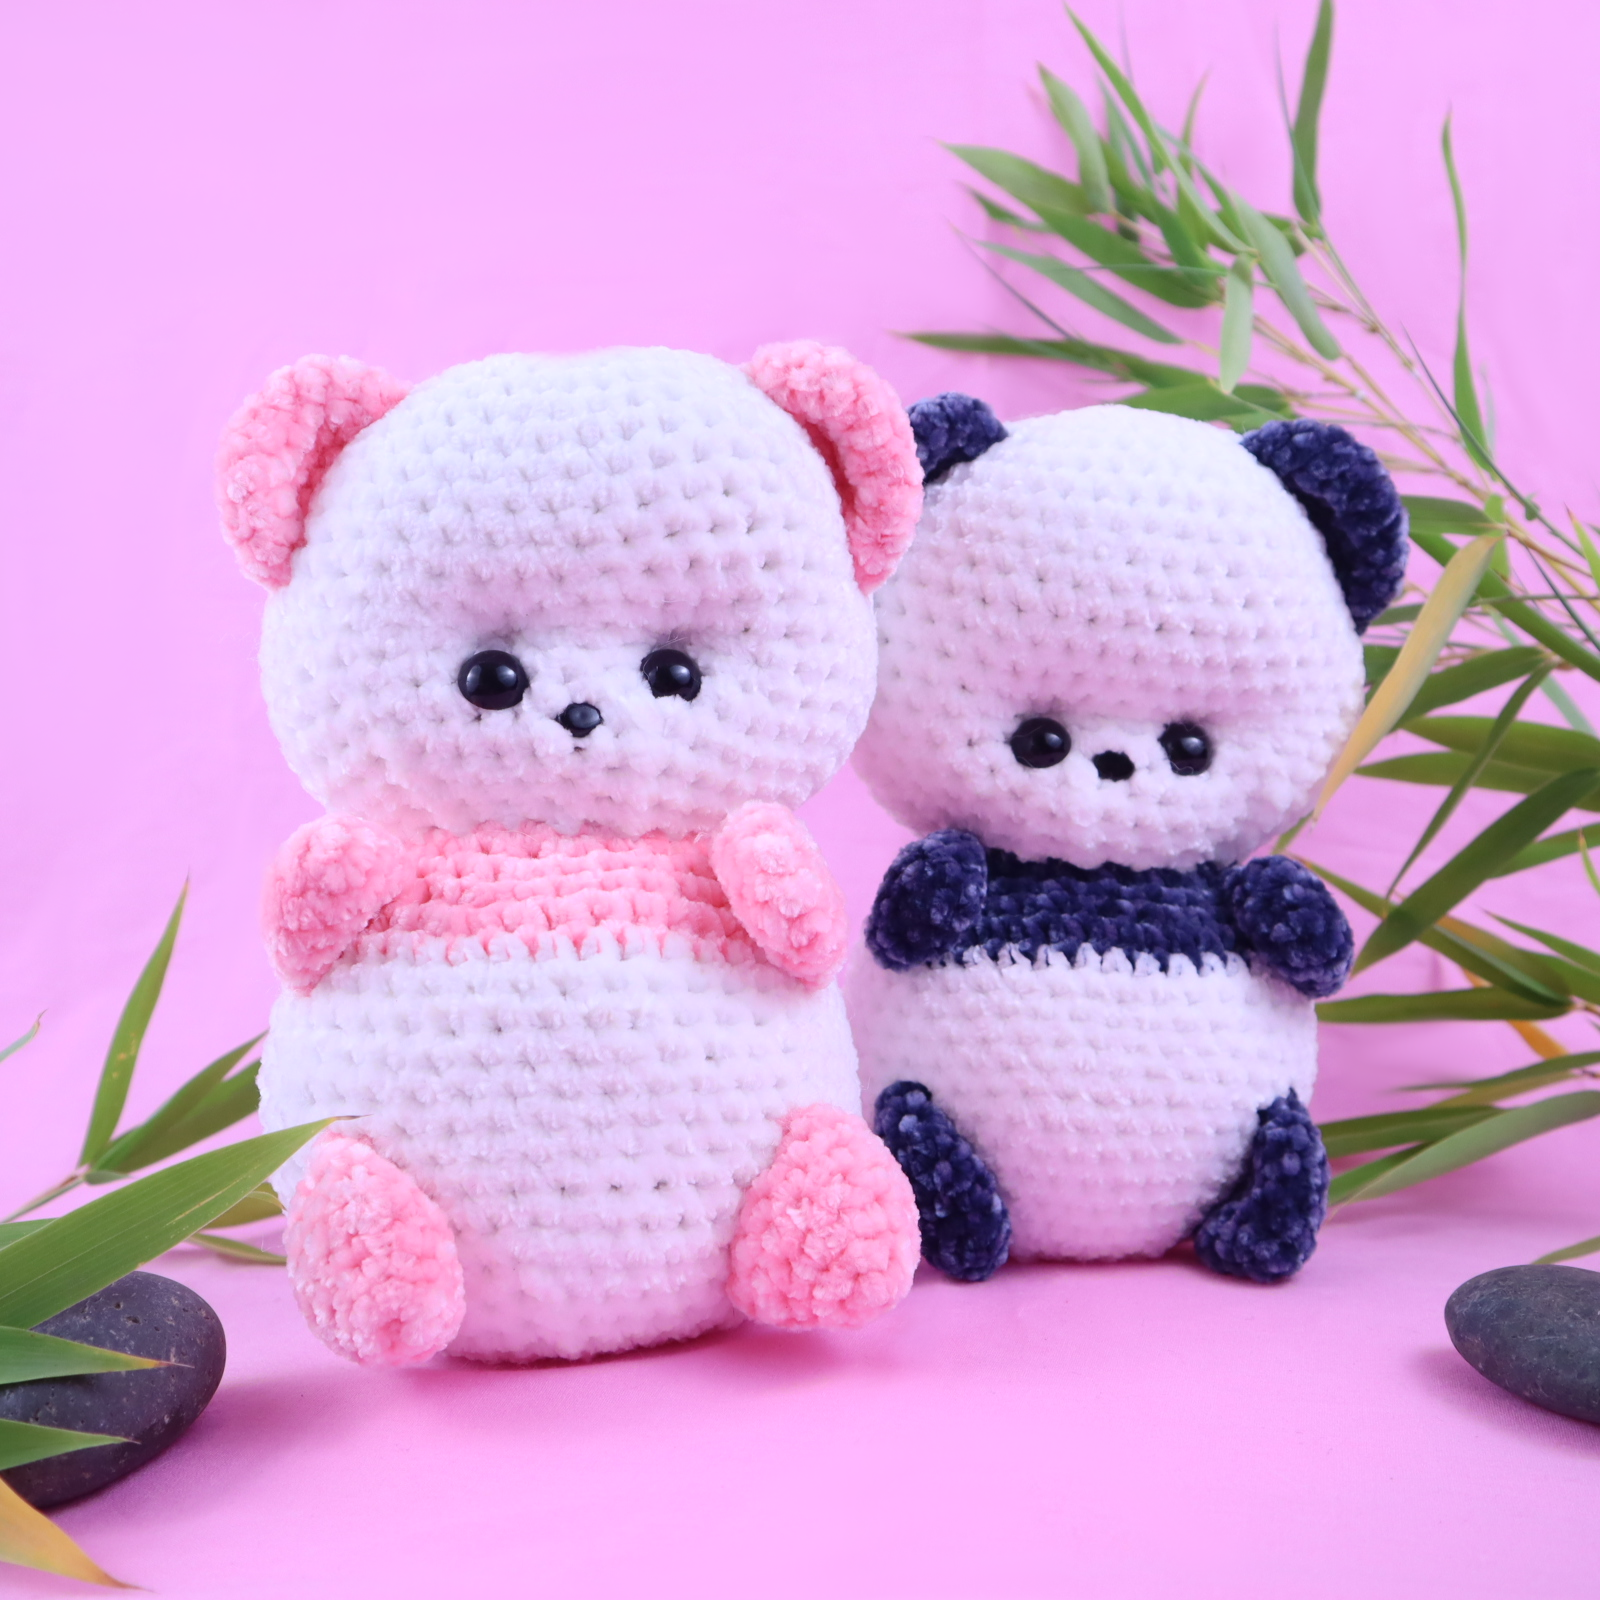
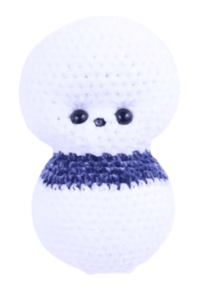
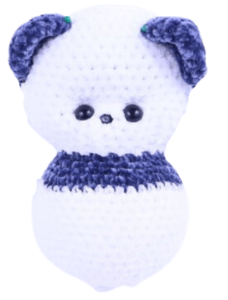
Baby Panda Amigurumi – Free Crochet Pattern
Hello there, everyone! A few weeks ago I was so kindly sent a photo of a finished baby cow amigurumi somebody made from my pattern. Her little trick? She used velvet baby yarn to make it, which turned out SO adorable. So that definitely inspired this baby panda pattern. I also got wrapped up in watching educational videos (probably aimed towards kids but whatever!) about koalas and pandas. Naturally that meant I had to make this free panda crochet pattern.
I’m working on some more bigger, detailed patterns since these last 2 patterns seem easier and smaller.
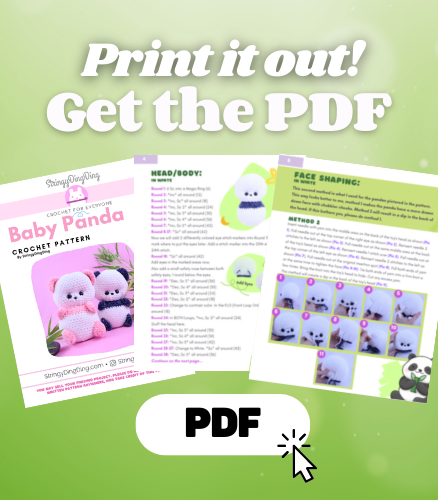
Print this pattern out! Purchase the PDF pattern here
Supplies:
• Yarn colors in size 4/Medium Yarn…
White, then Pink or Black for Contrast Color Sections
•4mm Crochet Hook
•12mm safety eyes
•6mm Safety Nose
•Tapestry needle
•Scissors
•Stuffing
Additional Information:
- Difficulty: Easy
- Pattern is in US Terms
• Getting started…
To start, we will first make the panda’s head, then work our way down to the body. The head and body are worked in one continuous piece. Next, we’ll make the ears, arms, and legs. Finally, we’ll add the tail and he’s done!
• Recommended Yarns:
Bernat Baby Velvet Yarn
I don’t recommend using blanket yarn or regular velvet yarn, because the panda will come out much larger. Baby velvet yarn is thinner 🙂
Head/Body:
In White
Round 1: 6 Sc into a Magic Ring (6)
Round 2: *Inc* all around (12)
Round 3: *Inc, Sc* all around (18)
Round 4: *Inc, Sc 2* all around (24)
Round 5: *Inc, Sc 3* all around (30)
Round 6: *Inc, Sc 4* all around (36)
Round 7: *Inc, Sc 5* all around (42)
Round 8-17: *Sc* all around (42)
Now we will add 2 differently colored eye stitch markers into Round 17. These will mark where to put the eyes later. Add a stitch marker into the 20th stitch and the 24th stitch.
Round 18: *Sc* all around (42)
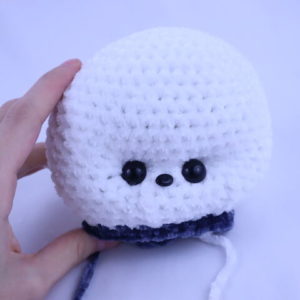
Add eyes in the marked areas now.
Also add a small safety nose between both safety eyes, 1 round below the eyes.

Round 19: *Dec, Sc 5* all around (36)
Round 20: *Dec, Sc 4* all around (30)
Round 21: *Dec, Sc 3* all around (24)
Round 22: *Dec, Sc 2* all around (18)
Round 23: Change to contrast color. In the FLO (Front Loop Only), *Sc* all around (18)
Round 24: In BOTH Loops, *Inc, Sc 2* all around (24)
Stuff the head here.
Round 25: *Inc, Sc 3* all around (30)
Round 26: *Inc, Sc 4* all around (36)
Round 27: *Inc, Sc 5* all around (42)
Round 28-37: Change to White. *Sc* all around (42)
Round 38: *Dec, Sc 5* all around (36)
Round 39: *Dec, Sc 4* all around (30)
Stuff here. Continue stuffing after each round.
Round 40: *Dec, Sc 3* all around (24)
Round 41: *Dec, Sc 2* all around (18)
Round 42: *Dec, Sc* all around (12)
Round 43: *Dec* all around (6)
Finish off and sew the remaining stitches closed.
Face Shaping:
In White
To make the panda more baby-ish, we can shape his face to have indents around the eyes! There are 2 ways to do this. Please read through each way to determine which one you want to try.
Method 1
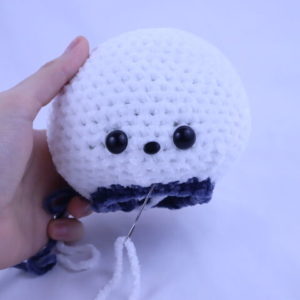
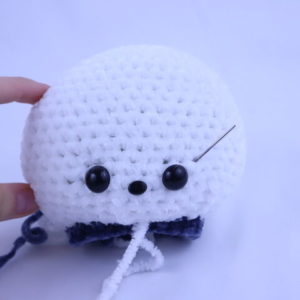
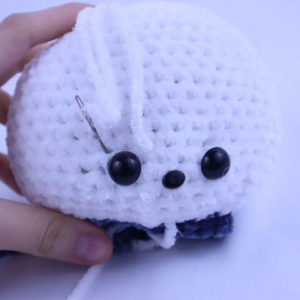
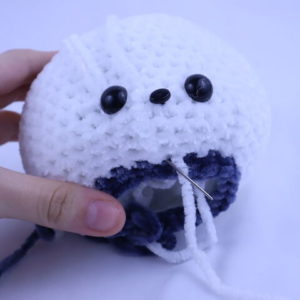
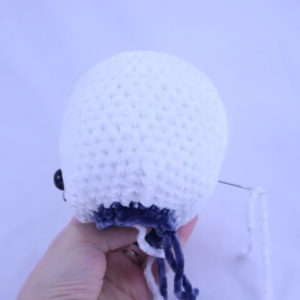
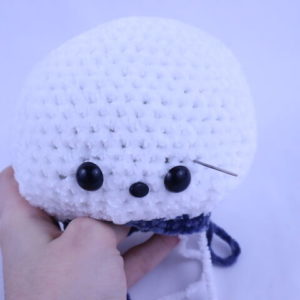
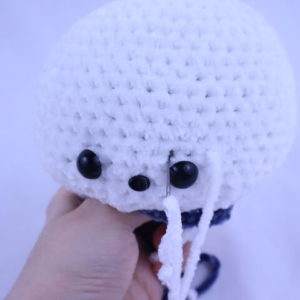
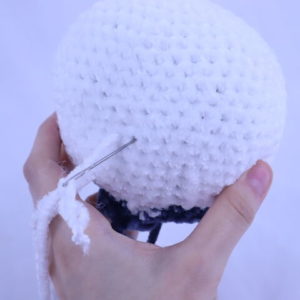
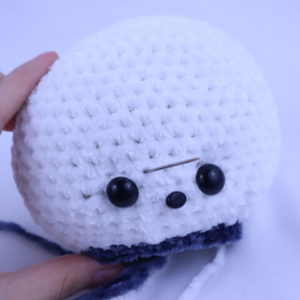
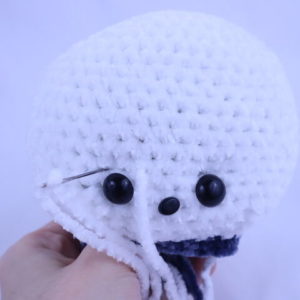
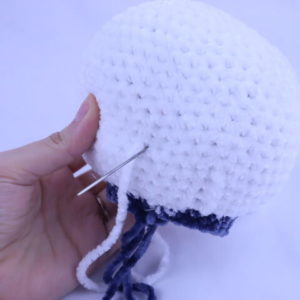
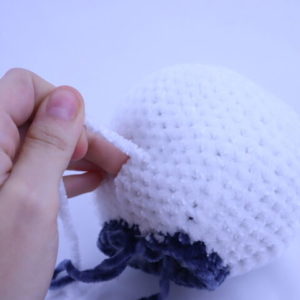
Insert needle with yarn into the bottom middle head area as shown (Pic 1). Pull needle out at top right corner of the eye as shown (Pic 2). Insert needle 2 stitches over and pull out at the top right corner of the next eye as shown (Pic 3). Reinsert needle 2 stitches to the left as shown (Pic 4).
1. 2.
2.
3. 4.
4.
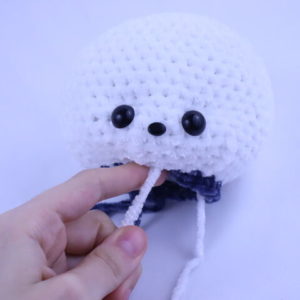
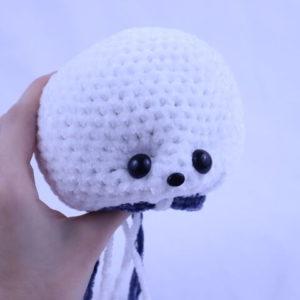
Pull needle out at original insertion spot (Pic 5). Pull both ends of yarn at the same time to tighten the face shaping (Pic 6-7). Tie both ends of yarn into a firm knot a few times. Bring the knot into the toy’s head to hide. Cut any excess yarn.
5. 6.
6.
7.
Method 2
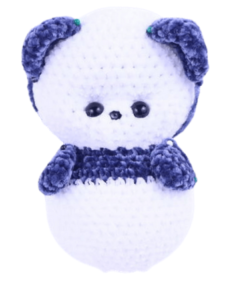
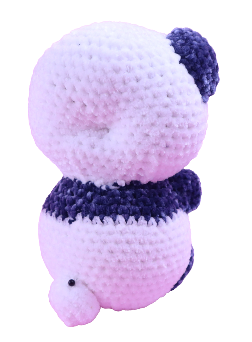
This second method is what I used for the pandas pictured in the pattern.
This way looks better to me, method 1 makes the panda have a more drawn down face with chubbier cheeks. Method 2 will result in a dip in the back of the head. If this bothers you, please do method 1.
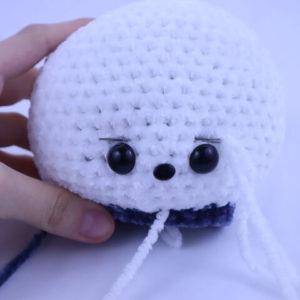
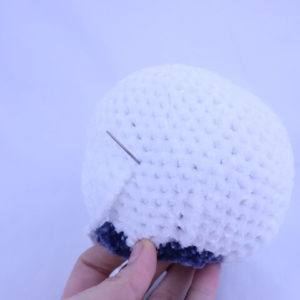
Insert needle with yarn into the middle area on the back of the toy’s head as shown (Pic 1). Pull needle out at the top corner of the right eye as shown (Pic 2). Reinsert needle 2 stitches to the left as shown (Pic 3). Pull needle out at the same middle area at the back of the toy’s head as shown (Pic 4)
1. 2.
2.
3. 4.
4.
Reinsert needle 1 stitch over (Pic 5). Pull needle out at the top corner of the left eye as shown (Pic 6). Reinsert needle 2 stitches to the left as shown (Pic 7). Pull needle out at the original insertion spot (Pic 8).
5. 6.
6.
7. 8.
8.
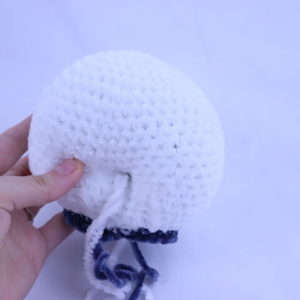
Pull both ends of yarn at the same time to tighten the face (Pic 9-10). Tie both ends of yarn into a firm knot a few times. Bring the knot into the toy’s head to hide. Cut any excess yarn. This method will create a dip in the back of the toy’s head (Pic 11).
9. 10.
10.
11.
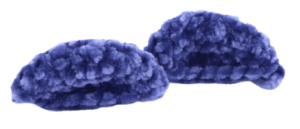
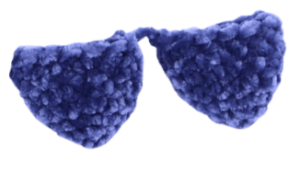
Ears: (Make 2)
In Contrast Color
Round 1: 6 Sc into a Magic Ring (6)
Round 2: *Inc* all around (12)
Round 3: *Inc, Sc* all around (18)
Round 4-5: *Sc* all around (18)
Finish off, leaving a long tail for sewing. Pin the ears as shown, the top being pinned on Round 5-6 and the bottom being pinned on Round 12. Sew on and weave in ends.
Arms: (Make 2)
In Contrast Color
Round 1: 6 Sc into a Magic Ring (6)
Round 2: *Inc, Sc* all around (9)
Round 3-6: *Sc* all around (9)
Finish off, leaving a long tail for sewing. Pin the arm as shown, the top being pinned on Round 24 and the bottom being pinned on Round 27. Sew on and weave in ends.
Legs: (Make 2)
In Contrast Color

Round 1: 6 Sc into a Magic Ring (6)
Round 2: *Inc* all around (12)
Round 3: *Inc, Sc* all around (18)
Round 4-5: *Sc* all around (18)
Finish off, leaving a long tail for sewing. Pin the legs as shown, the top being pinned on Round 33 and the bottom being pinned on Round 39. Sew on and weave in ends.
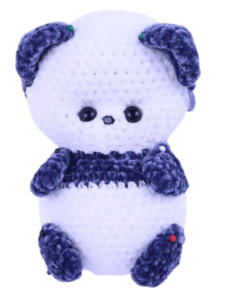
Tail:
In White
Round 1: 6 Sc into a Magic Ring (6)
Round 2: *Inc* all around (12)
Round 3: *Inc, Sc* all around (18)
Round 4-5: *Sc* all around (18)
Finish off, leaving a long tail for sewing. Pin the tail on as shown, the top being pinned on Round 33 and the bottom being pinned on Round 36. Sew on and weave in ends.
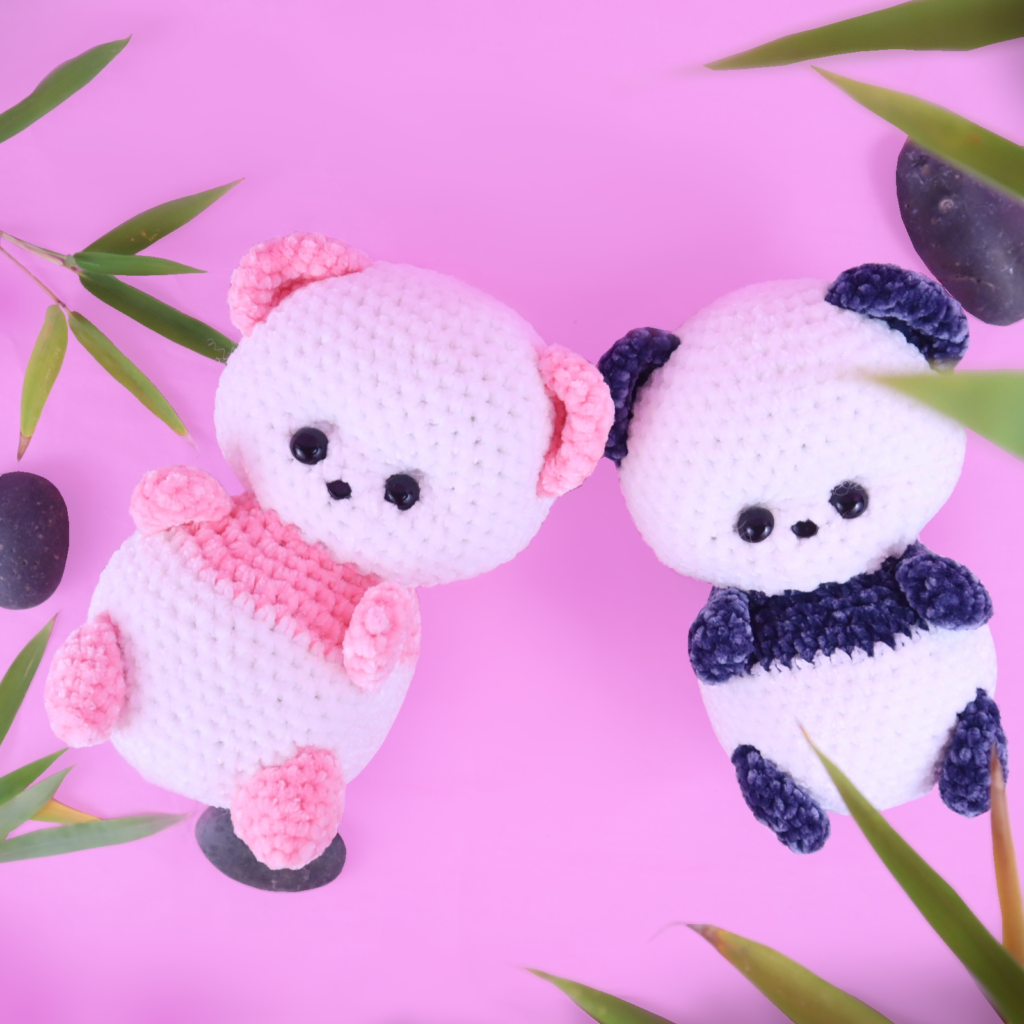
Done! If you made a panda I would LOVE to see! You can show me by posting a picture in the comments underneath this post 🙂


7 Comments
This patterns is so cute and so simple! My disco baby bear came together in just a few hours.
Awww this is cute! He’s so disco-y with those fun bright colors. That rainbow yarn you used is AMAZING too, what brand is it? I also really love where you placed the ears, it makes him look so innocent and baby-ish 🥰😍 You did a wonderful job and thank you so much for sharing a picture!
This looks so cute I love it 🥰,I am going to try and make it for my great grandson for Christmas.Thank you so much for your pattern God bless and stay safe
Hi Patty! Yaaay I’m really glad you like this baby panda 🙂 I know it would make an awesome Christmas present! What a lucky great grandson, I bet he will go crazy for it 🙂 Thank you so much for the super kind comment 😍
Here is the panda I made – my granddaughter loves him
Gasp!!!! That’s ADORABLE! Can you make me 100 of those? 😂 I love that panda so much, it reminds me of a strawberry. I’m happy you made it for your granddaughter, I could definitely see why she loves it! What a cutie! Thank you so much for sharing a picture 😍
What a cute pattern!! I just had to try it, and I really liked the result 🫶🏻