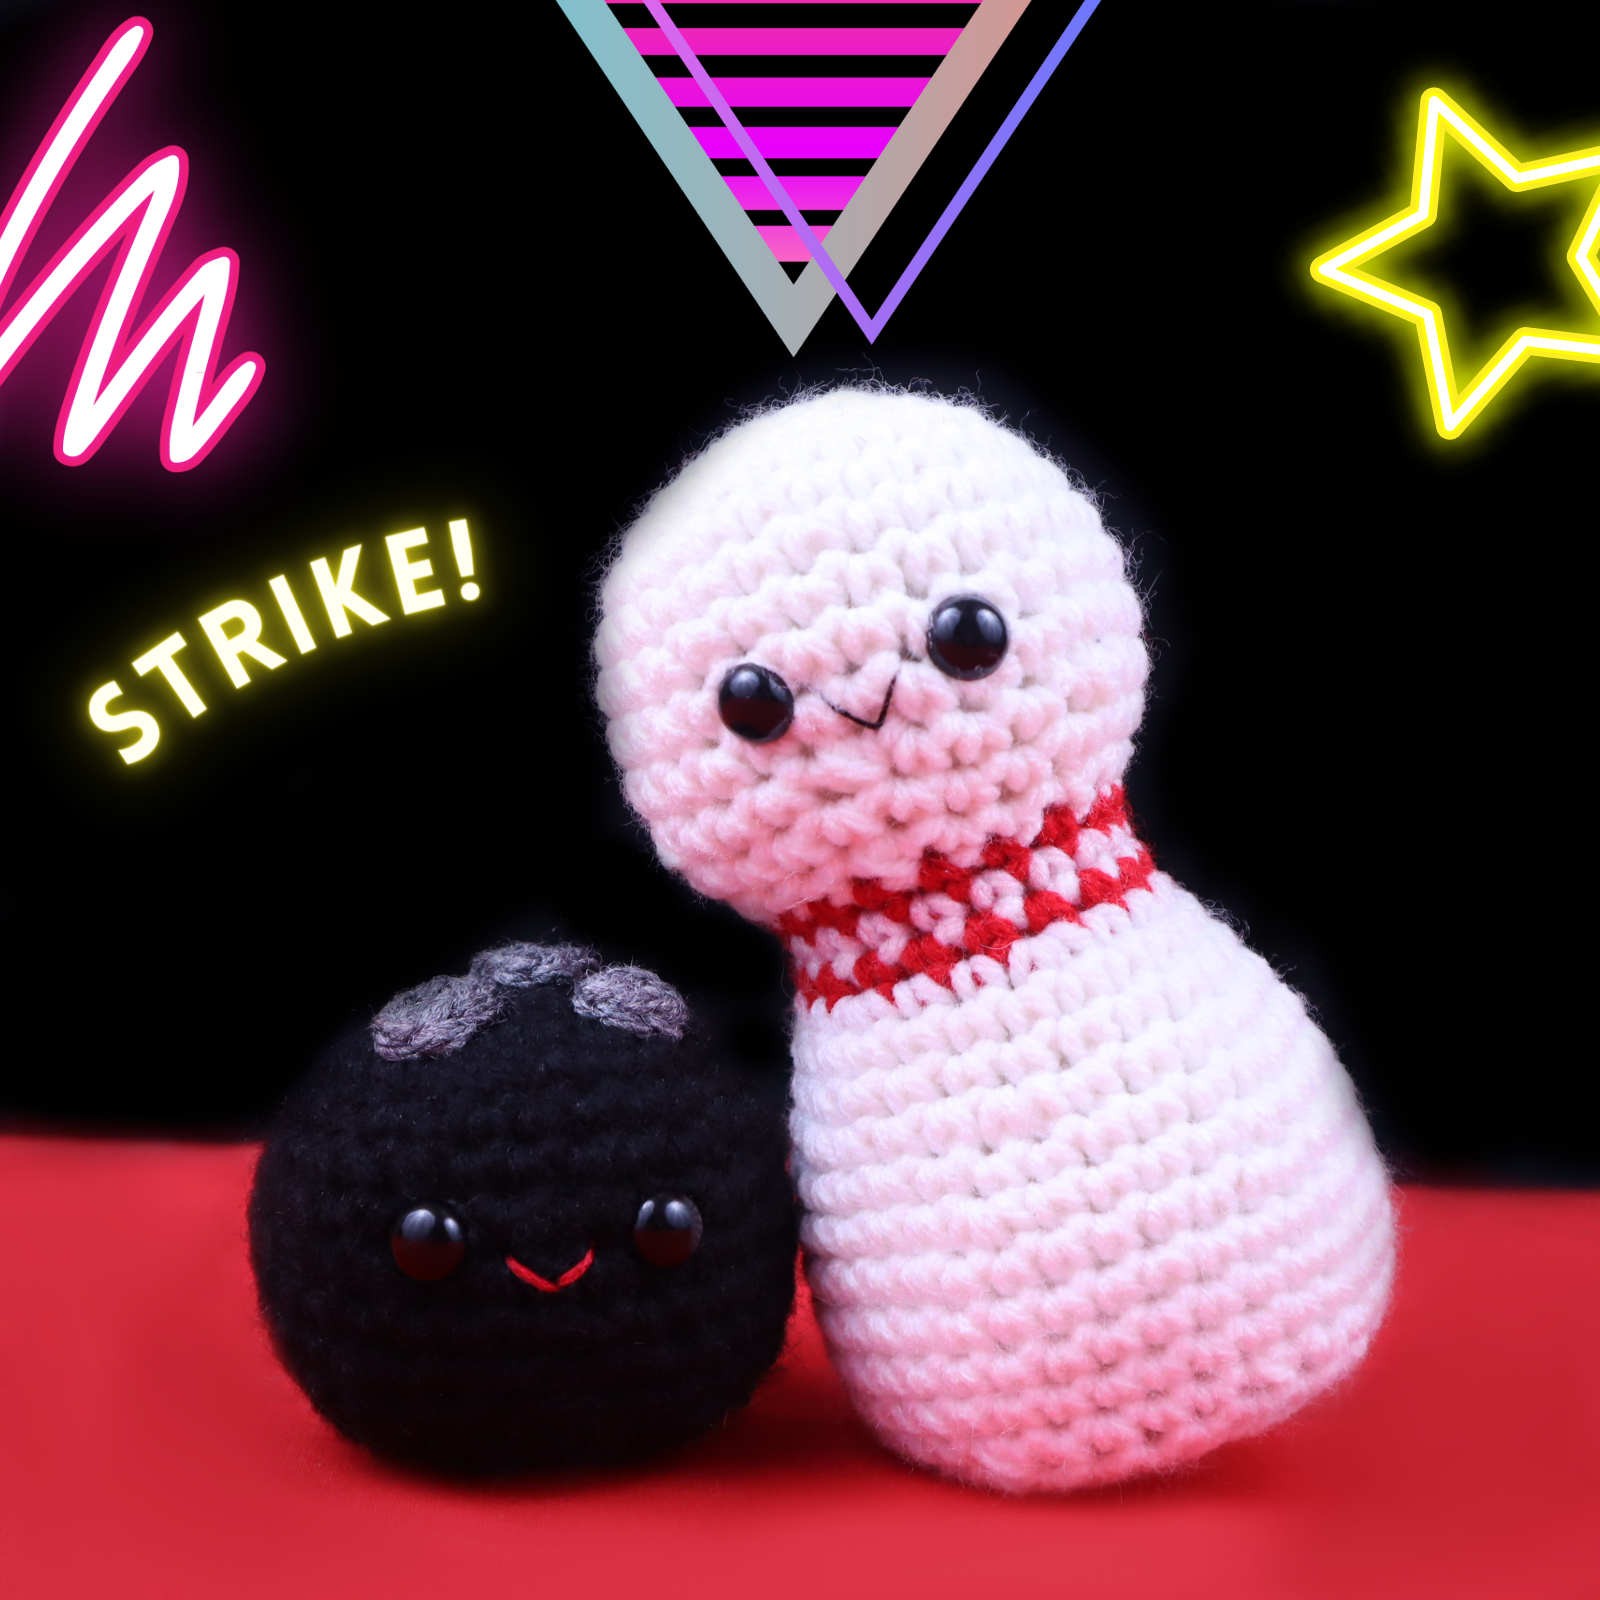
Bowling Pin & Ball Amigurumi – Free Crochet Pattern
It’s nearly summer, which means fun nights at the bowling alley are almost here! Who doesn’t love bowling? Oh my gosh, the food is probably my favorite part of going bowling 🙂 Mostly because I’m horrible at bowling and eating nachos is less shameful than constantly hitting the ball into the gutter LOL! I don’t know exactly what made me have the inspiration to make this bowling set, but I hope you like it. This set is obviously much smaller than an actual bowling pin and ball, but it would definitely be a blast to play with for any young kid!
I’ve been taking a much needed break from making patterns and have been crocheting some stuff for myself. Isn’t that so rare for us crocheters? We love crocheting for others haha 🙂 But, I wanted to let you know that I’m already planning the next few week’s worth of patterns. I was thinking maybe a clown doll, toilet (yup!), or scrap flowers? Do any of those stand out to you? Let me know in the comment, please! I’m thinking the toilet could be really funny if you think of the accessories that could go with it 😁
Okay, let’s get crocheting on this adorable amigurumi bowling set.
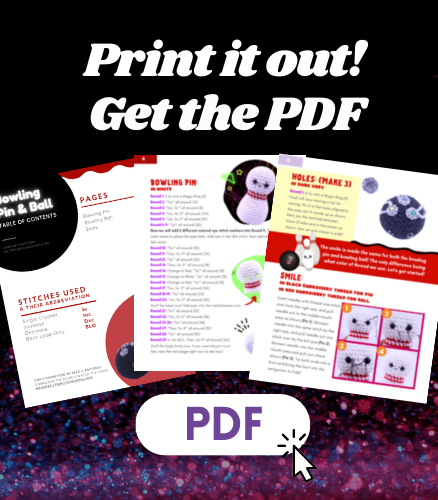
Print this pattern out! Purchase the PDF version here
 Supplies:
• Yarn colors in size 4/Medium Yarn…
White, Red, Black, and Dark Grey
•4mm Crochet Hook
•10mm safety eyes for both amigurumis
•Tapestry needle
•Scissors
•Stuffing
•Black Embroidery Thread
•Red Embroidery Thread
•Cardboard (Optional)
Additional Information:
- Difficulty: Easy
- Pattern is in US Terms
Getting started…
We’ll first start by making the bowling pin. Making it is fairly easy, we’ll start at the top of the pin and work our way down! I recommend adding cardboard to the bottom of the pin to stabilize it, however this is optional.
Next, we make the ball! This is also really easy, and the only sewing in this pattern is attaching the circle holes to the ball.
Recommended Yarns:
JoAnn Fabric’s “Big Twist” Yarn
Red Heart Super Saver Yarn
Hobby Lobby’s “I Love This Yarn!”
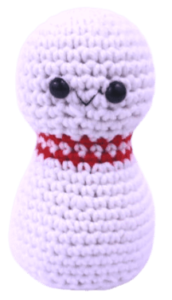
Bowling Pin:
In White
Round 1: 6 Sc into a Magic Ring (6)
Round 2: *Inc* all around (12)
Round 3: *Inc, Sc* all around (18)
Round 4: *Inc, Sc 2* all around (24)
Round 5: *Inc, Sc 3* all around (30)
Round 6-9: *Sc* all around (30)
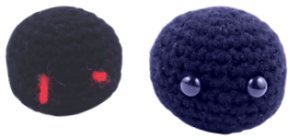
Now we will add 2 different colored eye stitch markers into Round 9. These will mark where to place the eyes later. Add one in the 14th stitch, then add another in the 18th stitch.
Round 10: *Sc* all around (30)
Round 11: *Dec, Sc 3* all around (24)
Round 12: *Sc* all around (24)
Round 13: *Dec, Sc 2* all around (18)
Round 14: Change to Red. *Sc* all around (18)
Round 15: Change to White. *Sc* all around (18)
Round 16: Change to Red. *Sc* all around (18)
Round 17: *Inc, Sc 2* all around (24)
Round 18-19: *Sc* all around (24)
Round 20: *Inc, Sc 3* all around (30)
Stuff the head now! Add eyes into the marked areas now.

Round 21: *Sc* all around (30)
Round 22: *Inc, Sc 4* all around (36)
Round 23-26: *Sc* all around (36)
Round 27: *Dec, Sc 4* all around (30)
Round 28: *Sc* all around (30)
Round 29: In the BLO, *Dec, Sc 3* all around (24)
Stuff the body firmly now.
If you want the pin to sit flat, follow the instructions below:
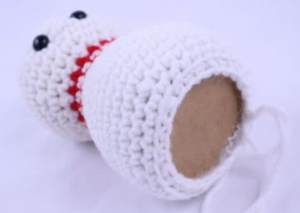
We need to add cardboard to the bottom so the pin sits flat after adding stuffing.
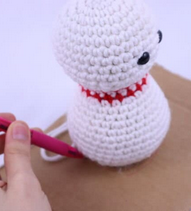
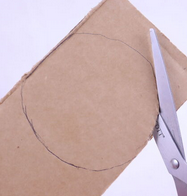
Step 1. Place the pin on cardboard and trace around the bottom of the cup (Pic 1)
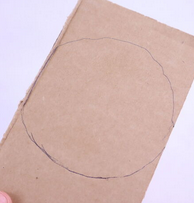
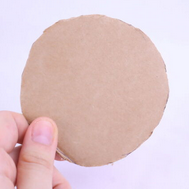
Step 2. You will have a circle (Pic 2). Cut around the circle with scissors (Pic 3-4)
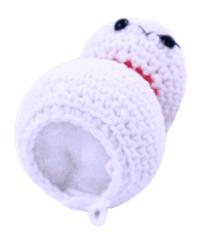
Step 3. Place the circle into the bottom of the cup (Pic 5).
1. 2.
2. 3.
3.
4. 5.
5.
Round 30: In BOTH Loops, *Dec, Sc 2* all around (18)
Round 31: *Dec, Sc* all around (12)
Round 32: *Dec* all around (6)
Finish off now. Sew the remaining stitches closed and weave in ends.
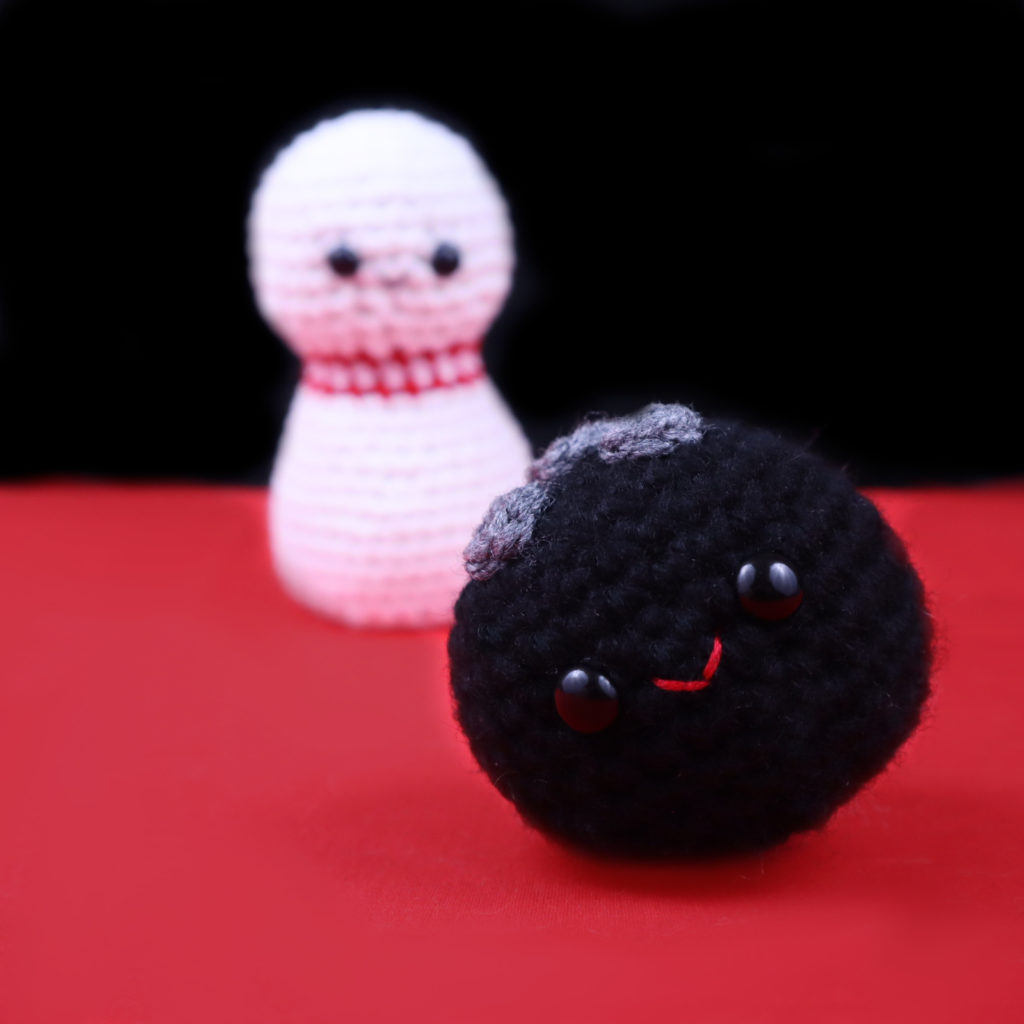
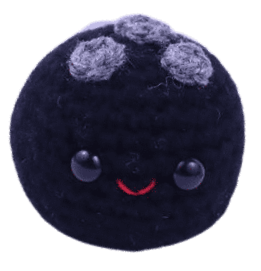
Bowling Ball:
In Black
Round 1: 6 Sc into a Magic Ring (6)
Round 2: *Inc* all around (12)
Round 3: *Inc, Sc* all around (18)
Round 4: *Inc, Sc 2* all around (24)
Round 5: *Inc, Sc 3* all around (30)
Round 6-8: *Sc* all around (30)
Now we will add 2 different colored eye stitch markers into Round 8. These will mark where to place the eyes later. Add one in the 14th stitch, then add another in the 18th stitch.
Round 9-12: *Sc* all around (30)
Add eyes into the marked areas now!
Round 13: *Dec, Sc 3* all around (24)
Round 14: *Dec, Sc 2* all around (18)
Stuff here. Continue adding stuffing after each round.
Round 15: *Dec, Sc* all around (12)
Round 16: *Dec* all around (6)
Finish off now. Sew the remaining stitches closed and weave in ends.
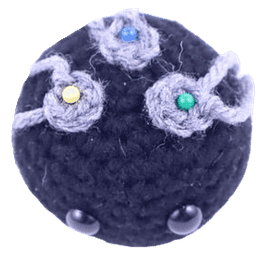
Holes: (Make 3)
In Dark Grey
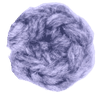
Round 1: 6 Sc into a Magic Ring (6)
Finish off now, leaving a tail for sewing. Pin 2 of the holes aligned to the eyes, but 5 rounds up as shown. Next, pin the last hole between those 2 holes and in the center as shown. Sew on and weave in ends!
Smile
In black embroidery thread for pin
in red embroidery thread for ball
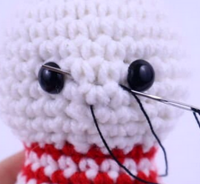
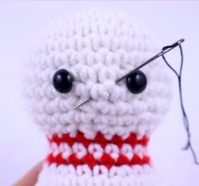
The smile is made the same for both the bowling pin and bowling ball! The only difference being what color of thread we use. Let’s get started!
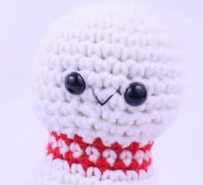
Insert needle with thread one stitch over from the right eye, and pull needle out to the middle mouth area as shown (Pic 1). Reinsert needle into the same stitch by the right eye, and pull needle out one stitch over by the left eye (Pic 2). Reinsert needle into the middle mouth area and pull out where shown (Pic 3). Tie both ends into a knot and bring the knot into the amigurumi to hide!
1. 2.
2.
3.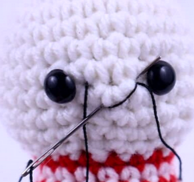 4.
4.


1 Comment
I believe there’s an error in changing back to white yarn at row 17. Pattern doesn’t say change back to white . Otherwise the whole bottom of bowling pin would be red.