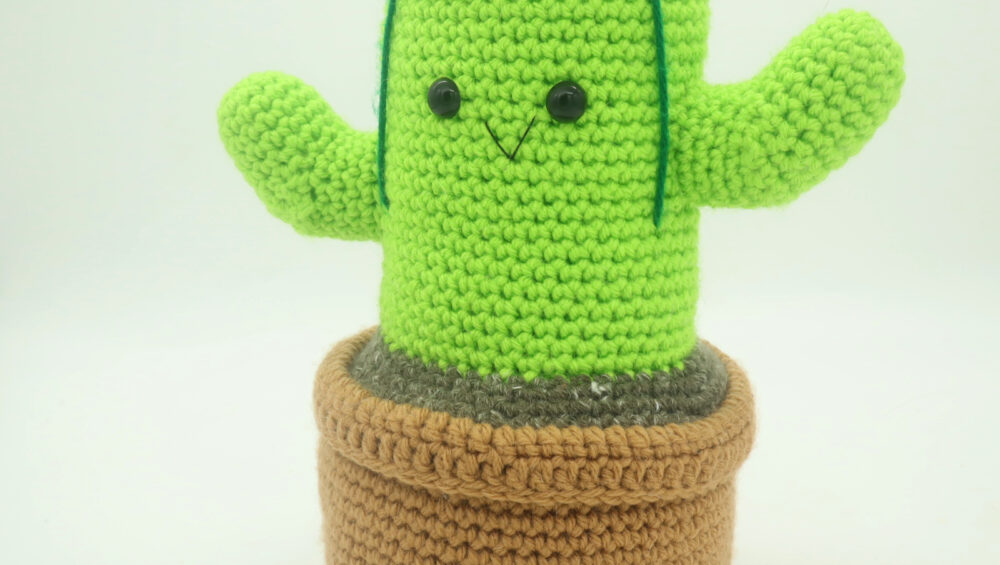
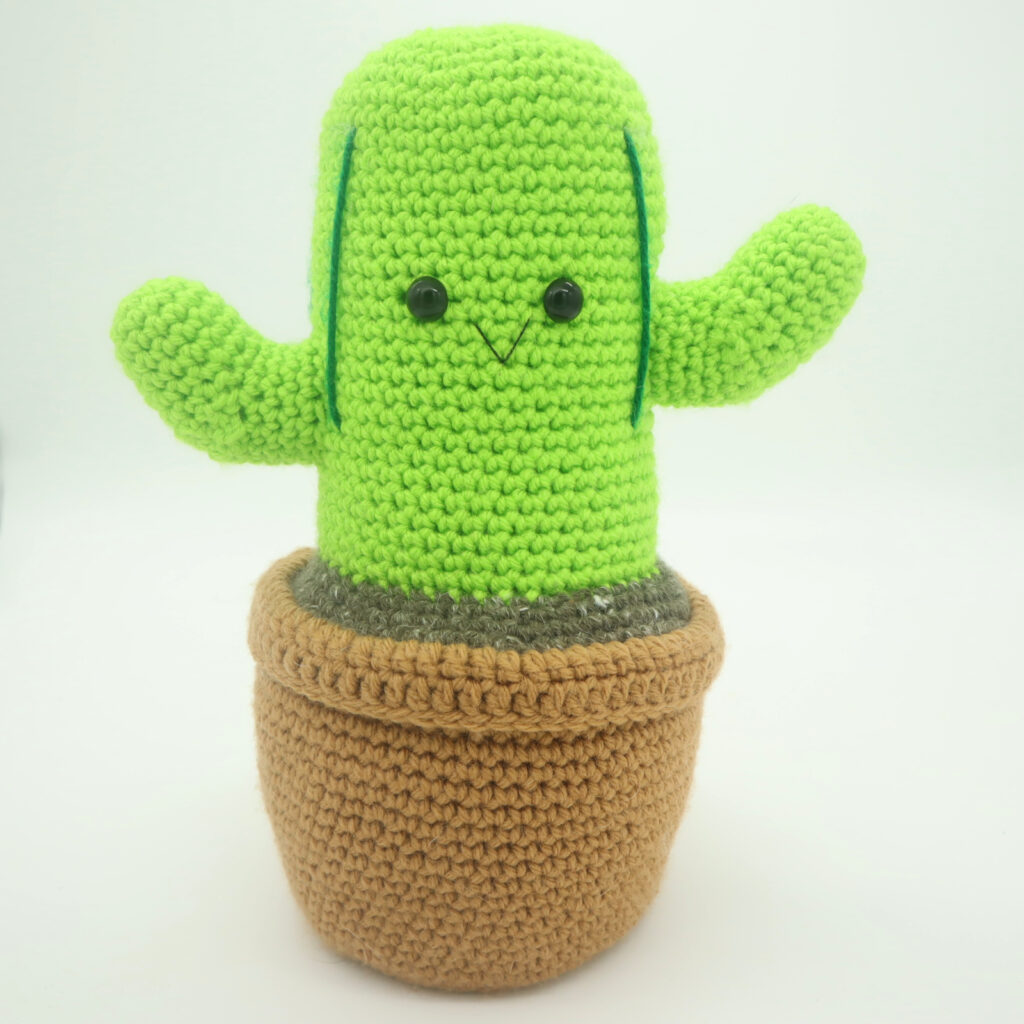
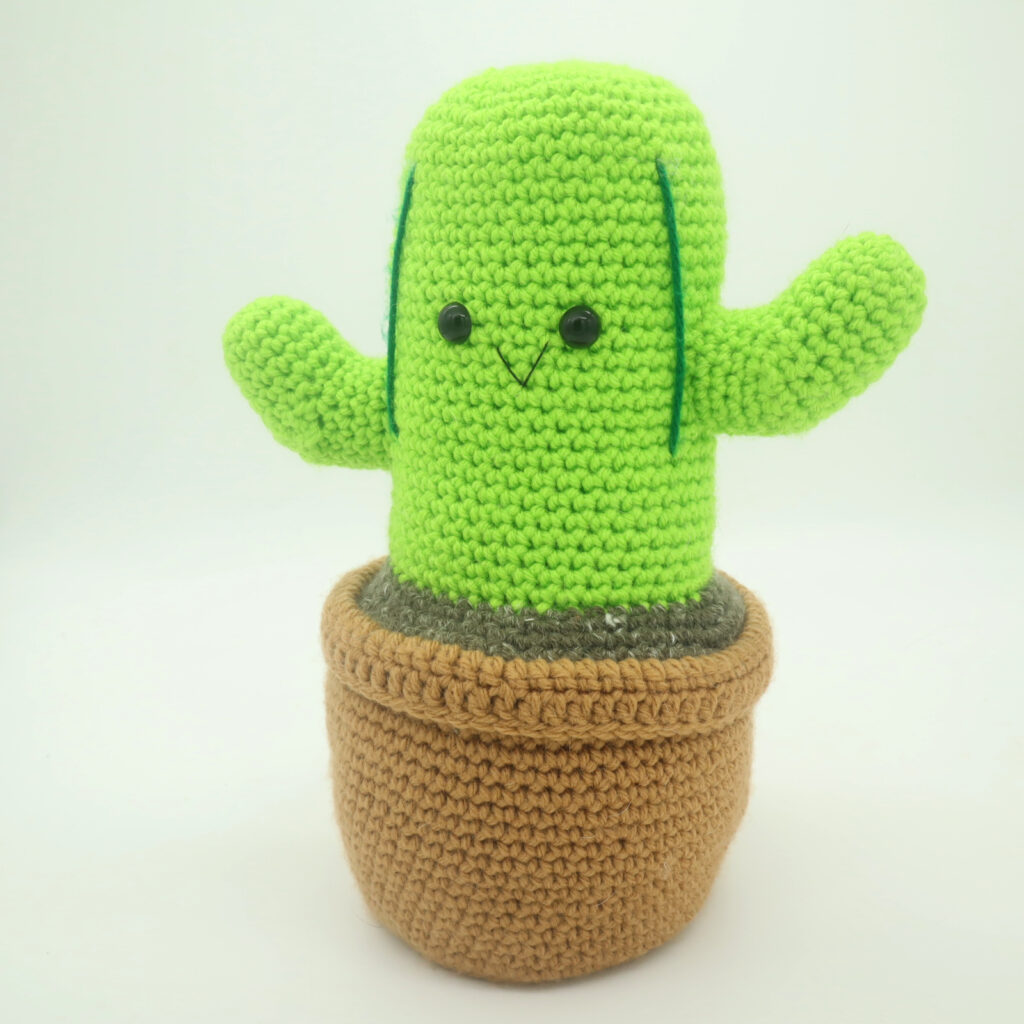
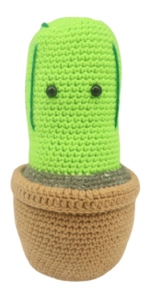
Cactus Amigurumi – Free Crochet Pattern
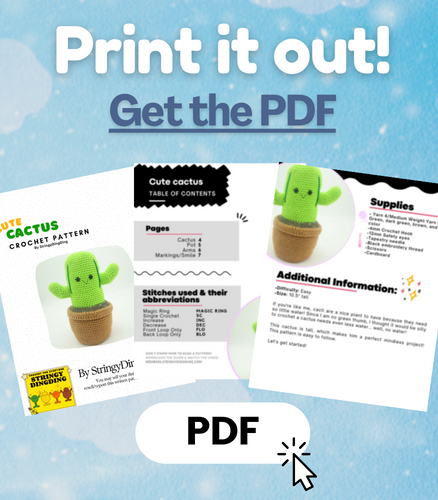
Print this pattern out – purchase the PDF version here!

 Supplies:
• Yarn 4/Medium Weight Yarn in…
Green, dark green, brown, and soil color
•4mm Crochet Hook
•12mm Safety eyes
•Tapestry needle
•Black embroidery thread
•Scissors
•Cardboard
Additional Information:
•Difficulty: Easy
•Size: 10.5″ tall
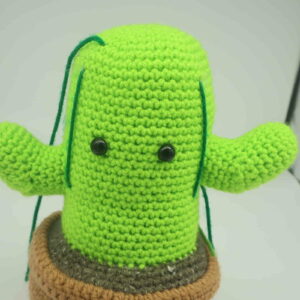
If you’re like me, cacti are a nice plant to have because they need so little water! Since I am no green thumb, I thought I would crochet a cactus that needs even less water than a real one… well, no water! This cactus is tall, which makes him a perfect mindless project! This pattern is easy to follow.
Let’s get started!
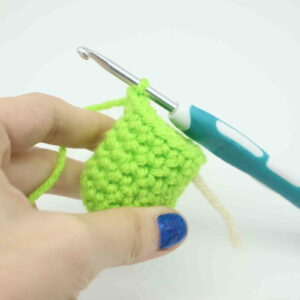
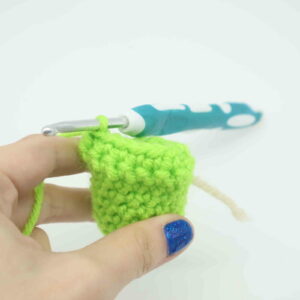
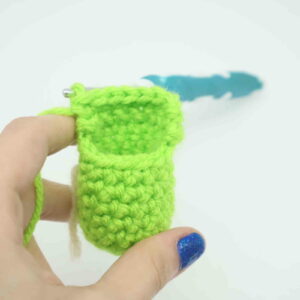
Cactus:
In green
We will start by making the tip of the cactus and working our way down. The cactus and soil will be made in the same continuous piece!

Round 1: 6 Sc into a Magic Ring (6)
Round 2: *Inc* all around (12)
Round 3: *Inc, Sc in the next st* all around (18)
Round 4: *Inc, Sc in the next 2 st* all around (24)
Round 5: *Inc, Sc in the next 3 st* all around (30)
Round 6: *Inc, Sc in the next 4 st* all around (36)
Round 7: *Inc, Sc in the next 5 st* all around (42)
Round 8-18: *Sc* all around (42)
Now we will mark where to place the safety eyes. Add a different colored stitch marker in the 20th and 25th stitch in Round 18.
Round 19-32: *Sc* all around (42)
Add the eyes into the marked areas now.
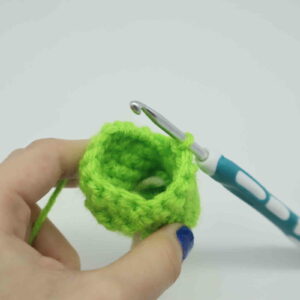
Round 33: Change to your dirt color. In the Front Loop Only, repeat *Inc, Sc in the next 6 st* all around (48)
Round 34: In BOTH loops, repeat *Inc, Sc in the next 7 st* all around (54)
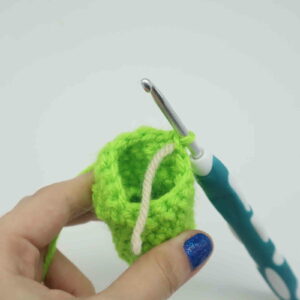
Finish off now. We will now crochet the pot and assemble the pot to the cactus after.
Now we will add in cardboard so the bottom and top of the pot sit flat!
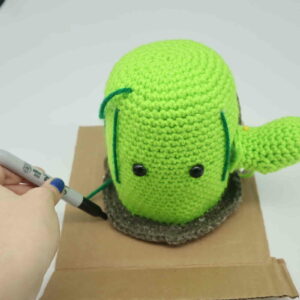
Step 1. Place the cactus on cardboard and trace around the entire bottom of the soil (Pic 1)
1.
Step 2. You will have a circle (Pic 2). Cut around the circle with scissors (Pic 3-4)
2.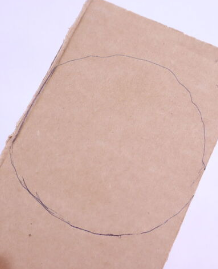 3.
3.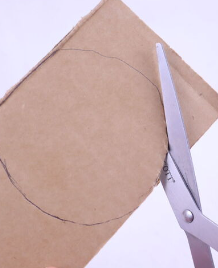 4.
4.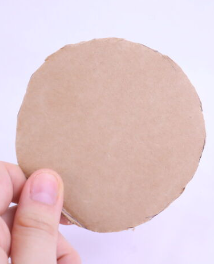
Step 3. Set the cardboard aside for now. We will insert it later once we’ve crocheted the pot.
Pot:
In brown
Round 1: 6 Sc into a Magic Ring (6)
Round 2: *Inc* all around (12)
Round 3: *Inc, Sc in the next st* all around (18)
Round 4: *Inc, Sc in the next 2 st* all around (24)
Round 5: *Inc, Sc in the next 3 st* all around (30)
Round 6: *Inc, Sc in the next 4 st* all around (36)
Round 7: *Inc, Sc in the next 5 st* all around (42)
Round 8: *Inc, Sc in the next 6 st* all around (48)
Round 9: *Inc, Sc in the next 7 st* all around (54)
Round 10: In the Back Loop Only, *Sc* all around (54)
Round 11-27: *Sc* all around (54)
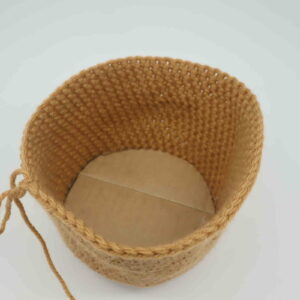
Place the pot on top of a piece of cardboard. Trace around the base of the pot with a pen. Cut out the circle! This cardboard circle will help flatten the bottom of the pot. Place the cardboard into the bottom of the pot now. Stuff the pot now, or you can stuff while doing the next round.
1. 2.
2. 3.
3.
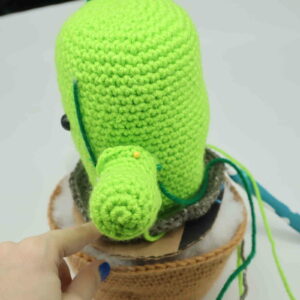
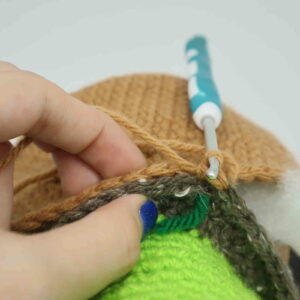
Round 28: Now we will crochet the pot to the cactus. Line up both the stitches of the dirt and pot together as shown (Pic 1-4). Inserting your hook through both stitches as shown, make 1 single crochet all round. Mark your first Sc made with the stitch marker! This will mark the first stitch of the round. Be sure to add the cardboard piece in before fully crocheting closed. (54)
1. 2.
2. 3.
3. 4.
4. 5.
5.
Round 29-30: Make 1 Dc into each stitch all around (54)
Finish off now. Weave in ends. The double crochet rounds will roll over the pot and make the lip of the pot.
Arm:
In green
Round 1: 6 Sc into a Magic Ring (6)
Round 2: *Inc* all around (12)
Round 3: Repeat *Inc, Sc in the next 3 st* 3 times (15)
Round 4-8: *Sc* all around (15)
Now we will work in short rows. This will help create the bending arm!
Row 9: Turn. Sc in the next 9 st (Pic 1)
1.
Row 10: Turn. Sc in the next 9 st (Pic 2-3)
2. 3.
3.
Row 11: Turn. Dec 1 time, Sc in the next 5 st, Dec 1 time (Pic 4, Stitch count: 7)
4.
Row 12: Turn. Sc in the next 7 st. Now we will work on the side of the row. Sc 1 time on the side of the row (Pic 5-7).
5. 6.
6. 7.
7.
Working on the round, Sc in the next 6 st (Pic 8-9). Working on the side of the row, Sc in the next st 1 (Pic 10) (Stitch count: 15)
8. 9.
9. 10.
10. Round 13-16: Now we will work in rounds. Continuing in the next st. *Sc* all around Be sure to add a stitch marker to the first stitch you make , this will mark where the start of each round. (15)
Finish off, leaving a long tail for sewing. Stuff the arm firmly now. Pin the arms on as shown, make sure the right arm is pinned on higher than the left arm! Now sew on and weave in ends. Cut any excess yarn.
11. 12.
12.
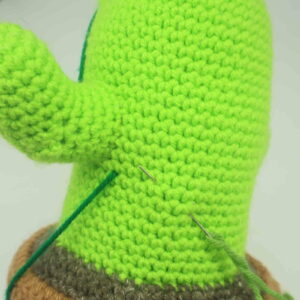
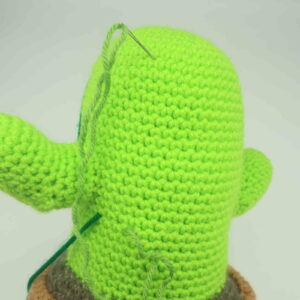
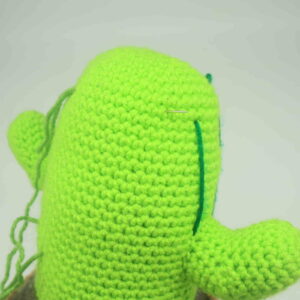
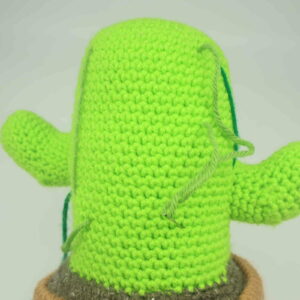
Cactus Marks:
In Dark Green
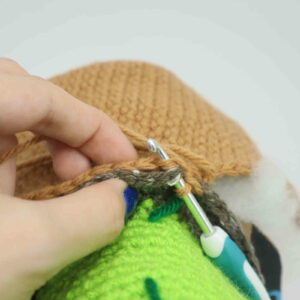
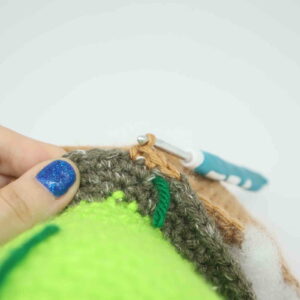
Place a long piece of dark green yarn onto a needle. Insert needle into the lower-middle area of the cactus (Pic 1). Insert needle at the top of the cactus (Pic 2). Pull needle out a number of stitches away as shown (Pic 3). Insert needle directly down, lining up with the first left line we made (Pic 4). Repeat this process for both the front and back of the cactus!
1. 2.
2. 3.
3. 4.
4. 5.
5.
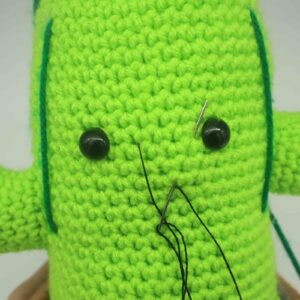
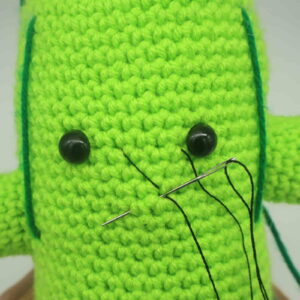
Smile:
In black embroidery thread
Insert needle with thread into the middle mouth area of the toy, and pull the needle out next to the toy’s left eye as shown (Pic 1). Reinsert needle into the middle mouth area (Pic 2) and pull needle out next to the right eye (Pic 2). Reinsert needle into the middle mouth area and pull needle out a few stitches over. Tie the ends of thread into firm knots and bring them inside the toy to hide. This will secure the smile. Done!
1. 2.
2. 3.
3. 4.
4.
Done! If you made a cactus, I would LOVE to see it! You can show me by posting a picture in the comments section underneath this post!


1 Comment
Thank you for the adorable patern. This is going to make a great gift for my daughter. I know she won’t kill this off.
Thanks again. Hope you have a great holiday season