Get the PDF version here
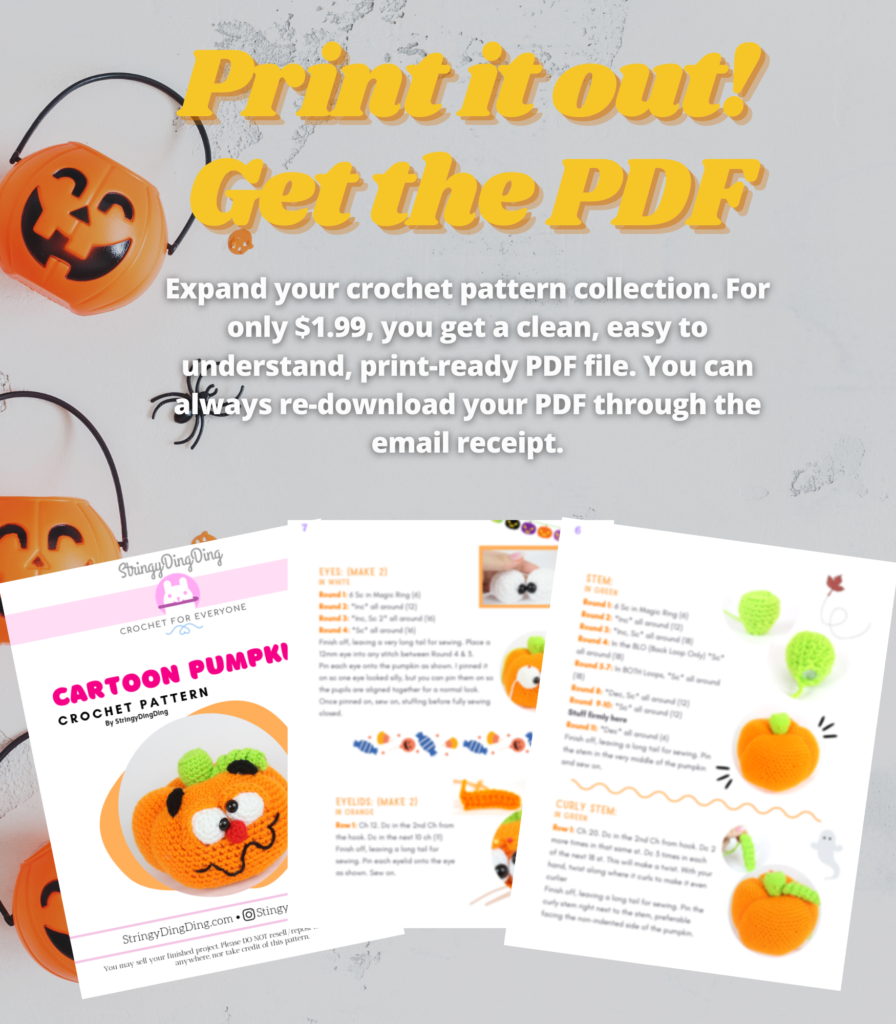
Or Get the entire Halloween PDF Bundle
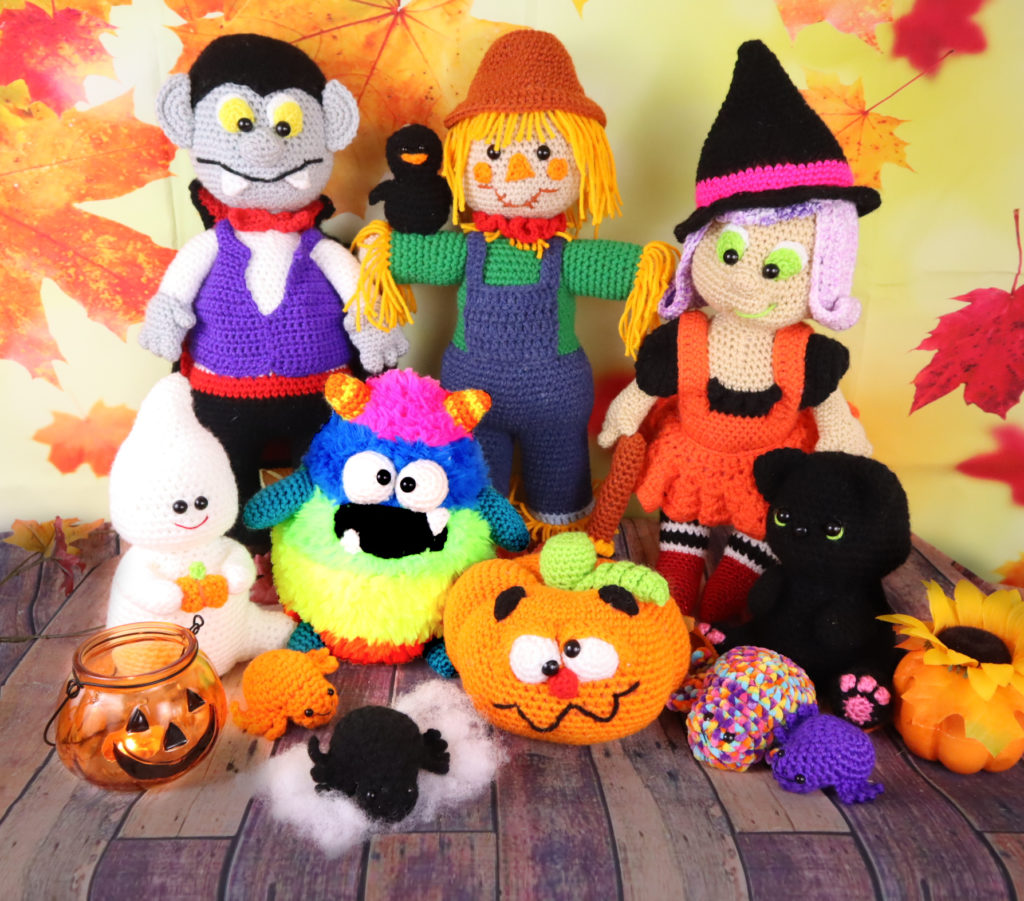
Show me the rest of the Halloween bundle, no PDFs.
Supplies:
• Yarn 4/Medium Weight Yarn in…
Orange, Green, Red, White, and Black
• 4mm Crochet Hook
•12mm safety eyes
•Tapestry needle
•Scissors
•Stuffing
Additional Information:
Difficulty: Intermediate
• Size
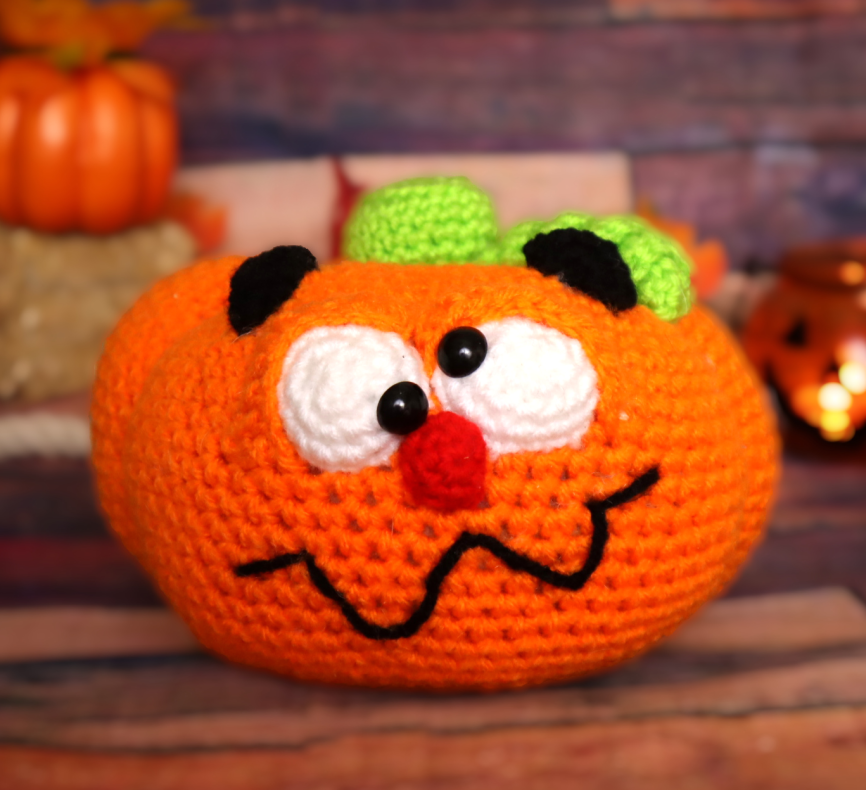
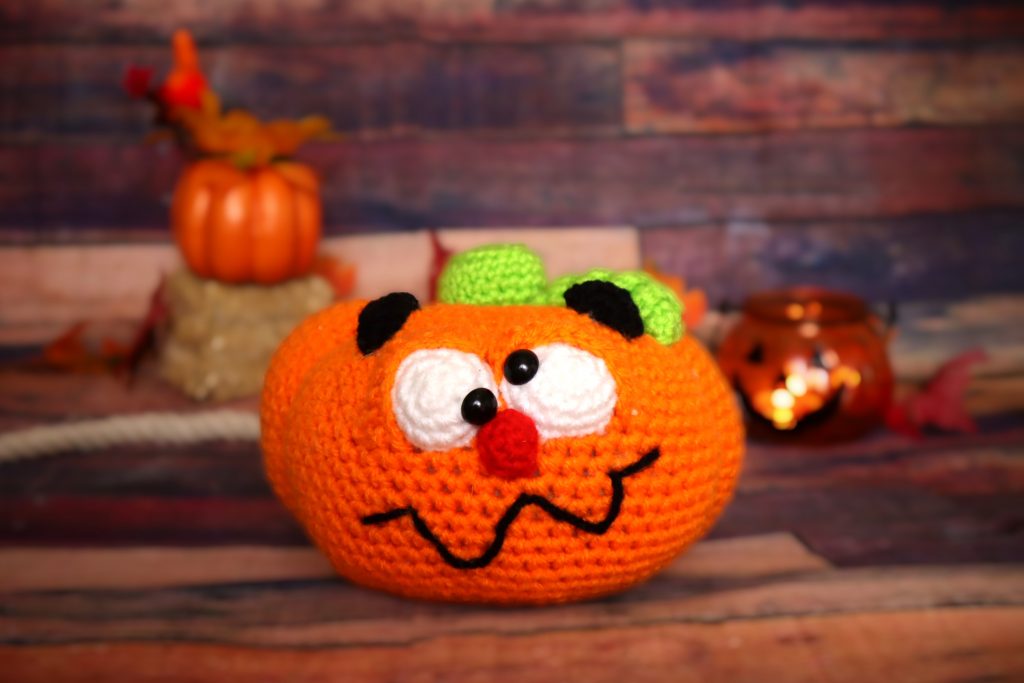
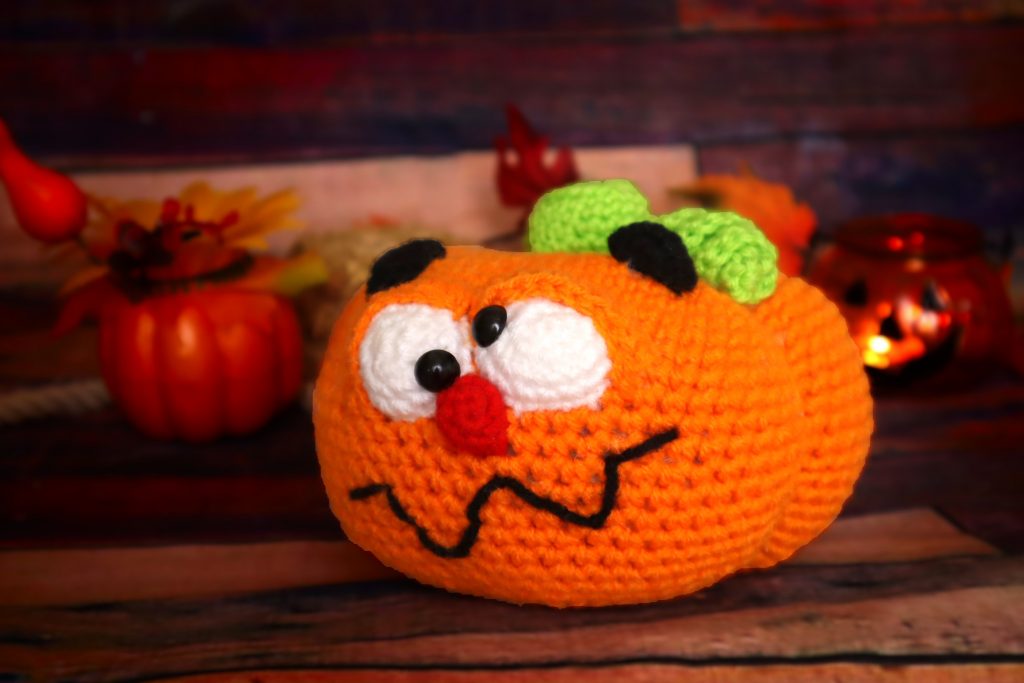
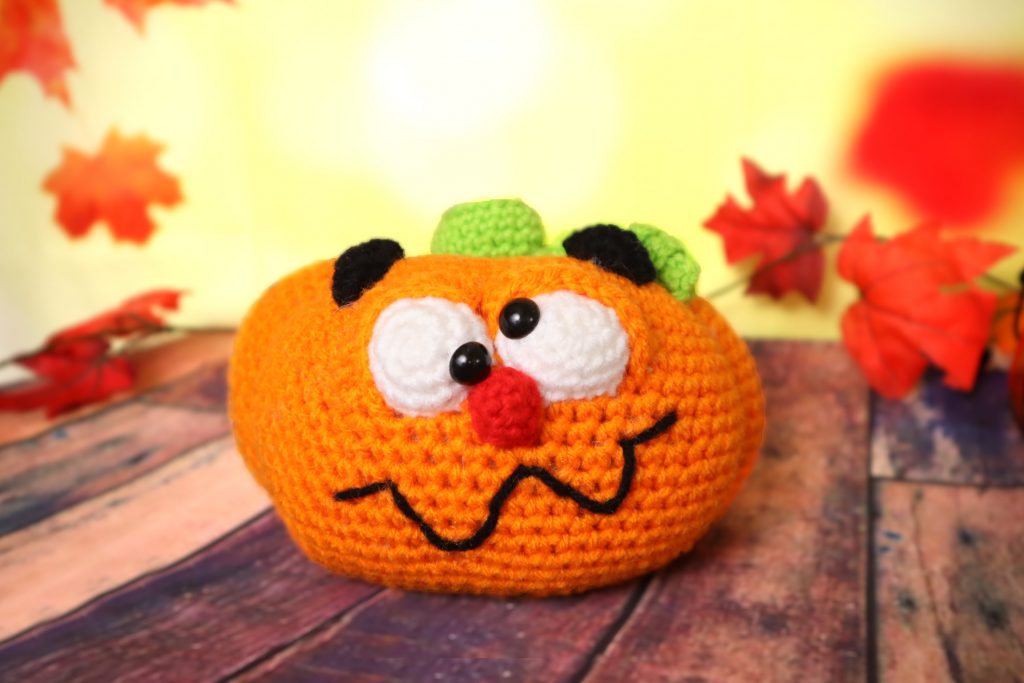
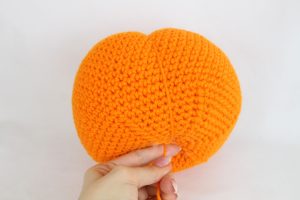
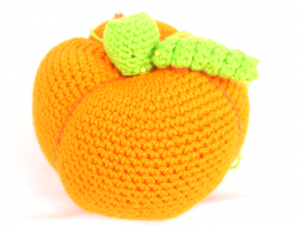
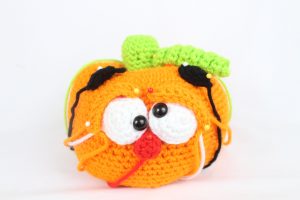
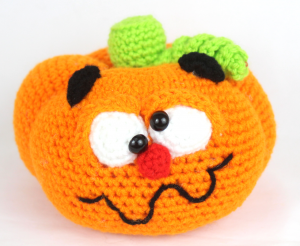
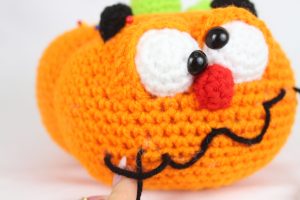
This is a large pumpkin. He’s about 6.5″ wide and 4.5″ tall.
• Getting started
We start with making the pumpkin’s body. After this we make the indents for the body to look more like a pumpkin. Next, we make the stems and facial features!
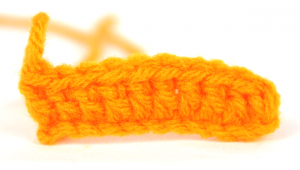
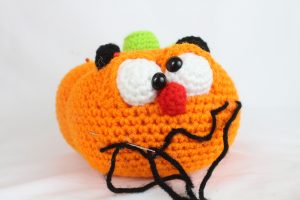
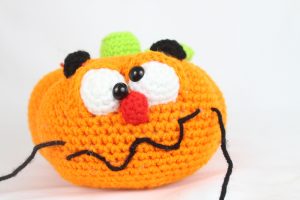
Pumpkin:
In Orange
To make the pumpkin we’re first going to make a large ball. After this, we will give the pumpkin it’s shape.
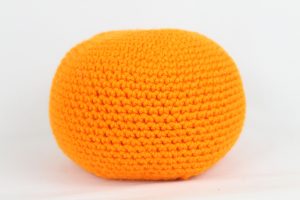
Round 1: 6 Sc in Magic Ring (6)
Round 2: *Inc* all around (12)
Round 3: *Inc, Sc* all around (18)
Round 4: *Inc, Sc 2* all around (24)
Round 5: *Inc, Sc 3* all around (30)
Round 6: *Inc, Sc 4* all around (36)
Round 7: *Inc, Sc 5* all around (42)
Round 8: *Inc, Sc 6* all around (48)
Round 9: *Inc, Sc 7* all around (54)
Round 10: *Inc, Sc 8* all around (60)
Round 11: *Inc, Sc 9* all around (66)
Round 12-27: *Sc* all around (66)
Round 28: *Dec, Sc 9* all around (60)
Round 29: *Dec, Sc 8* all around (54)
Round 30: *Dec, Sc 7* all around (48)
Stuff here. Continue stuffing firmly after each round.
Round 31: *Dec, Sc 6* all around (42)
Round 32: *Dec, Sc 5* all around (36)
Round 33: *Dec, Sc 4* all around (30)
Round 34: *Dec, Sc 3* all around (24)
Round 35: *Dec, Sc 2* all around (18)
Round 36: *Dec, Sc* all around (12)
Round 37: *Dec* all around (6)
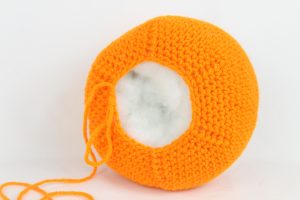
Finish off, leaving a ~25″ tail for sewing. Sew the bottom closed. Now don’t cut the tail yarn. Instead, continue on to the assembly!

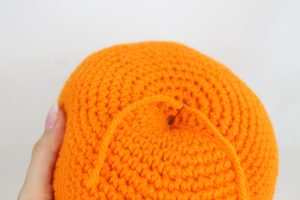
Assembly:
In Orange
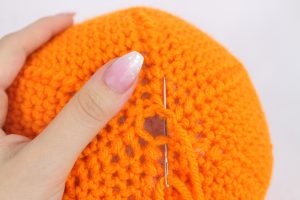
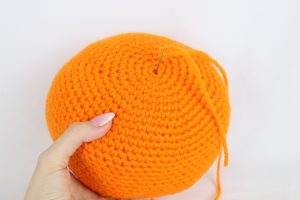
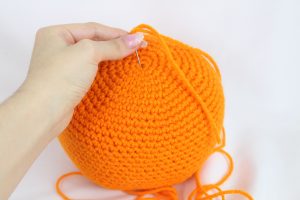
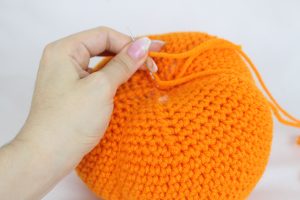
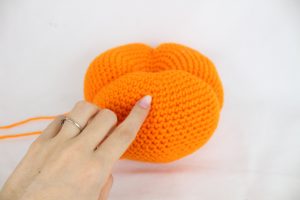
The long tail of yarn should be at the very center bottom of the pumpkin (Pic 1). Now put the needle into the very center top of the pumpkin (Pic 2) and pull it all the way back down to the bottom center of the pumpkin (Pic 3-4).
Note that you will have to squish the pumpkin to get the needle down to the bottom easier.
1. 2.
2.
3. 4.
4.
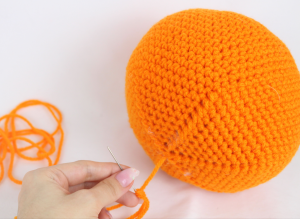
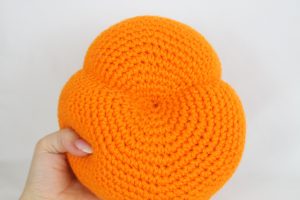
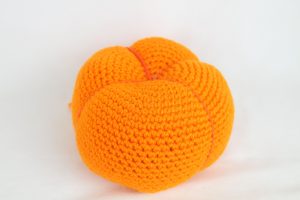
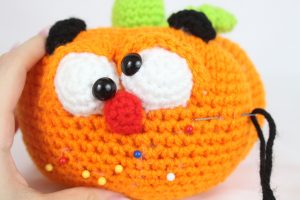
Now that the yarn is at the bottom, tug the thread very firmly but not too tight to break the yarn (Pic 5). This will create an indent. Reinsert needle into the top (Pic 6) and pull needle out to the bottom (Pic 7). We will have two indents, taking up about 2/3 of the pumpkin (Pic 8). Leave 1/3 of the pumpkin with no indents, as this is where we’ll put the face (Pic 9). Repeat the indent process once more inside each 1/3 (Pic 10-11). Done!
5. 6.
6.
7. 8.
8.
9. 10.
10.
11. 12.
12.
Stem:
In Green
Round 1: 6 Sc in Magic Ring (6)
Round 2: *Inc* all around (12)
Round 3: *Inc, Sc* all around (18)
Round 4: In the BLO (Back Loop Only) *Sc* all around (18)
Round 5-7: In BOTH Loops, *Sc* all around (18)
Round 8: *Dec, Sc* all around (12)
Round 9-10: *Sc* all around (12)
Stuff firmly here
Round 11: *Dec* all around (6)
Finish off, leaving a long tail for sewing. Pin the stem in the very middle of the pumpkin and sew on.
Curly Stem:
In Green

Row 1: Ch 20. Dc in the 2nd Ch from hook. Dc 2 more times in that same st. Dc 3 times in each of the next 18 st. This will make a twist. With your hand, twist along where it curls to make it even curlier
Finish off, leaving a long tail for sewing. Pin the curly stem right next to the stem, preferable facing the non-indented side of the pumpkin.
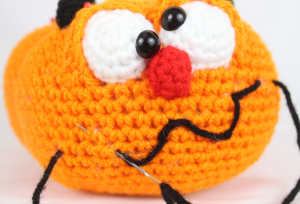
Eyes: (Make 2)
In White
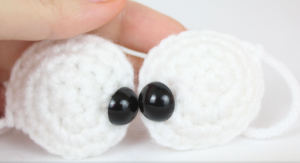
Round 1: 6 Sc in Magic Ring (6)
Round 2: *Inc* all around (12)
Round 3: *Inc, Sc 2* all around (16)
Round 4: *Sc* all around (16)
Finish off, leaving a very long tail for sewing. Place a 12mm eye into any stitch between Round 4 & 3.
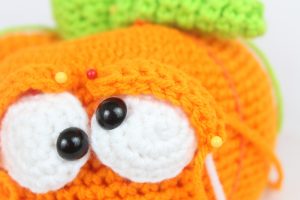
Pin each eye onto the pumpkin as shown. I pinned it on so one eye looked silly, but you can pin them on so the pupils are aligned together for a normal look.
Once pinned on, sew on, stuffing before fully sewing closed.
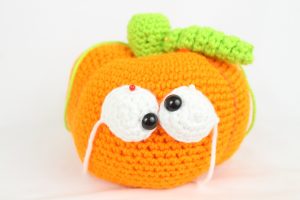
Eyelids: (Make 2)
In Orange
Row 1: Ch 12. Dc in the 2nd Ch from the hook. Dc in the next 10 ch (11)
Finish off, leaving a long tail for sewing. Pin each eyelid onto the eye as shown. Sew on.
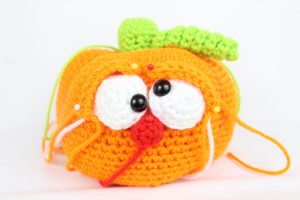
Nose:
In Red
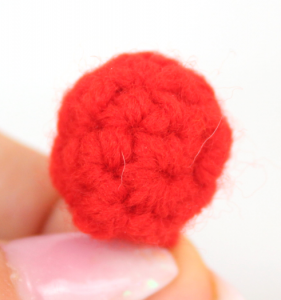
Round 1: 6 Sc in Magic Ring (6)
Round 2: *Inc, Sc 2* all around (8)
Round 3-4: *Sc* all around (8)
Finish off, leaving a very long tail for sewing. No need to stuff the nose. Pin the nose below and between the eyes as shown. Sew on.
Eyebrows: (Make 2)
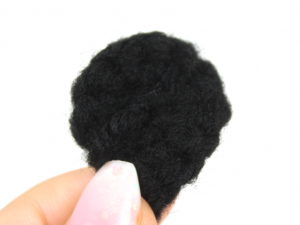
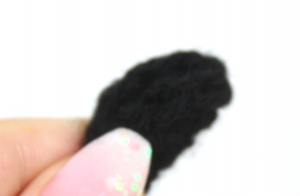
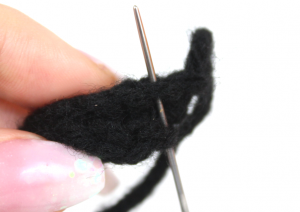
In Black
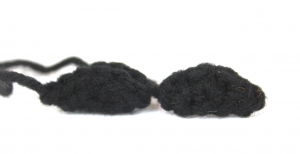
Round 1: 6 Sc in Magic Ring (6)
Round 2: *Inc* all around (12)
Finish off, leaving a long tail for sewing.
We will have a circle (Pic 1). Fold the circle in half and sew closed where the stitches align (Pic 2-3). Pin each eyebrow to the pumpkin as shown (Pic 4), the part we sewed should face up. Sew eyebrows onto the pumpkin.
1. 2.
2.
3. 4.
4.
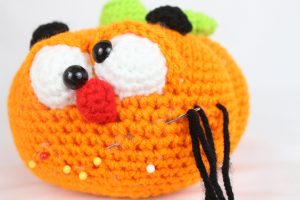
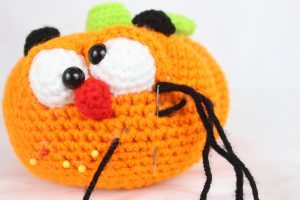
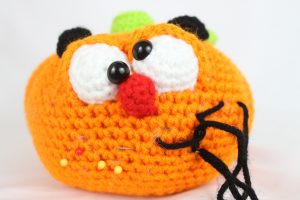
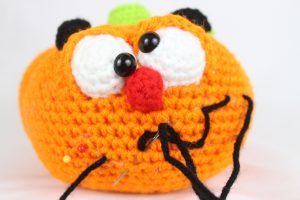
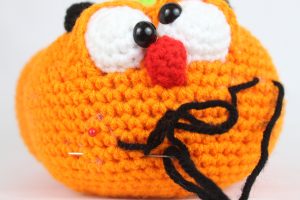
Smile:
In Black
The smile is a little detailed to get just right, but it’s well worth it. If you’d prefer, you can sew on a smile however you want! It may be easier that way. However, follow the directions below to get the silly smile.
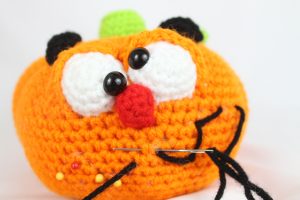
Insert needle with thread into the right side of the pumpkin as shown, (lined up with the nose) and pull needle out a few stitches over (Pic 1). Reinsert needle a few stitches down and to the left, pulling needle out a few stitches down and to the left again (Pic 2).
1. 2.
2. Reinsert needle where shown and pull needle out directly down a few stitches (Pic 3), Note that the needle should land above the yarn. Reinsert needle into that same stitch, just below the smile yarn this time (Pic 4), pull needle out about 5 stitches to the left (Pic 4).
3. 4.
4.
Reinsert needle where shown and pull needle out one stitch over (Pic 5), Note that the needle should land below the smile yarn (Pic 6).
5. 6.
6.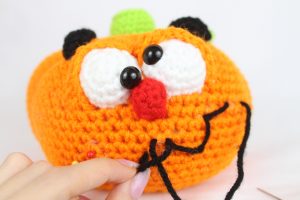
Reinsert needle into the same stitch we were just in, only above the smile yarn this time (Pic 7), and pull needle out diagonal and to the bottom left (Pic 7). Reinsert needle where shown and pull out about 2 stitches to the bottom left (Pic 8) Note, the needle should land above the yarn.
7. 8.
8.
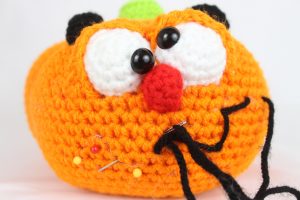
Reinsert needle into the same st, below the smile yarn this time and pull yarn through (Pic 9) and pull needle out about 4 stitches to the left and slightly up (Pic 10).
9. 10.
10.
Reinsert needle where shown and pull needle out a few stitches to the left. The yarn should land below the smile yarn (Pic 11). Reinsert needle into the same st, above the smile yarn this time (Pic 12). Pull needle out a few stitches away. Tie any ends into firm knots and weave into the pumpkin. Done! (Pic 13)
11. 12.
12.
13.
Done! If you made this pumpkin, I would LOVE to see! You can show me by adding a picture to your comment underneath this post, or by “trying” it on Pinterest.


2 Comments
I just love your patterns
This was so much fun to.make !!!!!