






Get the PDF version here
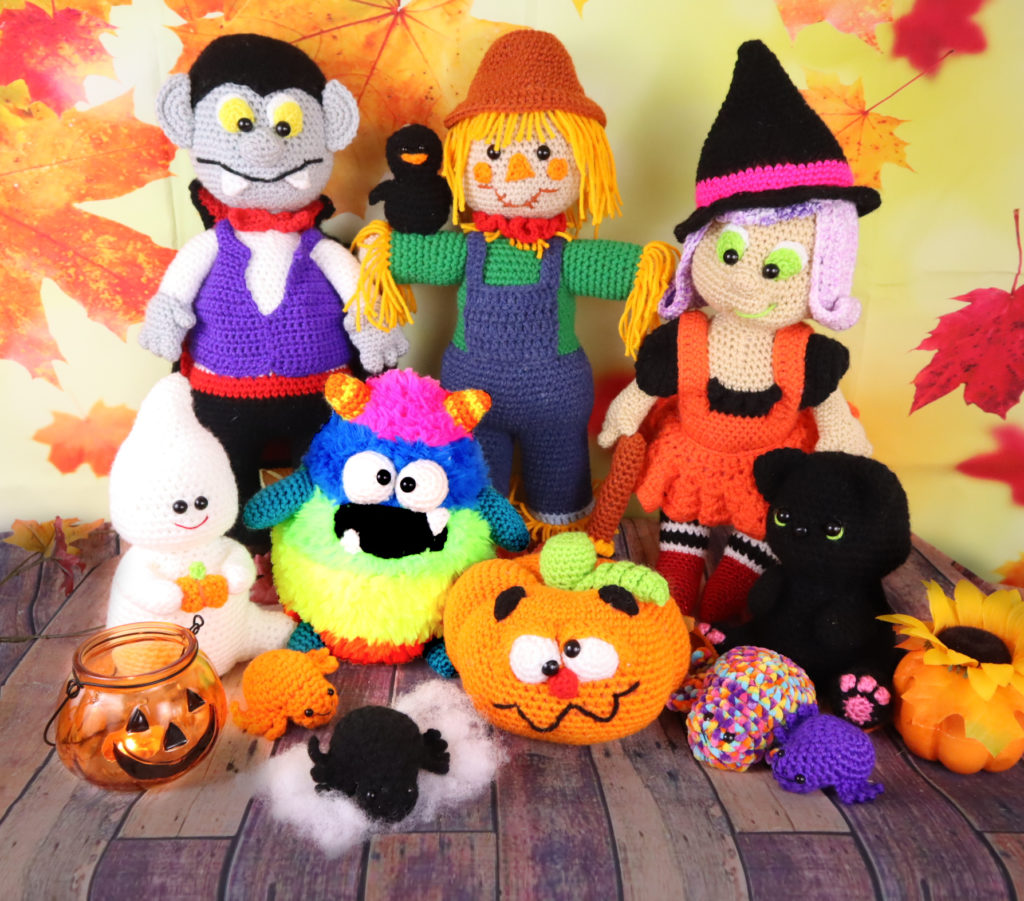
Or Get the entire Halloween PDF Bundle
Show me the rest of the Halloween bundle, no PDFs.
Supplies:
• Yarn 4/Medium Weight Yarn in…
In any Main Color (I used black, purple, green, and orange)
• 4mm Crochet Hook
•6mm safety eyes
•Tapestry needle
•Scissors
•Stuffing
•Black Embroidery Thread
Additional Information:
Difficulty: Easy
• Size
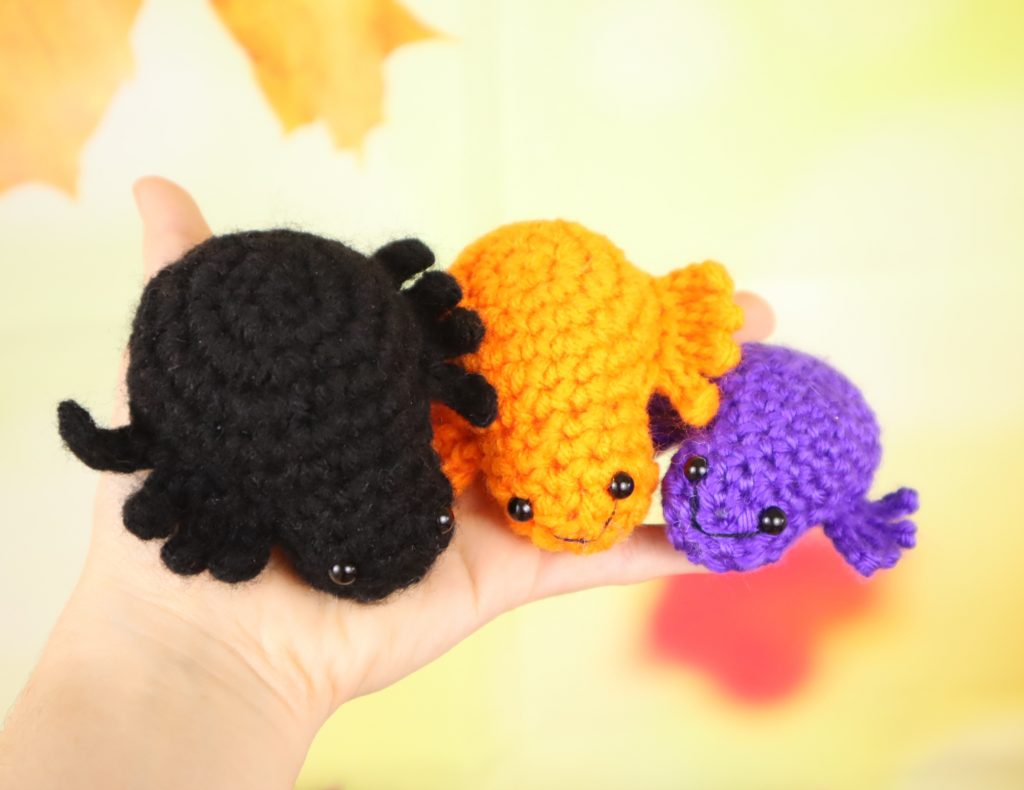
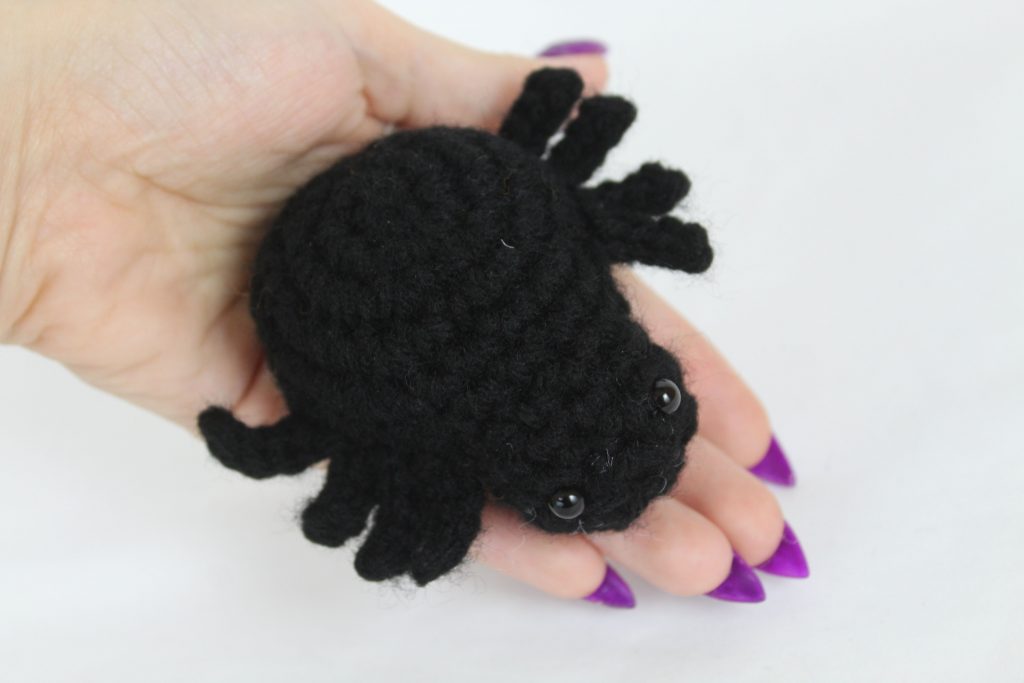
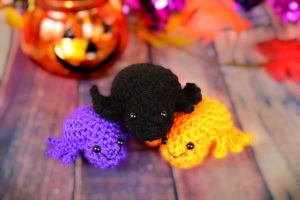
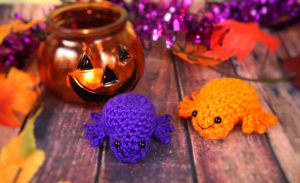
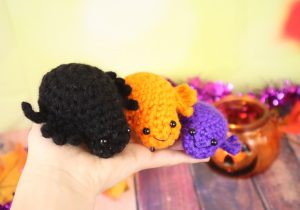
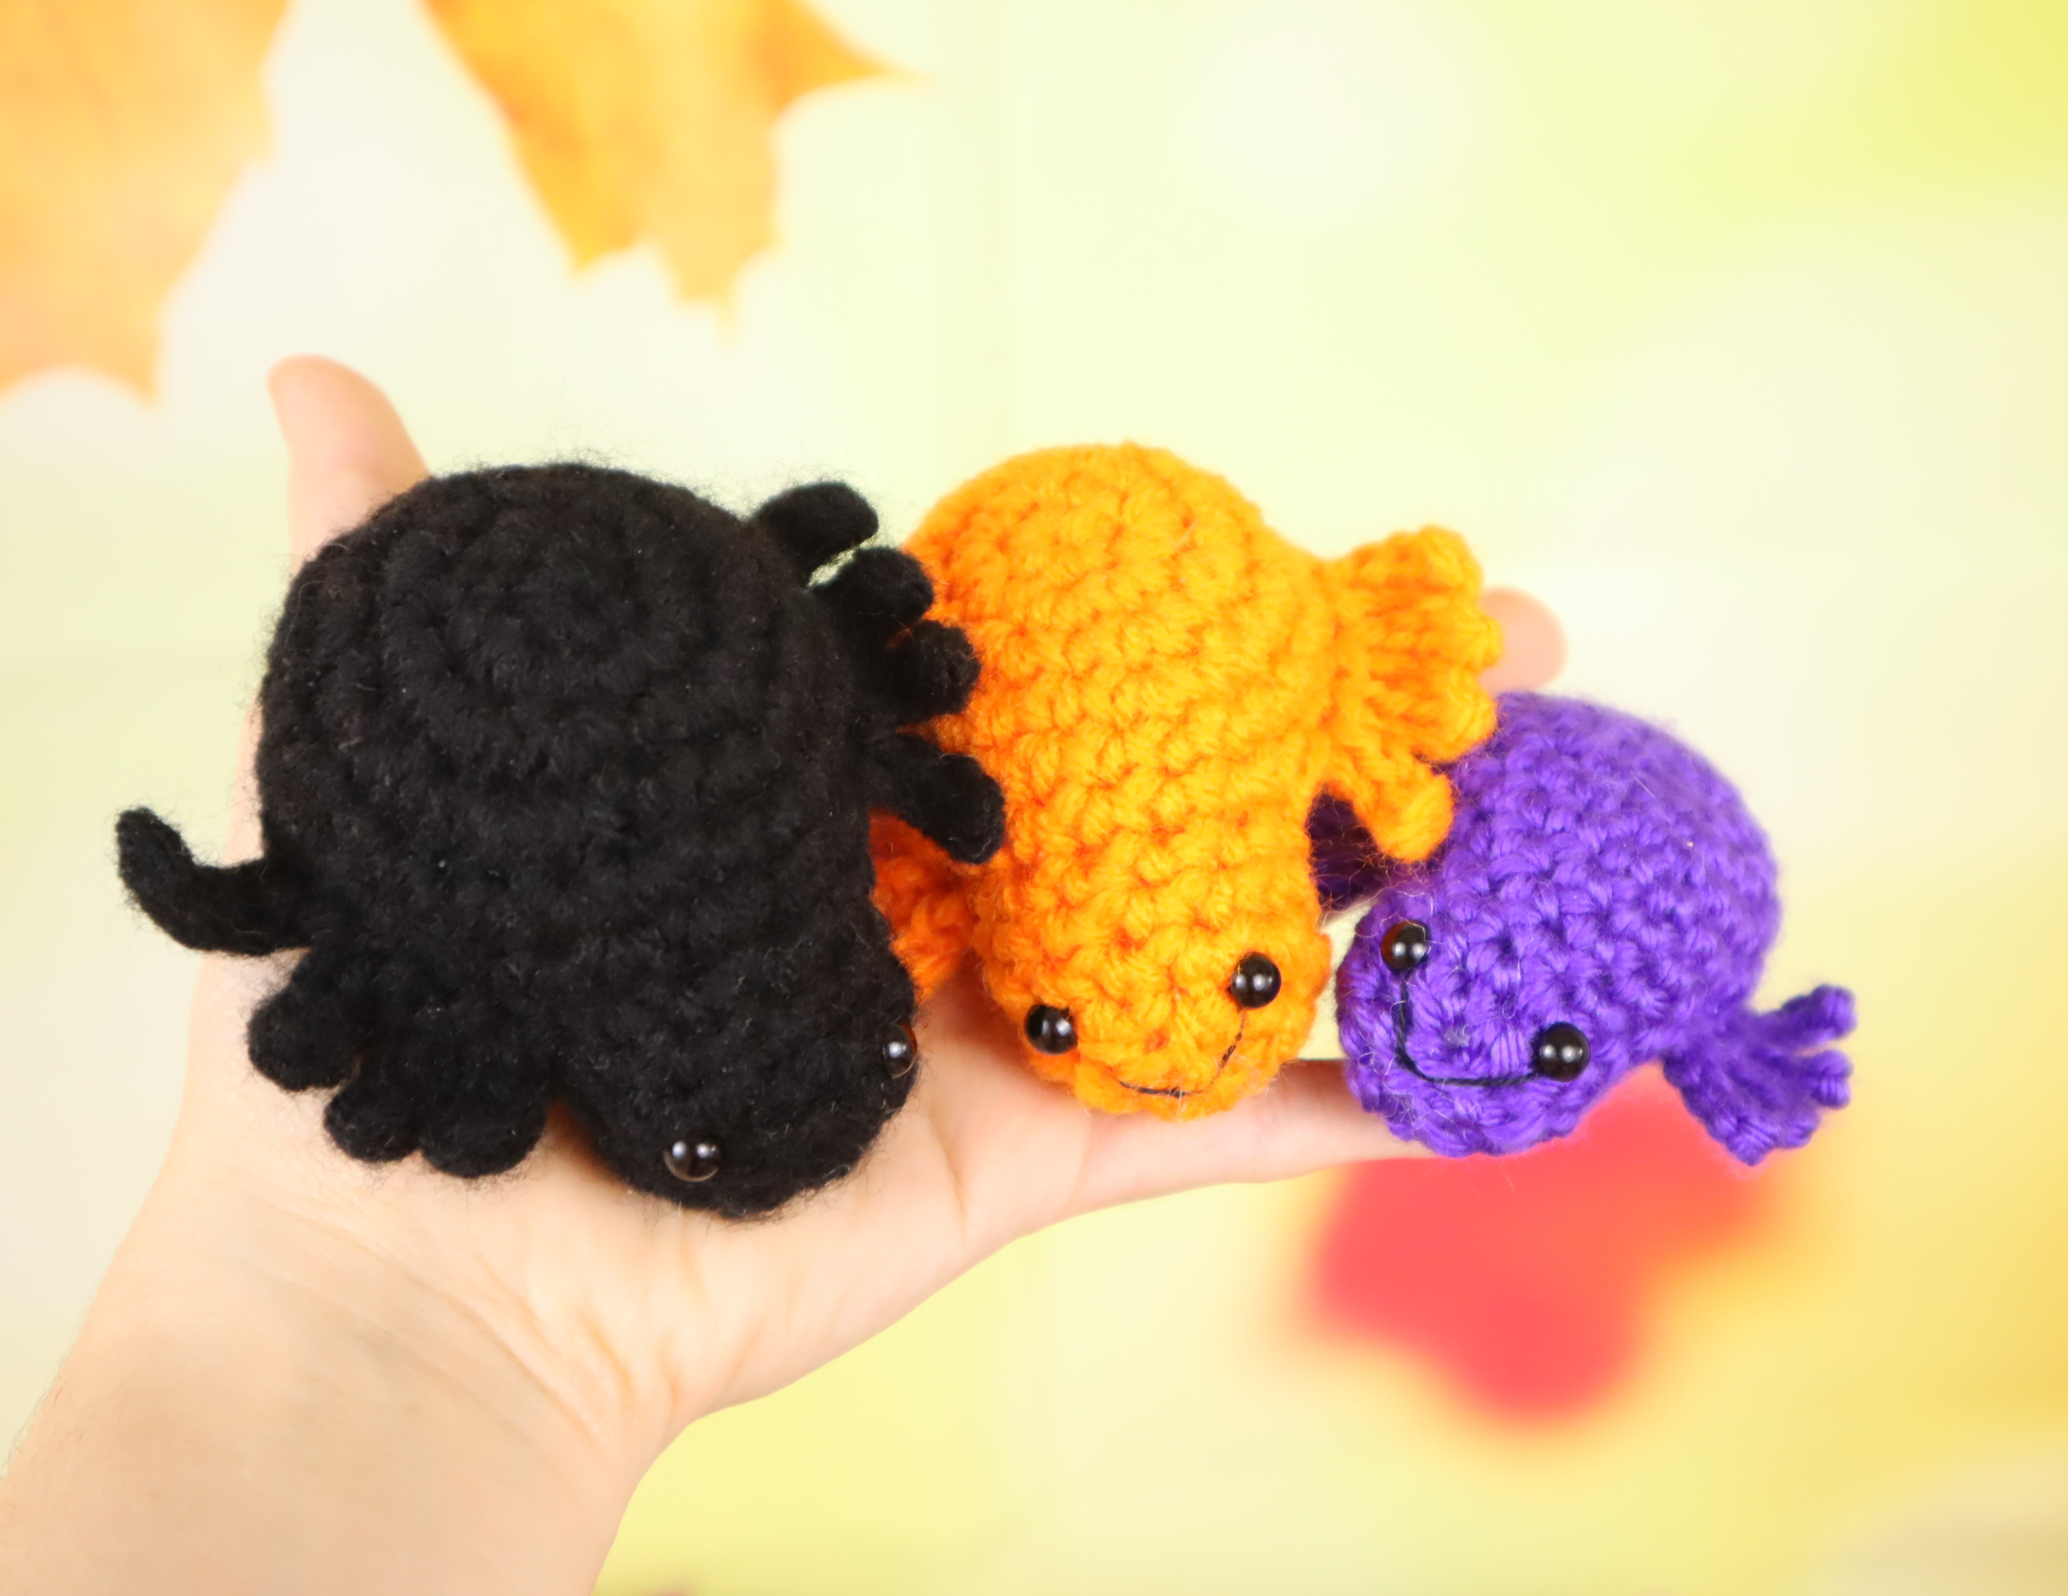
This spider measures about 3″ long. This may vary if you’re using a different hook and yarn size.
• Getting started
To start the spider we will make the bottom of it. Next, we’ll make the top part of the spider. Once we have the top and bottom we’ll crochet both pieces together, making the legs and head in that process. This means the spider will be worked as all one piece, no sewing needed!
• Making a bigger spider
I made a larger spider by simply using a blanket yarn. This yarn is much thicker than regular yarn so if you want a bigger spider just use blanket yarn! Be sure to use a 5-6mm hook if you use blanket yarn.
Let’s start with making the bottom, then the top parts of the spider!
Bottom Part of the Spider
In Main Color
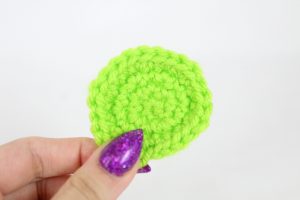

Round 1: 6 Sc in Magic Ring (6)
Round 2: *Inc* all around (12)
Round 3: *Inc, Sc* all around (18)
Round 4: *Inc, Sc 2* all around (24)
Finish off and set aside for now.
Top Part of the Spider:
In Main Color\
Round 1: 6 Sc in Magic Ring (6)
Round 2: *Inc* all around (12)
Round 3: *Inc, Sc* all around (18)
Round 4: *Inc, Sc 2* all around (24)
Round 5-6: *Sc* all around (24)
Don’t finish off. Continue on the next step…
Spider Assembly:
Now we’re going to crochet the two pieces together. We do this by working under BOTH loops of the top and bottom spider. As we do this we will be making the legs on this section and the head on the next section
• Note
Be sure to add your stitch marker to the first stitch we make in this round.
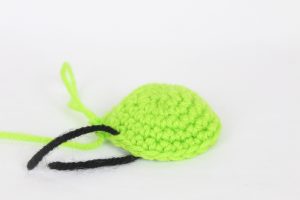
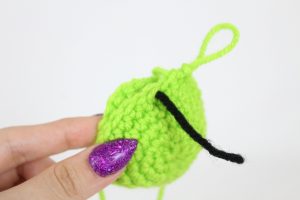
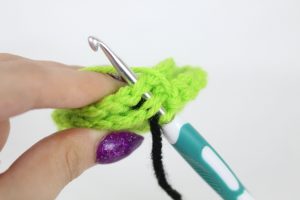
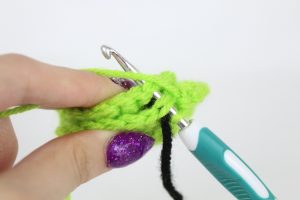
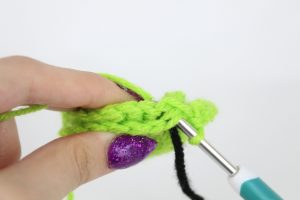
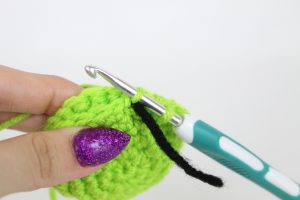
Round 7: Place the bottom and top piece together, right sides facing out. Make sure the stitches align (Pic 1-2). Insert your hook under BOTH stitches of the top and bottom piece (Pic 3)
1.

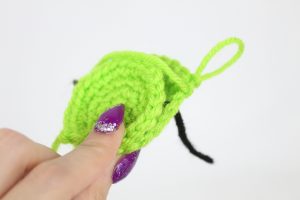

3.


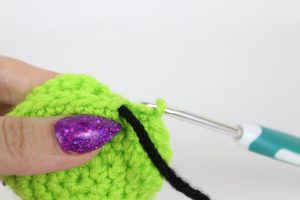
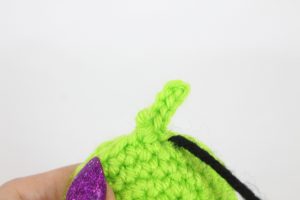
Repeat *SlSt in the next st (Pic 3-8), Ch 5 (Pic 9) SlSt in the 2nd Ch from the hook, SlSt in the next 3 ch (Pic 10)* 4 times. This will make 4 legs (Pic 11)
3.



5.


7.


9.


11.

SlSt in the next 9 st.
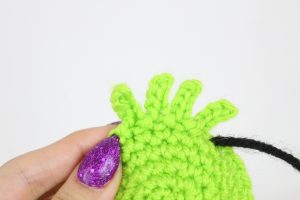
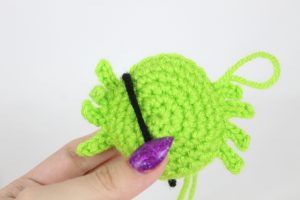
Repeat *SlSt in the next st, Ch 5, SlSt in the 2nd Ch from the hook, SlSt in the next 3 ch* 4 times. This will make 4 legs (Pic 12). Slst in next st.
12. 

Continue Round 7 on the next section.
Spider Head
Now we will work the spider head. In these steps, do NOT work through both the top and bottom pieces. We will only be working through one stitch, not both stitches at the same time.
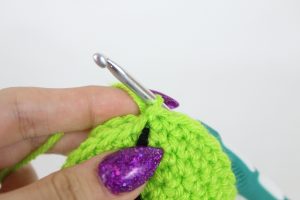
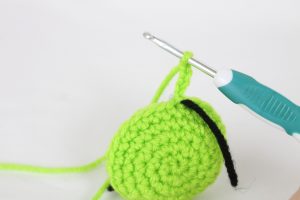
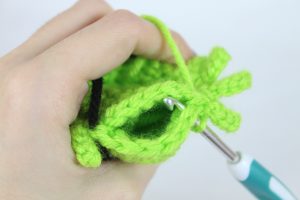
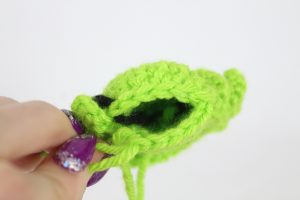
Round 7: (Continued) Sc in the next st and move the stitch marker to the Sc just made (Pic 1-2) This will now mark the rounds.
1.


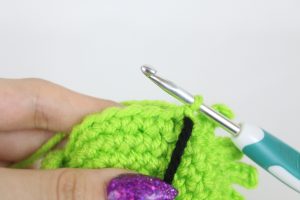

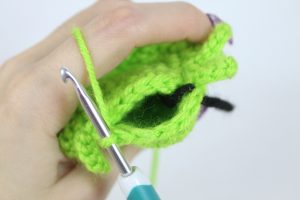
Sc in the next 5 st (Pic 3). Now flip the spider to the bottom. We’re on the bottom of the spider (Pic 4). Sc next st fairly firmly. Sc in the next 5 st (Pic 5). Now we meet the stitch marker.
3.


5.

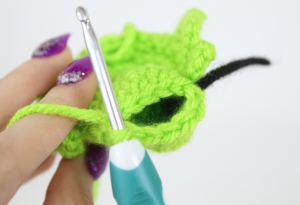
Round 8: Sc in the first st firmly. Sc in the next 11 st (12)
Round 9: *Sc* all around (Pic 6-7) (12)
6.

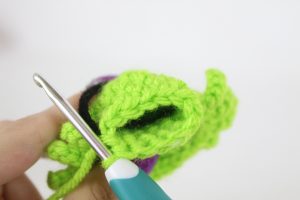

Stuff the spider body now (Pic 8)
8.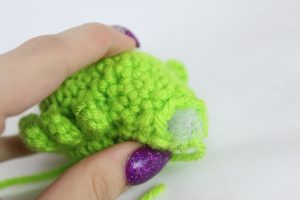

Round 10: *Dec* all around (6)
Add safety eyes in between Round 9 and 10, 4 stitches apart (Pic 9). Make sure you’re adding the eyes on the side where the back “bump” is.
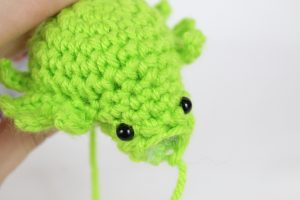

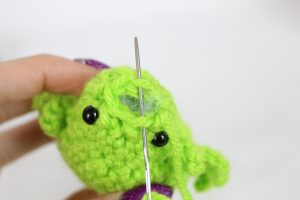
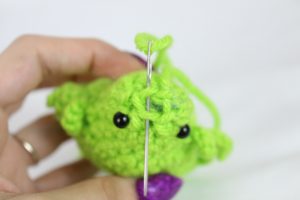
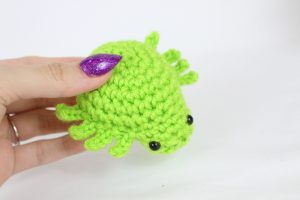
Finish off, leaving a tail. Add more stuffing to the head now. Sew the mouth closed going through the front loops only (Pic 10-11).
10.


12.

Smile:
In Black Embroidery Thread
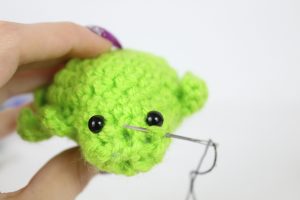
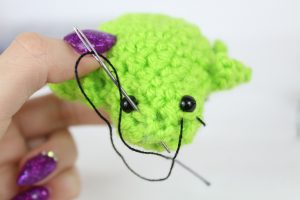
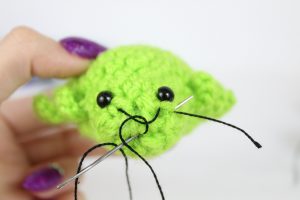
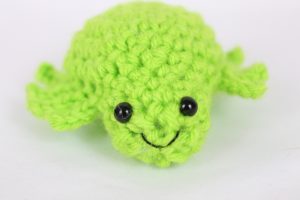
Insert needle with thread one stitch under the right eye (Pic 1) Reinsert needle one stitch under the left eye, and pull needle out at the middle mouth area (Pic 2). Note: the needle should land above the thread when we do step 2. Reinsert needle into the same stitch below the thread this time and pull needle out at original insertion spot (Pic 3). Tie the ends into firm knots and weave in. Done! (Pic 4)
1.


3.


If you made this spider, I would LOVE to see. You can show me by adding a photo to the comments, or by “trying” it on Pinterest.






5 Comments
I couldn’t help but love the spider you made using blanket yarn! Do you mind sharing the brand/name of the yarn? I love this fun pattern and I would love to have my own soft little multi-colored spider!
Thanks!!!
Hi Megan! I love that blanket yarn too, it reminds me of gummy worms lol! The yarn is from Hobby Lobby in the brand Baby Bee, color Sprinkles. Here’s a link to it on their website: https://www.hobbylobby.com/Yarn-Needle-Art/Yarn/Sprinkles-Baby-Bee-Adore-A-Ball-Yarn/p/80783917
I have a lot of yarn left in my skein of that yarn. If you think of any other cute ways to use that yarn, please let me know! I’ve been wanting to use it but not sure on what 🙂 Good luck on your spider!
Hi! I decided to start crocheting, after one of my fans gifted me a little cat. They said that they had got the pattern from here, and I checked it out. 🙂 I really had fun making it, and I hope I can get better at the magic ring. Thank you!
Hello! I’ve also tried your spider pattern, and I really like no sew designs 😊 I was wondering if it’s ok to make and sell spiders made from this pattern? Of course I will give you credit since it’s your design. Best regards Cecilia.
Used Hobby Lobby Adore-a-Ball super chunky yarn with a N sized hook.