

Purchase the PDF version here

Unlock the ENTIRE 202 Christmas PDF Bundle & Enter in our Member’s Crochet Along for a chance to win $100!

Supplies:
• Yarn 4/Medium Weight Yarn in…
Any Main Color & Green
•4mm Crochet Hook
•8mm safety eyes
•Tapestry needle
•Scissors
•Stuffing
•Black Embroidery Thread
Additional Information:
Difficulty: Easy
• Before we get started…
This Christmas Light is made all in one continuous piece. We start at the tip of the light and work our way to the green top!
• Your different options for making these lights…
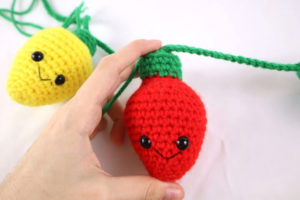
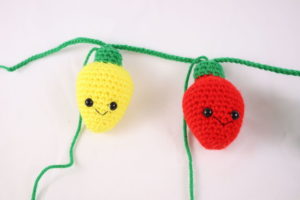
You can make just 1 light, or a whole string of lights! Make as many or as little as you’d like.
You can also make a lot of lights, but not connect them. Another option is you can have regular lights with no eyes and smile!
You can have the light so the green part is on the bottom and the eyes can be closer to the green part if preferred. It’s up to you, but in this pattern I show you exactly what I did!
And one last thing, try to have the green bulb be a different shade of green than your strand! You of course can make the lights in any color, and the strand in any color such as grey or black!
Let’s Get Started!
Remember, we will start by making the tip of the light and work our way up, the green part will be the very end. So start in a light bulb color of your choice!
Christmas Light:
Start in Any Color

Round 1: 6 Sc into a Magic Ring (6)
Round 2: *Inc* all around (12)
Round 3: *Sc* all around (12)
Round 4: *Inc, Sc* all around (18)
Round 5: *Sc* all around (18)
Round 6: *Inc, Sc 2* all around (24)
In the next round we will add two eye stitch markers. These will mark where to place your safety eyes later!
Round 7: Sc in the next 11 st. Sc in the next st and add a stitch marker to the Sc just made. This marks where to place the eye later. Sc in the next 3 st. Sc in the next st and add a stitch marker to the Sc just made. Sc in the next 8 st (24)
Round 7 Eye Markers
Round 8-13: *Sc* all around (24)
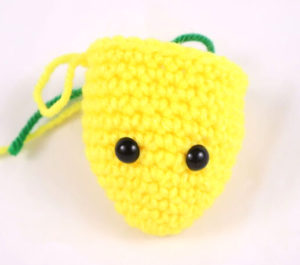
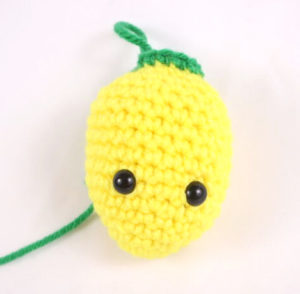
Add safety eyes in the marked areas now
Round 14: *Dec, Sc 2* all around (18)
Round 15: *Sc* all around (18)
Round 16: *Dec, Sc 1* all around (12)
Stuff the light very firmly now
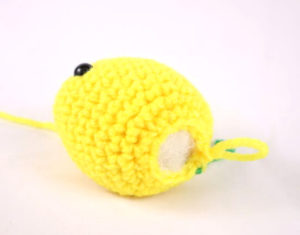
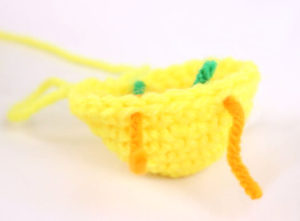
Round 17: Change to Green. In the FLO (Front Loop Only) *Sc* all around (12)
Round 17’s FLO
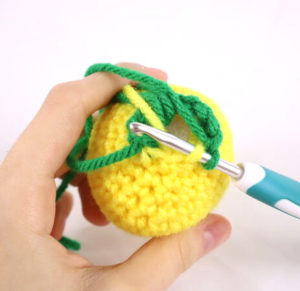
Round 18-19: In BOTH Loops, *Sc* all around (12)
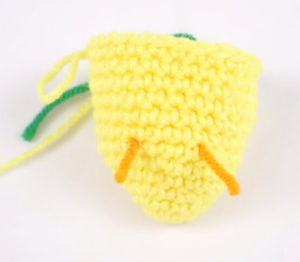
Round 20: In the BLO, *Dec* all around (6)
Finish off, leaving a tail for sewing closed and assembly onto the light strand! Sew the remaining stitches closed. Now leave the excess yarn for assembly.
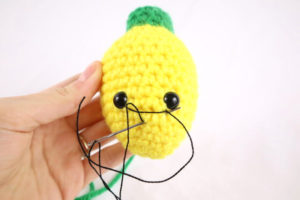
Smile:
In Black Embroidery Thread
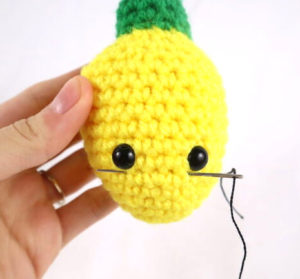
Insert needle close to the right eye and pull out one stitch left to the right eye Pic 1. Reinsert needle into the original insertion spot pull the needle out 1 stitch down at the middle area Pic 2. Pull the thread through, making sure the thread lands ABOVE the smile yarn Pic 3. Reinsert into the same stitch, but BELOW the smile yarn and pull the needle out at the original insertion spot Pic 4. The smile will now look like Pic 5. Tie ends of thread into firm knots and bring into the wreath to hide. Cut any excess yarn.
1. 2.
2.
3. 4.
4.
5.
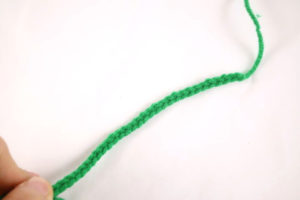
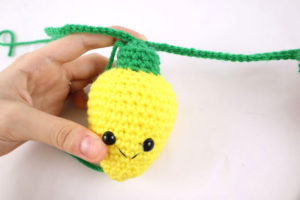
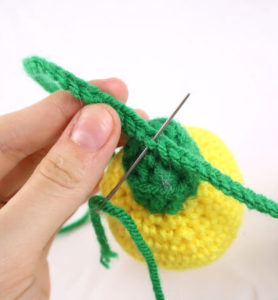
Light Strand and Assembly:
In Green
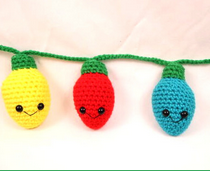
For the strand holding all of the lights, you can make it as long as you want and space out the lights as much as you want. However, below I provide how I did mine. The pattern below repeats, so you can apply as little lights as you want with the pattern, or as many as you want!
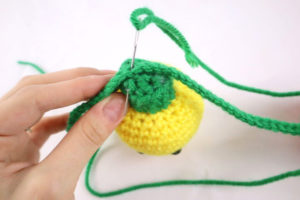
Row 1: Chain 20 for the very start of the strand Pic 1. Repeat *Ch 22. Attach the light to the first chain made in the repeat Pic 2-4*. We will repeat this for every light made Pic 5-8.
1. 2.
2.
3. 4.
4.
5. 6.
6.
7. 8.
8.
9.
Finish off, leaving a tail for weaving in ends.
All done!


2 Comments
they turned out so great! Love the pattern.
Loved making these, I made two sets. One for me, & one for my mom. Turned out so cute!