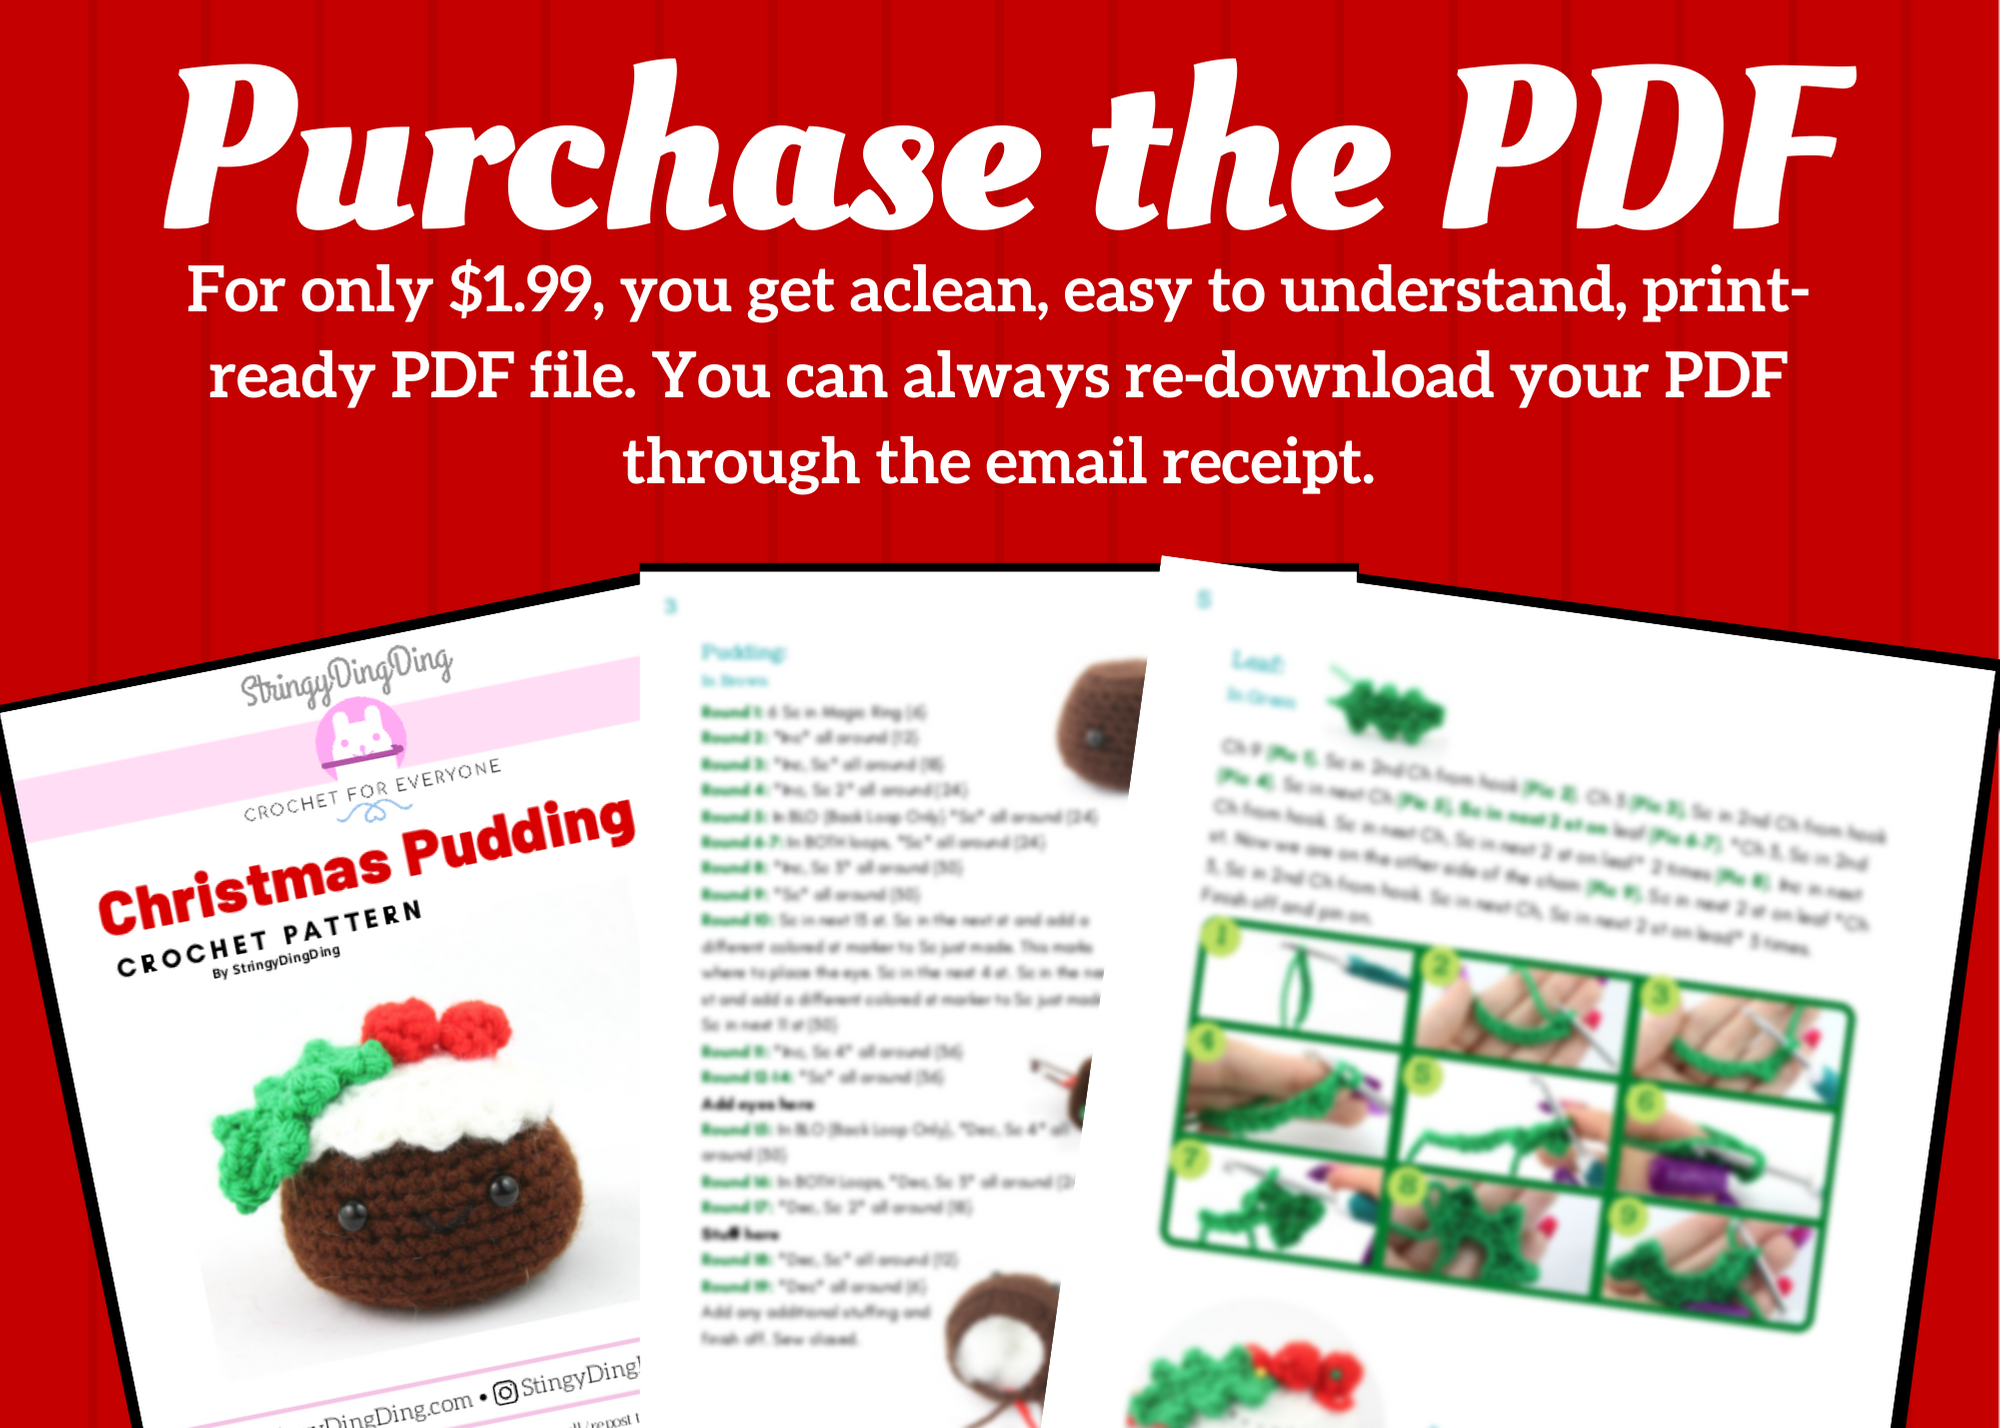
Purchase the PDF version here

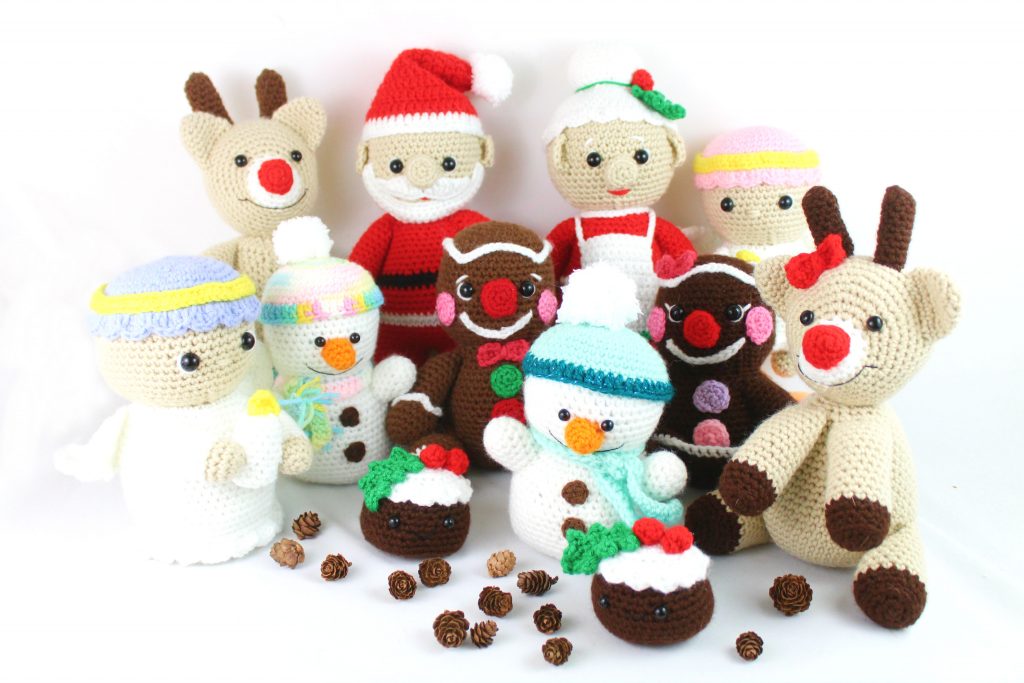
Or purchase the entire Christmas PDF Bundle!
Supplies:
4mm crochet hook, 4/Medium weight yarn in white, brown, red, and green. 8mm safety eyes, tapestry needle, black embroidery thread, scissors, and stuffing.
Additional Information:
Difficulty: Easy
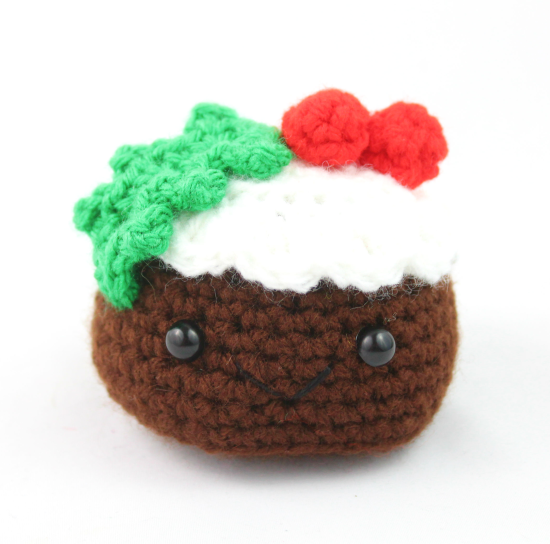
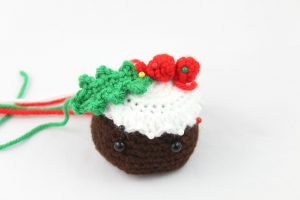
We start by making the pudding. We then make the icing, berries, and leaf. Finally, we make the smile!
Pudding:
In Brown
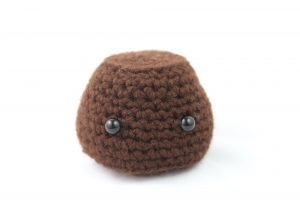
Round 1: 6 Sc in Magic Ring (6)
Round 2: *Inc* all around (12)
Round 3: *Inc, Sc* all around (18)
Round 4: *Inc, Sc 2* all around (24)
Round 5: In BLO (Back Loop Only) *Sc* all around (24)
Round 6-7: In BOTH loops, *Sc* all around (24)
Round 8: *Inc, Sc 3* all around (30)
Round 9: *Sc* all around (30)
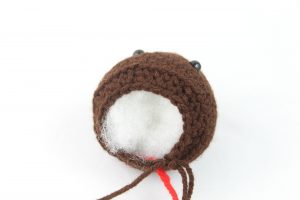
Round 10: Sc in next 13 st. Sc in the next st and add a different colored st marker to Sc just made. This marks where to place the eye. Sc in the next 4 st. Sc in the next st and add a different colored st marker to Sc just made. Sc in next 11 st (30)
Round 11: *Inc, Sc 4* all around (36)
Round 12-14: *Sc* all around (36)
Add eyes here
Round 15: In BLO (Back Loop Only), *Dec, Sc 4* all around (30)
Round 16: In BOTH Loops, *Dec, Sc 3* all around (24)
Round 17: *Dec, Sc 2* all around (18)
Stuff here
Round 18: *Dec, Sc* all around (12)
Round 19: *Dec* all around (6)
Add any additional stuffing and finish off. Sew closed.
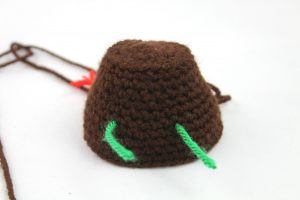
Icing:
In White
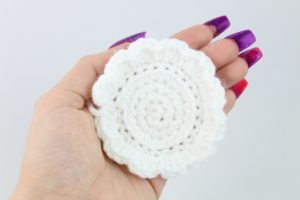
Round 1: 6 Sc in Magic Ring (6)
Round 2: *Inc* all around (12)
Round 3: *Inc, Sc* all around (18)
Round 4: *Inc, Sc 2* all around (24)
Round 5: In BLO (Back Loop Only) *Sc* all around (24)
Round 6: In BOTH loops, *2 Dc in each of the next 2 st, SlSt in next st* all around (24)
Finish off and pin as shown.
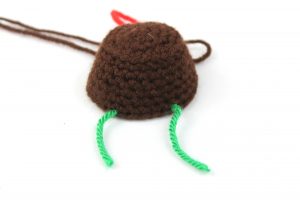
Berries: (Make 2)
In Red
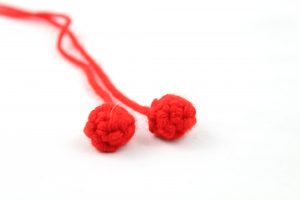
Round 1: 6 Sc in Magic Ring (6)
Round 2-3: *Sc* all around (6)
Finish off and set aside for now.
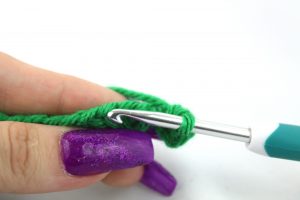
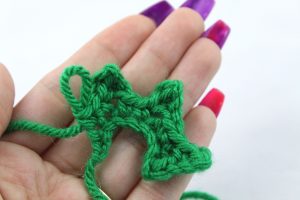
Leaf:
In Green
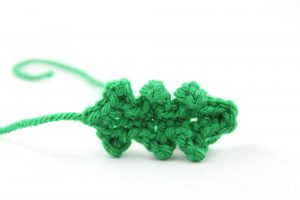
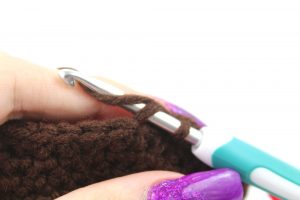
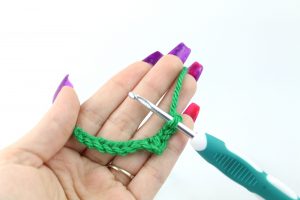
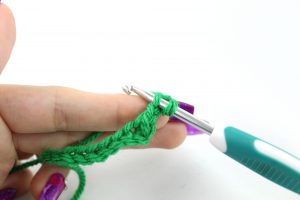
Ch 9 (Pic 1). Sc in 2nd Ch from hook (Pic 2). Ch 3 (Pic 3), Sc in 2nd Ch from hook (Pic 4). Sc in next Ch (Pic 5), Sc in next 2 st on leaf (Pic 6-7). *Ch 3, Sc in 2nd Ch from hook. Sc in next Ch, Sc in next 2 st on leaf* 2 times (Pic 8). Inc in next st. Now we are on the other side of the chain (Pic 9). Sc in next 2 st on leaf *Ch 3, Sc in 2nd Ch from hook. Sc in next Ch, Sc in next 2 st on lead* 3 times.


Finish off and pin on.
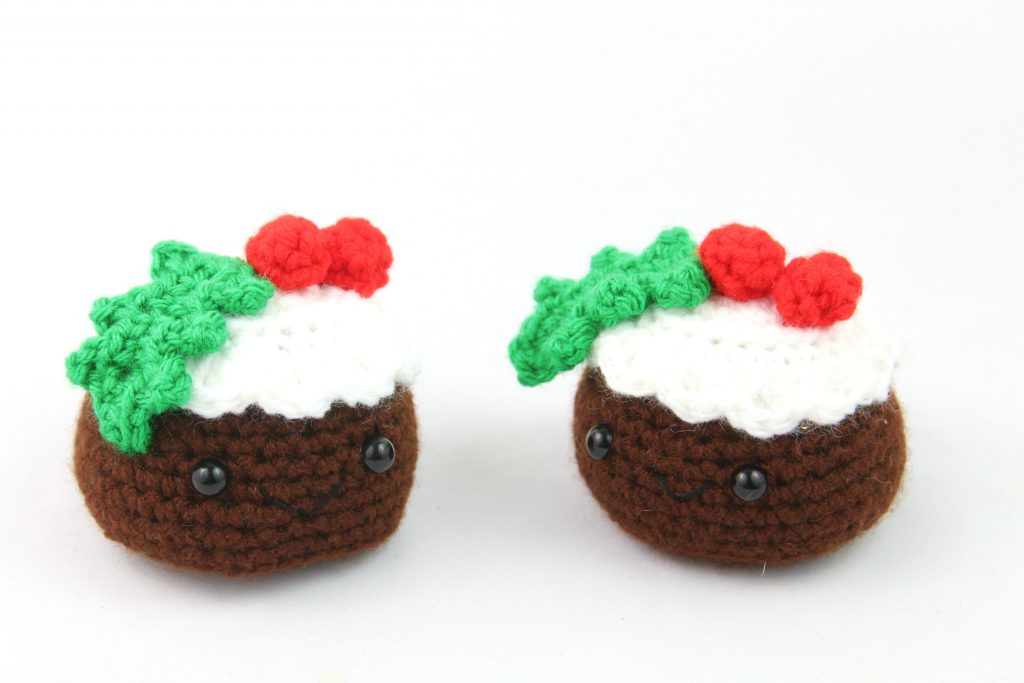
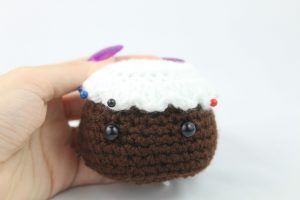
Assembly:
Pin on as shown. Sew all pieces on.
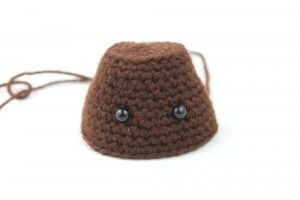
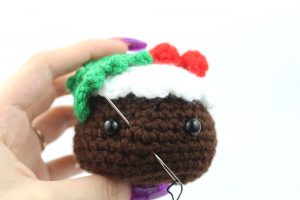
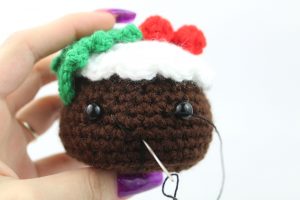
Smile:
With Black Embroidery Thread
Insert needle in the middle of the mouth, and pull it out where shown (Pic 1). Reinsert needle back into the middle of the smile, and pull out on opposite side as shown (Pic 2). Finally, reinsert needle into the middle of the smile and pull through (Pic 3). Weave in ends.


Done! If you finished this pattern, I would be SO HAPPY if you “try” it on Pinterest, or tag me on Instagram @StringyDingDing or #StringyDingDing


3 Comments
Hi Am having trouble with icing…2 Dec in each if next 2 sts slip st in next ??? Am just learning…help!
Hi there 🙂 No problem, let me help you! So for Round 6 you will do two double crochets (2 dc) in each of the next 2 stitches (so 2 double crochets in the next stitch, then 2 double crochets in the next stitch). Then, one slip stitch in the next stitch. You will repeat this around until you meet the end on the Round. This makes the frilly part of the icing. Please let me know if I can help you further! Thanks 🙂
Hello,
Love this pattern but stuck on pic 8 of the Holly if you have any tips?