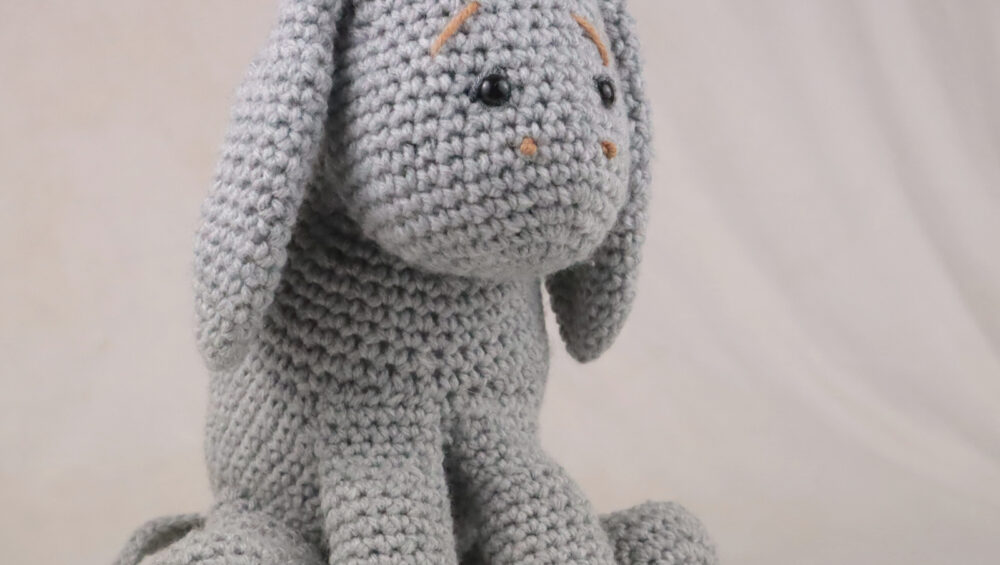
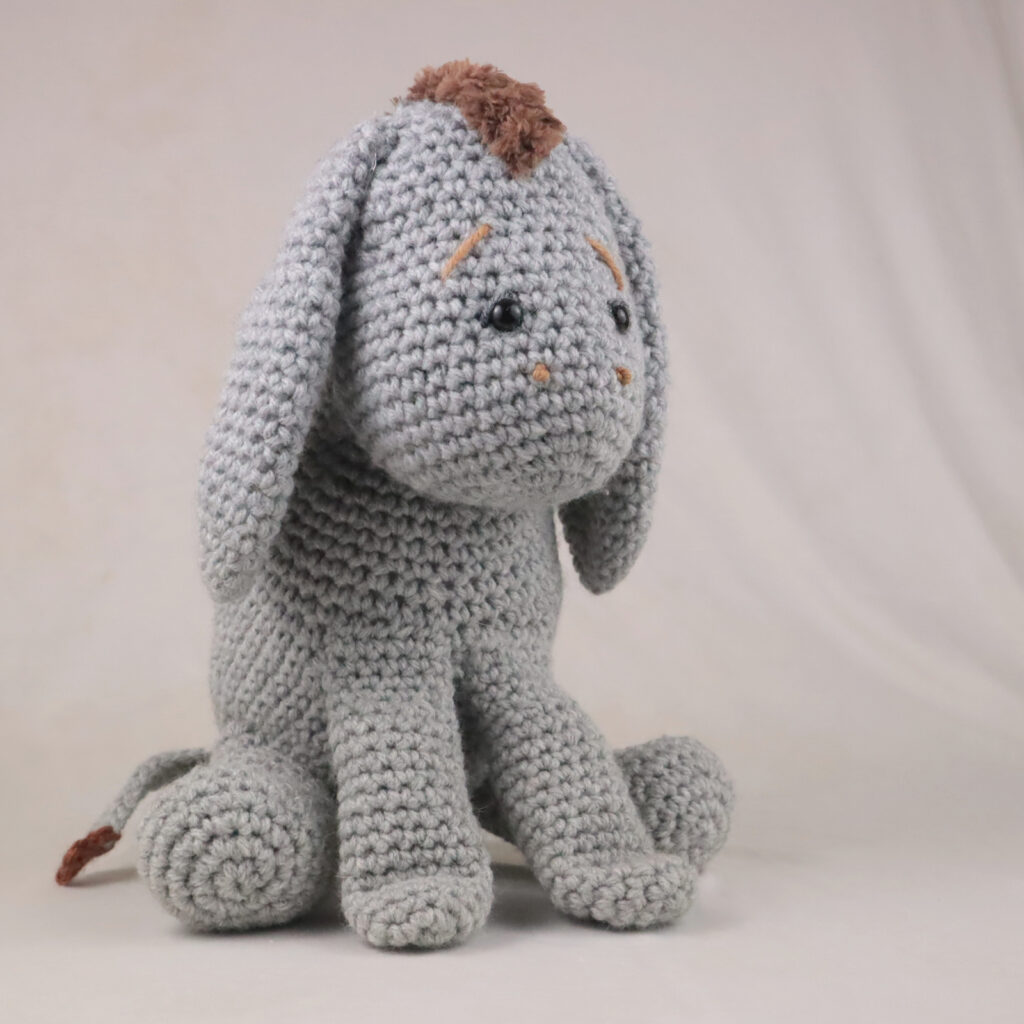
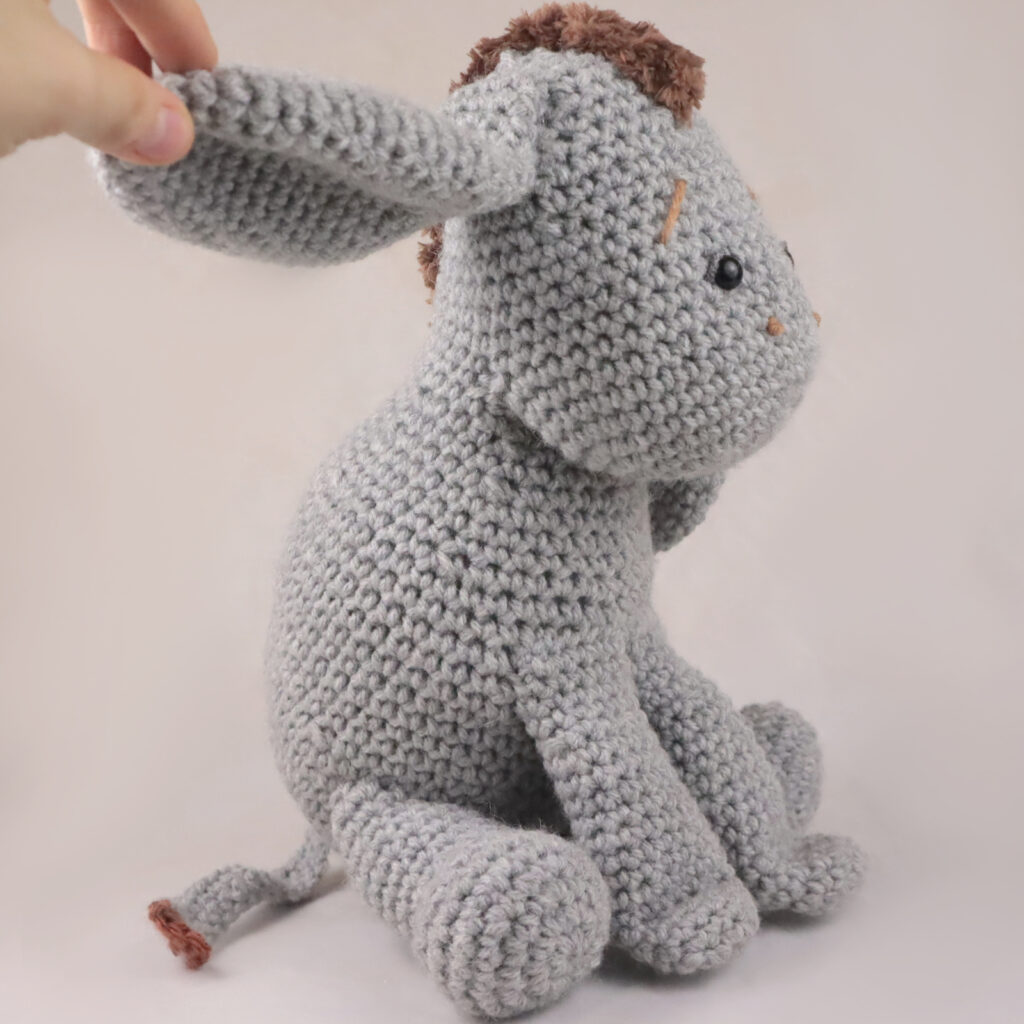
Classic Eeyore Amigurumi – Free Crochet Pattern
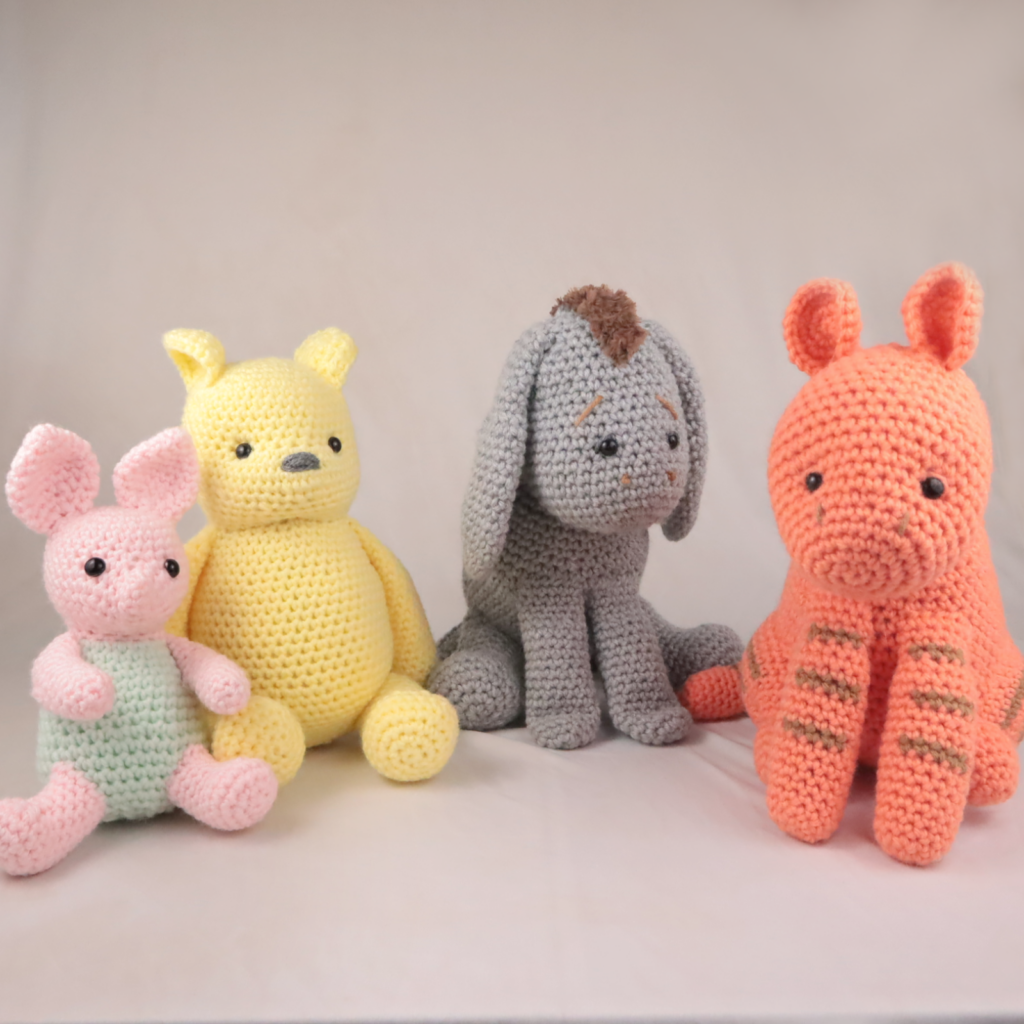
This is only 1 of 4 patterns in this free Winnie The Pooh bundle! Click here for the other patterns!

Print this pattern out – purchase the PDF version here!
 Supplies:
• Yarn 4/Medium Weight Yarn in…
Grey, dark grey for eyelids, brown for eyebrows/nostrils, and fuzzy brown for mane
•5mm Crochet Hook
•Tapestry needle
•Scissors
•Stuffing
•12mm safety eyes
Additional Information:
•Difficulty: Intermediate
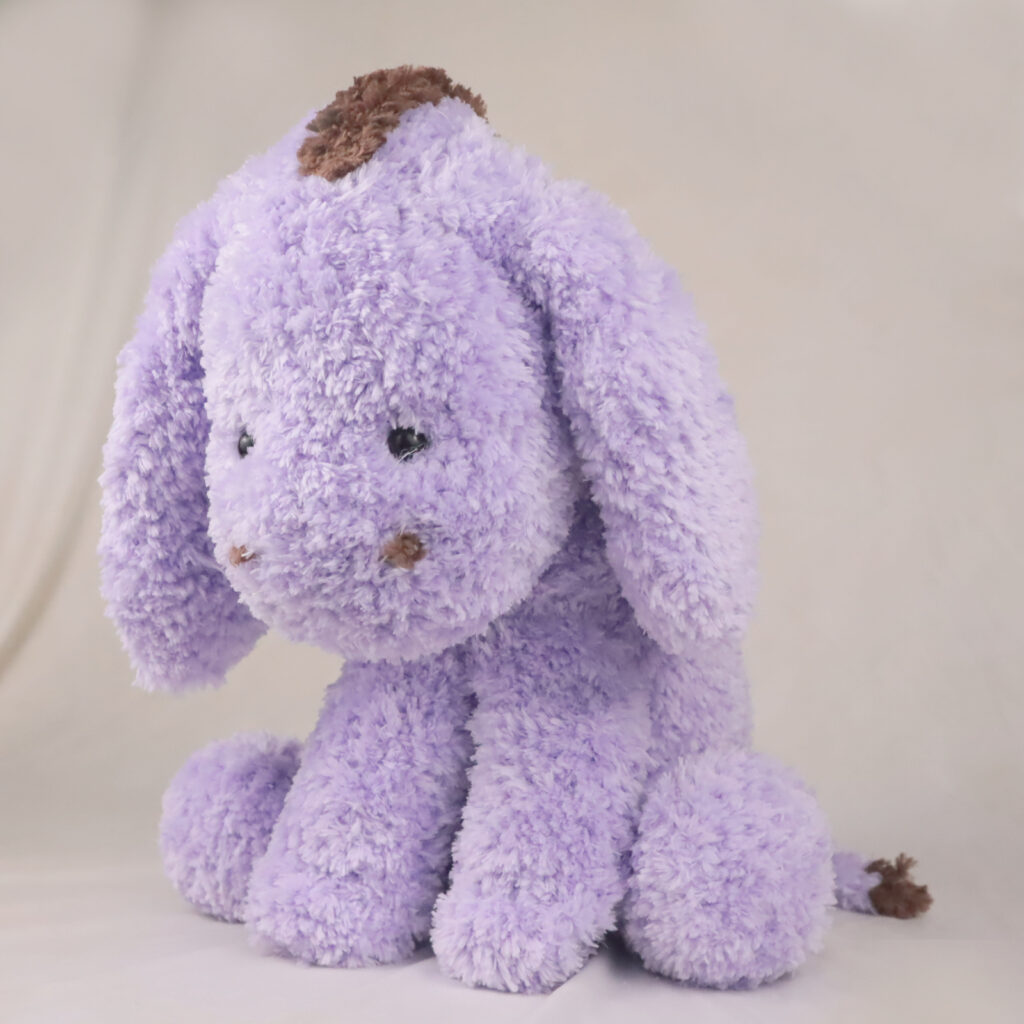
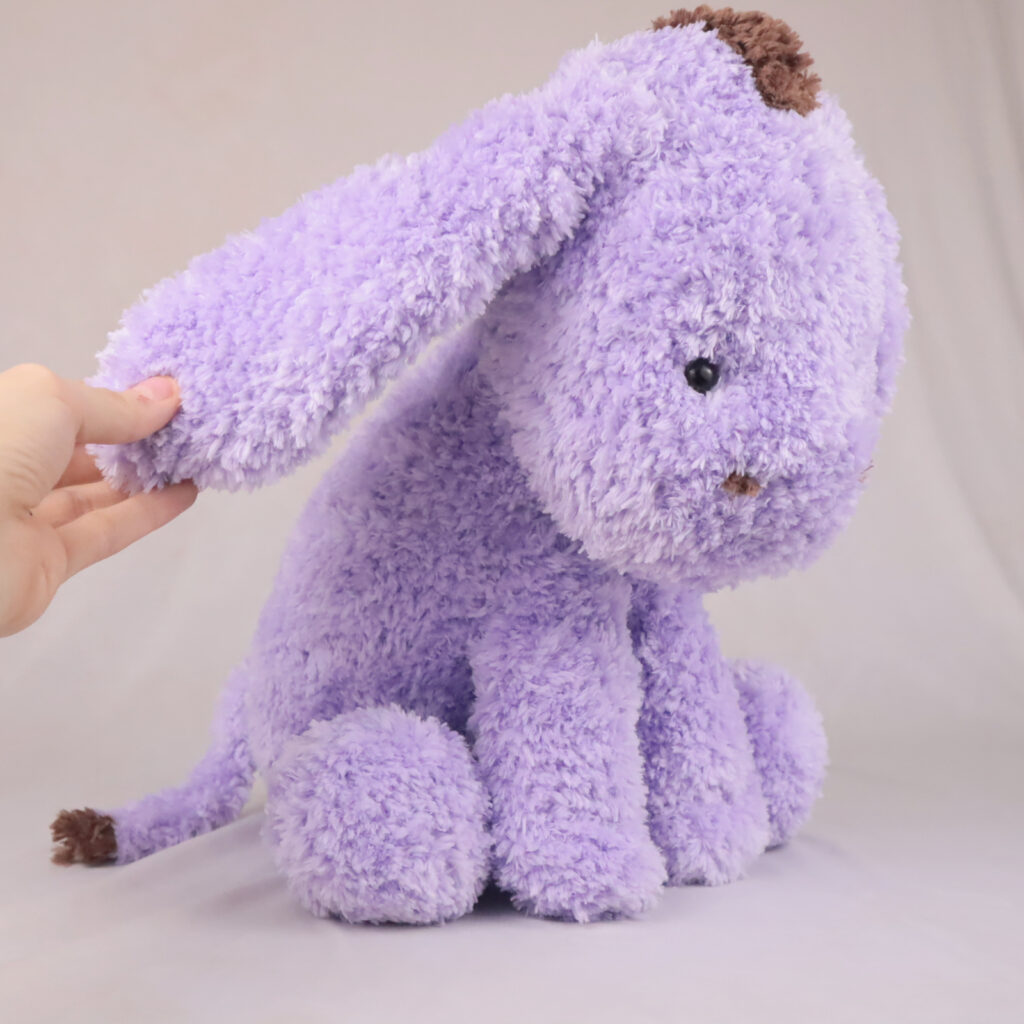
•Size: 11.5″ tall | Fuzzy yarn size: 14″ tall
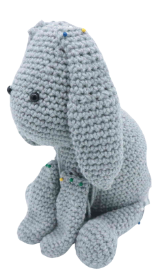
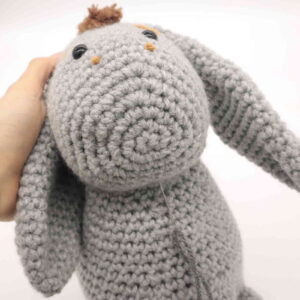
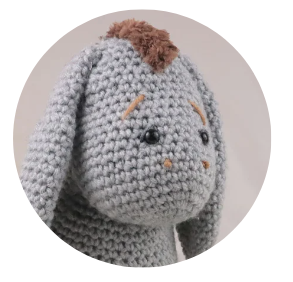
This pattern for classic Eeyore is so cute! It makes for the perfect toy, especially for a baby’s nursery. If you’re making this as a toy for a young child or baby, be sure to embroider the eyes rather than using safety eyes.
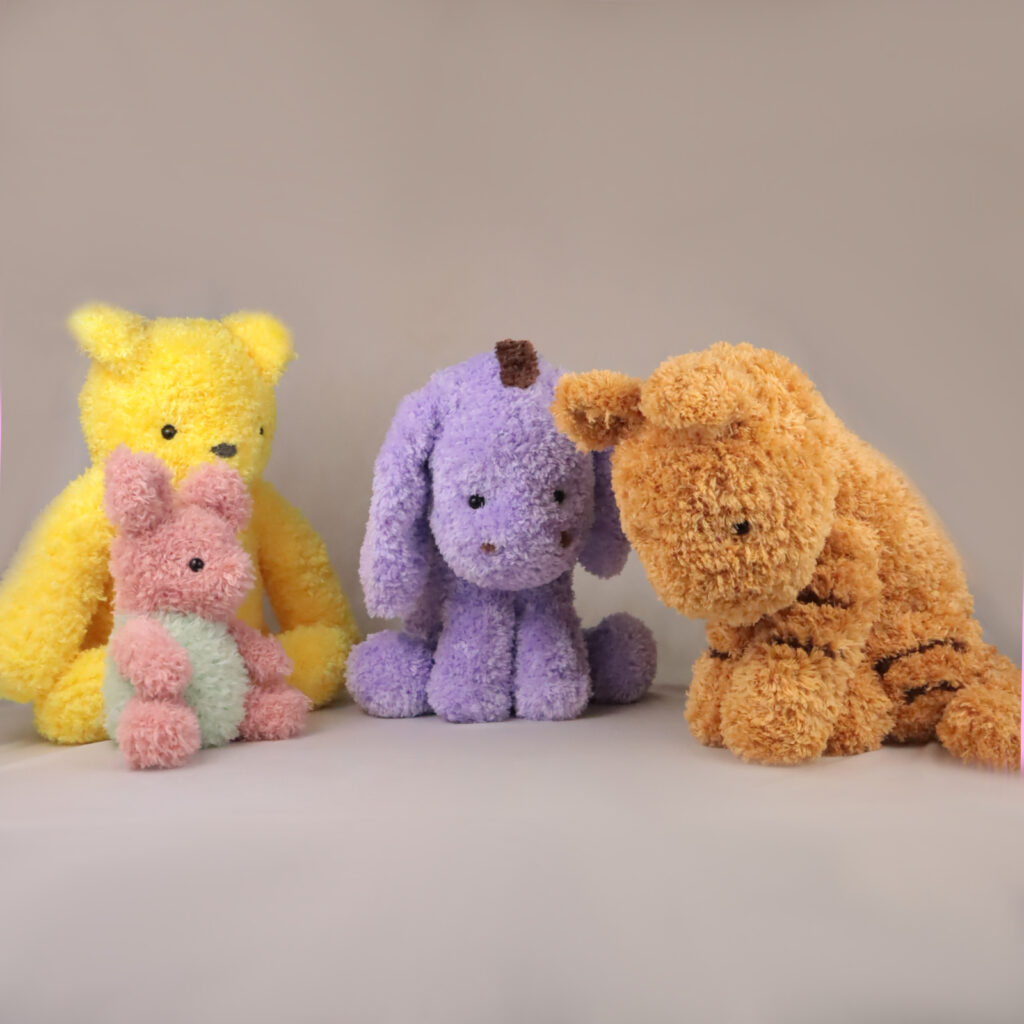 You can also make this pattern using fuzzy yarn. I used yarn I found on Amazon called “Buvemu Plush” for both the tail and the body. I used a lavender color for the body and a brown color for the tail/mane. I used a 5mm hook for this fuzzy yarn, even though the recommended size is a 6.5mm hook. Using a larger size hook makes the toy too floppy, try to size down!
If you’re new to using fuzzy yarn, don’t be afraid! The trick to using fuzzy yarn is to count the stitches as you go, rather than trying to see them. If you make a mistake and have too little or too many stitches at the end of the round, you can increase or skip stitches to get the correct stitch count. The beauty of fuzzy yarn is it’s ability to hide mistakes!
Head: (Make first)
In grey

We make the head first. Later we will crochet the head to the body.
Round 1: 6 Sc into a Magic Ring (6)
Round 2: *Inc* all around (12)
Round 3: *Inc, Sc in the next st* all around (18)
Round 4: Sc in the next 3 st. Sc 3 times into the next st, Sc in the next 4 st. Sc 3 times in the next st, Sc in the next 6 st, Sc 3 times in the next st, Sc in the next 2 st (24)
Round 5: Sc in the next 3 st, Inc in the next st, Sc in the next st, Inc in the next st, Sc in the next 4 st. Inc in the next st, Sc in the next st, Inc in the next st, Sc in the next 6 st, Inc in the next st, Sc in the next st, Inc in the next st, Sc in the next 2 st (30)
Round 6: Sc in the next 5 st, Sc 3 times in the next st, Sc in the next 8 st, Sc 3 times in the next st, Sc in the next 9 st, Sc 3 times in the next st, Sc in the next 5 st (36)
Round 7-10: *Sc* all around (36)
Finish off here. Later we will crochet the head to the body.
Body:
In Grey
We start by making the base of the body and working our way up
to the head area. We crochet the head to the body at the end.
Round 1: 6 Sc into a Magic Ring (6)
Round 2: *Inc* all around (12)
Round 3: *Inc, Sc in the next st* all around (18)
Round 4: *Inc, Sc in the next 2 st* all around (24)
Round 5: *Inc, Sc in the next 3 st* all around (30)
Round 6-7: *Sc* all around (30)
Round 8: *Inc, Sc in the next 4 st* all around (36)
Round 9: *Sc* all around (36)
Round 10: *Inc, Sc in the next 5 st* all around (42)
Round 11: *Inc, Sc in the next 6 st* all around (48)
Round 12-13: *Sc* all around (48)
Round 14: *Dec, Sc in the next 6 st* all around (42)
Round 15-23: *Sc* all around (42)
Round 24: *Dec, Sc in the next 5 st* all around (36)
Round 25-27: *Sc* all around (36)
Round 28: *Dec, Sc in the next 4 st* all around (30)
Round 29: *Sc* all around (30)
Round 30: *Dec, Sc in the next 3 st* all around (24)
Round 31: *Sc* all around (24)
Now we’re going to attach the head to the body.
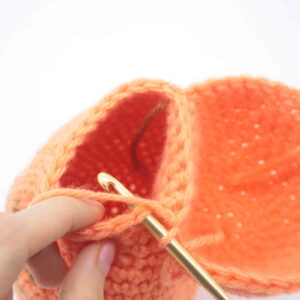
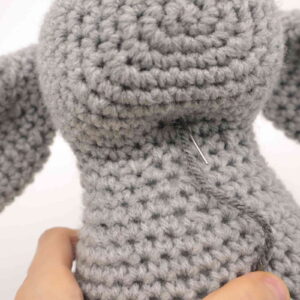
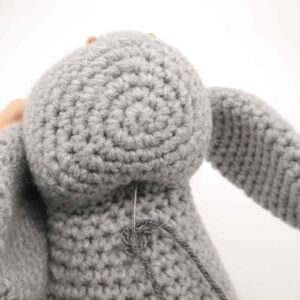
Round 32: On the body, Sc in the next 8 st. On the head, count 7 stitches before the stitch marker. Insert your hook into that 7th stitch. Going through BOTH the body and head stitches, Sc in the next 11 st (Pic 1-4).
1.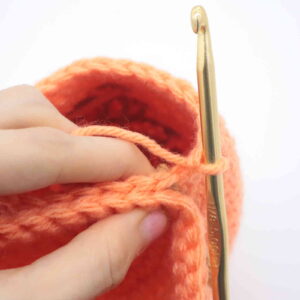 2.
2.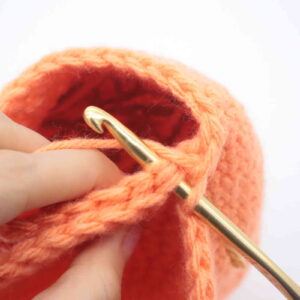 3.
3. 4.
4.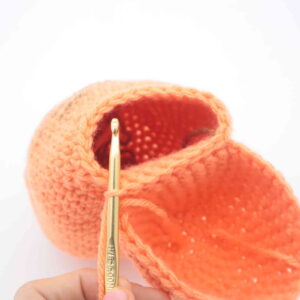
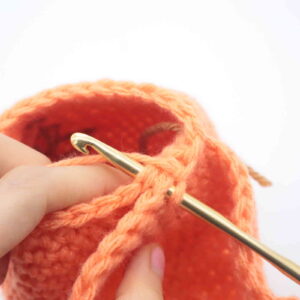
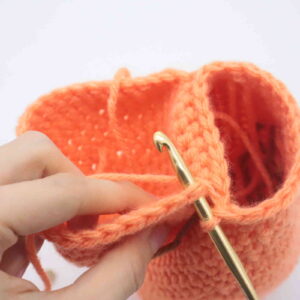
Working on just the body, Sc in the next 8 st (Pic 5-6). Working on just the head, Sc in the next 25 st (Pic 7). Working on just the body, Sc in the next 5 st (38)
5. 6.
6. 7.
7.
Round 33-35: *Sc* all around (38)
Round 36: Repeat *Dec, Sc in the next 4 st* 6 times. Sc in the next 2 st (32)
Round 37-38: *Sc* all around (32)
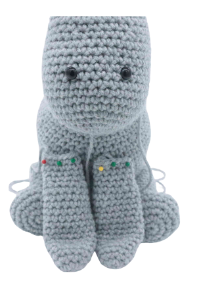
Now we will add the safety eyes. Add eyes between Round 32 and Round 33, 5 stitches apart. Make sure the eyes line up nicely and centered with the head/body.
Round 39: *Dec, Sc in the next 3 st* 6 times. Sc in the next 2 st (26)
Stuff firmly now. Continue stuffing after each round.
Round 40-41: *Sc* all around (26)
Round 42: *Dec, Sc in the next 2 st* 6 times. Sc in the next 2 st (20)
Round 43: *Sc* all around (20)
Round 44: *Dec, Sc in the next st* 6 times, Sc in the next 2 st (14)
Round 45: *Dec* all around (7)
Finish off, leaving a long tail for sewing. Sew the remaining stitches closed and weave in ends, cutting any excess yarn.
Ears: (Make 2)
In Grey
Round 1: 6 Sc into a Magic Ring (6)
Round 2: *Sc* all around (6)
Round 3: *Inc* all around (12)
Round 4: *Sc* all around (12)
Round 5: *Inc, Sc in the next st* all around (18)
Round 6-16: *Sc* all around (18)
Round 17: *Dec, Sc in the next st* all around (12)
Round 18-21: *Sc* all around (12)
Round 22: *Dec, Sc in the next st* all around (8)
Round 23-26: *Sc* all around (8)
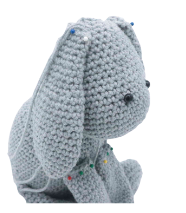
Finish off, leaving a long tail for sewing. Pin the ears on as shown and sew on. Once done, weave in ends and cut any excess yarn.
Feet: (Make 2)
In Grey
Round 1: 6 Sc into a Magic Ring (6)
Round 2: *Inc* all around (12)
Round 3: *Inc, Sc in the next st* all around (18)
Round 4: *Inc, Sc in the next 2 st* all around (24)
Round 5-6: *Sc* all around (24)
Round 7: Sc in the next 10 st. Repeat *Dec, Sc in the next st* 3 times. Sc in the next 5 st (21)
Round 8: Sc in the next 10 st. *Dec* 3 times. Sc in the next 5 st (18)
Round 9: Sc in the next 10 st. *Dec* 2 times. Sc in the next 4 st (16)
Round 10-18: *Sc* all around (16)
Finish off, leaving a long tail for sewing. Stuff the foot and leg firmly now. Pin on as shown and sew on. Once done, weave in ends and cut any excess yarn.
Arms: (Make 2)
In Grey
Round 1: 6 Sc into a Magic Ring (6)
Round 2: *Inc* all around (12)
Round 3: *Inc, Sc in the next 3 st* all around (15)
Round 4-15: *Sc* all around (15)
Round 16: *Dec, Sc in the next 3 st* all around (12)
Round 17-20: *Sc* all around (12)
Finish off, leaving a long tail for sewing. Stuff the hand firmly, then stuff the arm. Pin the arms on as shown and sew on. Once done, weave in ends and cut any excess yarn. Doing a “mattress stitch”, sew Round 7 and 8 together and tighten to form a hand.
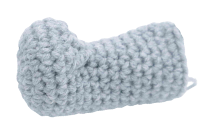
Tail:
In Grey
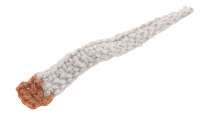
Row 1: Ch 21. Sc in the 2nd Ch from the hook. Sc in the next 19 st (20)
Row 2: Ch 1 and turn. Sc in the next 20 st (20)
Finish off, leaving a long tail for sewing. Attach your hook into the end of the tail, yarn over with brown, Ch 1. We’re now working with brown yarn. Sc in the next 3 st.
Row 3-4: Ch 1 and turn. Sc in the next 3 st (3)
Finish off and weave in ends. Pin the tail on as shown and sew on. Once done, weave in ends and cut any excess yarn.
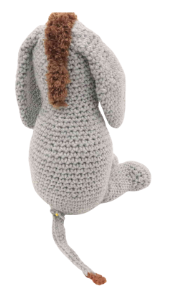
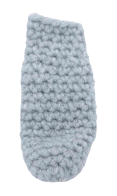
Mane:
In Fuzzy Brown Yarn
Make a chain until it meets the end of the neck on Eeyore.
Row 1-2: Ch 1 and turn, Sc down the chain you made.
Finish off and pin onto Eeyore as shown and sew on. Once done, weave in ends and cut any excess yarn.
Face Shaping:
In Grey
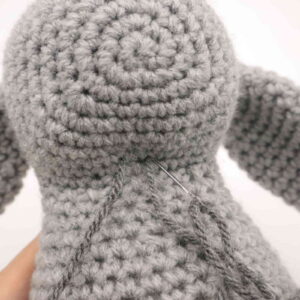
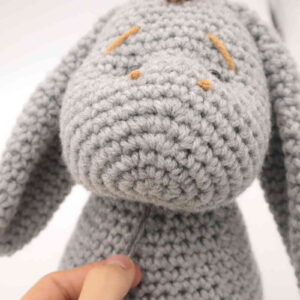
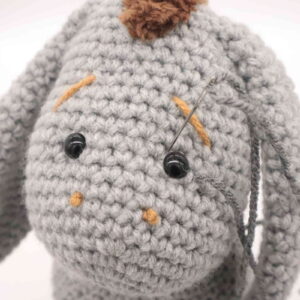
Take a 12″ piece of grey yarn and place it on a needle. Insert the needle into the toy’s bottom head area (Pic 1). Pull needle out next to the right of the toy’s eye (Pic 2).
1. 2.
2.
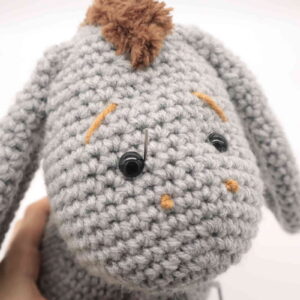
Reinsert needle to the left of the toy’s right eye (Pic 3). Pull needle out where shown, about 1 stitch over from where we originally inserted the needle (Pic 4).
3. 4.
4.
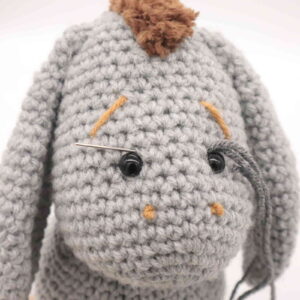
Reinsert needle 1 stitch over (Pic 5). Pull needle out at the right side of the left eye (Pic 6).
5. 6.
6.
Reinsert needle at the left side of the left eye (Pic 7). Pull needle out at the same stitch where we originally inserted out needle (Pic 8).
7.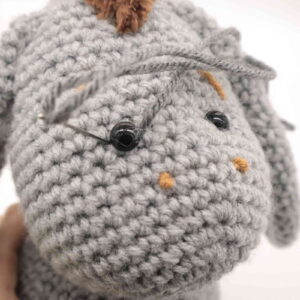 8.
8.
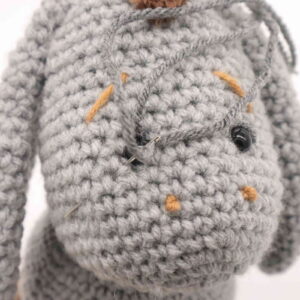
Pull both ends of yarn firmly to tighten the toy’s face (Pic 9). Tie both ends of yarn together a few times to form a knot (Pic 10). Bring the tail ends of yarn into the toy’s head to hide the knot. Cut excess yarn. Done!
9. 10.
10.
Eyelids:
In Grey
Take a 12″ piece of dark grey yarn. Insert it into the toy (Pic 1) and pull needle out next to the toy’s right side of the right eye (Pic 2). Reinsert needle to the left side of the toy’s right eye (Pic 2).
1. 2.
2.
Pull needle out at the right side of the toy’s left eye (Pic 3). Reinsert needle into the left side of the toy’s left eye (Pic 4). Tie ends of yarn into firm knots to secure, then bring the knots inside the toy to hide. Cut any excess yarn.
3. 4.
4. 5.
5. 6.
6.
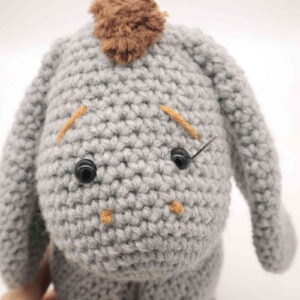
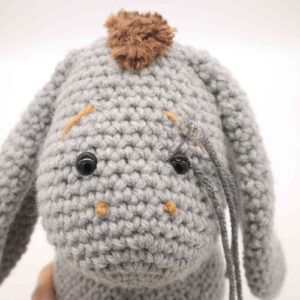
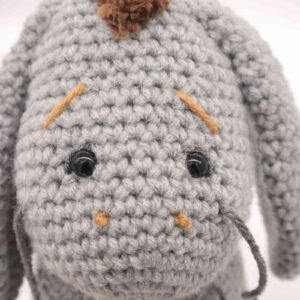
Face Embroidery:
In Brown
Using brown yarn, embroider on eyebrows. After this, make knots in the nose area to form nostrils. To secure the face embroidery, make knots with the tail ends of yarn and bring the yarn inside the toy to hide. Cut any excess yarn.
Done!


