
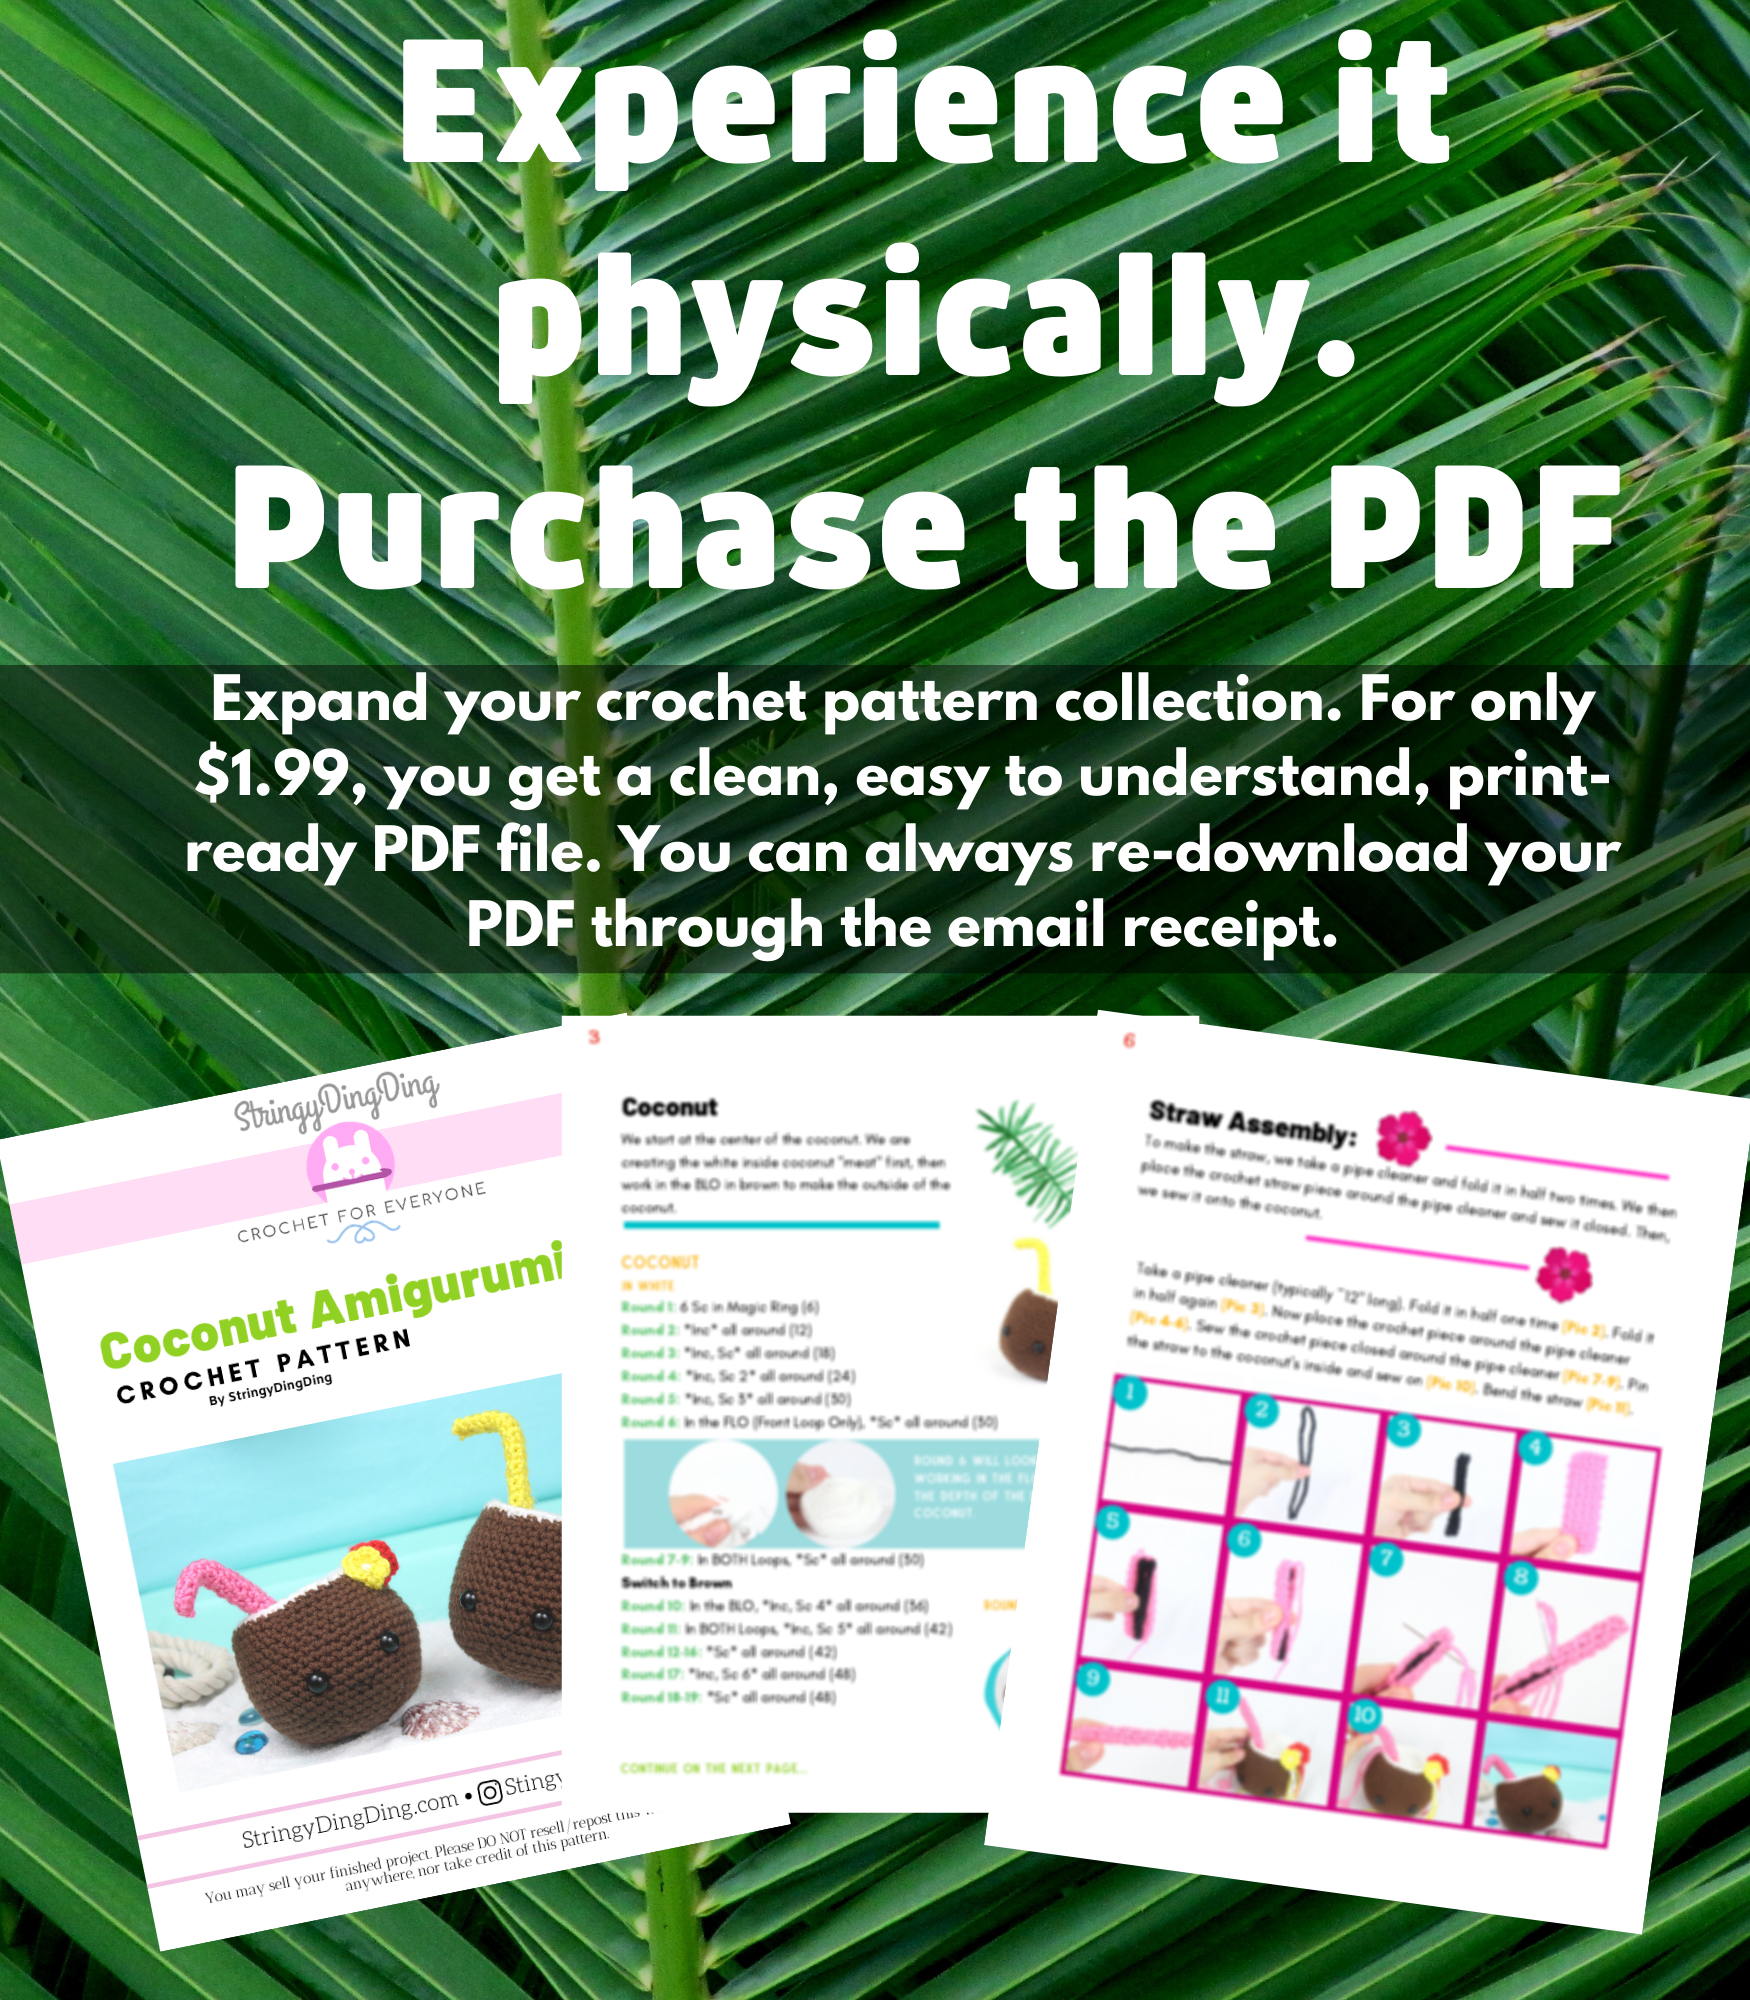
Purchase the PDF Version here

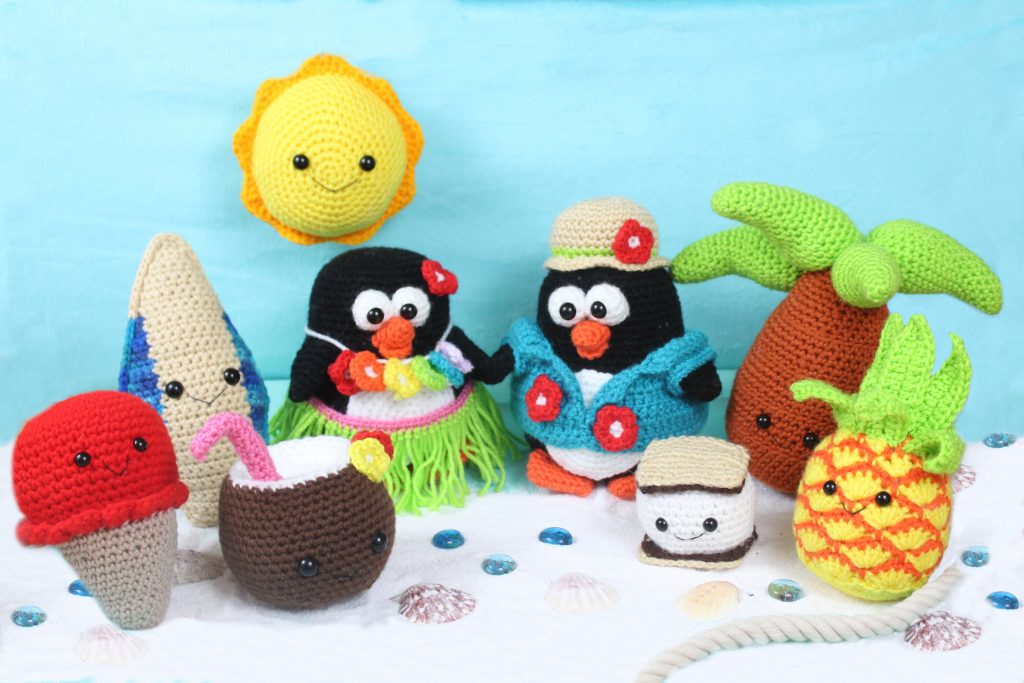
Our purchase the ENTIRE PDF Bundle here
Supplies:
4/Medium weight yarn in the following:
Brown
White
Flower & Straw Colors
10mm safety eyes, 1 pipe cleaner, black embroidery thread, tapestry needle, scissors, and stuffing.
Additional Information:
Difficulty: Easy
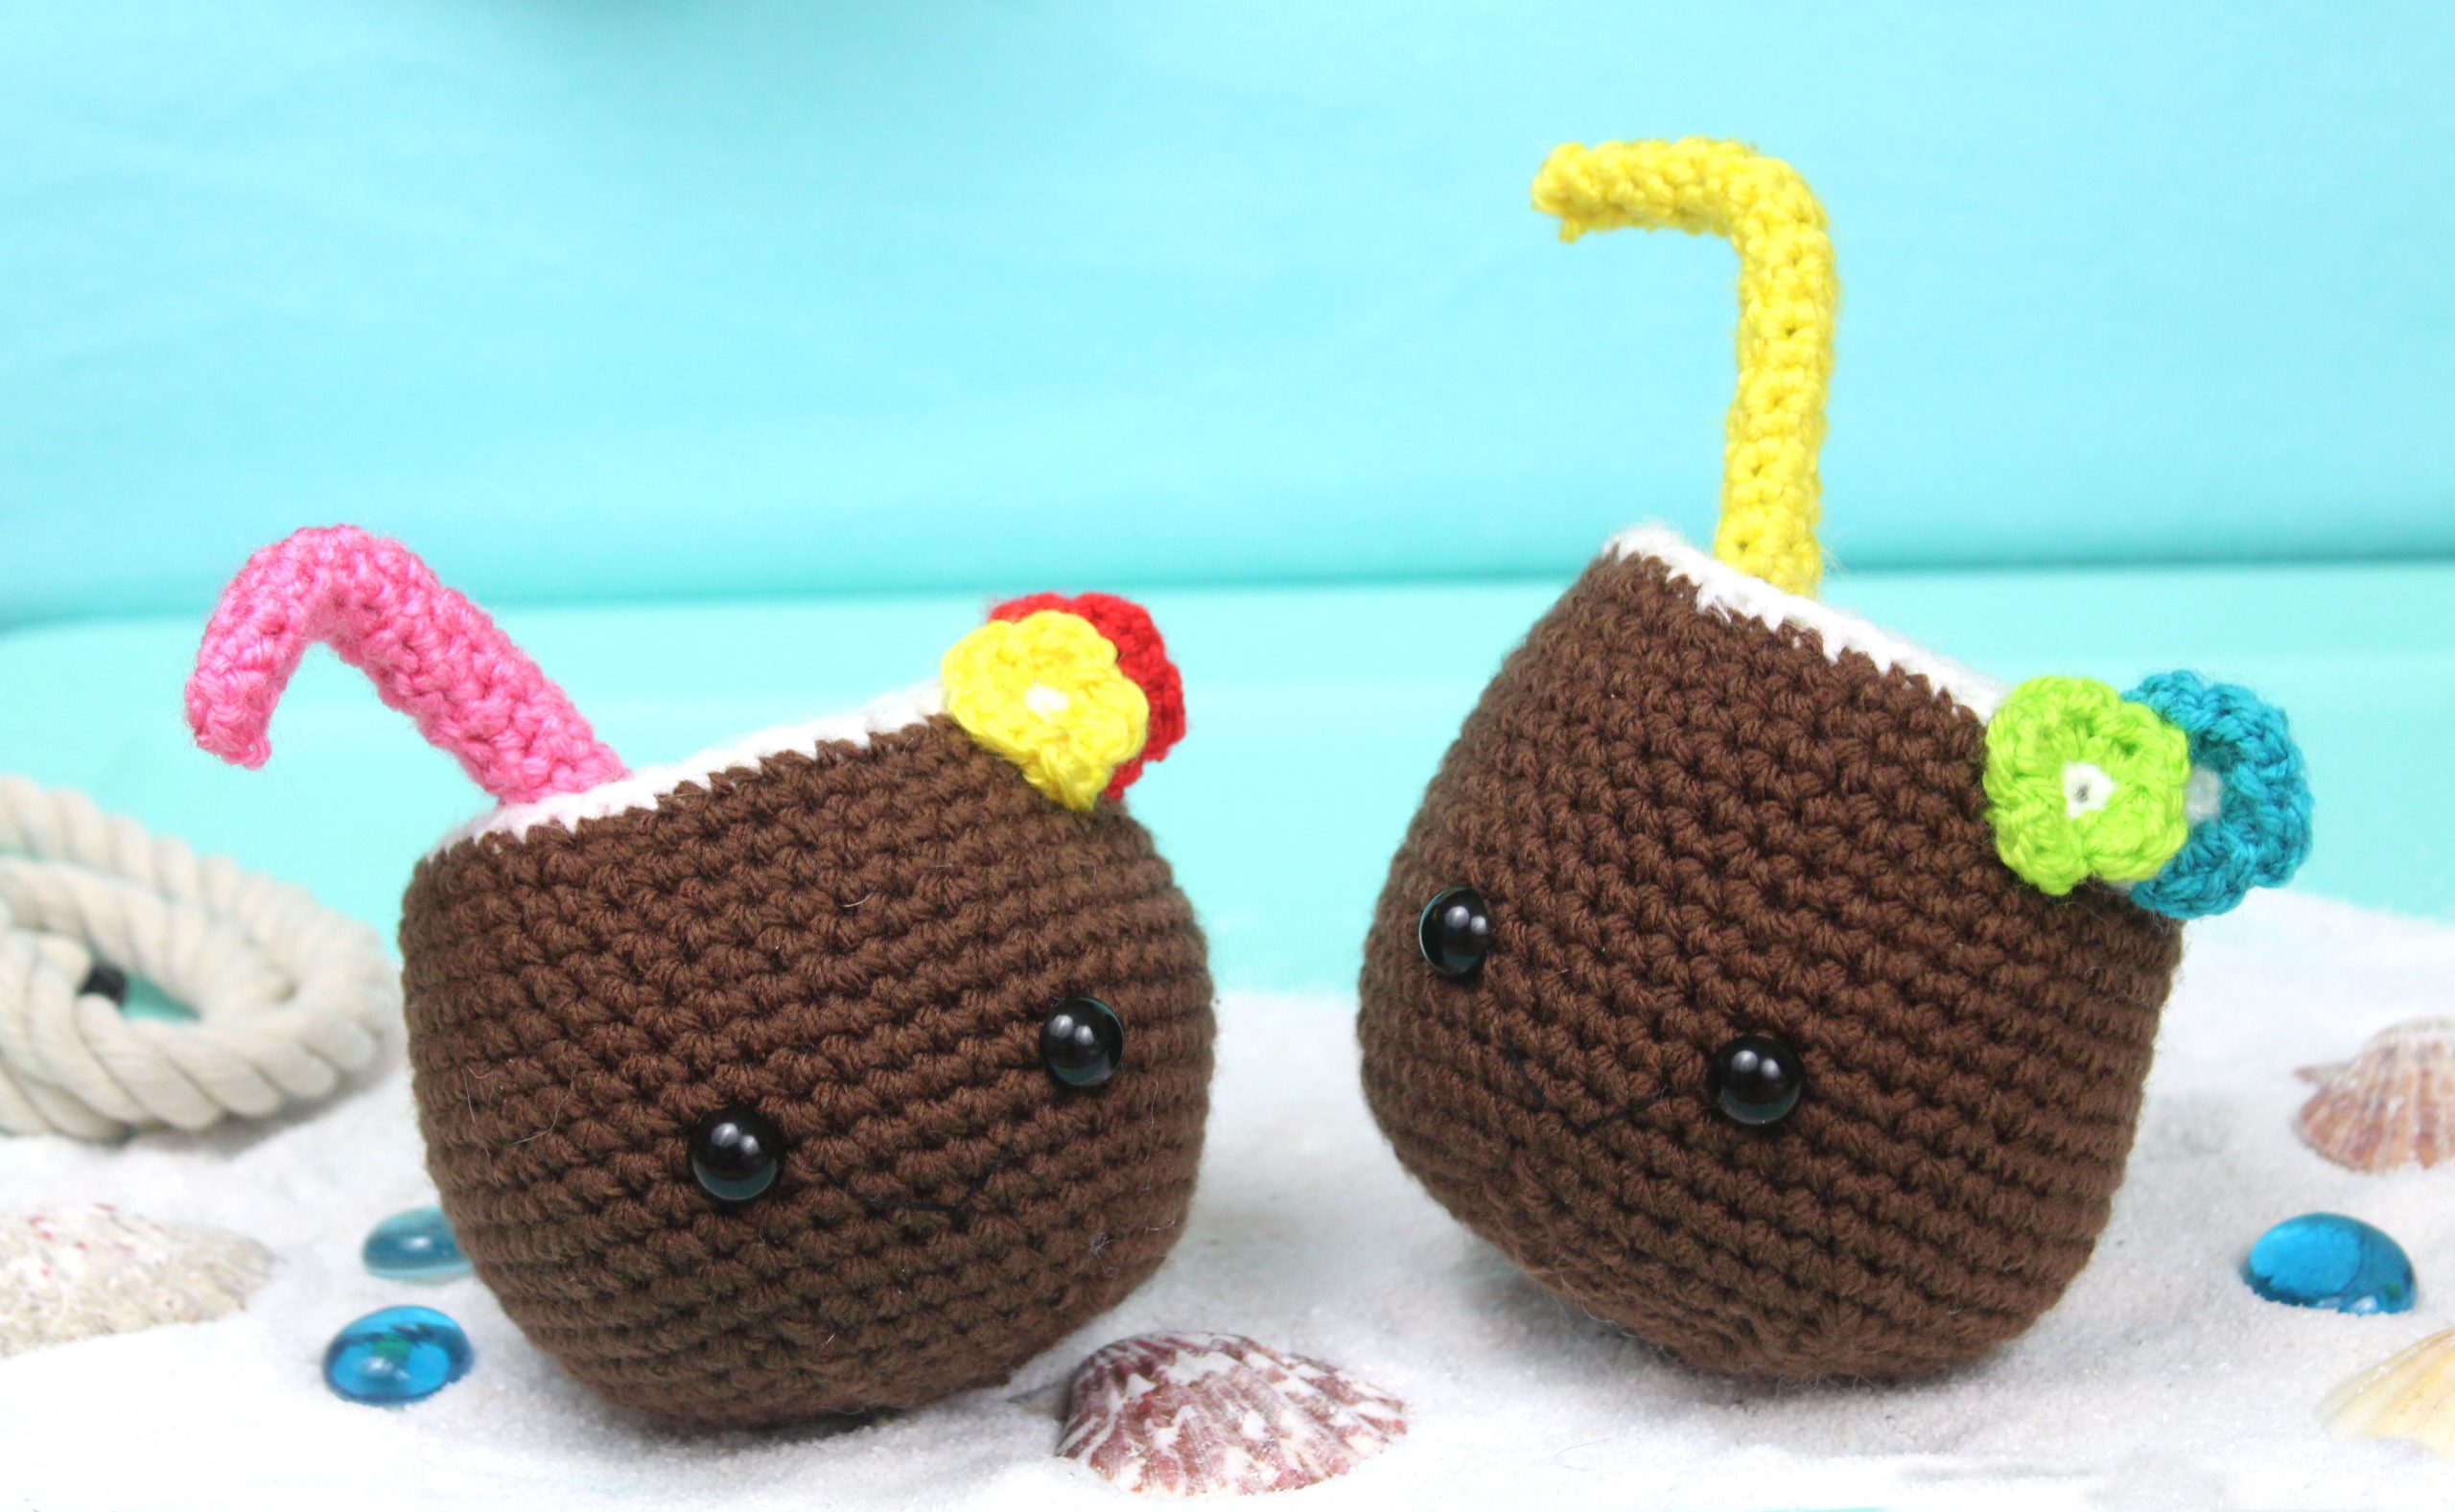
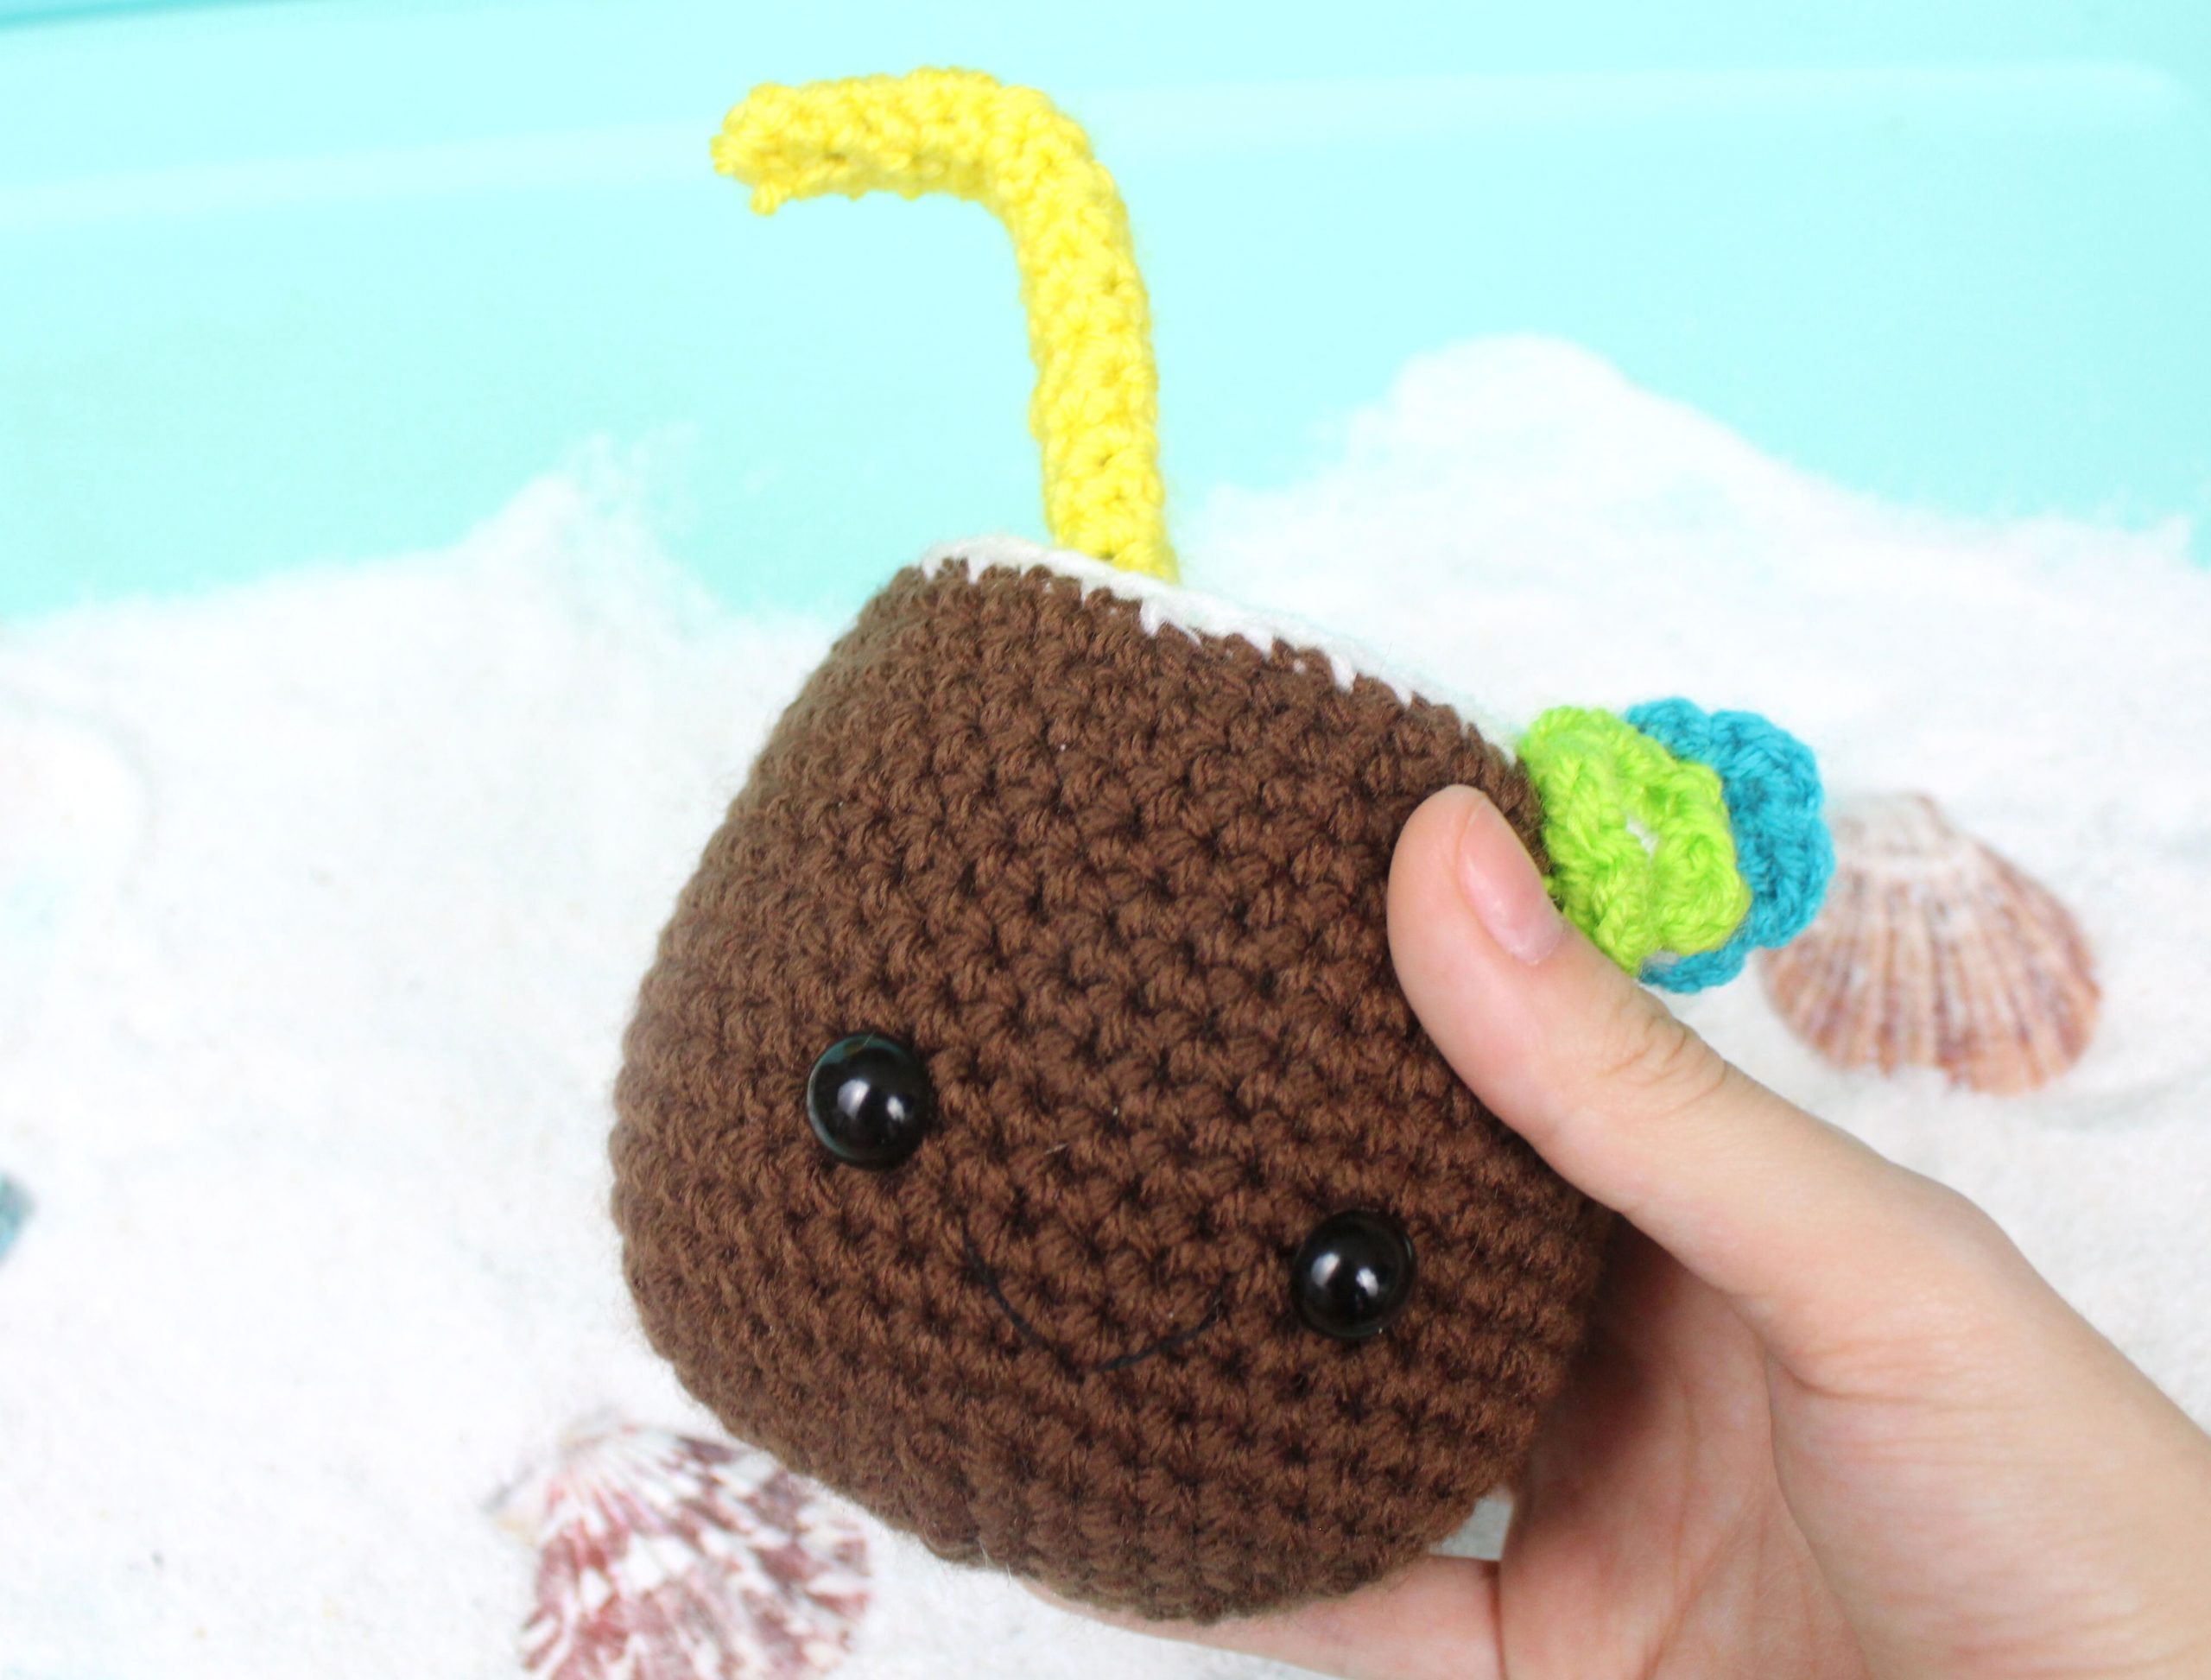
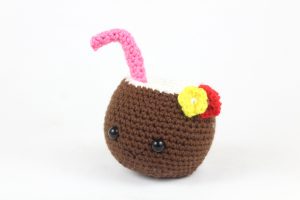
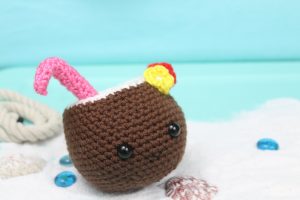
We start by making the inside white part of the coconut. Once we have made the white part, we switch to brown and work the outside of the coconut. The inside and outside are all one piece, made by working in the front and back loops. After we make the coconut, we make the flowers, straw, and smile!
Coconut:
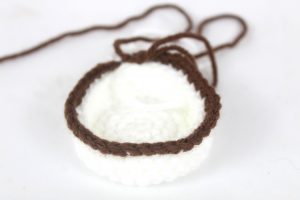
We start at the center of the coconut. We are creating the white inside coconut “meat” first, then work in the BLO in brown to make the outside of the coconut.
Coconut:
In White

Round 1: 6 Sc in Magic Ring (6)
Round 2: *Inc* all around (12)
Round 3: *Inc, Sc* all around (18)
Round 4: *Inc, Sc 2* all around (24)
Round 5: *Inc, Sc 3* all around (30)
Round 6: In the FLO (Front Loop Only), *Sc* all around (30)
Round 6 will look like this. Working in the FLO will form the depth of the inside of the coconut.
Round 7-9: In BOTH Loops, *Sc* all around (30)
Switch to Brown
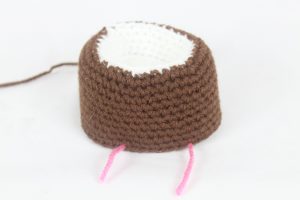
Round 10: In the BLO, *Inc, Sc 4* all around (36)
Round 10 Will Look Like This
Round 11: In BOTH Loops, *Inc, Sc 5* all around (42)
Round 12-16: *Sc* all around (42)
Round 17: *Inc, Sc 6* all around (48)
Round 18: *Sc* all around (48)
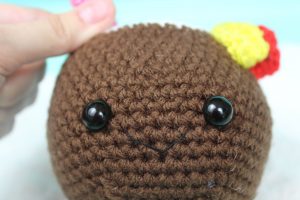
The next round we will add eye stitch markers to mark where to place the eyes.
Round 19: Sc in the next 20 st. Sc in the next st and add a different colored st marker to the Sc just made. This marks where to place the eye. Sc in the next 6 Sc. Sc in the next st and add a different colored st marker to the Sc just made. Sc in the next 20 st (48)
Round 19 Eye Markers will look like this
Round 20-23: *Sc* all around (48)
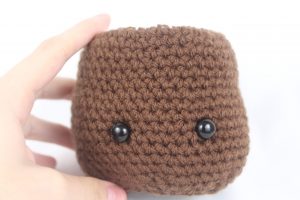
Add safety eyes in the marked areas from Round 20 now

Round 24: *Dec, Sc 6* all around (42)
Round 25: *Dec, Sc 5* all around (36)
Round 26: *Dec, Sc 4* all around (30)
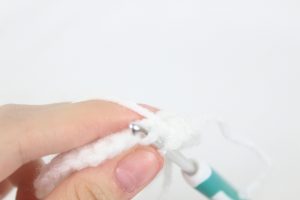
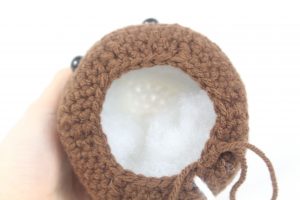
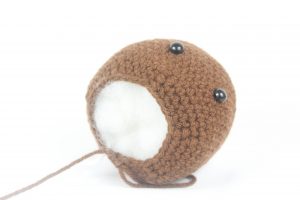
Stuff here. Stuff again after each round.
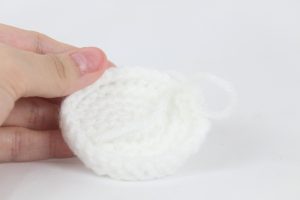
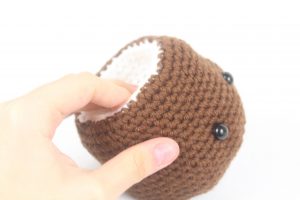
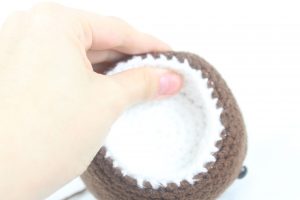
Note: When adding stuffing, hold down the white coconut “meat” and stuff around it (Pic 1-2). We do this to maintain the indented look. You can move the stuffing around the white part until it looks as intended (Pic 3). If you really want, you can even sew the white part in place.
1. 2.
2.
3. 4.
4.
Round 27: *Dec, Sc 3* all around (24)
Round 28: *Dec, Sc 2* all around (18)
Round 29: *Dec, Sc* all around (12)
Round 30: *Dec* all around (6)
Finish off and set aside for now.
Flowers: (Make 2)
Start in white. Flower color can be in red & yellow, or in blue & green
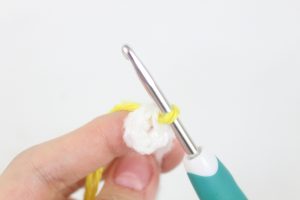
Round 1: 5 Sc in Magic Ring (Pic 1) (5)
Round 2: Switch to Flower Color. *SlSt in the next st, 3 Hdc in that same st* 5 times. SlSt in the last st (Pic 2-4) (21)
1.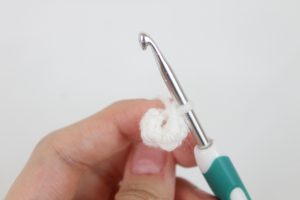 2.
2.
3.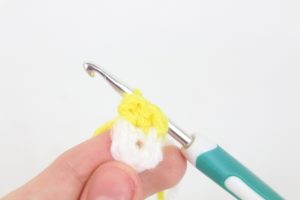 4.
4.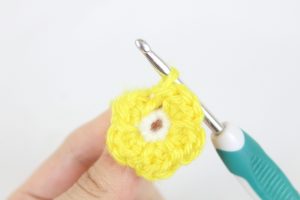
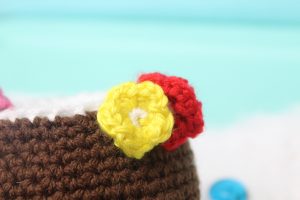
Finish off. Tie the ends firmly together at the back of the flower and cut any ends you won’t need. Be sure to save an end for sewing onto the coconut. Pin each flower onto the coconut and sew on (Pic 5).
5.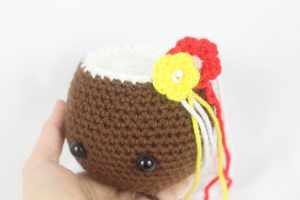
Straw:
In Pink or Yellow
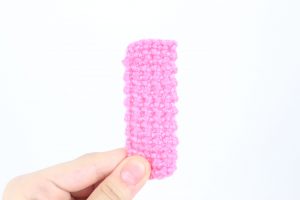
Row 1: Ch 6, Sc in 2nd ch from hook. Sc in the next 4 st
Row 2-18: Turn, Sc in the next 6 st (6)
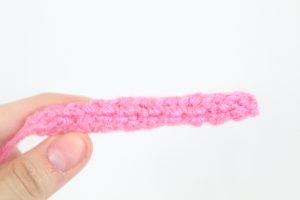
Finish off, leaving a long tail for sewing. Refer to straw assembly.
Straw Assembly:
To make the straw, we take a pipe cleaner and fold it in half two times. We then place the crochet straw piece around the pipe cleaner and sew it closed. Then, we sew it onto the coconut.
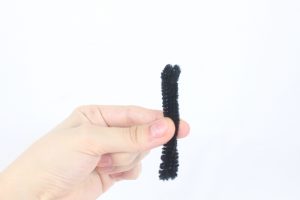
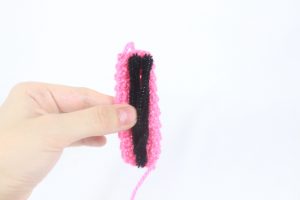
Take a pipe cleaner (typically ~12″ long). Fold it in half one time (Pic 2). Fold it in half again (Pic 3). Now place the crochet piece around the pipe cleaner (Pic 4-6).
1. 2.
2.
3. 4.
4.
5. 6.
6.
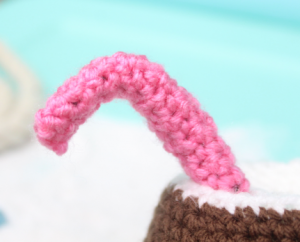
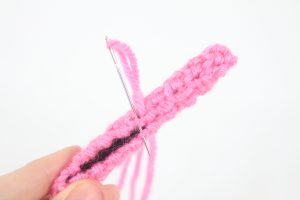
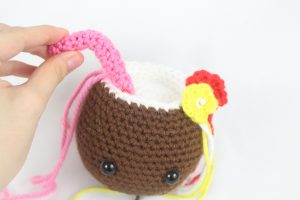
Sew the crochet piece closed around the pipe cleaner (Pic 7-9). Pin the straw to the coconut’s inside and sew on (Pic 10). Bend the straw (Pic 11).
7.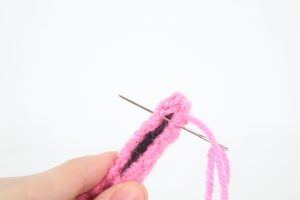 8.
8.
9. 10.
10.
11. 12.
12.
Smile:
In Black Embroidery Thread
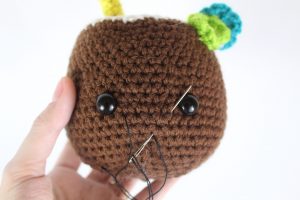
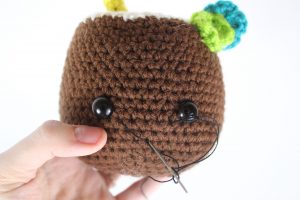
Insert the needle into the middle of the mouth area and pull out next to the left eye (Pic 1). Reinsert needle into the middle of the mouth and pull out next to the right eye (Pic 2). Reinsert needle into the middle of the mouth (Pic 3). Tie the ends and weave them into the coconut.
1.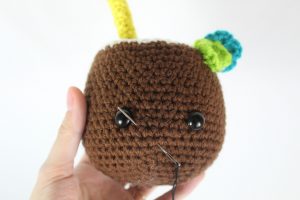 2.
2.
3. 4.
4.
Done! If you made a coconut I would LOVE to see 🙂 You can show me by “trying” it on Pinterest.


