
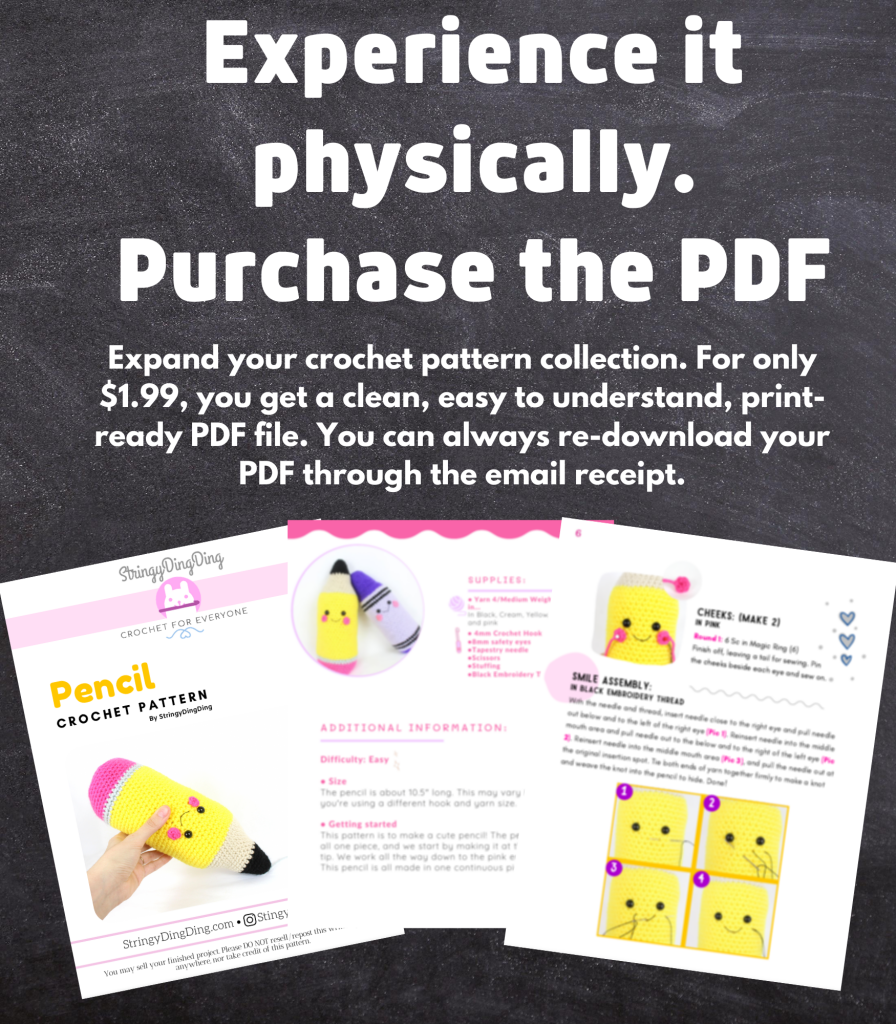
Purchase the PDF version here!

Stitches Used:
Magic Ring
Single Crochet – Sc
Stitch – St
Increase – Inc
Decrease – Dec
Back Loop Only – BLO
Supplies:
• Yarn 4/Medium Weight Yarn in…
Black, Cream, Yellow, Grey, and Pink
• 4mm Crochet Hook
•8mm safety eyes
•Tapestry needle
•Scissors
•Stuffing
•Black Embroidery Thread
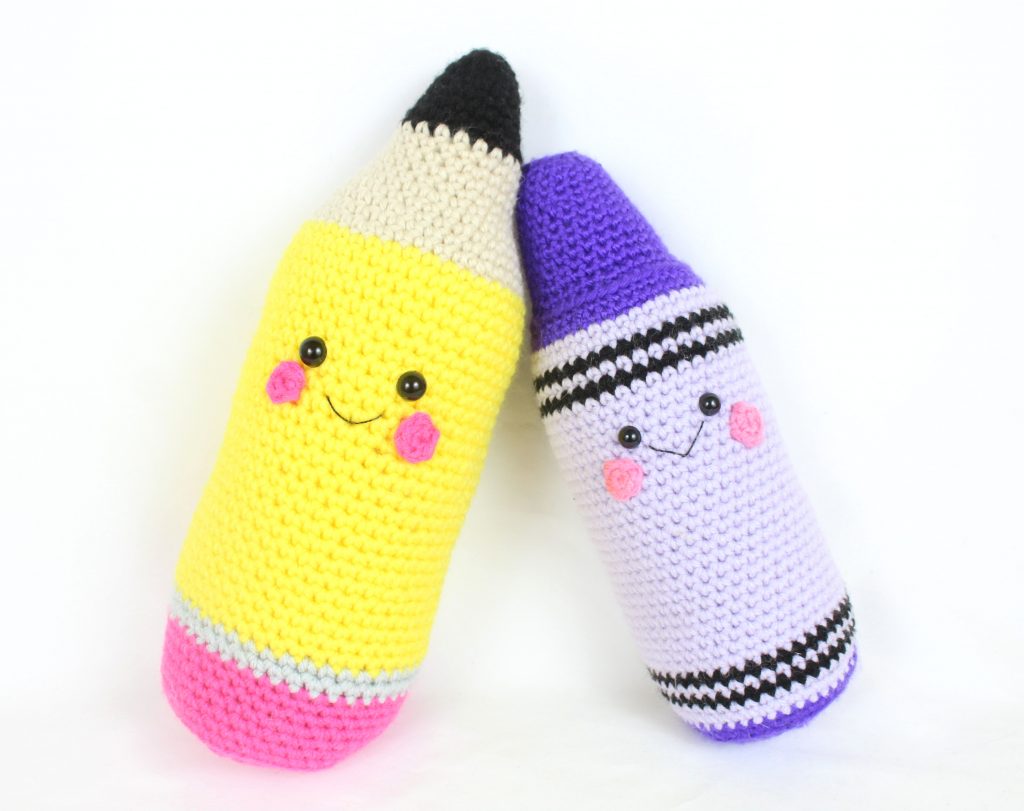
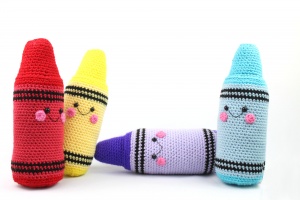
Want a crayon to go with your pencil? Click here for the free pattern!
Additional Information:
Difficulty: Easy
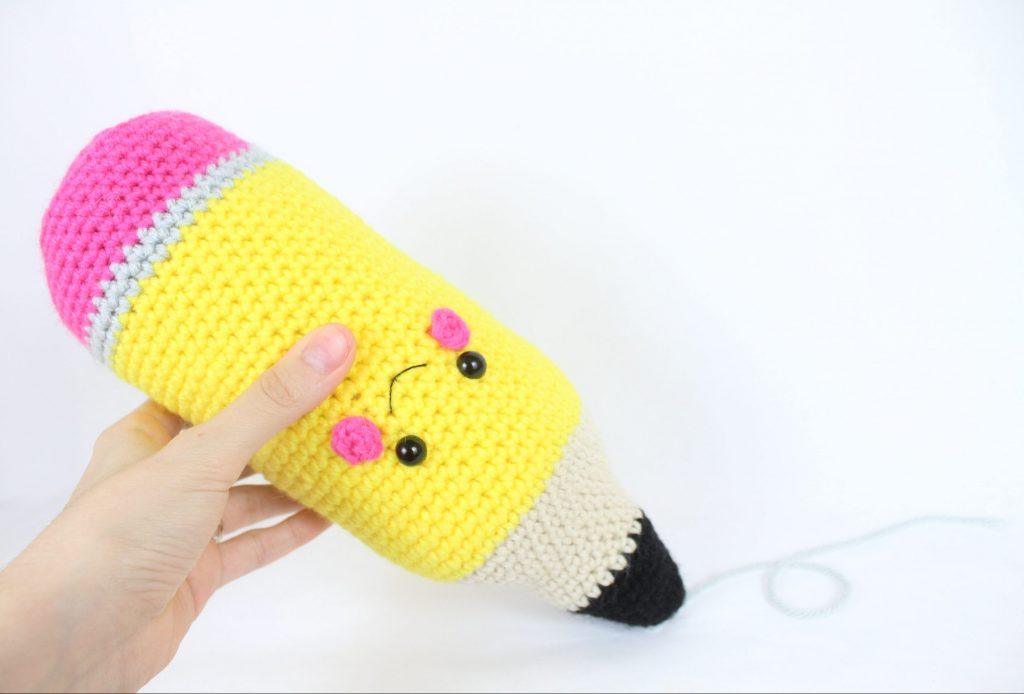
• Size
The pencil is about 10.5″ long. This may vary if you’re using a different hook and yarn size.
• Getting started
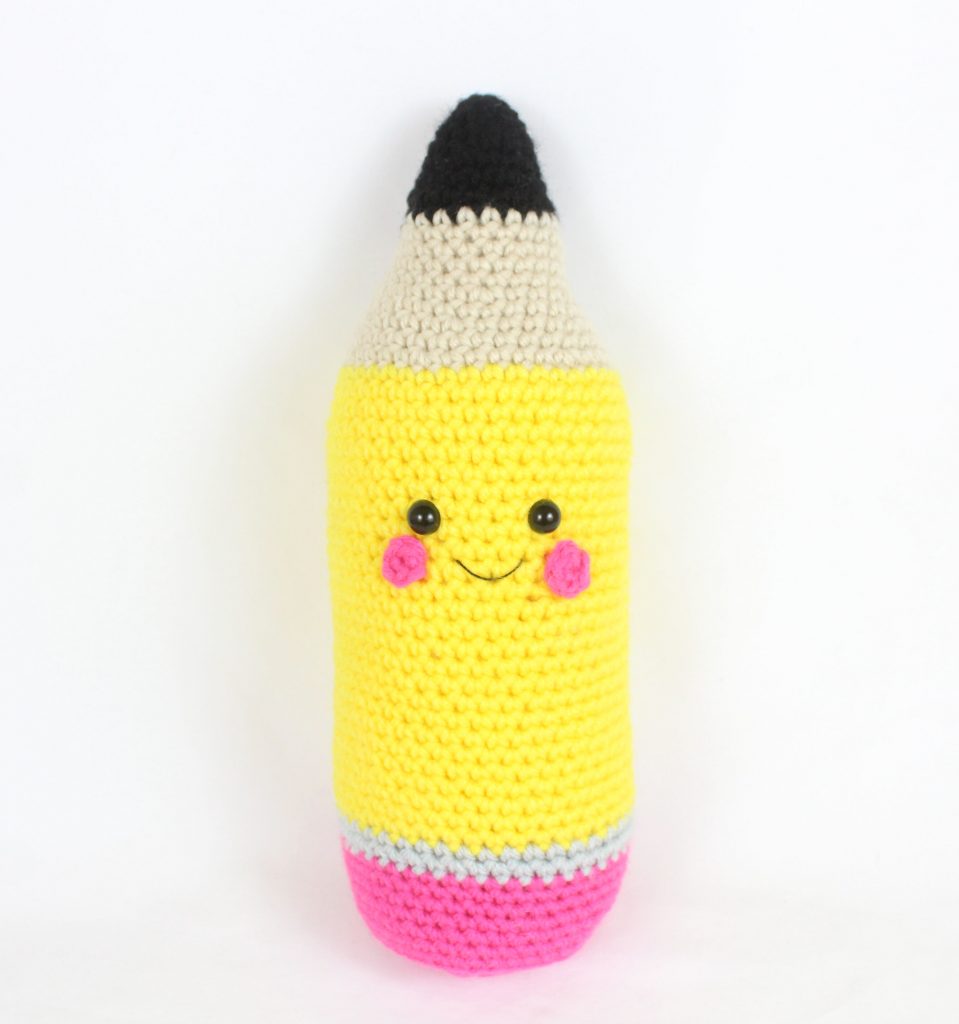
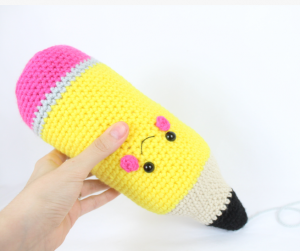
This pattern is to make a cute pencil! The pencil is all one piece, and we start by making it at the black tip. We work all the way down to the pink eraser. This pencil is all made in one continuous piece.
Pencil:
In Black
Round 1: 6 Sc in Magic Ring (6)
Round 2: *Inc, Sc in the next 2 st* all around (8)
Round 3: *Inc, Sc 3* all around (10)
Round 4: *Inc, Sc 4* all around (12)
Round 5: *Inc, Sc 5* all around (14)
Round 6: *Inc, Sc 6* all around (16)
Round 7: *Inc, Sc 7* all around (18)
Round 8: *Inc, Sc 8* all around (20)
Round 9: Sc in the next 10 st, Inc in the next st, Sc in the next 9 st (21)
Round 10-11: Change to Cream. *Sc* all around (21)
Round 12: *Inc, Sc 6* all around (24)
Round 13-14: *Sc* all around (24)
Round 15: *Inc, Sc 3* all around (30)
Round 16: *Sc* all around (30)
Round 17: *Inc, Sc 4* all around (36)
Round 18: *Sc* all around (36)
Round 19: *Inc, Sc 5* all around (42)
Round 20-27: Change to yellow. *Sc* all around (42)
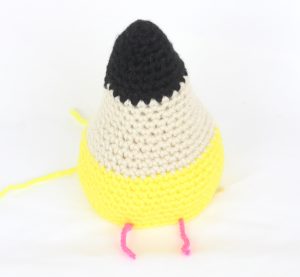
In the next round we will add eye stitch markers to mark where to place the eyes.
Round 28: Sc in the next 18. Sc in the next st and add a different colored st marker to the Sc just made. This marks where to place the eye later. Sc in the next 4 st. Sc in the next st and add a different colored St marker to the Sc made. Sc in the next 18 st (42)
Round 28 Will Look Like This
Round 29-45: *Sc* all around (42)
Add the eyes in marked areas from Round 28 now.


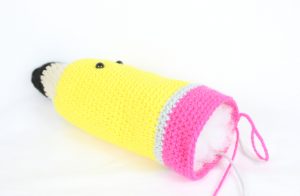
Round 46-47: Change to grey. *Sc* all around (42)
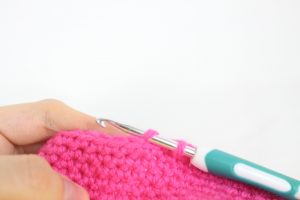
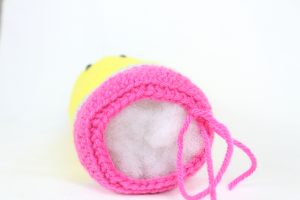
Round 48-52: Change to pink for the eraser. *Sc* all around (42)
Stuff the pencil firmly here. Continue lightly stuffing after each round.
Round 53: In the BLO (Back loop only) Repeat *Dec, Sc 5* all around (36)
Round 54: In BOTH loops, Repeat *Dec, Sc 4* all around (30)
Round 55: *Dec, Sc 3* all around (24)
Round 56: *Dec, Sc 2* all around (18)
Round 57: *Dec, Sc* all around (12)
Round 58: *Dec* all around (6)
Finish off, leaving a tail for sewing. Sew the end closed.
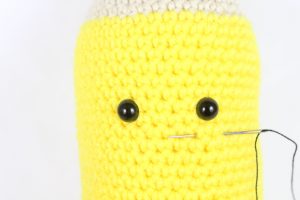
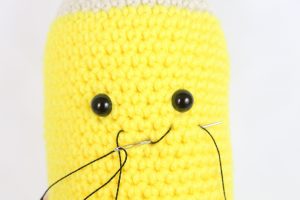
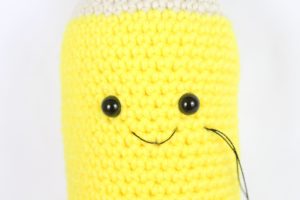
Smile Assembly:
In Black Embroidery Thread
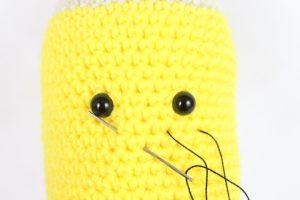
With the needle and thread, insert needle close to the right eye and pull needle out below and to the left of the right eye (Pic 1). Reinsert needle into the middle mouth area and pull needle out to the below and to the right of the left eye (Pic 2). Reinsert needle into the middle mouth area (Pic 3), and pull the needle out at the original insertion spot. Tie both ends of yarn together firmly to make a knot and weave the knot into the pencil to hide. Done!
1. 2.
2.
3. 4.
4.
Cheeks: (Make 2)
In Pink
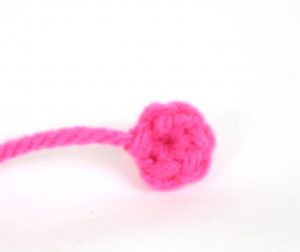
Round 1: 6 Sc in Magic Ring (6)
Finish off, leaving a tail for sewing. Pin the cheeks beside each eye and sew on.

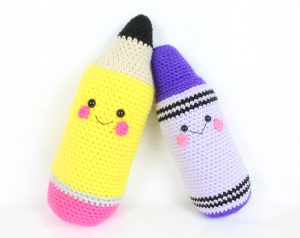 All done! If you made this pencil I would LOVE to see it! You can “try” it on Pinterest, or add a photo to the comments below this post 🙂


7 Comments
Thanks for the cute pattern.
Hi Vicki, your pencil looks so gosh darn cute! The colors work perfectly together too 🥰 I love it so much and thank you so very much for sharing your finished pencil! It’s just adorable ❤️
Thank you very much for the cute patterns
I have so much fun making it for my boys😄
Hi Oanh! Wow you made both!!! ADORABLE 😍 I just love it, I’m sure your boys love them too ❤️ Your stitches look super clean and consistent by the way! I hope you can tell me your secret hahaha. Thank you so much for sharing a photo of your pencil and crayon! They look super cute!
I mentioned on the CAL page that my daughter Isabelle made a crayon. Here it is, along with her tiny ice cream cone! She’s 12 and started crocheting in March or April of this year! 🙂
Hi Nicole! Oh my gosh you have such a talented daughter 😍 That crayon is amazing! I can’t believe she’s so young and so talented! Please encourage her to keep it up – at this rate she’s going to be an expert! How adorable, her stitches look so good that I would never have guessed she’s so new to crochet 🙂 Take care you guys, I hope you both have some fun and make some amigurumis together!!
Great pattern! Looked it! Thank you.