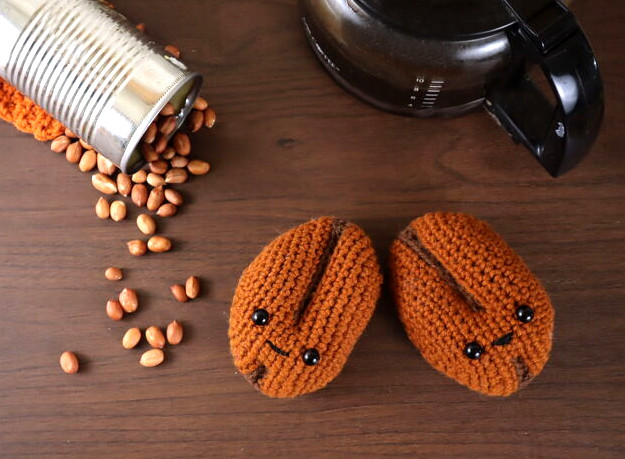
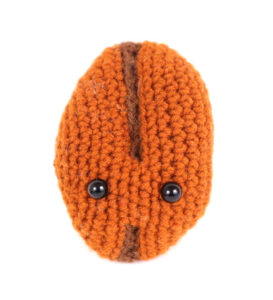
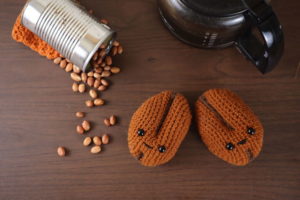
(Yes those are indeed peanuts pictured above. I didn’t have coffee beans on hand 😂)

Purchase the PDF here


Supplies:
• Yarn 4/Medium Weight Yarn in…
Brown & Dark Brown
• 4mm Crochet Hook
•10mm safety eyes
•Tapestry needle
•Scissors
•Stuffing
•Black Embroidery Thread
Additional Information:
Difficulty: Easy
• Getting Started
The coffee bean is made all in one piece! To start, we make a foundation chain and work around in. The bean is worked starting at the right side, working to the middle and then the left.
To give the bean some shape we will sew down the dark brown part to make an indent.
Grab your coffee and crochet hook. Let’s get started!
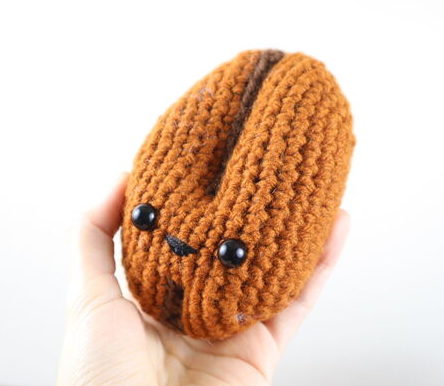
Coffee Bean
To start the bean we will start by making a foundation chain. We will work entirely around the chain to make a round!
Coffee Bean:
In Light Brown
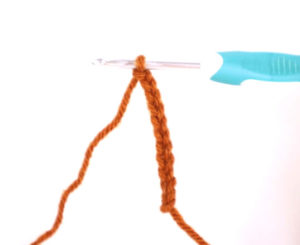
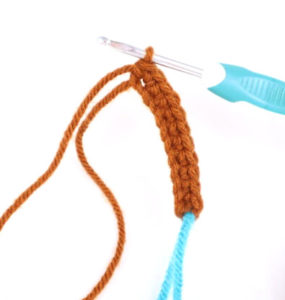
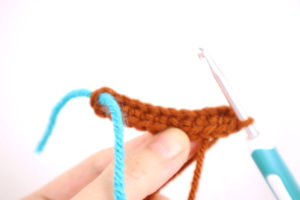
Round 1: Ch 11 (Pic 1). Sc 2 times into the 2nd Ch from the hook. Sc in the next 8 st. Sc 2 times into the next st. Now we meet the end of the chain (Pic 2) Turn to the OTHER side of the chain, where unworked stitches are (Pic 3). Sc in the next 8 st (Pic 4-5) (20)
1. 2.
2.
3. 4.
4.
5.
Round 2: *Inc* in the next 2 st, Sc in the next 8 st, *Inc* in the next 3 st, Sc in the next 6 st, *Inc* in the last (26)
Round 2 Pictured Below
Round 3: *Inc* in the next 4 st, Sc in the next 8 st, *Inc* in the next 4 st, *Sc* in the last 10 st (34)
Round 4-5: *Sc* all around (34)
Round 6: Sc in the next 2 st, *Inc* in the next 5 st, Sc in the next 10 st, Sc in the next st and add a different colored st marker to the Sc just made. This marks where to place the eye later. Sc in the next st, *Inc* in the next 5 st, Sc in the next 10 (44)
Round 6 Eye Marker will look like the photo below:
Round 7-8: *Sc* all around (44)
Round 9: Change to Dark Brown. In the BLO (Back Loop Only) Sc in the next 21 st. Change to Light brown and in BOTH loops Sc in the next 5 st. Change to Dark brown and in BLO, Sc in the next 18 st (44)
Round 9 BLO:

Round 10: Continuing in Dark Brown, in the BLO Sc 21. Change to Light brown and in BOTH loops Sc in the next 5 st. Change to Dark brown and in BLO, Sc in the next 18 st (44)
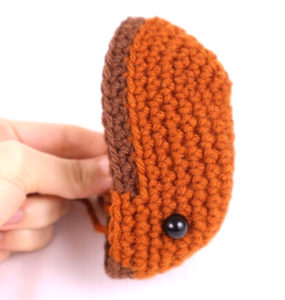
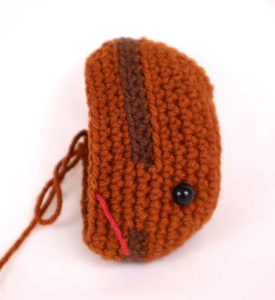
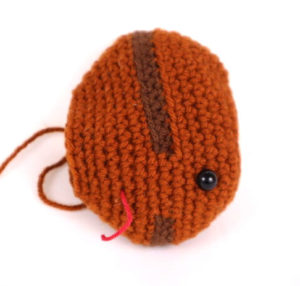
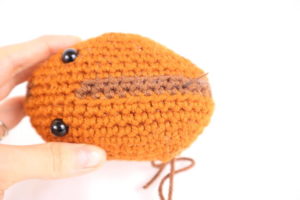
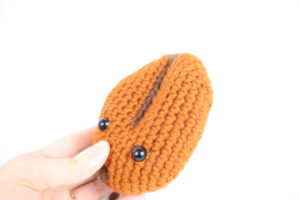
Add the eye to the marked area!
Round 11: Change to Light Brown, *Sc* all around (44)
Round 12: Sc in the next 4 st, *Dec* 5 times, Sc in the next 10 st, Sc in the next st and add a different colored st marker to the Sc just made. This marks where to place the eye later. Sc in the next st, *Dec* 5 times, Sc in the next 8 st (34)
Round 12 eye markers will look like the photo below:
Round 13-14: *Sc* all around (34)
Round 15: Sc in the next 2 st, *Dec* 4 times, Sc in the next 10 st, *Dec* 4 times, Sc in the next 6 st (26)
Round 16: Sc in the next 2 st, *Dec* 2 times, Sc in the next 10 st, *Dec* 2 times, Sc in the next 6 st (22)
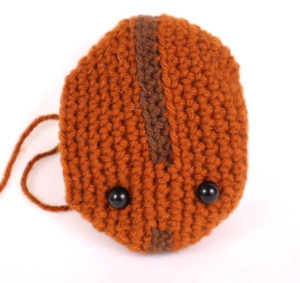
Add the eye in the marked area now. Stuff here
Round 17: Repeat *Dec, Sc in the next st* 7 times, Sc in the last st (15)
Round 18: *Dec* 7 times, Sc in the last st (8)
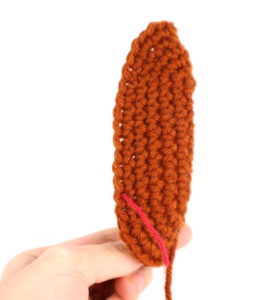
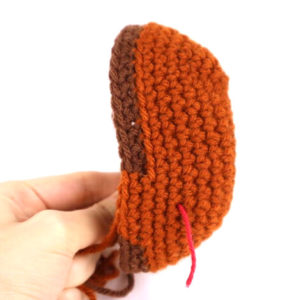
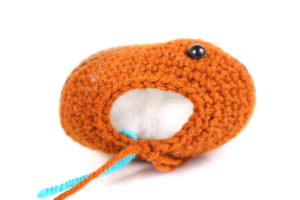
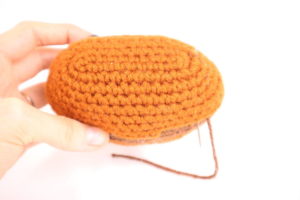
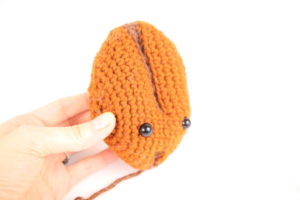
Finish off, leaving a tail. Sew the bean closed.
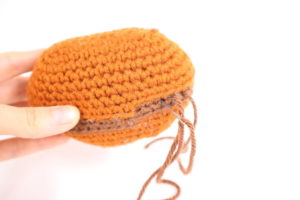
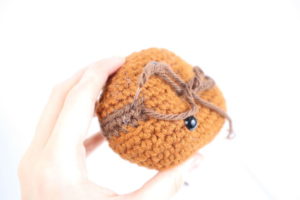
Coffee Bean Indent:
In Dark Brown
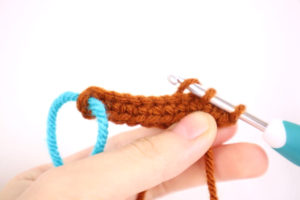
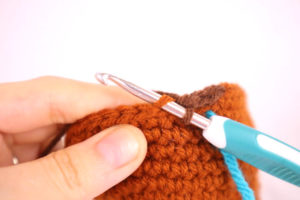
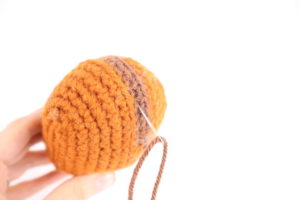
Insert needle into the back tip of the bean (Pic 1) and pull the needle to the front tip part of the bean (Pic 2). Insert needle 1 stitch down (Pic 3) and pull needle directly at bottom side of the bean (Pic 4).
1. 2.
2.
3. 4.
4.
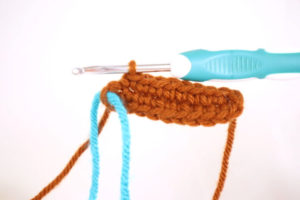
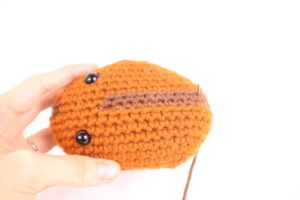
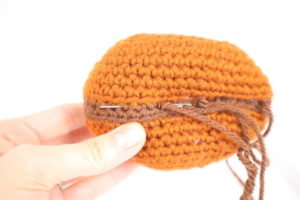
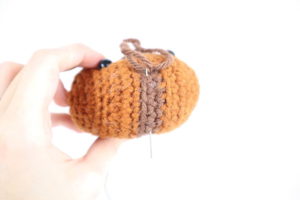
Insert needle one stitch down (Pic 5) and pull needle out the same area, at the front of the bean (Pic 6). Be sure to pull the yarn firmly to make the indent. Repeat this process down the top brown part of the bean (Pic 7).
5. 6.
6.
7.
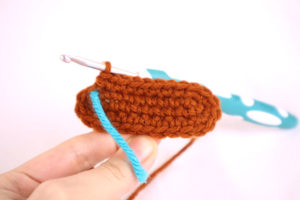
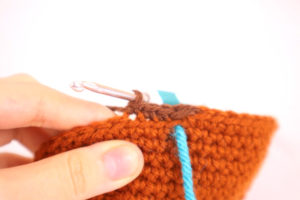
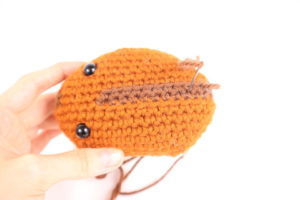
Once doing that, insert the needle and pull it out to where the next dark brown part starts (Pic 8). Pull needle out to the front of the bean (Pic 9) then insert needle one stitch down (Pic 10-11). Repeat this until the the lower part of the bean is completely indented!
8. 9.
9.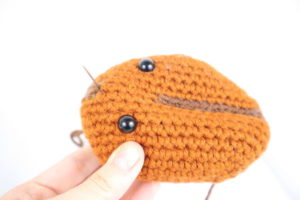
10. 11.
11.
12.
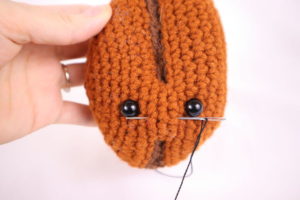
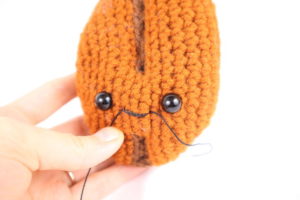
Smile:
In Black Embroidery Thread
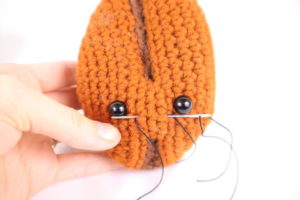
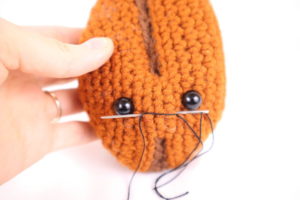
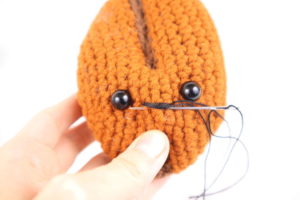
Insert needle with thread under and one stitch over from the right eye. Pull needle out a few stitches to the left (Pic 1). Pull the thread through (Pic 2). Go through the the same first stitch and pull out the same stitch we pulled out of (Pic 3-4). Repeat this 3-4 times for a regular smile (Pic 5).
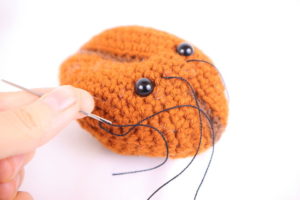
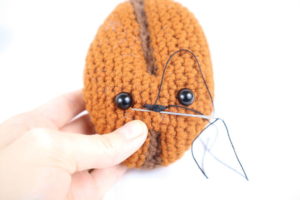
For a happier smile, repeat this process but move on to the stitches right below the ones we were working on. Only go between 1 stitch now to get that “triangle” look! (Pic 6-8).
1. 2.
2.
3. 4.
4.
5.
For a happier smile, repeat this process but move on to the stitches right below the ones we were working on. Only go between 1 stitch now to get that “triangle” look! (Pic 6-8).
6. 7.
7.
8.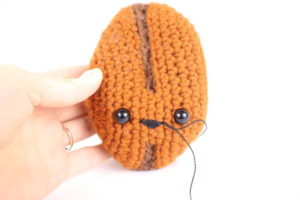
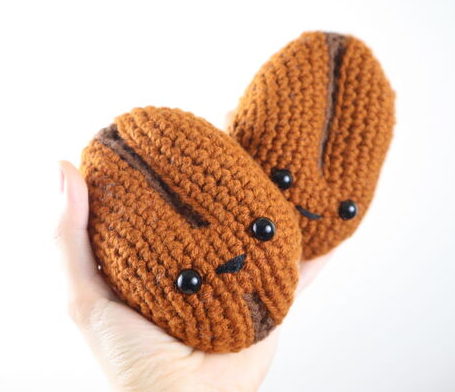
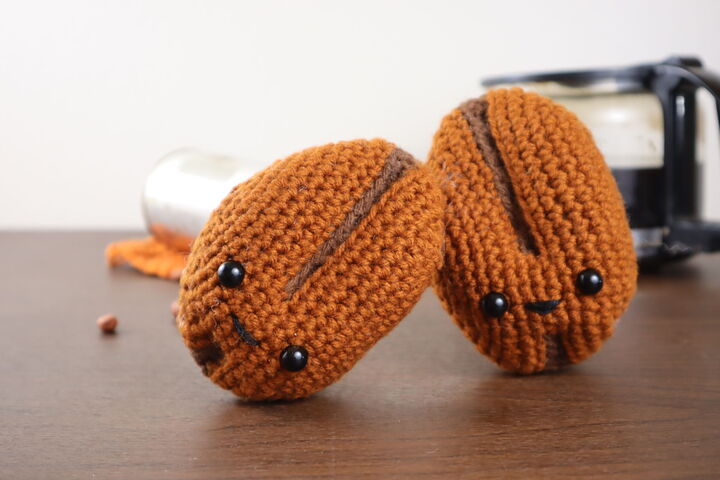
 All done! If you made a coffee bean, I would LOVE to see! You can “try” it on Pinterest, or add a photo to the comments below this post 🙂


2 Comments
My coffee bean as a keychain. Thanks this pattern.
Can you make like a really small coffee bean pattern? Like one about inch long? I need to put them on a small hat but I can’t figure out how to make it smaller than keychain size. Thanks.