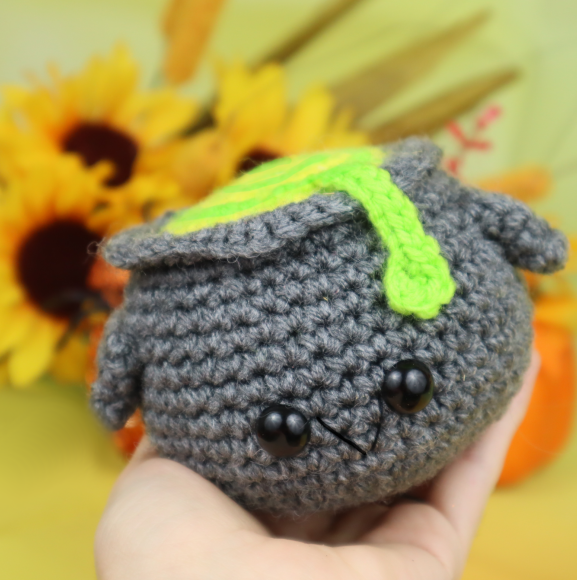
Halloween Cauldron Amigurumi – Free Crochet Pattern
Hello! This free cauldron crochet pattern is the last Halloween amigurumi I’m releasing this year – crazy isn’t it?! Well, maybe it isn’t that crazy since I’ve already released 9 other Halloween themed patterns this year 🙂 It will be sad to say “goodbye” to the Halloween patterns, but I’m super excited for what’s to come next. In fact… I’ve already made 3 Christmas patterns, and it’s only October! Oops LOL!
Since you’re here, you must like free Halloween patterns! You’re in luck – this year I’m releasing my biggest free Halloween bundle yet, with 10 free patterns. If you’d like to see those other upcoming patterns, here’s a picture. (You can click on the picture of the set below and you’ll be taken to a post which shows each upcoming pattern’s release date.)
View the other free Halloween patterns >>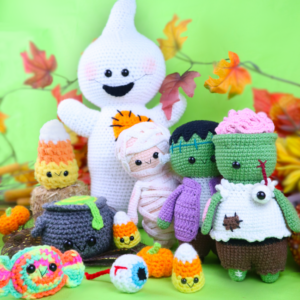
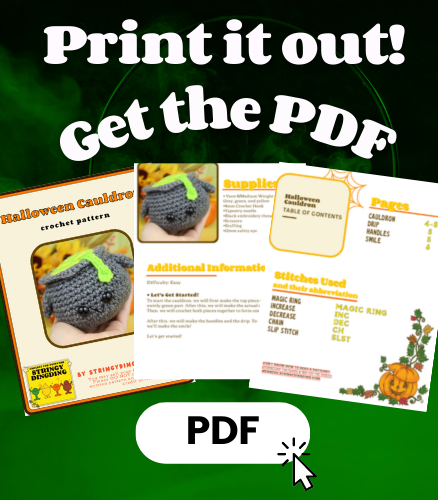
Print this pattern out – purchase the PDF here!


This is just 1 out of 10 patterns included in the Spooky Halloween Amigurumi Bundle! Every week 1 or more Halloween themed amigurumis will be released.
Want to see the other Halloween patterns and their release date? See them here!
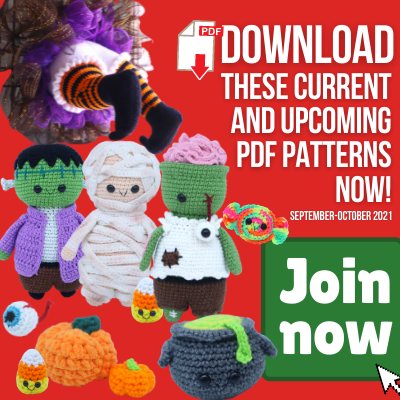
Become a member to unlock each PDF pattern as they’re released!
Supplies:
• Yarn 4/Medium Weight in…
Grey, green, and yellow
•4mm Crochet Hook
•Tapestry needle
•Black embroidery thread
•Scissors
•Stuffing
•12mm safety eye
Additional Information:
• Let’s Get Started!
To start the cauldron, we will first make the top piece of it, the swirly green part. After this, we will make the actual cauldron. Then, we will crochet both pieces together to form one whole piece!
After this, we will make the handles and the drip. To finish it off, we’ll make the smile!
Let’s get started!
Cauldron Top Piece:
Start in green yarn
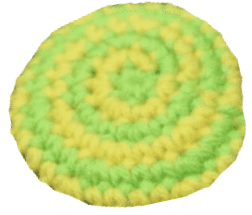
We’re going to start with the top of the cauldron!
Round 1: 6 Sc into a Magic Ring (6)
Round 2: Change to yellow. *Inc* all around (12)
Round 3: Change to green. *Inc, Sc in the next st* all around (18)
Round 4: Change to yellow. *Inc, Sc in the next 2 st* all around (24)
Round 5: Change to green. *Inc, Sc in the next 3 st* all around (30)
Round 6: Change to yellow. *Inc, Sc in the next 4 st* all around (36)
Finish off now. Weave in ends.
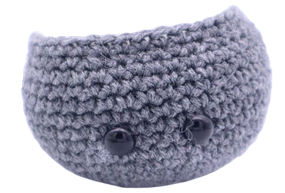
Cauldron:
Start in grey
Round 1: 6 Sc into a Magic Ring (6)
Round 2: *Inc* all around (12)
Round 3: *Inc, Sc in the next st* all around (18)
Round 4: *Inc, Sc in the next 2 st* all around (24)
Round 5: *Inc, Sc in the next 3 st* all around (30)
Round 6: *Inc, Sc in the next 4 st* all around (36)
Round 7: *Inc, Sc in the next 5 st* all around (42)
Round 8-11: *Sc* all around (42)
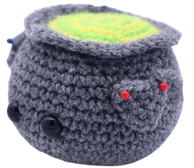
Now we will add in eye stitch markers, these will mark where to place the eyes later. Add a stitch marker into the 20th and 24th stitch of Round 11.
Round 12-16: *Sc* all around (42)
Round 17: *Dec, Sc in the next 5 st* all around (36)
Add the eyes into the marked areas now.
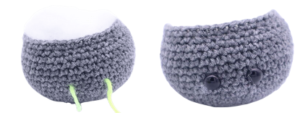
Round 18: *Sc* all around (36)
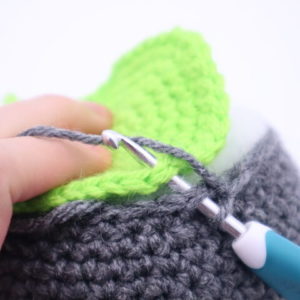
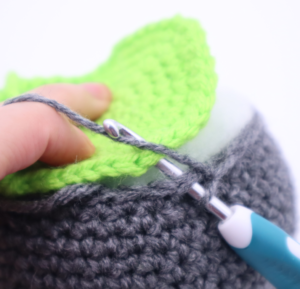
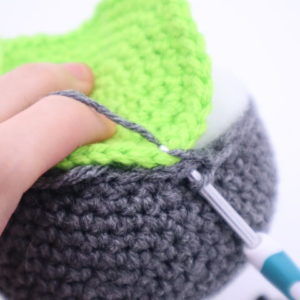
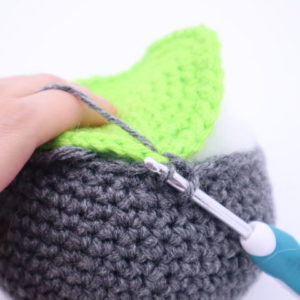
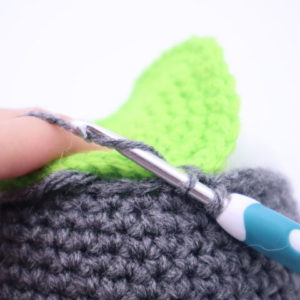
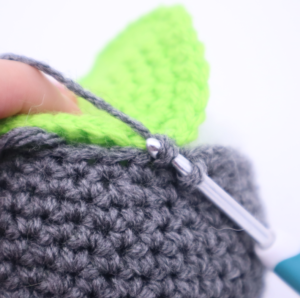
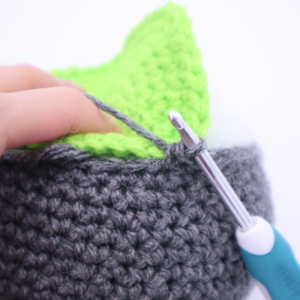
Now we will align the top of the cauldron to the cauldron itself. We will crochet the two pieces together! Be sure to firmly add stuffing while doing Round 19.
Round 19: *Line up both pieces together, making sure the stitches line up. Going through BOTH stitches, repeat *Inc, Sc in the next 5 st* all around (Pic 1-10, Stitch count: 42)
1. 2.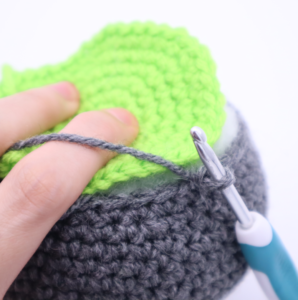
3. 4.
4.
5. 6.
6.
7. 8.
8.
9. 10.
10.
Round 20: *Inc, Sc in the next 6 st* all around (42)
Finish off and weave in ends.
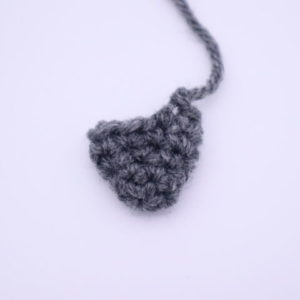
Drip:
In Green

Row 1: Ch 10. Sc 4 times in the 2nd Ch from the hook. SlSt in the next 8 Ch.
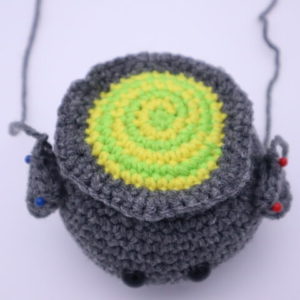
Finish off, leaving a long tail for sewing. Pin the drip onto the cauldron as shown. Sew on and weave in ends.
Handles: (Make 2)
In Grey
Round 1: 6 Sc into a Magic Ring (6)
Round 2-3: *Sc* all around (6)
Round 4: *Inc, Sc in the next st* all around (9)
Round 5: *Sc* all around (9)
Finish off, leaving a long tail for sewing. Pin the handles onto the sides of the cauldron as shown. Sew on and weave in ends.
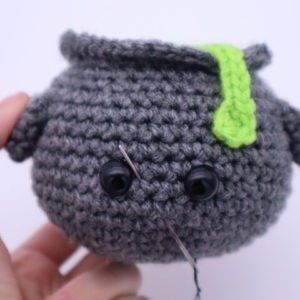
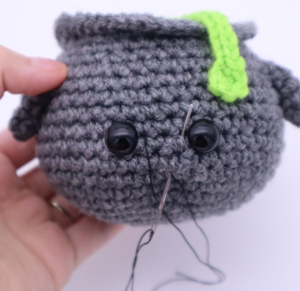
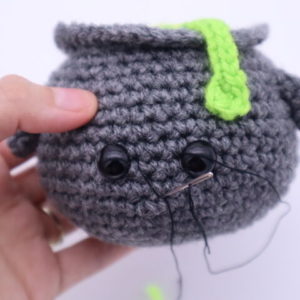
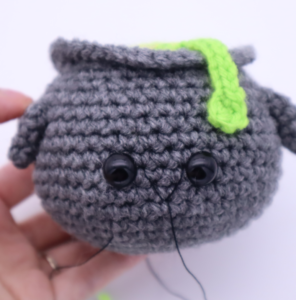
Smile:
In black embroidery thread
Insert needle with thread into the middle area of the cauldron (Pic 1) and pull the needle out next to the cauldron’s left eye (Pic 1). Reinsert needle into the original insertion spot (Pic 2) and pull needle out next to the cauldron’s right eye (Pic 2). Reinsert needle into the original insertion spot (Pic 3). Weave in ends.
1. 2.
2.
3. 4.
4.


4 Comments
So cute. I’m really enjoying making your Halloween patterns 😘 Thanks for all the great patterns 💕
Thanks for this pattern – love it!
Thank you so much for the detailed, easy to understand free paterns!! I am only 3 weeks in my amigurumi journey but thanks to you, I am loving it and making so much progress 😊
Thanks for your free pattern. I really like this one. I may have to keep it for myself.
LaDawna