
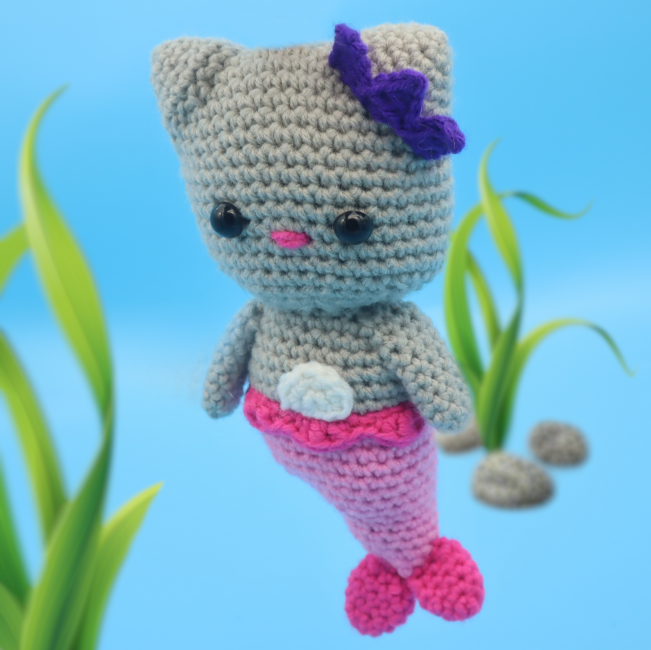
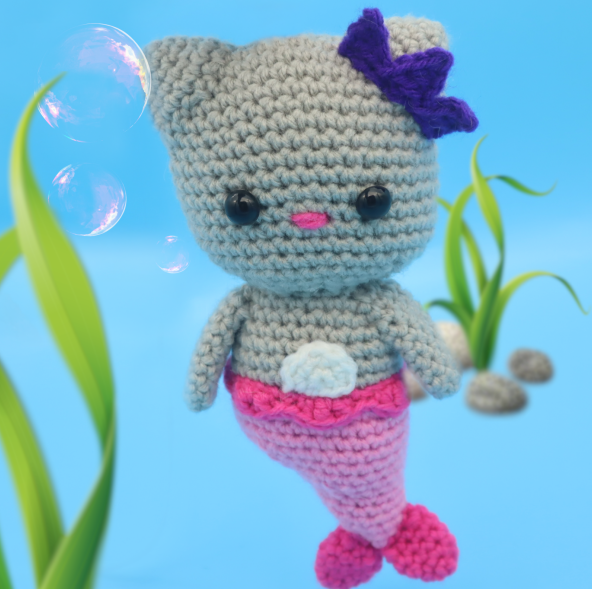
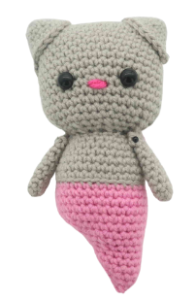
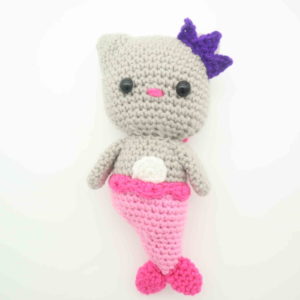
Kitty Cat Mermaid Amigurumi – Free Crochet Pattern
Print this pattern out – purchase the PDF version here!

 Supplies:
• Yarn 4/Medium Weight in:
grey, dark grey, white, light pink, dark pink, and purple
•4mm Crochet Hook
•Tapestry needle
•Scissors
•Stuffing
•12mm safety eyes
•Black Embroidery Thread
Additional Information:
•Difficulty: Easy
•Size: 8 inches tall
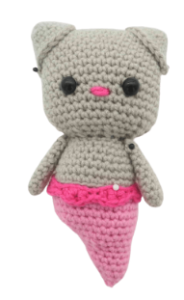
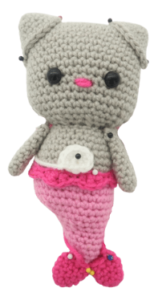
This kitty cat mermaid is super adorable and is sure to bring a smile to anyone’s face! If you have sequins, you could add a few to the tail to make shiny mermaid scales.
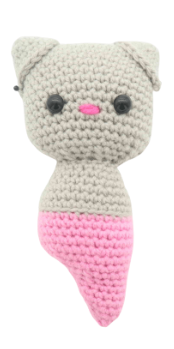
To make this kitty mermaid, we will start at the head and work our way down to the body and tail. The head, body, and tail, are all made in one continuous piece. After this, we will create the ears, arms, waist, tail fins, hair piece, and nose. Let’s get started!
Head/Body:
In grey (or any color you’d like)
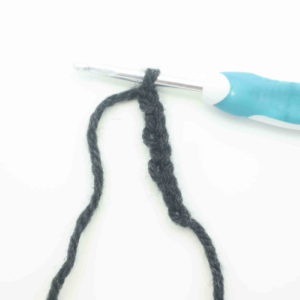
We will start by creating the head, then work into the body as one continuous piece. To start, we will create a chain and work ENTIRELY around the chain to create a round.
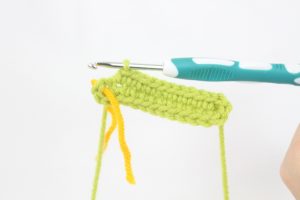
Round 1: Ch 15 (Pic 1). Sc 3 times into the 2nd Ch from the hook (Pic 2). Sc in the next 12 st (Pic 3). Sc 3 times into the next Ch. Now we meet the end of the chain (Pic 3). Turn to the OTHER side of the chain, where we haven’t made ANY stitches yet (Pic 4). Working on that other side, Sc in the next 12 st (Pic 5, Stitch Count: 30)
1.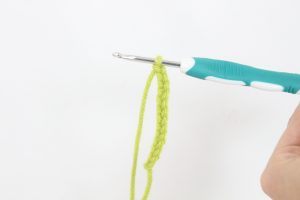 2.
2.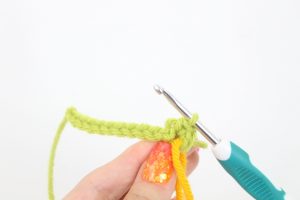 3.
3.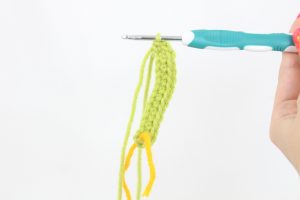 4.
4.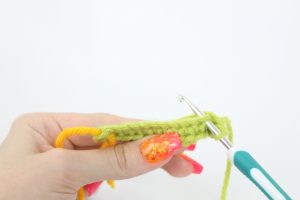 5.
5.
Round 2: *Inc* in the next 3 st. Sc in the next 12 st. *Inc* in the next 3 st. Sc in the next 12 st (36)
Round 3-11: *Sc* all around (36)
Now we will mark where to place the eyes. Add different colored eye stitch marker into the 17th and 24th stitch in Round 11.
Round 12-14: *Sc* all around (36)
Round 15: Sc in the next 3 st. Repeat *Dec, Sc in the next st* 3 times. Sc in the next 10 st. Repeat *Dec, Sc in the next st* 3 times. Sc in the next 5 st (30)
Round 16: Sc in the next 3 st, *Dec* 3 times, Sc in the next 10 st, *Dec* 3 times, Sc in the next 5 st (24)
Round 17: Repeat *Dec, Sc in the next 2 st* all around (18)
Round 18: Repeat *Dec, Sc in the next st* all around (12)
Round 19: In the FLO (Front Loop Only), Sc in the next st, *Inc* in the next 3 st, Sc in the next 4 st, *Inc* in the next 3 st, Sc in the next st (18)
Round 20: Sc in the next st, *Inc in the next st, Sc in the next st* 3 times. Sc in the next 4 st. Repeat *Inc in the next st, Sc in the next st* 3 times. Sc in the next st (24)
Round 21-22: *Sc* all around (24)
Round 23: Sc in the next 3 st. Repeat *Inc, Sc in the next 2 st* 3 times. Sc in the next 3 st, Repeat *Inc, Sc in the next 2 st* 3 times (30)
Round 24-25: *Sc* all around (30)
Round 26: Change to pink. In the BLO (Back Loop Only), *Sc* all around (30)
Round 27-29: *Sc* all around (30)
Stuff the head here.
Round 30: Sc in the next 7 st. Repeat *Dec, Sc in the next 2 st* 3 times. Sc in the next 11 st (27)
Round 31: Sc in the next 7 st. Repeat *Dec, Sc in the next st* 3 times. Sc in the next 11 st (24)
Round 32: Sc in the next 7 st. *Dec* 3 times, Sc in the next 11 st (20)
Stuff the tail here. Continue stuffing after each round.
Round 33: Sc in the next 3 st, Repeat *Dec, Sc in the next 2 st* 3 times, Sc in the next 5 st (17)
Round 34: Sc in the next 3 st, Repeat *Dec, Sc in the next st* 3 times. Sc in the next 5 st (14)
Round 35-37: *Sc* all around (14)
Round 38: Sc in the next 3 st, *Dec* 3 times, Sc in the next 5 st (11)
Round 39: *Dec* 5 times. Sc in the last st (6)
Finish off, leaving a long tail for sewing. Sew the remaining stitches closed and weave in ends.
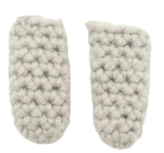
Ears: (Make 2)
In grey or any color you’d like
Round 1: 6 Sc into a Magic Ring (6)
Round 2: *Sc* all around (6)
Round 3: *Inc* all around (12)
Round 4: *Sc* all around (12)
Round 5: *Inc, Sc in the next st* all around (18)
Round 6: *Sc* all around (18)
Finish off, leaving a long tail for sewing. Pin the tail fins on as shown and sew on, be sure to stuff the ears before fully sewing on. Once sewn on, weave in ends.

Arms: (Make 2)
In grey or any color you’d like
Round 1: 6 Sc into a Magic Ring (6)
Round 2: *Inc, Sc in the next 2 st* all around (8)
Round 3-10: *Sc* all around (8)
Finish off, leaving a long tail for sewing. Lightly stuff the arms, don’t stuff too much. Lightly stuffing will help the arm sit closer to the body. Pin the arms on as shown and sew on.
Waist:
In dark pink

Row 1: Ch 32. SlSt into the 2nd Ch from the hook. Repeat *Dc in the next st, Trc in the next st, Dc in the next st, SlSt in the next 2 st* 6 times. Finish off and leave a long tail for sewing. Pin the tail on as shown and sew on. Weave in ends.
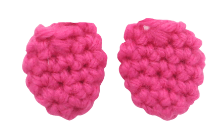
Tail: (Make 2)
In dark pink
Round 1: 6 Sc into a Magic Ring (6)
Round 2: *Inc, Sc in the next st* all around (8)
Round 3-4: *Sc* all around (8)
Round 5: *Dec, Sc in the next st* all around (6)
Finish off, leaving a long tail for sewing. Don’t stuff the fins. Pin the tail fins on as shown and sew on.
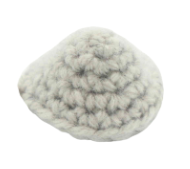
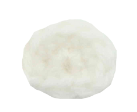
Belly Patch:
In white
Round 1: 6 Sc into a Magic Ring (6)
Round 2: *Inc* in the next 4 st.
Finish off, leaving a long tail for sewing. Pin the belly patch on as shown and sew on. Weave in ends.
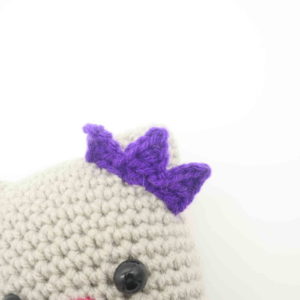
Hair Piece:
In dark purple
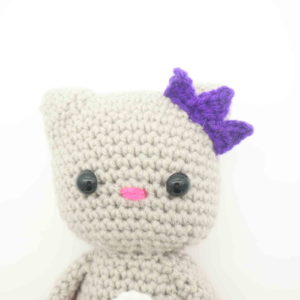
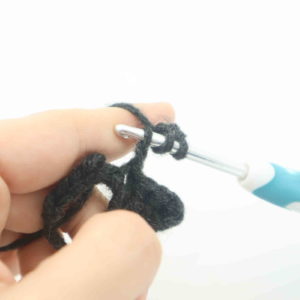
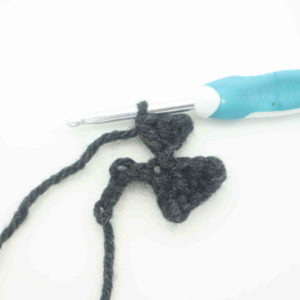
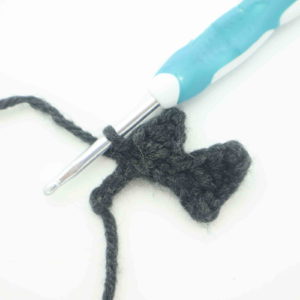
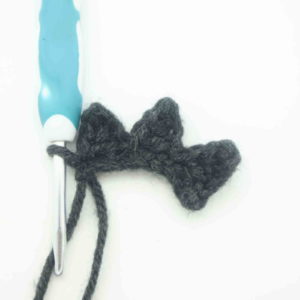
Row 1: Ch 8 (Pic 2). SlSt in the 2nd Ch from the hook. Repeat *Ch 4 (Pic 3). Sc into the 2nd Ch from the hook (Pic 4), Hdc into the next Ch, Dc into the next Ch (Pic 5). Working back on the original Ch we made, skip the next st, SlSt into the next st (Pic 6).* 3 times
Finish off, leaving a long tail for sewing. Pin the hair piece on as shown and sew on (Pic 8). Weave in ends.
1. 2.
2. 3.
3. 4.
4. 5.
5. 6.
6. 7.
7. 8.
8.
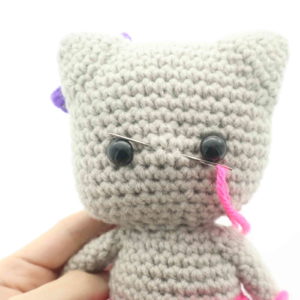
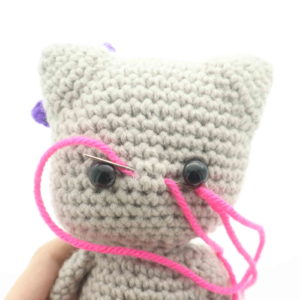
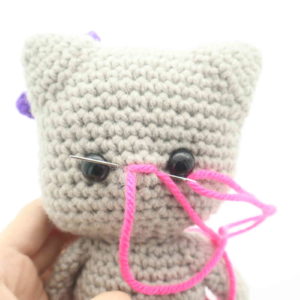
Nose:
In dark pink
Insert needle with thread about 2 stitches to the left of the right eye (Pic 1), and pull needle out 2 stitches to the left (Pic 1), Repeat inserting needle into the original insertion spot (Pic 2), and pull needle out at the the same left area (Pic 2). Repeat this process 2 more times (Pic 3-4). Once done, tie the ends of yarn into firm knots. Bring the knots into the body to hide. Cut any excess yarn. Done!
1. 2.
2. 3.
3. 4.
4.
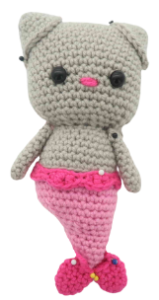
Done! If you made this mermaid, I would LOVE to see 🙂 You can show me by posting a picture in the comments section underneath this post.


11 Comments
I’m VERY new to Amigurumi, but wanted to try this for my daughter. They eyes and nose are odd center, and I need to work on sewing, but it’s not terrible (I hope, lol)!
I’m VERY new to Amigurumi, but wanted to try this for my daughter. They eyes and nose are off center, and I need to work on sewing, but it’s not terrible (I hope, lol)!
The arms would help 🤦
Good job! Very cute!!
I’m making this now and am confused about the eye placement. Since the head forms from an oval, it’s a bit more narrow as it forms, so I assumed the wider/flatter side is the front/face side, and the ears will go on the more pointy curved edges. But, the stitch placement for eyes has us putting them at stitches 17 and 24, which are right on the “side”/curved part of the oval. I think if I put them there, then when I stuff it, there will be a more pointy piece on the top of the head, and the ears will be placed on the flatter sides, which doesn’t make sense. But, I’m concerned if I move them (closer to stitches 6 and 13 is where it makes sense to me) then the tail will be formed sideways and won’t work either.
Are those counts just a typo, or is that really where they are supposed to be placed?
I’m on round 20 now and think your count is off. I only come up with 20 stitches, not 24. Can you explain please?
Maby recount your INC’s one more time before you go on to the next round because it happened to me all the time.
This is so cute I love this kitty cat mermaid all of my siblings what some. Thank you so much!
hi so cute
hi so cute lol I love this
i’m not really into mermaids and stuff like that. but i might try this. it’s super cute