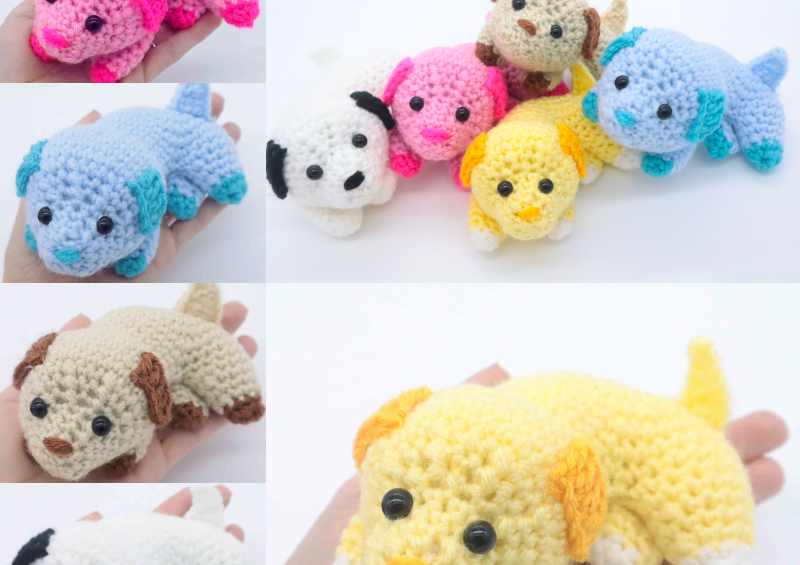
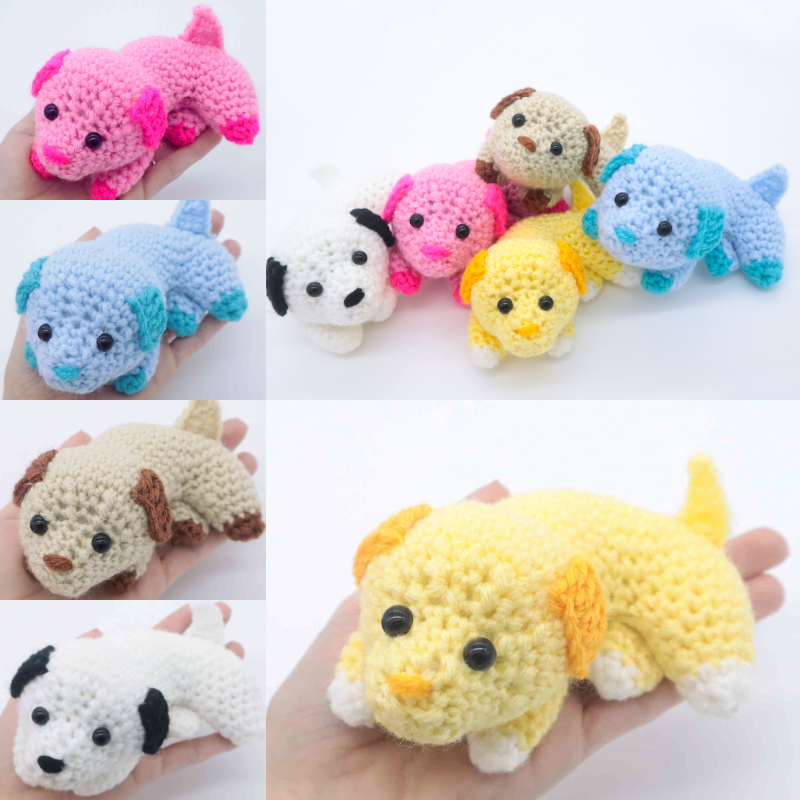
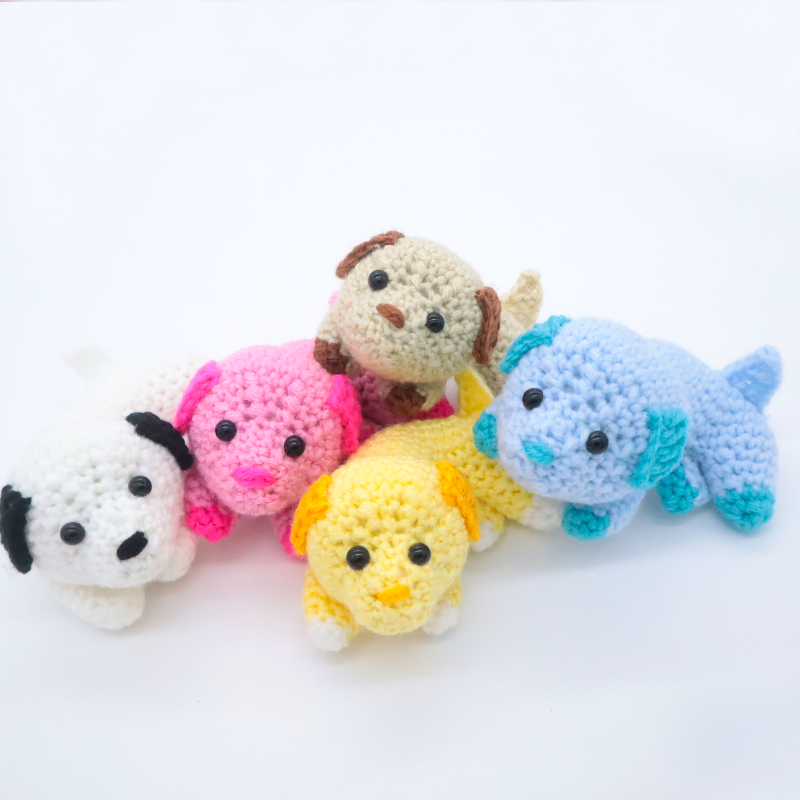
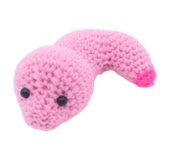
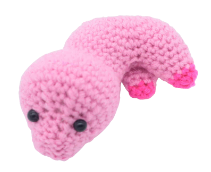
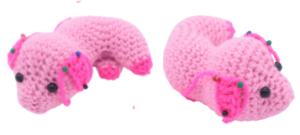
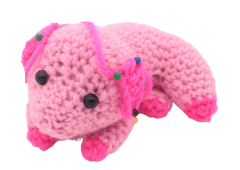
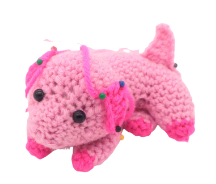
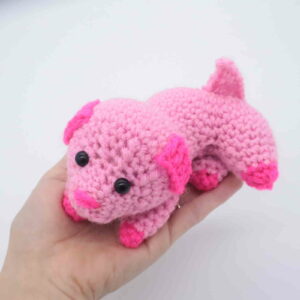
Lil’ Lazy Puppies Amigurumi – Free Crochet Pattern
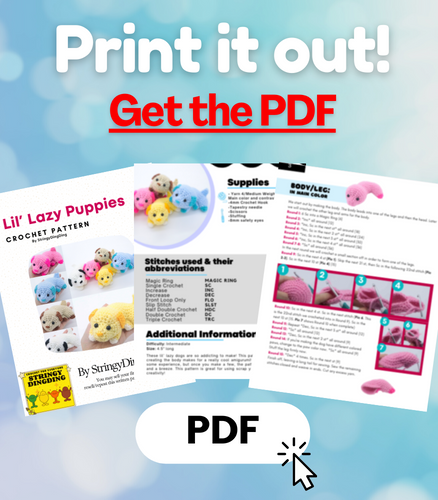
Print this pattern out – purchase the PDF here!

 Supplies:
• Yarn 4/Medium Weight Yarn in…
Main color and contrast/paw color
•4mm Crochet Hook
•Tapestry needle
•Scissors
•Stuffing
•8mm safety eyes
Additional Information:
Difficulty: Intermediate
Size: 4.5″ long
These lil’ lazy dogs are so addicting to make! This pattern has a unique way of creating the body and it makes for a really cool amigurumi! This pattern requires some experience, but once you make a few, the pattern becomes familiar and a breeze. This pattern is great for using scrap yarns and utilizing your creativity!
Body/Leg:
In Main Color
We start out by making the body. The body leads into one of the legs and then the head. Later we will crochet the other leg and arms for the body.
Round 1: 6 Sc into a Magic Ring (6)
Round 2: *Inc* all around (12)
Round 3: *Inc, Sc in the next st* all around (18)
Round 4: *Inc, Sc in the next 2 st* all around (24)
Round 5: *Inc, Sc in the next 3 st* all around (30)
Round 6: *Inc, Sc in the next 4 st* all around (36)
Round 7-8: *Sc* all around (36)
In the next round we will crochet a small section off in order to form one of the legs.
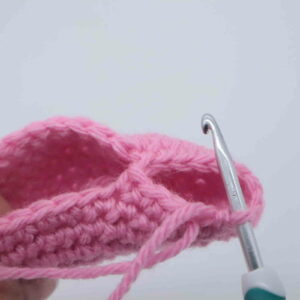
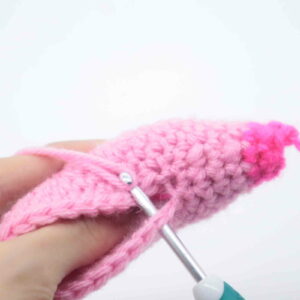
Round 9: Sc in the next 4 st (Pic 1). Skip the next 21 st, then Sc in the following 22nd stitch (Pic 2-3). Sc in the next 10 st (Pic 4) (15)
1.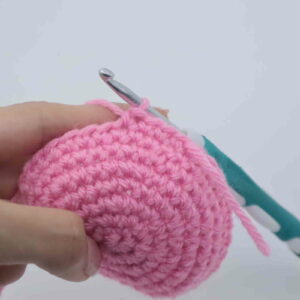 2.
2. 3.
3. 4.
4.
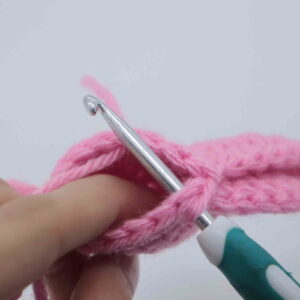
Round 10: Sc in the next 4 st. Sc in the next stitch (Pic 6. This is the 22nd stitch we crocheted into in Round 9). Sc in the next 10 st (15. Pic 7 shows Round 10 when complete)
5.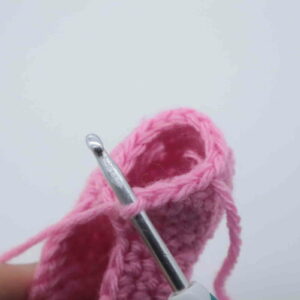 6.
6. 7.
7.
Round 11: Repeat *Dec, Sc in the next 3 st* all around (12)
Round 12: *Sc* all around (12)
Round 13: *Dec, Sc in the next 2 st* all around (9)
Round 14: If you’re making the dog have different colored paws, change to the paw color now. *Sc* all around (9)
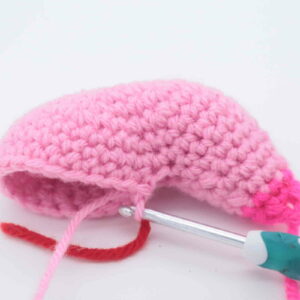
Stuff the leg firmly now.
Round 15: *Dec* 4 times. Sc in the next st (9)
Finish off, leaving a long tail for sewing. Sew the remaining stitches closed and weave in ends. Cut any excess yarn.

Body/Head:
In Main Color
Now we’re going to make the rest of the body and head.
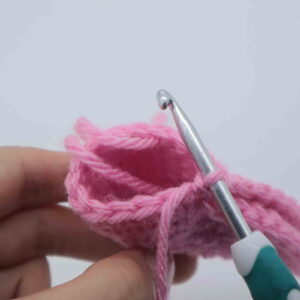
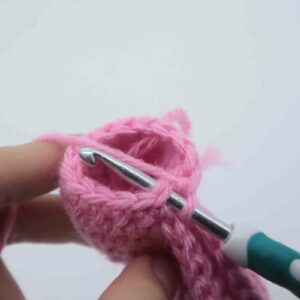
Round 16: Attach your hook into the next stitch as shown in the photo (Pic 1). Make sure the leg is positioned how it is in the photo (leg on the right and pointing down, see Pic 1), or else your head will come out differently!
Yarn over with main color yarn (Pic 1-2). Ch 1. Sc in the next st. Add your stitch marker into the Chain 1 made (Pic 3). Sc in the next 19 st (Pic 4). This forms the body, we will continue working in this circle/round. (21)
1. 2.
2. 3.
3.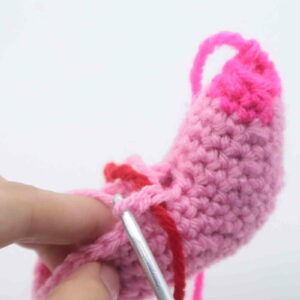 4.
4. 5.
5. 6.
6.
Round 17-18: *Sc* all around (21)
Round 19: Sc in the next 12 st. Working in the Front Loop Only (FLO), repeat *Inc in the next st, Sc in the next st* 4 times. Skip the next stitch in this round. (24 stitches – last stitch we will skip does not count as a stitch)
Round 20: Working in BOTH loops, Sc in the next 12 st. Repeat *Inc, Sc in the next 2 st* 4 times (28)
Round 21: Sc in the next 12 st. Repeat *Inc, Sc in the next 3 st* 4 times (32)
Round 22-25: *Sc* all around (32)
Round 26: Sc in the next 18 st. Repeat *Dec, Sc in the next 2 st* 3 times. Dec 1 time (28)
Round 27: Sc in the next 18 st. Repeat *Dec, Sc in the next st* 3 times. Dec 1 time – this decrease will work into the first stitch on the next round. Mark this decrease as the first stitch in Round 28! (Stitch count: 25 stitches total made including the last decrease)
Round 28: We just made a decrease in Round 27 – this decrease counts in Round 28. Now make 3 more decreases, Sc in the next 7 st, Dec 5 times (16)
Round 29: *Sc* all around (16)
Now we will mark where to place one of the safety eyes. Add a different colored stitch marker into the 14th stitch in Round 29.
Round 30: *Sc* all around (16)
Now we will mark where to place one of the safety eyes. Add a different colored stitch marker into the 2nd stitch in Round 30.
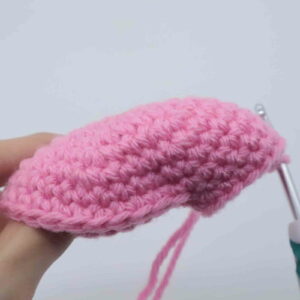
Stuff the rest of the body and head firmly now. Continue stuffing after each round.
Round 31: *Dec, Sc in the next 3 st* 3 times. Sc in the next st (13)
Add the safety eyes in the marked areas now.
Round 32: *Dec, Sc in the next 2 st* 3 times. Sc in the next st (10)
Round 33: *Dec* 5 times (5)
 Finish off, leaving a long tail for sewing. Sew the remaining stitches closed and weave in ends, cutting any excess yarn.
Lower Leg:
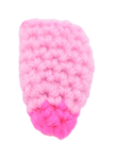
In Contrast Color or Main Color
Round 1: 6 Sc into a Magic Ring (6)
Round 2: *Sc* all around (6)
Round 3: *Inc, Sc in the next 2 st* all around (8)
Round 4-5: *Sc* all around (8)
Finish off, leaving a long tail for sewing. You can lightly stuff this leg if you’d like, but I didn’t stuff mine. Pin the leg onto the bottom of the toys body as shown and sew or hot glue on. Once done, weave in ends and cut any excess yarn.
Ears: (Make 2)
In Contrast Color
Row 1: Ch 7. Skip the next 2 ch, Dc in the 3rd Ch. Dc in the next 4 Ch.
Finish off, leaving a long tail for sewing. Pin the ears on as shown and sew or hot glue on. Once done, weave in ends and cut any excess yarn.
Arms: (Make 2)
In Contrast Color or Main Color
Round 1: 6 Sc into a Magic Ring (6)
Round 2: *Sc* all around (6)
Round 3: *Inc, Sc in the next 2 st* all around (8)
Round 4: *Inc, Sc in the next 3 st* all around (10)
Round 5-9: *Sc* all around (10)
Finish off, leaving a long tail for sewing. You can lightly stuff the arms if you’d like, but I didn’t stuff mine. Pin the arms on as shown and sew or hot glue on. Once done, weave in ends and cut any excess yarn.
Tail:
In Main Color
Row 1: Ch 8. Hdc in the 2nd Ch from the hook, Hdc in the next st, Double crochet decrease 1 time, Trc in each of the next 3 Ch. Finish off, leaving a long tail for sewing.
Pin the tail on as shown and sew on. Once done, weave in ends and cut any excess yarn.
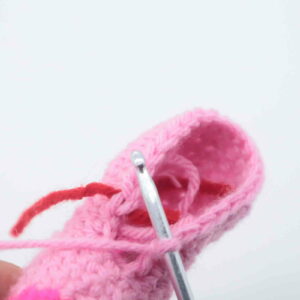
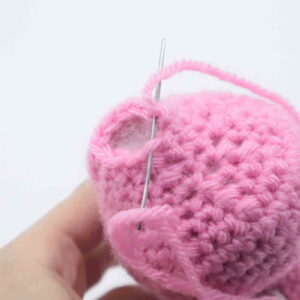
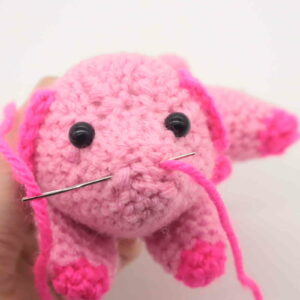
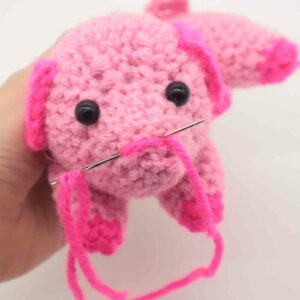
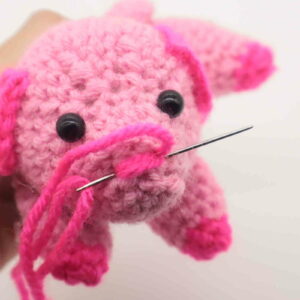
Nose:
In Contrast Color
Embroider the nose by sewing over the same area 3-4 times as shown in Pics 1-4. Once done, tie the tail ends of yarn into firm knots, and bring the knots inside the toy to hide. Cut any excess yarn.
1. 2.
2. 3.
3. 4.
4.
Done! If you made a lil’ lazy dog, I would LOVE to see! You can show me by posting a picture in the comments section underneath this post 🙂


9 Comments
these lil’ lazy puppies are sooooooooo cute. i made one and called it poppy after our dog. because it looks JUST like her when she’s laying down. and she is also really really REALLY cute. (and fluffy) :)<3
This pattern is soooooo cute! I love all your patterns! Keep up the good work!
Thank you for the cute pattern!
Love this pattern. I’m making a bunch as gift for my co workers for they can have ‘desk pets’.
Hello from Australia! I’ve just made your pattern and am very pleased with the result. This is a gift for a friend.
I’d like to make it again for my daughter who has a beloved daschund. Have you ever adapted your pattern to give it a longer body?
i’m not entirely sure, as i haven’t tried the pattern yet, but i think you could repeat round eight as many times as needed to achieve the desired body length 🙂
hi. i’m in australia too ( i live there) and i love your little dog 🙂
i’m not entirely sure, as i haven’t tried the pattern yet, but i think you could repeat round eight as many times as needed to achieve the desired body length 🙂
I think round 15 has an error. Shouldn’t it be 4 sts, not 9?