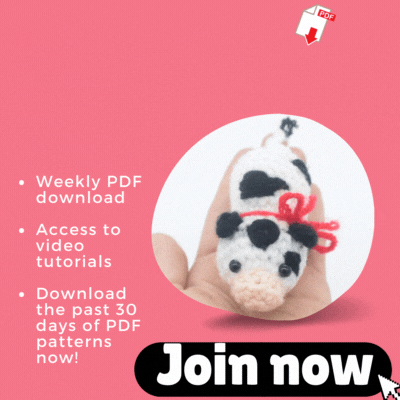
Mini Scrap Cows Amigurumi – Free Crochet Pattern
Print this pattern out – purchase the PDF pattern here!

 Supplies:
• Yarn 4/Medium Weight Yarn in…
White, black, light pink cream for nose, red for bow (optinal)
•4mm Crochet Hook
•Tapestry needle
•Scissors
•Stuffing
•6mm safety eyes
Additional Information:
•Difficulty: Easy
•Size: 3.5″ long
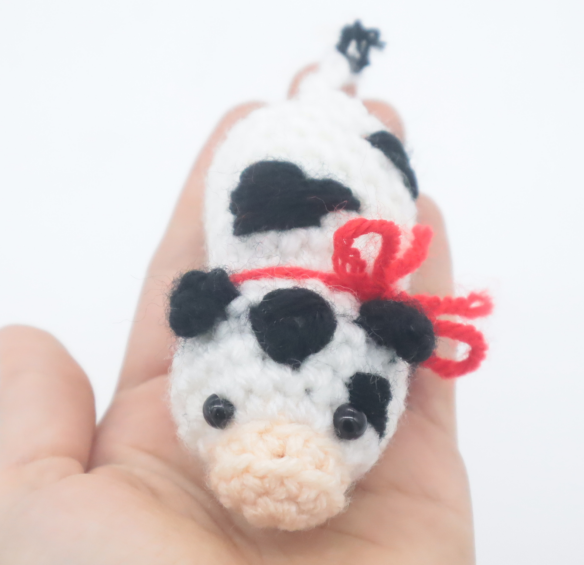
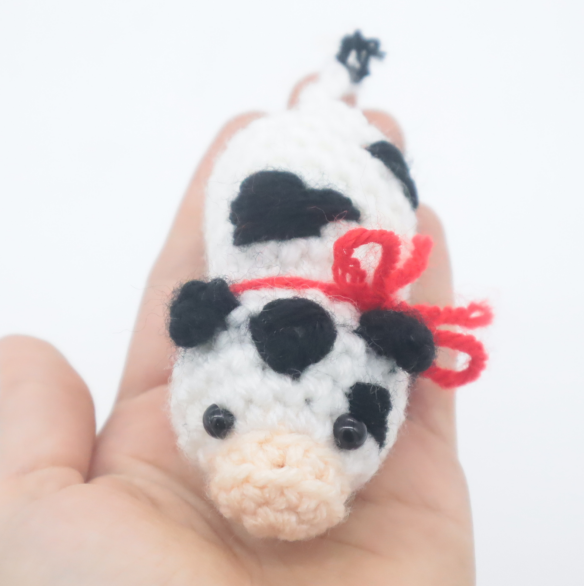
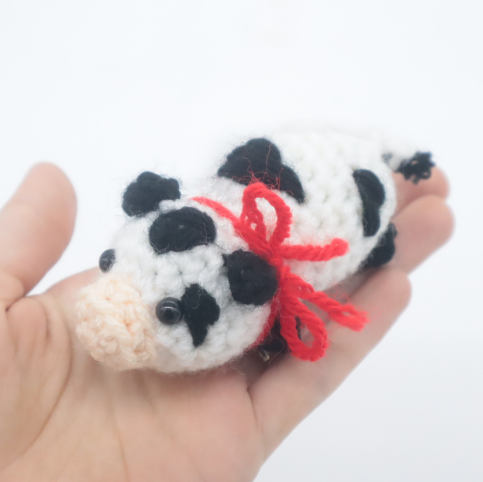
If this pattern doesn’t MOOOve your heart, I don’t know what will! This adorable little cow is easy to make and works up very quickly. He’s crocheted all in once piece, which means no sewing! This adorable little cow is a perfect last minute gift!
Let’s get started!
Nose/Head/Body:
Start in cream color for nose
To start the cow, we make the nose/head which works into the body. The head, ears, arms/legs, and tail are all made in one piece.
Round 1: 6 Sc in Magic Ring (6)
Round 2: *Inc in the next st, Sc in the next 2 st* all around (8)
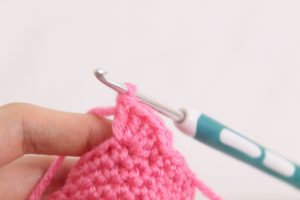
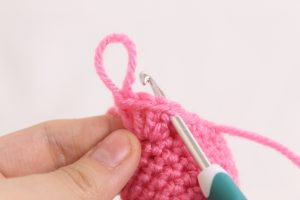
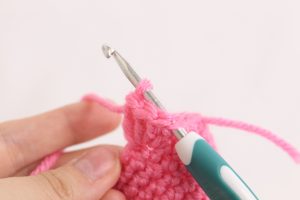
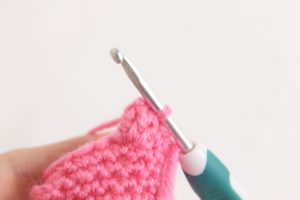
Round 3: In BLO (Back Loop Only, pictured below), *Sc* all around (8)
Round 4: Change to white. In the BLO *Inc* all around (16)
Now we will mark where to place the safety eyes. Add a differently colored eye stitch marker in the 6th and 11th stitch in Round 4. Later we will replace these stitch markers with safety eyes.
Round 5: *Inc, Sc in the next 4 st* 3 times, Sc in the last st (19)
Round 6-7: *Sc* all around (19)
Add safety eyes in the marked areas from Round 4 now.
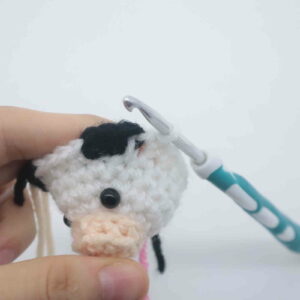
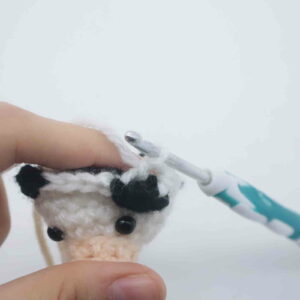
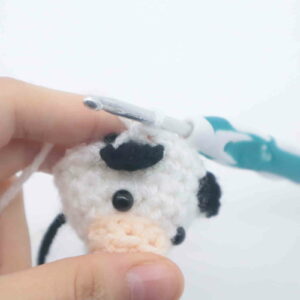
Round 8: Sc in the next 7 st. Sc in the next st and change to black making this stitch.
Now we will make the ear. Ch 4, Sc in the 2nd Ch from the hook, Hdc In the next ch, Dc in the next ch. Change to white. Working back on the head, SlSt in the FLO of the next st. Working in BOTH loops, Sc in the next 4 st.
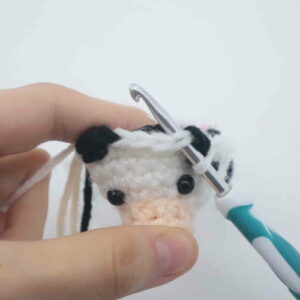
Change to black. Now we will make the second ear. Ch 4, Sc in the 2nd Ch from the hook, Hdc In the next ch, Dc in the next ch. Change to white. Working back on the head, SlSt in the FLO of the next st. Working in BOTH loops, Sc in the next 5 st.
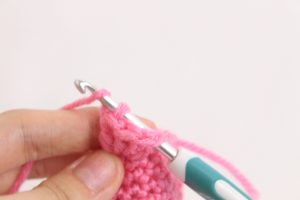
Round 9: Sc in the next 8 st. Now we meet the ear (Pic 1). Fold the ear towards you. Now behind the ear will be the back loop we left since we crocheted only in the front loop earlier (Pic 2).
1. 2.
2.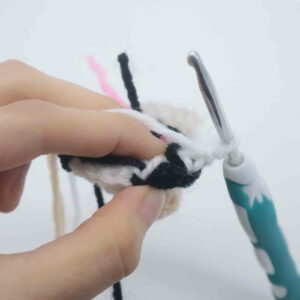
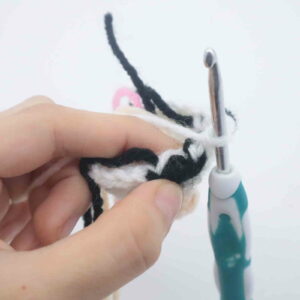
Single crochet one time in that back loop (Pic 3-4).
3. 4.
4.
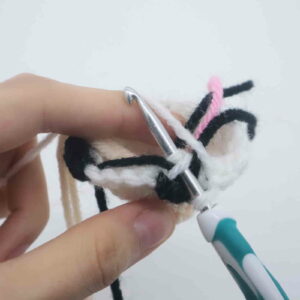
Now continuing on in both loops (don’t crochet on the ear, crochet on the head), Sc in the next 4 st (Pic 5).
5.
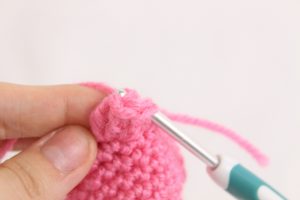
Fold the second ear towards you and Sc one time in the back loop (Pic 6-8).
6. 7.
7.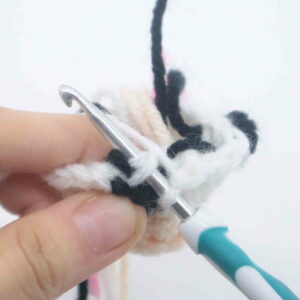
Continuing in BOTH loops, Sc in the next 5 st (19)
8.
Round 10: Sc in the next 8 st. Repeat *Dec, Sc in the next st* 3 times. Dec 1 time (15)
Round 11: Change to black. Dc 4 times into the next st. Remove your hook from the current working loop and insert it into the first Dc made (Pic 2). Now also reinsert your hook into the current working loop (Pic 3). You will have two loops on your hook. Yarn over (Pic 4) and pull through both loops (Pic 5). You have just made one popcorn stitch (Pic 6).
1. 2.
2. 3.
3. 4.
4. 5.
5. 6.
6.
Round 11 continued: Change to White. Sc in the next 3 st. Change to Black and make a popcorn stitch in the next stitch. Change to White and Sc in the next 2 st, SlSt in the next 6 st, Sc in the next 2 st (15)
Round 12: In White Sc in the next st BEHIND the popcorn stitch. Sc in the next 8 st. Repeat *Inc, Sc in the next st* 3 times. Sc in the next st (18)
Round 13-17: *Sc* all around (18) Stuff the head firmly now
Round 18: Sc in the next 3 st. Change to black and popcorn st in the next st. Change to white and Sc in the next 3 st. Change to black and popcorn st in the next st. Change to white and Sc in the next 10 st (18)
Round 19: *Dec* all around (9)
Stuff the body firmly now.
Round 20: *Dec* 5 times. Ch 5, change to black and Ch 2. Finish off, leaving a long tail for sewing. Tie black ends of yarn into knots and cut excess yarn. Weave white ends of yarn up through tail and into the toy’s body. Using this same yarn, sew the remaining stitches closed and weave in ends to secure. Cut any excess yarn.
Tie a small red bow around the toy’s neck (optional). Embroider small black spots around the toy’s body.


3 Comments
Krásné háčkované postavičky moc se mi líbí, Děkuji za návody. Přeji krásný večer.
sooooooooo cute
Go for food grab king