 Pin this now!
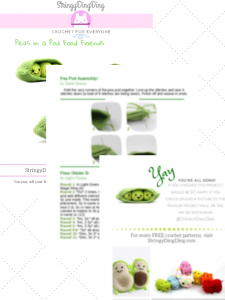
Purchase the PDF version here
If you finished this project I would be SO happy if you could upload a picture to the Ravelry project page, or tag me on Instagram @StringyDingDing, or “try” it on Pinterest!
Supplies:
4.0mm Crochet Hook, Stuffing, Tapestry Needle, Scissors, 6mm Safety Eyes.
Yarn Used: 4/Medium Weight in Light Green and Dark Green
Additional Information:
Pattern Difficulty: Easy
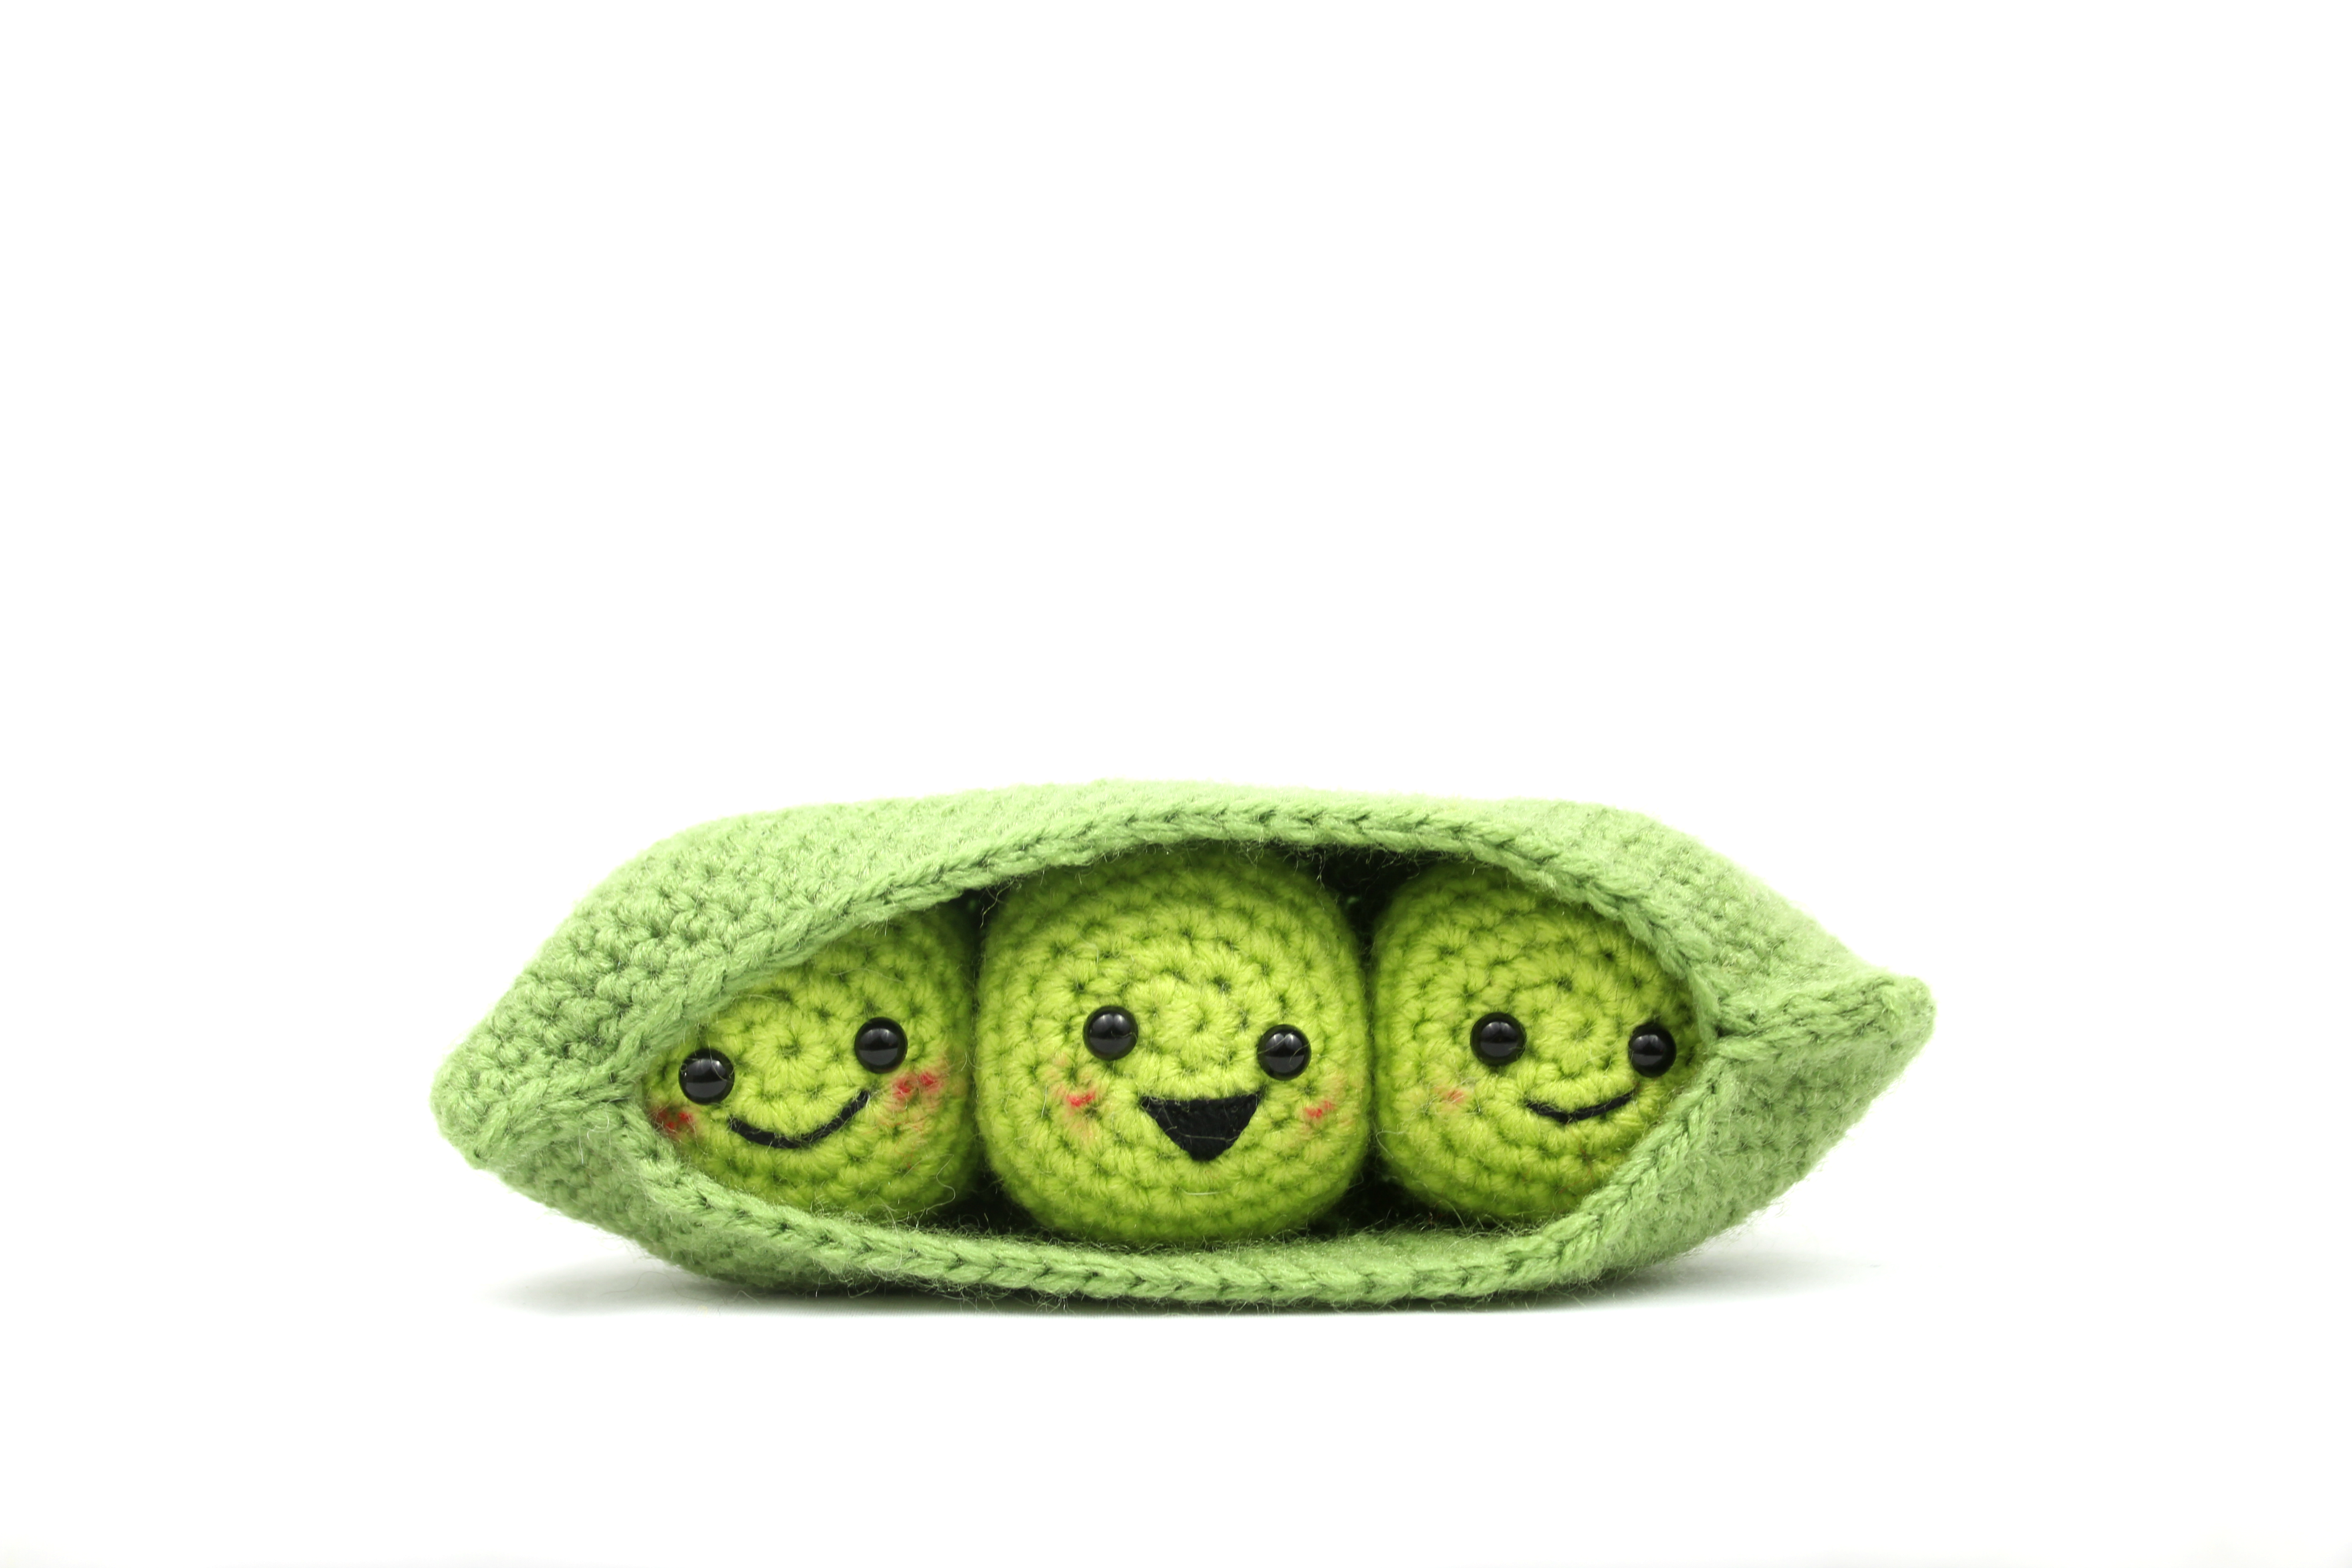
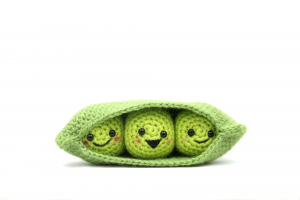
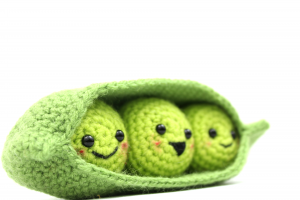
We start by making the pea pod. After making the pea pod, we close the ends to make it look more like a pea pod. Now we make the three peas and assemble their face after.
Stitches Used: Magic Ring, Ch, Sc, Inc, Dec.
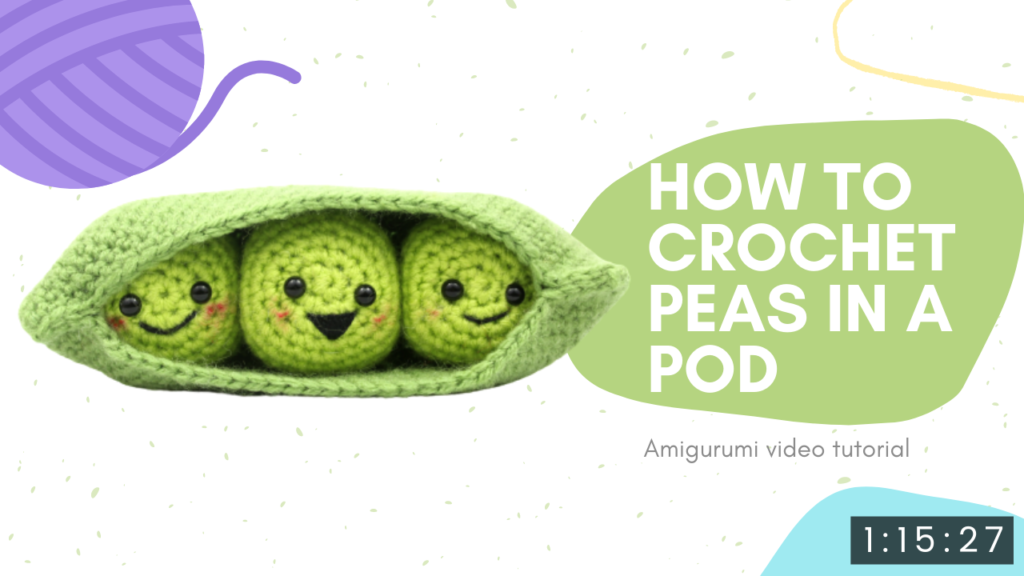
Watch the video tutorial on my members website!
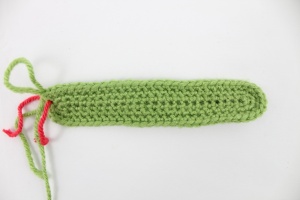
Pea Pod:
In Dark Green:
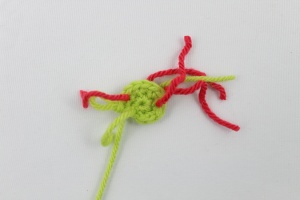
Round 1: Ch 26.
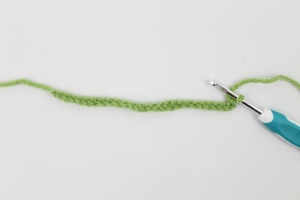
Sc in 2nd ch from hook. Sc in next 23 st, Inc in next st.
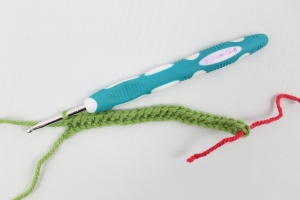
Turn to the other side of the Ch. Sc in next 24 st (50)
Round 2: Inc in the next 2 st, Sc in the next 21 st, *Inc* in next 4 st
Sc in next 21 st, Inc in last 2 st (58)
Round 3: Inc in the next 2 st, Sc in the next 26 st, Inc in next 3 st, Sc in the next 26 st, Inc in last st (64)
Round 4: Inc in the next 3 st, Sc in the next 29 st, *Inc* in the next 3 st, Sc in the next 29 st (70)
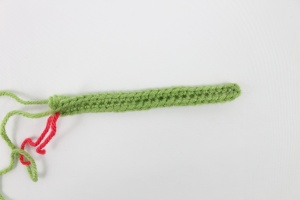
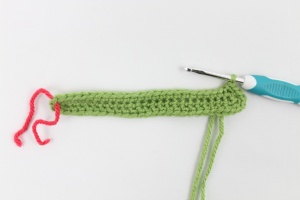
Round 5-14: *Sc* all around (70)
Finish off. Weave in ends.
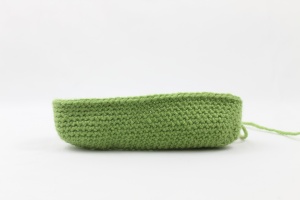
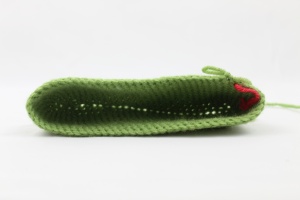
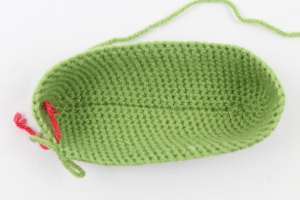
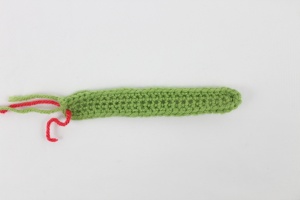
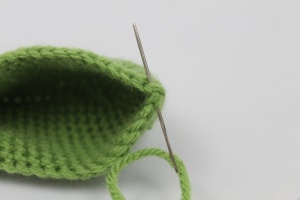
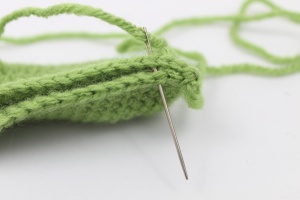
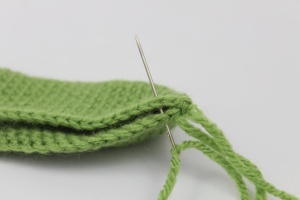
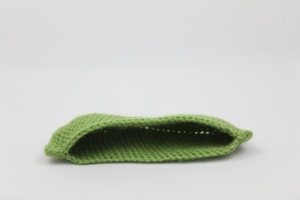
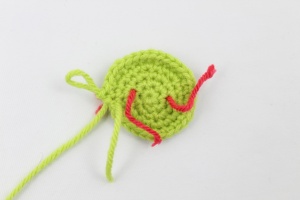
Pea Pod Assembly:
In Dark Green
Fold the very corners of the pea pod together. Line up the stitches and sew 4 stitches down (a total of 8 stitches are being sewn). Finish off and weave in ends.
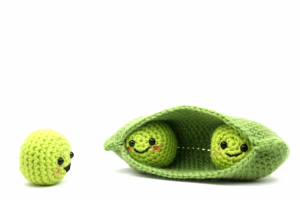
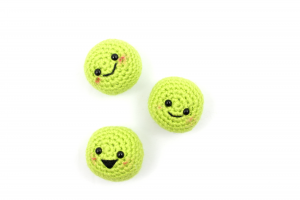
Peas: (Make 3)
In Light Green
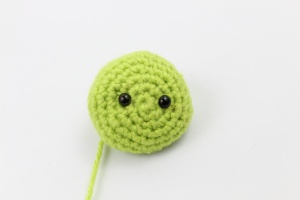
Round 1: In Light Green, 6 Sc in Magic Ring (6)
Round 2: *Inc* 2 times, Sc in next st and add different colored st marker to Sc just made. This marks the eye placement. Sc in same st, *Inc* in the next 2 st, Sc in next st Add different colored st marker to Sc just made. Sc in same st. (12)
Round 3: *Inc, Sc* all around (18)
Round 4: *Inc, 2 Sc* all around (24)
Round 5: *Inc, 3 Sc* all around (30)
Round 6-9: *Sc* all around (30)
Round 10: *Dec, Sc 3* all around (24)
Round 11: *Dec, Sc 2* all around (18)
Round 12: *Dec, Sc* all around (12)
Stuff here and insert safety eyes where eye markers are.
Round 13: *Dec* all around (6)
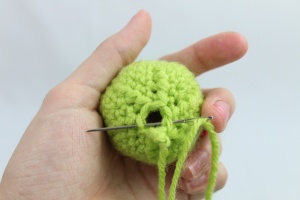
Finish off and add any additional stuffing. Sew closed.
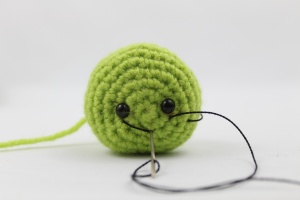
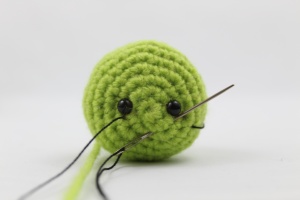
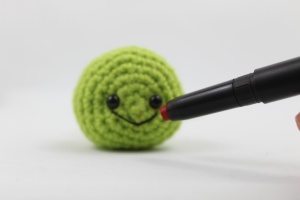
Face Assembly:
With Black Embroidery Thread
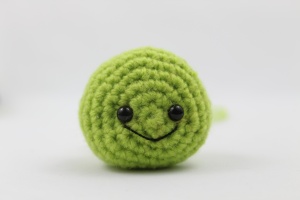
Insert needle with thread aligned below left eye. Pull through and insert into the middle of the smile, going to the other side of the smile. Pull through. Lastly, insert needle into the middle of the smile and pull through. Finish off.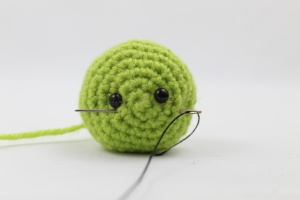
Blush:
With makeup, paint, or yarn
Make two lines on the sides of the mouth.

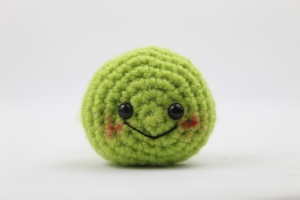
All done!
If you finished this project I would be SO happy if you could upload a picture to the Ravelry project page, or tag me on Instagram @StringyDingDing, or “try” it on Pinterest!


48 Comments
Great pattern, thanks for sharing
Thank you so much, I’m really happy you like it!
Hi, I love this cute pattern thank you so much for sharing it!!
Thank you so much, Annabel! That’s so kind of you to say 😍 ❤️ I’m really happy you like this pattern, I hope you’ll make it! If you have any questions, please feel free to let me know 🙂
Thankyou
Can’t wait to make this! Do you know how many meters or yards of yarn are required for the pod and how many for the peas? Thank you!
Hi Jenna! Unfortunately I don’t know how much yarn I used 🙁 Though each pea is worked up fairly quick, so they wouldn’t require too much yarn. The pea pod however uses a bit more yarn since it’s larger.
Hi, the pod needs 20 meters, three peas need just over 20 meters
Thank you, your patterns are amazing and I love them.
Thank you so much, you’re so kind!!
How large is the completed project approximately? I feel like my tension is really off (I’m a new knitter so not too surprising)
Hi Rachelle, the project is fairly small. Mine came out about 4″ wide, but as a new crocheter it’s very common to have projects come out larger. Just keep practicing!
OMG! Mine is about 9″ :O How can I make it smaller?
Hi Gaby! Aw I’m so glad you like the pattern. I hope the eyes didn’t give you too much trouble, I’m sure it looks so cute 🙂 You made a big pea pod! Since you mentioned you’re a beginner this is very likely the reason why it came out large. When you first start crocheting you don’t have the muscle or muscle memory built up in your hands, so you may crochet looser. Don’t worry – the more you crochet the more used to crocheting your hands will get and you will start crocheting tighter. This is called “tension”. You can also try to crochet with a smaller hook, I usually use a 4mm crochet hook for a tighter amigurumi. I hope that can help you!
Thank you for the pattern. I found i really easy and enjoyable to follow 🙂
Excellent pattern. I loved it!! I’m new at this so I had some issues with the instructions of the pea pod and the placement of the eyes, but it came out beautifuly anyway 🙂 Thanks again for this pattern!
Creative and useful thoughts.nice idea of crochet for crochet lovers. thanks for the amazing idea.
Thank you so much! I’m glad you like the idea 🙂
Thank you so much for sharing this with us! I would love to make the pod big enough for 4 peas (my son, his partner and my 2 grandboys – I’ve so many cute ideas for family features such as a ginger beard and spectacles!) approx how many more rows would I need to add to the pod for a 4th pea please? Thank you in advance x
Hi Ria! Wow that is such a cute idea you have, I bet your son would get a kick out of it too! Haha I love how you would customize them 🙂
So if you want to do 4 peas, you could add more increase rounds right after Round 4! This would mean round 5 would turn into an increase round. For this part, make 1 increase stitch in the next 4 stitches of each of the two pod corners. Much like we have been doing in the previous rounds! Then Round 6 should also be an increase round, this time making 1 increase stitch in the next 5 stitches of each of the two pod corners. You can repeat this process as much as needed, I think for 4 peas making an additional 3 increase rounds would fit 4 peas!
Another thing you can do is change the size of the peas! So instead of increasing to *Inc, Sc 3* all around, only go to *Inc, Sc 2* all around. Follow the rest of the pea pattern as is, except skip *Dec, Sc 3* all around and go to *Dec, Sc 2* all around! That way the peas will be smaller in size, and you should be able to fit them all into the pod 🙂 So you can try one or both of these ways!
Please let me know if this works out for you. I would also love to help you out in any way I can! You idea sounds absolutely adorable 🙂
An annoying question coming your way Is this pattern in American or English terms?
Aw that’s not annoying! Haha 🙂 This pattern is written in American US terms! Please let me know if I can help with anything else ❤️
Hello, Im trying to make this with the free pattern that you gave us, this patter is super cute and I really want to be successful, I am new to crochet, but I am following the directions as careful as I can, but for some reason i’m getting the wrong amount of stitches and I have to turn my work even when it doesn’t say to. Sorry to be a bummer I really want this to work!
Oh btw I am talking about the pod, I have started on the pea’s yet
Hi Ana! I’m so happy you’re giving this pattern a try, especially as a new crocheter 🙂 I’m sure your peas in a pod will come out great!
So for the part you’re having trouble with, I think I know what may be going on. Are you stuck on Round 1 of the pea pod? In this round we are making a chain and working around the ENTIRE chain in an oval 🙂 And this will form a round! I think a common mistake with this part is you’re turning your work and working on top of the single crochets you just made. Don’t do this, instead, turn your work to the OTHER side of the piece, where we haven’t worked any stitches yet. Continue making your single crochets on that side where there are unworked stitches.
Then after this you should end up with the correct number of stitches made all around. Please let me know if this helps or if you have any other questions – I’m always happy to help! 🙂
Oh and a little note, don’t turn your work unless stated in the pattern! So since we’re working in a round with the pea pod the only time we turn is the first round, to work on the other side of the stitches. After this we continue working in a continuous round 🙂 Let me know if you have any questions!
Great pattern thank you!
Aww how fun! I love that the middle one looks all sad, it gives your peas such charm 🙂 Thank you so much for sharing a picture, you did an adorable job!
Thanks so much for sharing your pattern. 🙂
Can you please tell me which yarns you used for your peas and the pod? Thank you very much!
Thanks for the pattern! Came out perfect!
Thanks for the pattern! Super cute! I am stuck on the beginning of the pea first row. I am not understanding what to do. Thanks!
Been crocheting 14 years and the way your pattern is written at the beginning has me stumped. It says chain 26, sc in 2 ch from hook, then sc in next 23 chains (24 sts). The says turn to other side???? So am I turning it like wrong side right side, or turning it like a continuous round? Then you say SC in the next 24 sts. Well if it’s turn it wrong side way, that’s only 24 sts, not 50 as you’ve written, but even if done in a contenuous round, 24 plus 24 is only 48 sts, not 50 as stated. Is there supposed to be a st at each end? so like I do the initial 24 sc, then sc again into the end, then sc 24 times down the other side, then another sc in that end? That WOULD make 50 sc.
Ok, so after re-reading it several times, and ripping out the stitches 3 times, I did realize I missed it saying to do an inc. after the first set of 24 sc. making it 26, then 24 = 50. But even with that, I had to connect it to the start ch of the very first SC done in the 2nd ch from hook, otherwise it threw off the count. It is now going correctly count wise, but that was very frustrating.
This pattern is so cute! I have made a LOT of your other patterns as various gifts (and kept some of them because they were so cute that I simply couldn’t bear to part with them!), and I was thinking that this one was perfect for a newly engaged couple. However, I wanted to make only two peas in the pod instead of three. Do you know approx where I could shorten/modify the pattern for the pod to make it fit two peas without a bunch of extra space? Thank you so so much!!!
Such a cute and easy pattern. Love it and thank you for sharing. For my granddaughter and she will love her little peas in a pod.
Although I’ve been crocheting several years now, I was intimidated by amigurumi and didn’t have much success with my first attempts. Your patterns are so clear and a pleasure to work up. Every pattern is just so cute. Thank you so much for sharing!
Although I’ve been crocheting several years now, I was intimidated by amigurumi and didn’t have much success with my first attempts. Your patterns are so clear and a pleasure to work up and I’ve now made some amigurumi projects I’m happy with! Every pattern is just so cute. Thank you so much for sharing!
I hate to be that person, but this project has not worked for me at all. About a year ago i tried to make this and it didn’t work out at all. I finally come back as a better crocheter, but it still doesn’t work out. I used fluffy yarn for this, does that make a difference. Can someone please help me. I really want to have these cute peas in a pod.
Hi Amanda! I’d love to help you out with this pattern 🙂 Fluffy yarn is always harder to work with, the stitches are much harder to see, and that can be an issue when we need to see exactly what we’re doing. I suggest try making the pattern with regular yarn first, once you get the hang of it, then try it with your fluffy yarn. Please let me know if there’s a specific part that’s giving you trouble and I’ll help out!
I made this pattern and it turned out adorable! Now I want to make it again, but with only two peas! Does anyone know where I could omit a round or change the pattern to make the pod fit two peas instead of three? Or should I make the peas themselves bigger?
I made this pattern and it turned out adorable! Now I want to make it again, but with only two peas! Does anyone know where I could omit a round or change the pattern to make the pod fit two peas instead of three? Or should I make the peas themselves bigger?
Oops sorry I thought the first comment didn’t post and (with permission!) used my sister’s email instead… see the above comment from Anna!
Hi Maddie I have met you before!
Sorry! I didn’t mean to say that! well that is my Peas in a pod!
Nice Pattern – I’ve only been crocheting for about a month and I think this pattern was one of the easier ones to follow – still made mistakes and I haven’t got the hang of embroidering expressions very good but I like this pattern!
I wanted to make two peas in a pod for a friend’s bridal shower, so I subtracted 8 stitches per side, 16 stitches total from the pod rounds. It worked out perfectly. I also used stitching for the blush. Thank you for the pattern.
[…] Pattern Source: Pattern is the Peas in a Pod Food Friends pattern by StringyDingDing and can be found here: https://stringydingding.com/peas-in-a-pod-food-friends-free-crochet-pattern/ […]
/Users/Umaamala/Desktop/Photo on 3-31-24 at 5.31 PM.jpg