


Purchase the PDF version here


For the pumpkin pattern, click here.
Supplies:
4mm crochet hook, 4/Medium weight yarn in white, tan, orange, pink, and red. 8mm safety eyes, tapestry needle, black embroidery thread, scissors, and stuffing.
Additional Information:
Difficulty: Easy
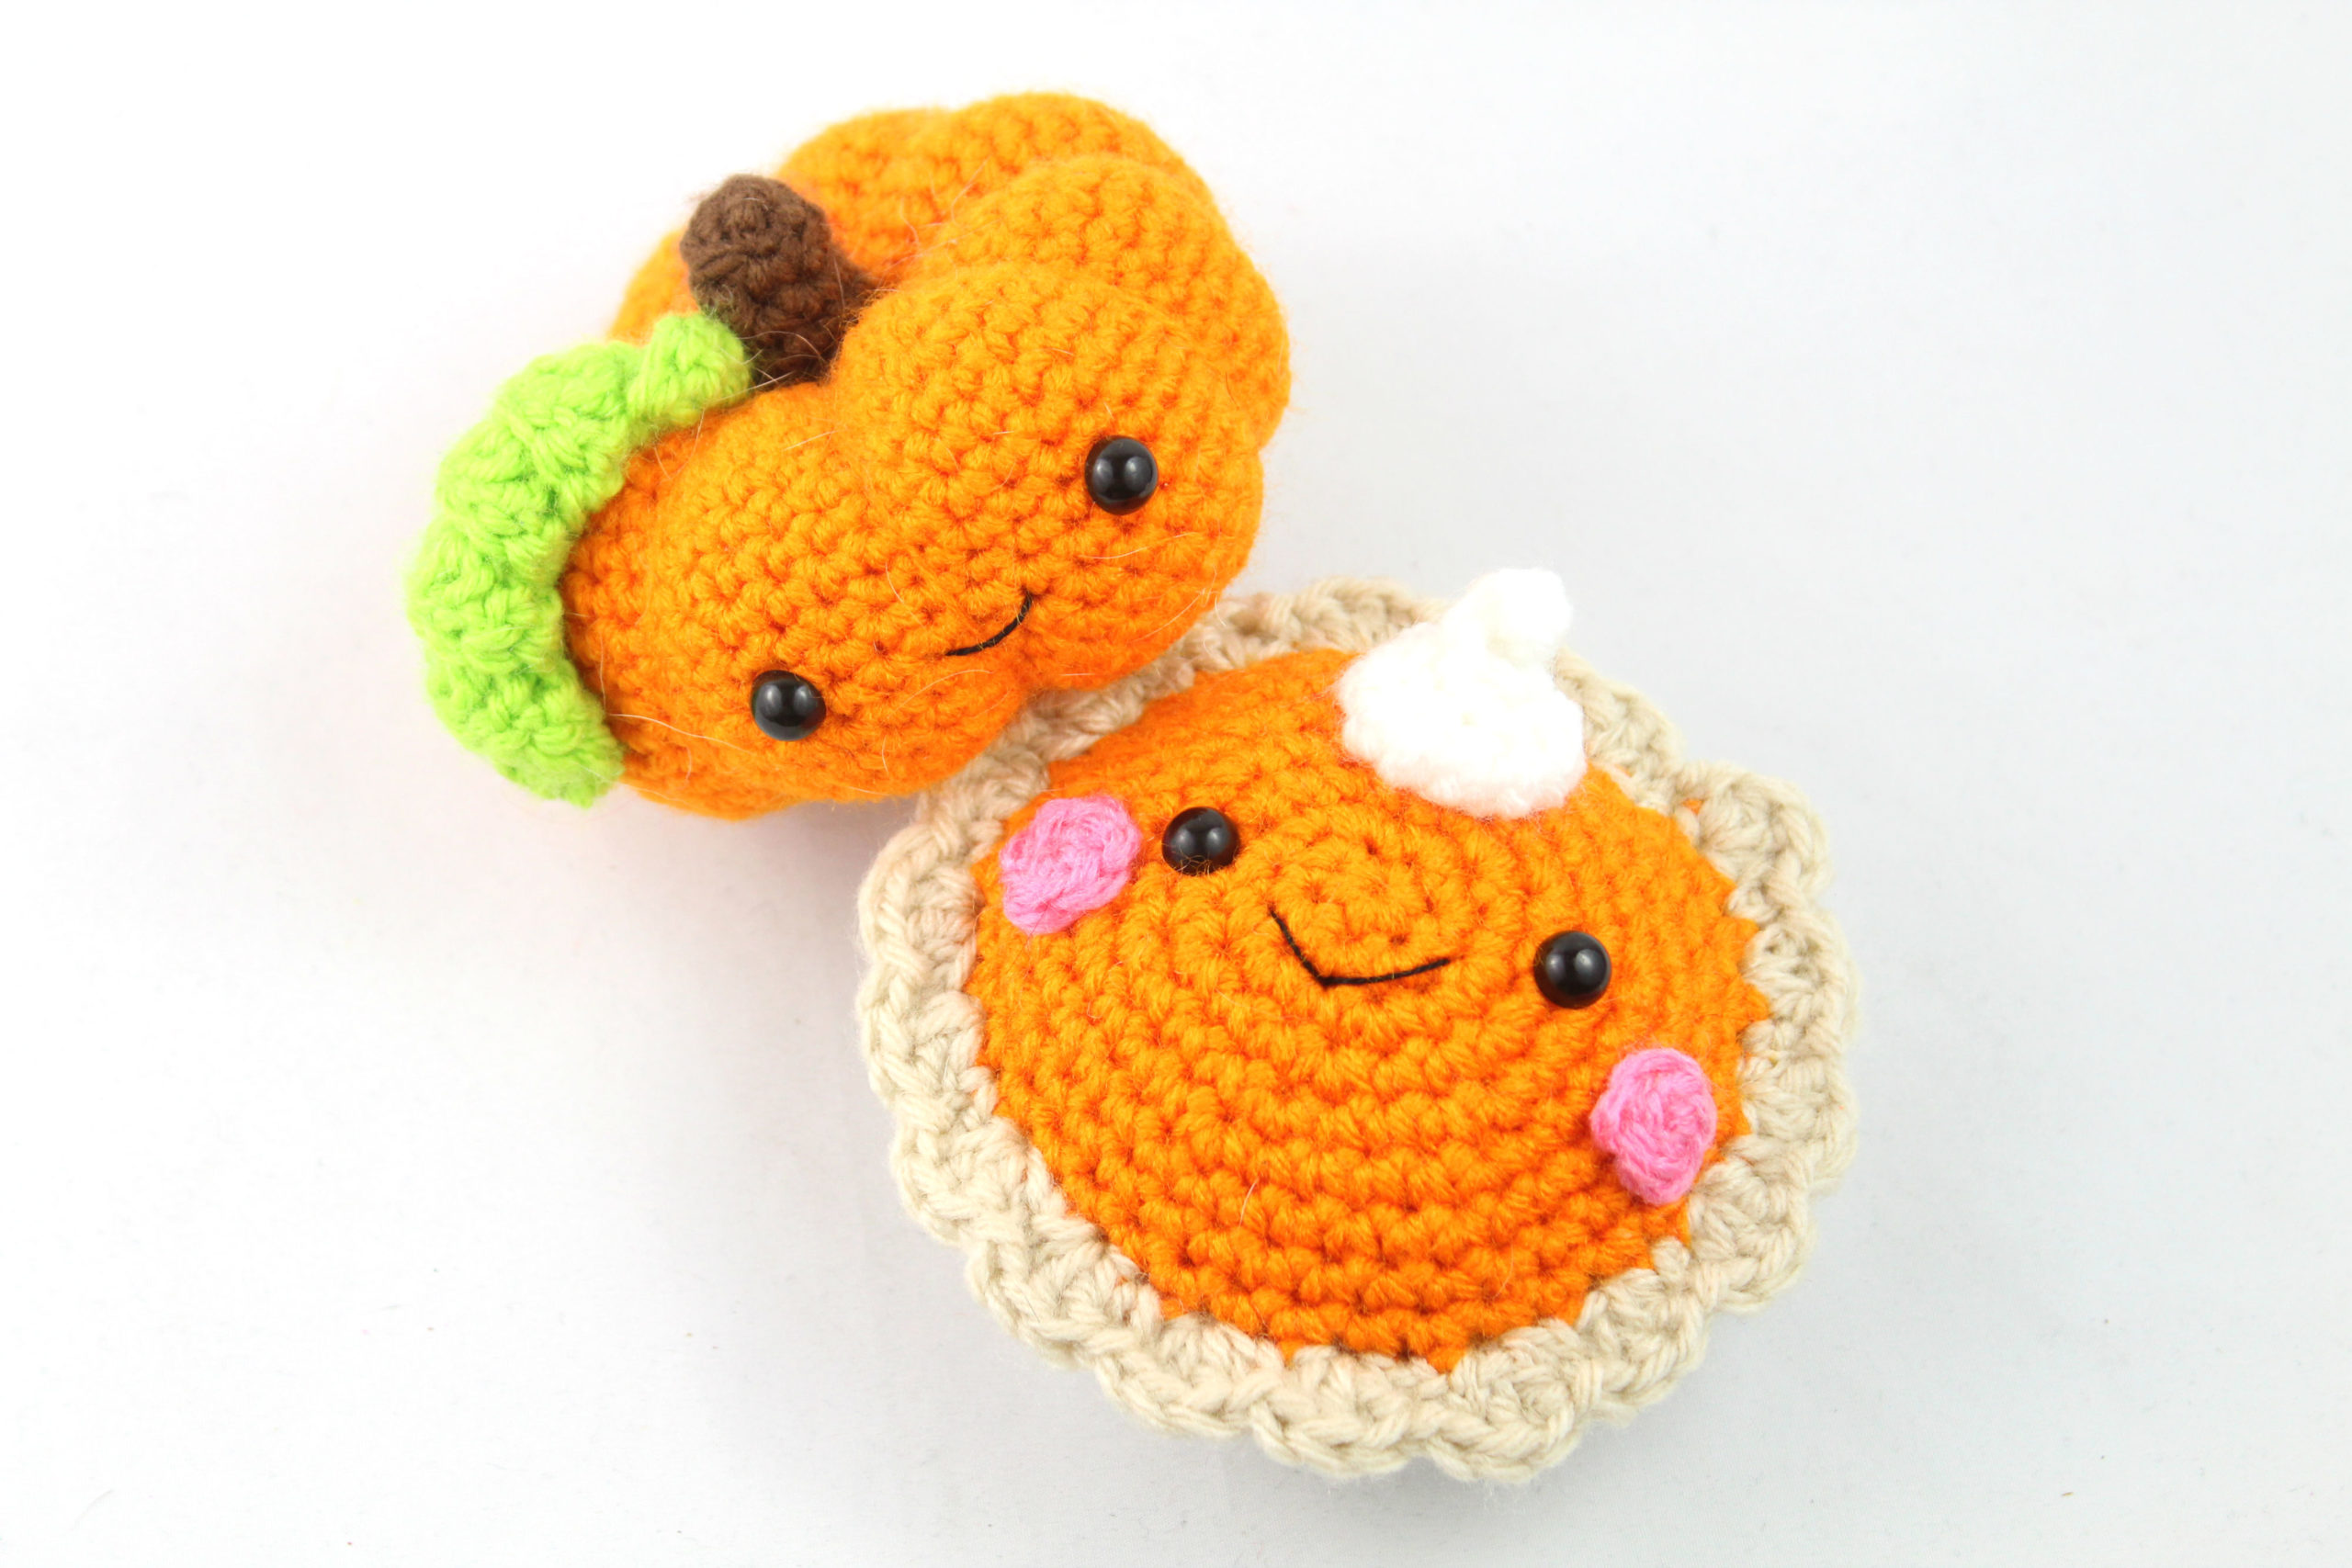
This pattern makes a quick and easy pumpkin pie! We start by making the top part of the pie, then next we create the bottom part of the pie. We then make the cheeks, whipped cream, and optional heart for the inside of the pie. Finally, we sew the pie together and add a smile.
Pie Top:
In Orange

Round 1: 6 Sc in Magic Ring (6)
Round 2: *Inc* all around (12)
Round 3: *Inc, Sc* all around (18)
Round 4: Inc in next st, Sc in next 2 st, Inc in the next st. Sc in next st and add a different colored st marker to Sc just made. This marks where to place the eye. Sc in next st. Repeat *Inc in next st, Sc in next 2 st* 2 times. Inc in the next st, Sc in the next st. Sc in the next st and add a different colored st marker to Sc just made. This marks the eye. Inc in next st, Sc in next 2 st(24)
Round 5: *Inc, Sc 3* all around (30)
Round 6: *Inc, Sc 4* all around (36)
Round 7-9: *Sc* all around (36)
Switch to tan
Round 10: *Sc in the next st, 3 Dc in the next st* all around. Working again in very last st, make one SlSt to make crust even. (72)
Finish off and add eyes now. Set aside.

Pie Bottom:
In Tan

Round 1: 6 Sc in Magic Ring (6)
Round 2: *Inc* all around (12)
Round 3: *Inc, Sc* all around (18)
Round 4: *Inc, Sc 2* all around (24)
Round 5: *Inc, Sc 3* all around (30)
Round 6: *Inc, Sc 4* all around (36)
Round 7: *Inc, Sc 5* all around (42)
Round 8: In BLO (Back Loop Only), *Sc* all around (42)
Round 9-11: In BOTH Loops, *Sc* all around (42)
Round 12: *Inc, Sc 6* all around (48)
Finish off and set aside.
Cheeks: (Make 2)
In Pink

Round 1: 6 Sc in Magic Ring (6)
Finish off and pin to the face as shown.

Whipped Cream:
In White

Row 1: Ch 19. Sc in the 2nd Ch from hook. Sc in the next 3 st, Hdc in the next 14 st (18)
Finish off.
Hold the Sc part and fold it up as shown (Pic 2). Now twist the rest of the piece around (Pic 3-4). Sew the cream in place and place on the pie as shown.


Sew on all face pieces now.
Heart: (Optional)
In Red

Round 1: Make a Magic Ring. Ch 3, Make 3 Trc in your Magic Ring. Dc 2 in Magic Ring. Trc 1, Dc 2, Trc 3. Pull string to shut. Ch 3 and SlSt into Magic Ring.
Finish off and set aside.
Sewing on pie top and pie bottom:
In Tan
Line up the top and bottom piece together. With tan yarn, sew the crust pieces together. To make the crust pieces look more clean, I reinsert the needle into the original insertion area to cover the stitch as shown on Pic 4-6.


Stuff the pie before fully closing. Place the heart in before fully closing.


Smile:
With Black Embroidery Thread
Insert needle in the middle of the mouth, and pull it out where shown (Pic 1). Reinsert needle back into the middle of the smile, and pull out on opposite side as shown (Pic 2). Finally, reinsert needle into the middle of the smile and pull through (Pic 3). Weave in ends.


 Done! If you finished this pattern, I would be SO HAPPY if you


