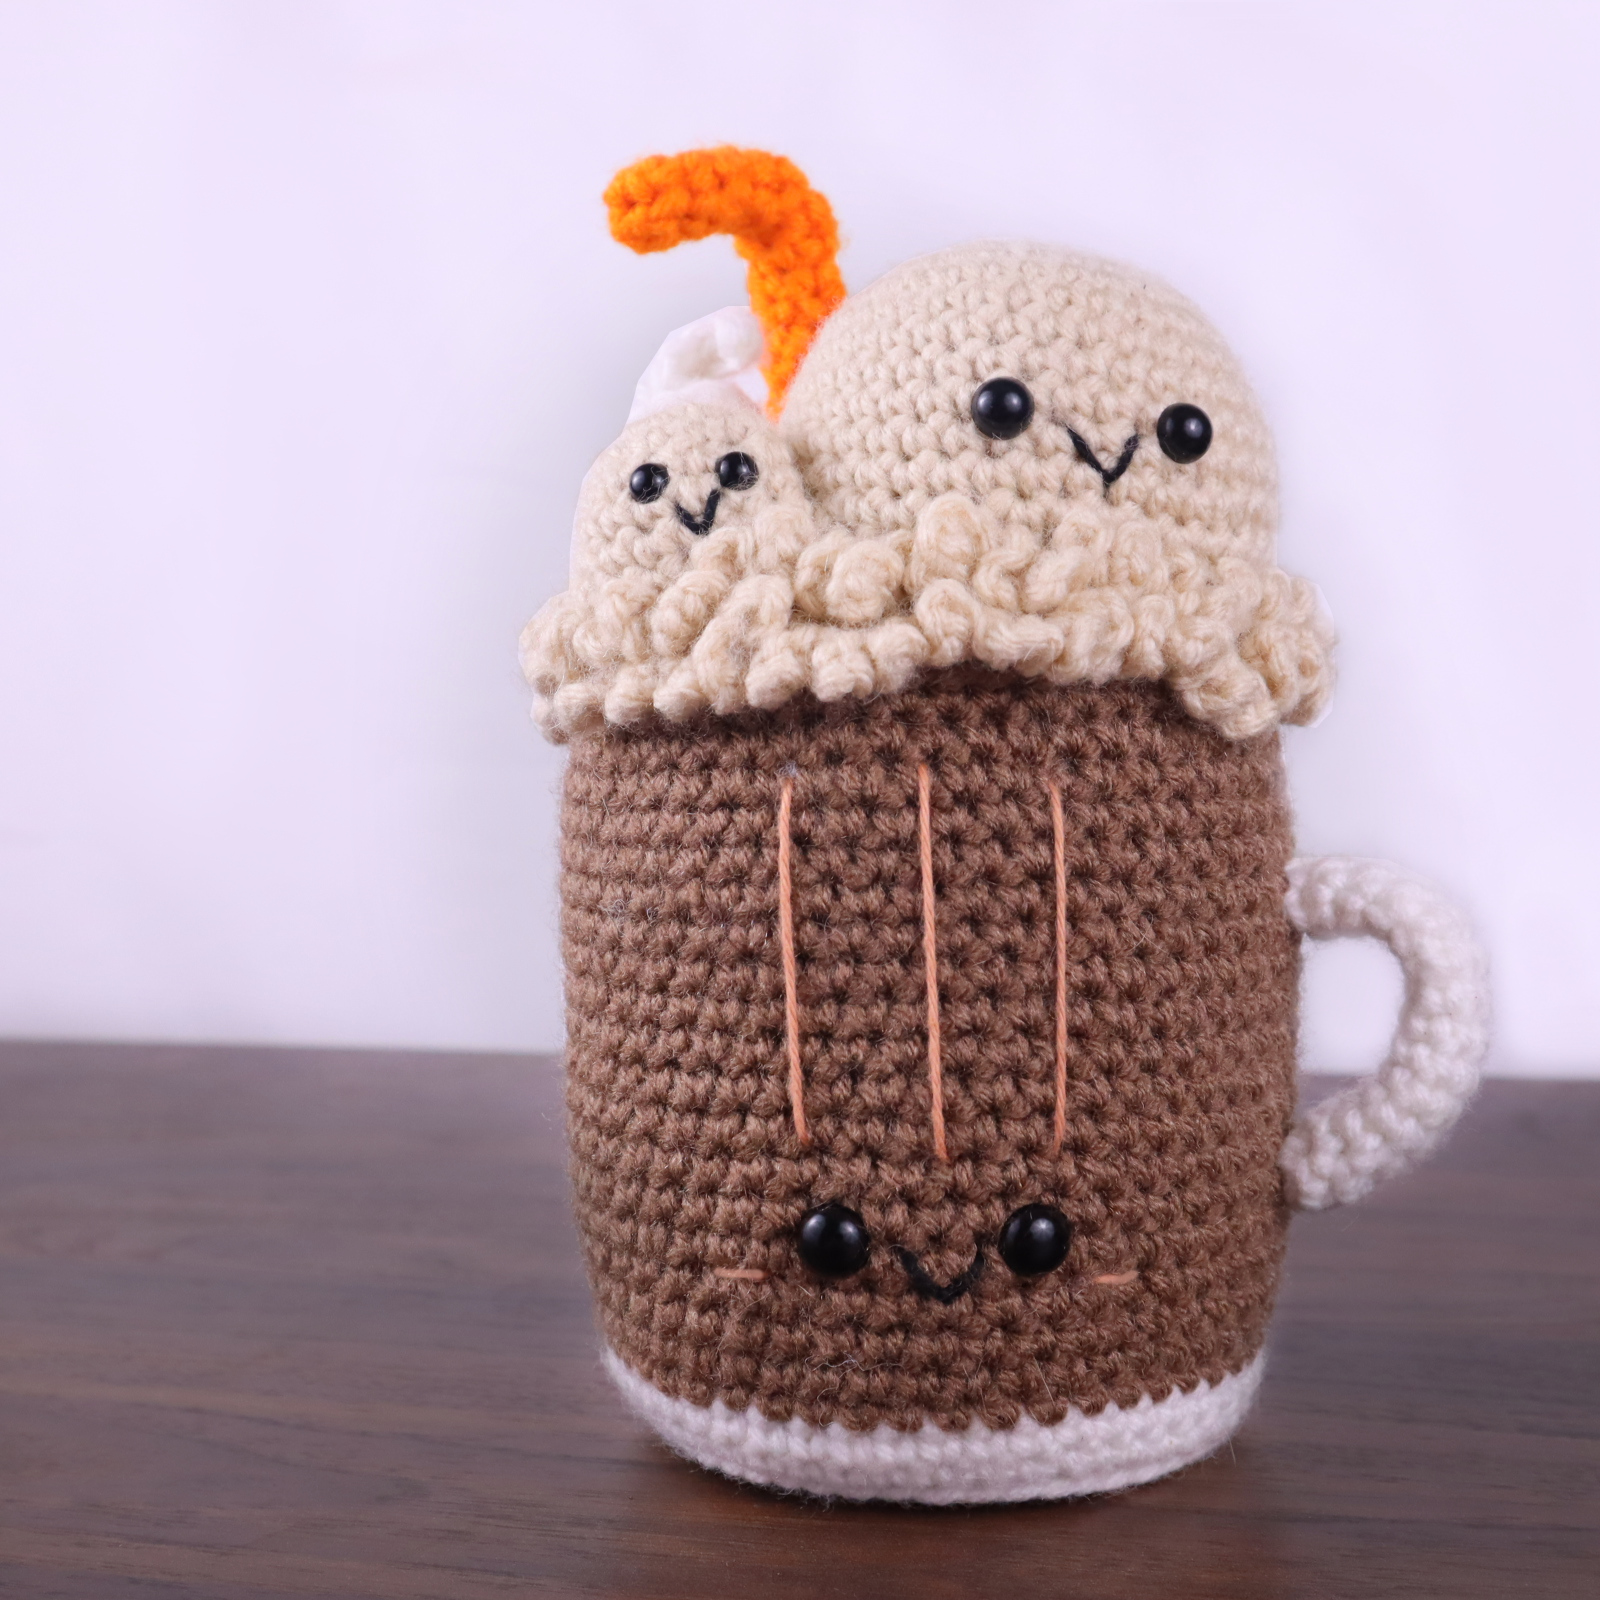
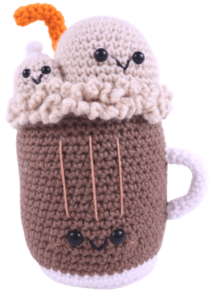
Rootbeer Float Ice Cream Amigurumi – Free Crochet Pattern
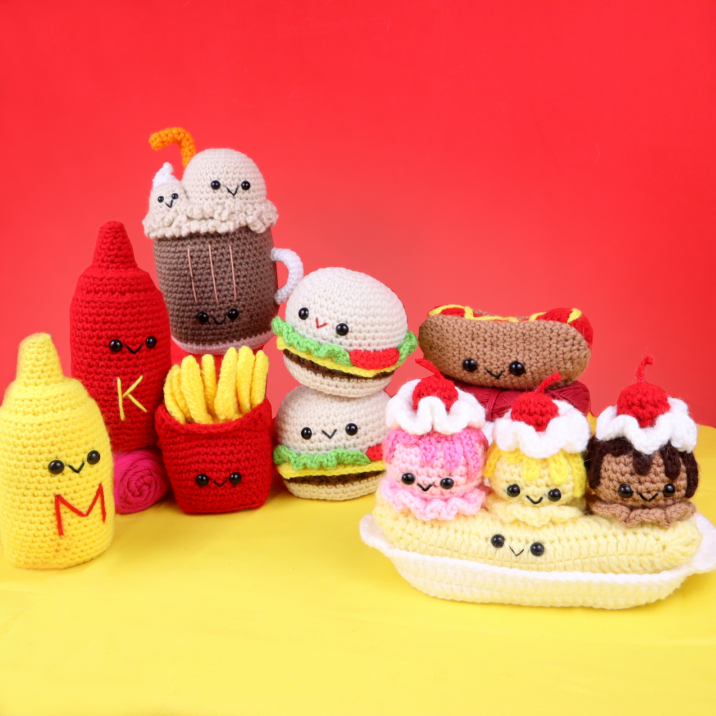
 This pattern is just 1 out of 6 included in the Fast Food Amigurumi Bundle! Every week 1 new fast food themed amigurumi will be released.

Want to see the other fast food patterns and their release date? See them here!
Become a member to unlock each PDF pattern as they’re released!
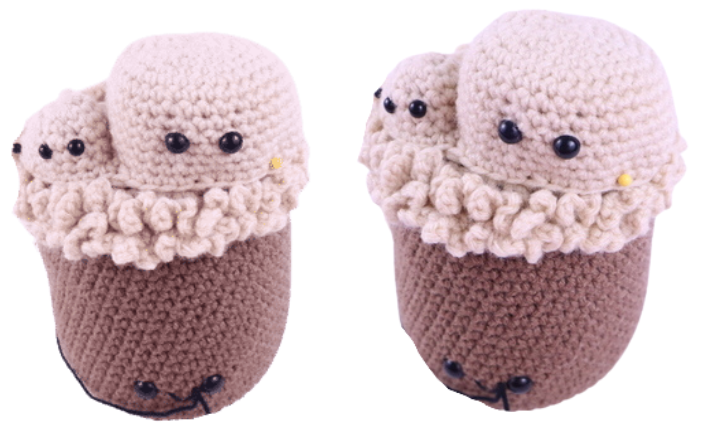
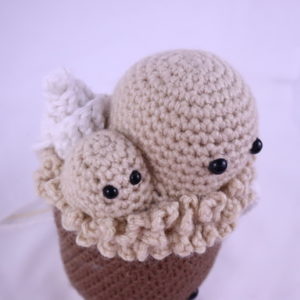
Hello everyone! Well this is by far one of my favorite patterns I’ve ever made, a root beer float! What I love most about this amigurumi pattern is how there’s so many faces on this 1 amigurumi. When I was making it I was thinking “You get a smile, you get a smile, and you get a smile!” Lol 🙂 So yeah – plenty of cute details on this one amigurumi. And though this is a root beer, you could definitely modify it to be a beer. Just crochet responsibly if you do that haha. (Just make the brown part of the mug in a mustard yellow, make the foam in white, and don’t make the ice cream, whipped cream, and straw). Anyhoo, hope you like this new pattern!
And below is a picture of the full free food bundle:
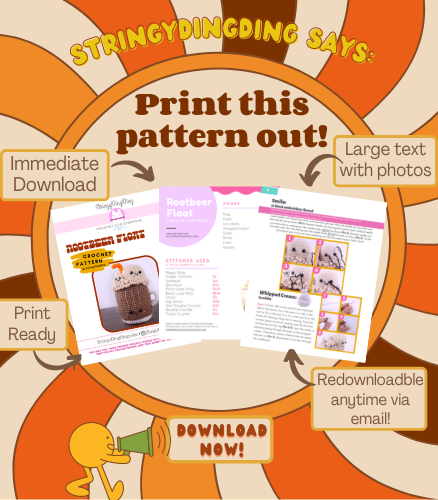
Print this pattern out – purchase the PDF here!
Supplies:
• Yarn 4/Medium Weight Yarn in…
Medium brown for main color, Light brown or cream color for foam and ice cream, White, Orange for straw
• 4mm Crochet Hook
• 10mm safety eyes for mug, 6mm safety eyes for little ice cream, 8mm eyes for big ice cream
•Tapestry needle
•Scissors
•Stuffing
•Pipecleaner
•Cardboard (Optional)
Additional Information:
Difficulty: Intermediate
• Getting Started
To make this root beer we will first start at the bottom of the drink and work out way up. The foam is crocheted directly onto the root beer after we fully finish making the cup. After this, we will make the ice cream, straw, whipped cream, and handle. Let’s get started!
• Important Note:
If you put cardboard into this amigurumi, you can’t wash it or dry it, as it would be a fire hazard. If you need to wash this amigurumi, please make this toy WITHOUT the cardboard.
• Recommended Yarns:
JoAnn Fabric’s “Big Twist” Yarn
Red Heart Super Saver Yarn
Hobby Lobby’s “I Love This Yarn!”
Mug:
Start in white
Round 1: 6 Sc into a Magic Ring (6)
Round 2: *Inc* all around (12)
Round 3: *Inc, Sc* all around (18)
Round 4: *Inc, Sc 2* all around (24)
Round 5: *Inc, Sc 3* all around (30)
Round 6: *Inc, Sc 4* all around (36)
Round 7: *Inc, Sc 5* all around (42)
Round 8: *Inc, Sc 6* all around (48)
Round 9: In the BLO (Back loop only) *Sc* all around (48)
Round 10: In BOTH loops *Sc* all around (48)
Round 10-14: Change to medium brown color. *Sc* all around (48)
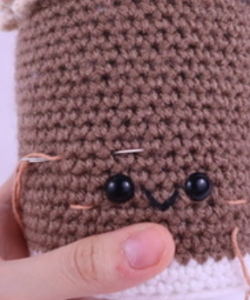
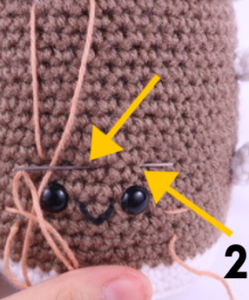
Now we will add 2 eye stitch markers into Round 14. Make sure to use differently colored stitch markers for the eyes, so you don’t confuse them for your round stitch marker. Add a marker into the 20th stitch and the 24th stitch.
Round 15-28: *Sc* all around (48)
Add 10mm eyes into the marked areas now. In the next 2 rounds we will work in the back loops. Later we will work in the front loops left to create the foam of the root beer.
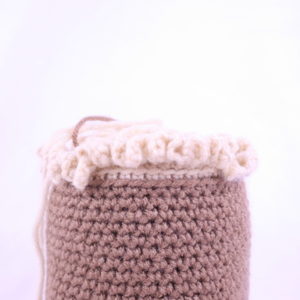
Round 29-30: Change to light brown/cream color. In the BLO *Sc* all around (48)
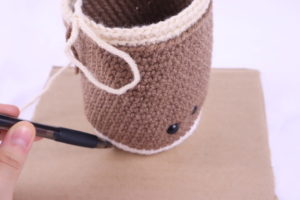
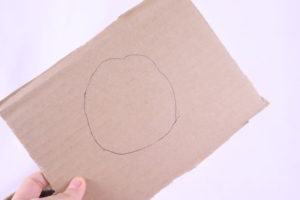
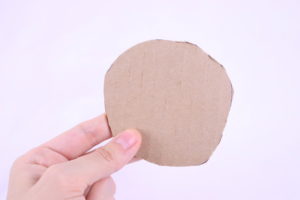
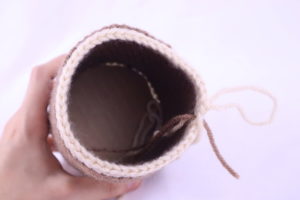
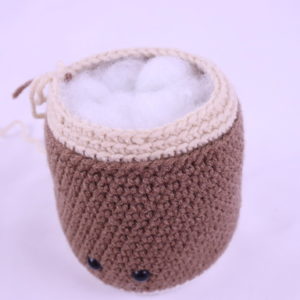
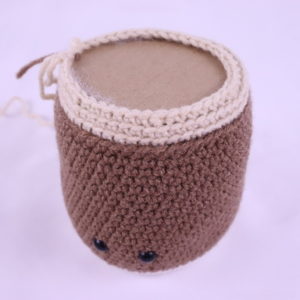
Take a piece of cardboard. Place the mug onto the cardboard as shown and outline around it (Pic 1). You will have a circle on your cardboard (Pic 2). Cut around the outline (Pic 3). Repeat this one more, for a total of 2 cut out pieces. Place one piece into the bottom of the mug (Pic 4). Stuff the mug very firmly (Pic 5). Add the second cardboard after Round 31 (Pic 6).
1. 2.
2.
3. 4.
4.
5. 6.
6.
In the next round we will also work in the BLO, except this is because this will form the top of the cup.
Round 31: In the BLO, *Dec, Sc 6* all around (42)
Stuff the mug firmly now. Add the second cardboard now.
Round 32: In BOTH loops, *Dec, Sc 5* all around (36)
Round 33: *Dec, Sc 4* all around (30)
Round 34: *Dec, Sc 3* all around (24)
Round 35: *Dec, Sc 2* all around (18)
Round 36: *Dec, Sc 1* all around (12)
Round 37: *Dec* all around (6)
Finish off, leaving a long tail for sewing. Sew the remaining stitches closed.
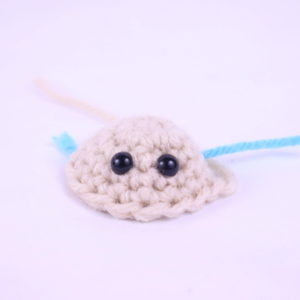
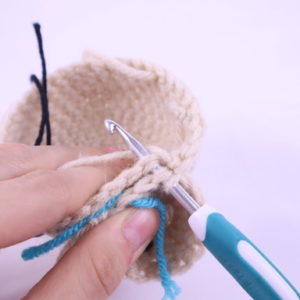
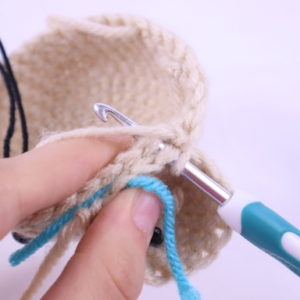
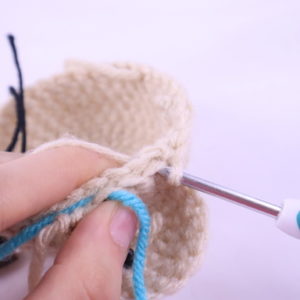
Foam:
In Cream Color
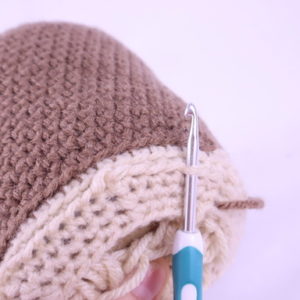
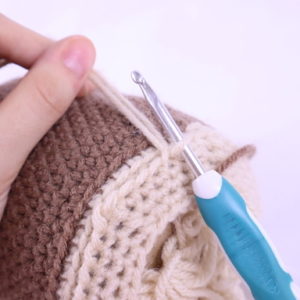
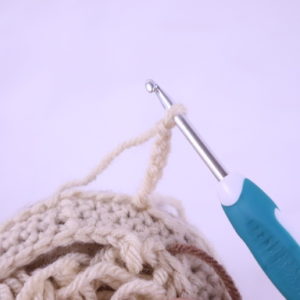
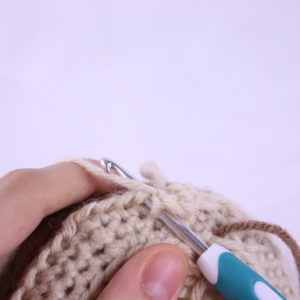
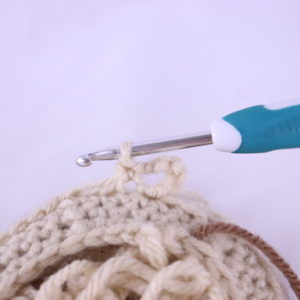
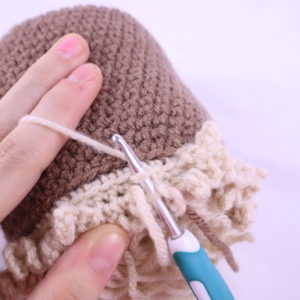
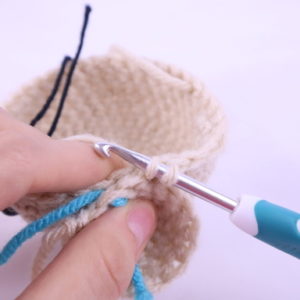
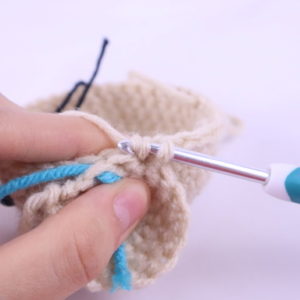
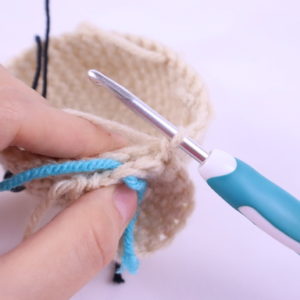
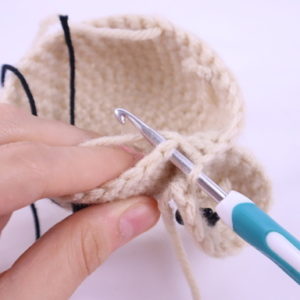
Attach your crochet hook into the front loop left in Round 30 as shown (Pic 1). Pull through your light brown/cream colored yarn (Pic 1-2). Repeat *Ch 5 (Pic 3), Sc in the next st (Pic 4-5)* for the next 48 stitches in Round 30 (Pic 6). Once you’ve done that, continue to repeat *Ch 5, Sc in the next st* using the front loops left in the round below, Round 29 (Pic 7). Finish off and weave in ends.
1. 2.
2.
3. 4.
4.
5. 6.
6.
7. 8.
8.
Small Ice cream: (Make first)
In Cream color
Round 1: 6 Sc into a Magic Ring (6)
Round 2: *Inc* all around (12)
Round 3: Sc 3, *Inc* in the next 3 st, Sc in the next 6 st (15)
Round 4-5: *Sc* all around (15)
Finish off the small ice cream here. Don’t add safety eyes yet. Soon we will crochet the small ice cream to the big ice cream so they are connected together.
Big ice cream: (Make second)
In Cream Color

Round 1: 6 Sc into a Magic Ring (6)
Round 2: *Inc* all around (12)
Round 3: *Inc, Sc* all around (18)
Round 4: *Inc, Sc 2* all around (24)
Round 5: *Inc, Sc 3* all around (30)
Round 6: *Inc, Sc 4* all around (36)
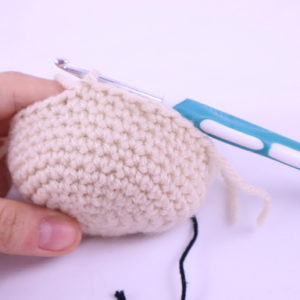
Round 7-11: *Sc* all around (36)
Round 12: Sc in the next 9 st (Pic 1). Line up little ice cream’s 3rd stitch in Round 5 to the big ice cream’s next stitch (Pic 3-4).
1. 2.
2.
3. 4.
4.
Going through both the big and little ice cream’s stitches, Sc in the next 3 st (Pic 4-10). Continuing on the big ice cream, Sc in the next 24 st (Pic 11) (Stitch count: 45 st around both ice creams, 3 st connecting them).
5. 6.
6.
7. 8.
8.
9. 10.
10.
11. 1.
1.
Round 13: Continuing on the big ice cream, Sc in the next 9 st. Now working on the small ice cream, Sc in the next 4 st, *Inc* in the next 4 st, Sc in the next 4 st. Continuing on the big ice cream, Sc in the next 24 st (49)
Round 14: On the big ice cream *Dec* 1 time, Sc in the next 4 st, *Dec* 1 time, Sc in the next st. On the little ice cream Sc in the next 16 st. On the big ice cream, repeat *Dec, Sc in the next 4 st* 4 times (43)
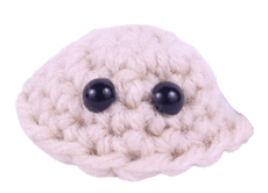
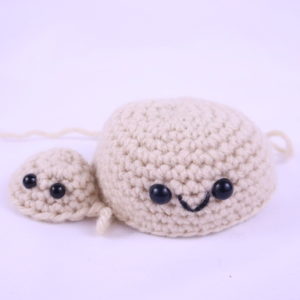
Finish off, leaving a long tail for sewing. Place 6mm safety eyes between Round 4 & 5 on the small ice cream, 2 stitches apart.
Place 8mm safety eyes between Round 10 & 11 on the big ice cream, 4 st apart. Place the ice cream on top of the mug – make sure the eyes on the ice cream face the same direction as the eyes on the mug. Now sew on. When sewing on, make sure to NOT sew through the cardboard, only sew through the crochet part. Be sure to stuff each ice cream firmly before fully sewing closed. Weave in ends.
Smile:
In Black Embroidery thread
The smile is made the same for both of the ice creams and the mug itself. Follow the instructions below to make a smile for each one.
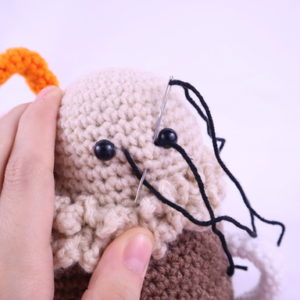
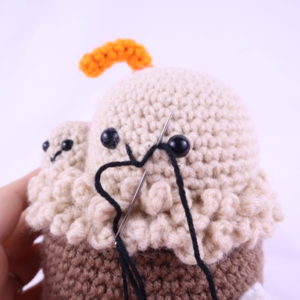
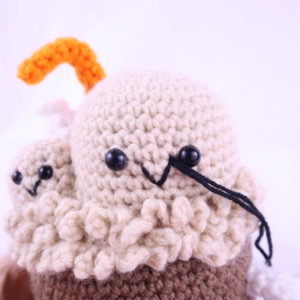
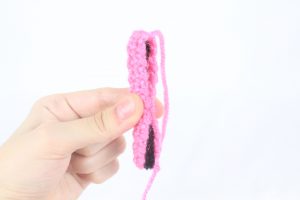
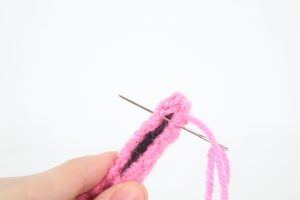
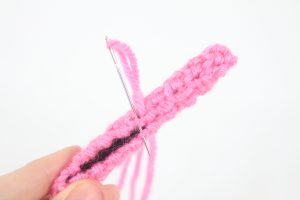
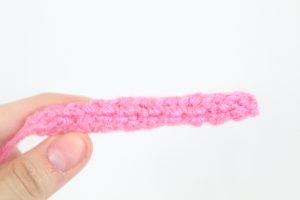
Insert needle with thread one stitch over from the right eye, then pull needle out one stitch over from the left eye as shown (Pic 1). Reinsert needle into the original insertion spot, and pull needle out where shown, making sure the needle lands ABOVE the thread (Pic 2). Reinsert needle into the same spot, this time making sure the needle lands BELOW the yarn as shown (Pic 3). Tie the tail ends of yarn firmly into knots and bring into the ice cream/mug to hide. Done!
1. 2.
2.
3. 4.
4.
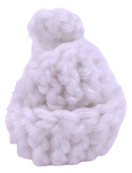
Whipped Cream:
In White
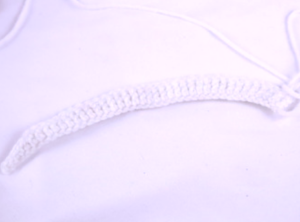
Row 1: Ch 42. SlSt in the 2nd Ch from the hook. SlSt in the next st, Sc in the next 2 st, Hdc in the next st, Dc in the next 5 st, Trc in the next 31 st (41)
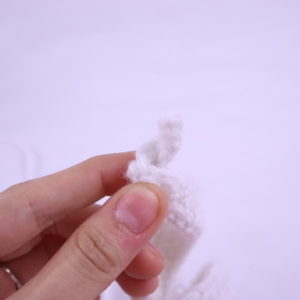
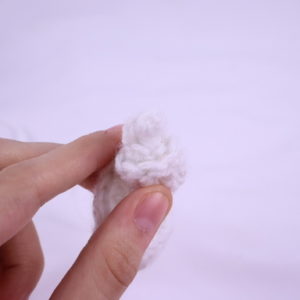
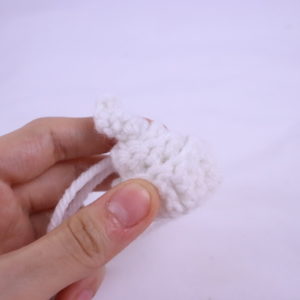
Finish off, leaving a long tail for sewing. Twist the crochet piece as shown, making sure the first few stitches twirl at the top (Pic 2-4). Sew the cream in place by going through all layers of the whipped cream. Once done, place it behind the ice cream and sew on (Pic 5). Remember to not sew through the cardboard.
1. 2.
2.
3. 4.
4.
5.
Straw:
In Orange
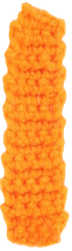
Row 1: Ch 6. Sc in the 2nd Ch from the hook, Sc in the next 4 st (5)
Row 2-18: Turn. Sc in the next 5 st (5)
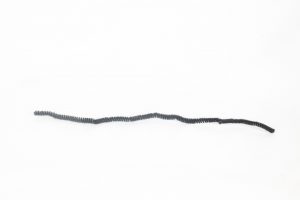
To make the straw, we take a pipe cleaner and fold it in half two times. We then place the crochet straw piece around the pipe cleaner and sew it closed. Then, we sew it onto the coconut.
Take a pipe cleaner (typically ~12″ long). Fold it in half one time (Pic 2). Fold it in half again (Pic 3). Now place the crochet piece around the pipe cleaner (Pic 4-5)
1. 2.
2.
3. 4.
4.
5.
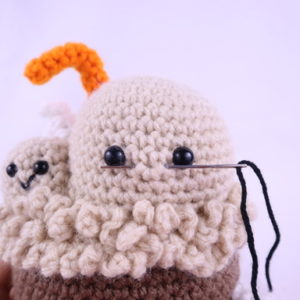
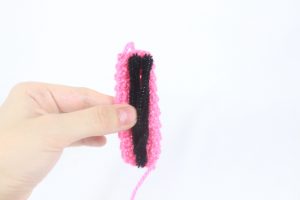
Sew the crochet piece closed around the pipe cleaner (Pic 6-8). Pin the straw to the top of the mug, behind the ice cream and sew on (Pic 9). Bend the straw.
6. 7.
7.
8. 9.
9.
Mug Handle:
In White
Round 1: 6 Sc into a Magic Ring (6)
Round 2-15: *Sc* all around (6)
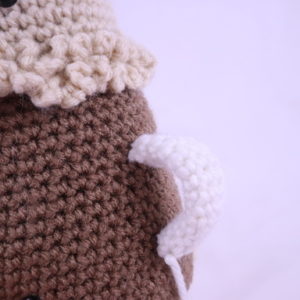
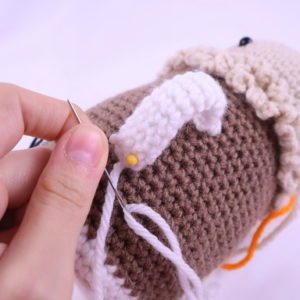
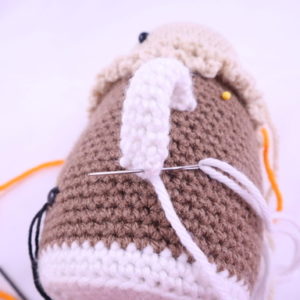
Finish off, leaving a long tail for sewing. Don’t stuff the handle. Place the bottom of the handle between Round 16 and 17. Place the top of the handle between Round 23 and 24 (Pic 1). Sew on the top of the handle, then pull your yarn to the bottom of the handle and sew on (Pic 2-3). Tie the tail ends of yarn into firm knots and bring into the mug to hide.
1. 2.
2.
3. 4.
4.
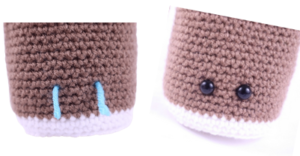
Mug Lines:
In Lighter Brown
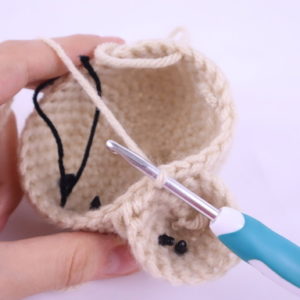
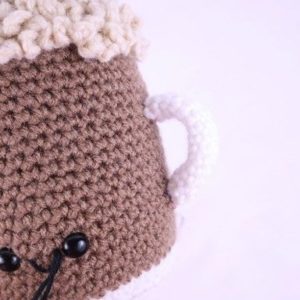
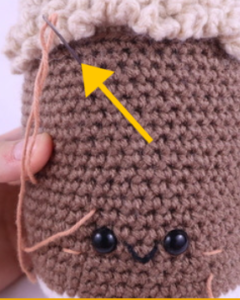
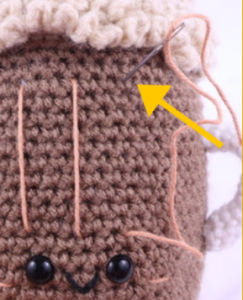
Insert needle with thread anywhere and pull needle out 2 rounds above the left eye (Pic 1). Insert needle 12 rounds above the left eye (Pic 2). Pull needle out 3 stitches to the right, this will line up to the middle of the mouth (Pic 3). Insert needle into the same round as the left line, and pull needle out 2 rounds above the right eye (Pic 3). Insert needle 12 rounds above the right eye (Pic 4) and pull needle out anywhere. Tie ends of yarn into firm knots and bring them into the mug to hide. Make cheeks with yarn now.
1. 2.
2.
3. 4.
4.
5.
Done!


