Snail Amigurumi – Free Crochet Pattern
Print this pattern out – purchase the PDF here!

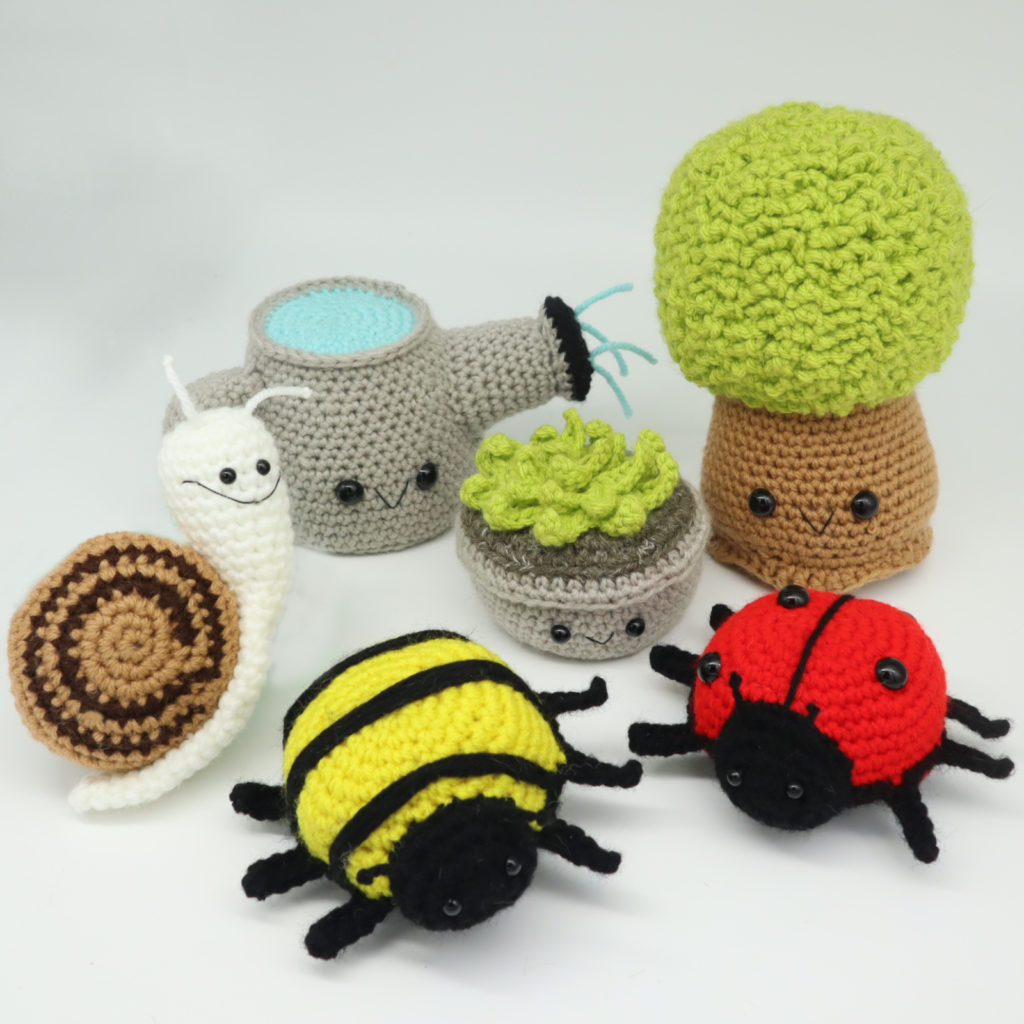 This is 1 of 5 different patterns in my Spring amigurumi bundle! Want to see the rest of the free Spring patterns? Click here!
Want the PDF version of the Spring bundle amigurumis? Click here!
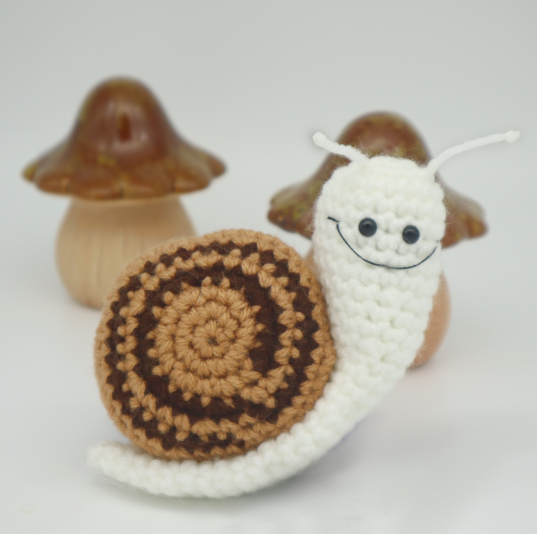
Take a look at this free amigurumi snail crochet pattern! He’s the perfect amigurumi to make for spring or fall – it’s even better that he’s very quick and easy to make. Hopefully you will give this cutie a try 🙂 If you do – let us know what you think of the pattern in the comments section below this post!
Supplies:
• Yarn 4/Medium Weight in:
white, dark brown, and light brown
•4mm Crochet Hook
•Tapestry needle
•Scissors
•Stuffing
•6mm safety eyes
•Black Embroidery Thread
Additional Information:
Difficulty: Easy
This snail is quick and easy to make. The final result is super cute! However, please note that he can’t stand up on his own, so you will need to lean him on something if you plan on displaying it. To start this cutie, we will first make 2 sides of the shells, then crochet them together to form the shell. After this, we will create the body, then tie on his antennas. Finally, we give him a super cute smile. Let’s get started!
Shell: (Make 2)
In light brown

Round 1: 6 Sc into a Magic Ring (6)
Round 2: *Inc* all around (12)
Round 3: *Inc, Sc in the next st* all around (18)
Round 4: Change to Dark Brown. Repeat *Inc, Sc in the next 2 st* 5 times. Inc in the next st, Sc in the next st. Change to Light Brown, then Sc in the next st (24)
Round 5: Repeat *Inc, Sc in the next 3 st* 5 times. Inc next st, Sc in the next 2 st. Change to Dark Brown, Sc in the next st (30)
Round 6: Repeat *Inc, Sc next 4 st* 5 times. Inc next st, Sc in the next 2 st. Change to Light Brown, Sc next 2 st (36)
Round 7: Repeat *Inc, Sc in the next 5 st* all around (42)
Round 8: *Sc* all around (42)
Finish off the first shell you make now. Do NOT finish off the second shell piece. Instead, continue onto the next step:
Connecting the shells:
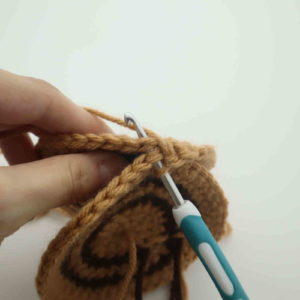
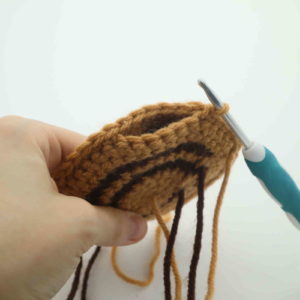
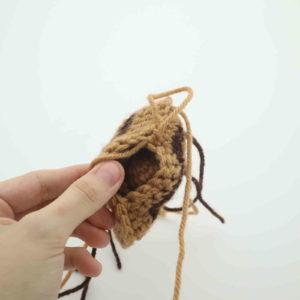
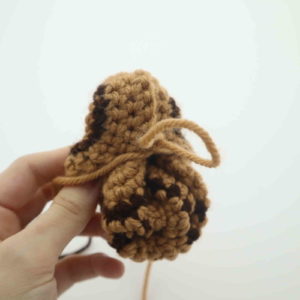
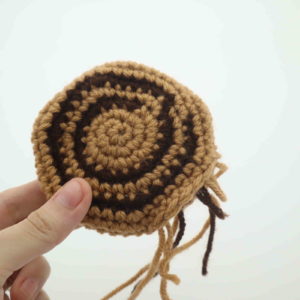
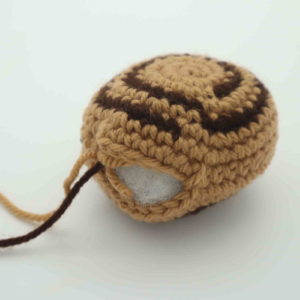
We will connect the shells by crocheting them together. In order to hide the ridge that forms when crocheting pieces together, we will flip the shell inside out once we’re almost done crocheting the shells together. This means that we will be hiding that ugly ridge on the inside!
Place the right sides of the shell together. The ugly sides of the shell will be facing on the outside (Pic 1). Now make sure the stitches line up together. Inserting your hook through BOTH the shell’s stitches (Pic 2), Sc in the next 37 st. Turn the shell inside out by going through the hole (Pic 4-7). Now the pretty side is showing! Stuff the shell firmly now (Pic 8). Finish off and sew the remaining stitches closed. Weave in ends.
1.
2. 3.
3.
 4.
4. 5.
5. 6.
6. 7.
7. 8.
8.
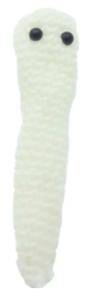
Body:
In white
Round 1: 6 Sc into a Magic Ring (6)
Round 2: *Inc* all around (12)
Round 3: *Inc, Sc in the next st* all around (18)
Round 4-6: *Sc* all around (18)
Now we will mark where to place the eyes. Add a different
colored stitch marker in the 8th and 10th st.
Round 7-9: *Sc* all around (18)
Round 10: *Dec, Sc in the next 4 st* all around (15)
Round 11-12: *Sc* all around (15)
Add the eyes in the marked area now
Round 13: *Dec, Sc in the next 3 st* all around (12)
Round 14-31: *Sc* all around (12)
Stuff the head area now, but leave the rest of the body unstuffed.
Round 32: *Dec, Sc in the next 2 st* all around (9)
Round 33: *Sc* all around (9)
Round 34: *Dec, Sc in the next st* all around (6)
Round 35: *Sc* all around (6)
Finish off now, leaving a tail of yarn for sewing. Sew the remaining stitches closed and weave in ends.
Pin the body onto the shell as shown. Make sure to leave the top of the head unpinned, we only want to sew the body to the shell but not too much of the head. Once pinned on to your liking, sew the body to the shell. Once sewn on, weave in ends.
Antennas: (Make 2)
In white
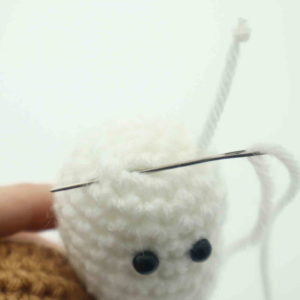
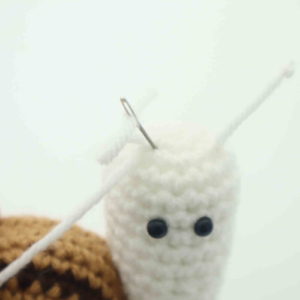
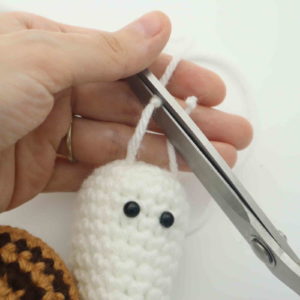
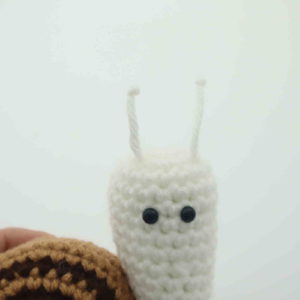
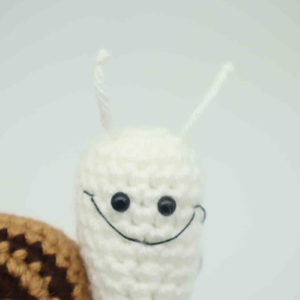
Take a ~6″ piece of yarn and place it on a needle. Insert the needle into the top of the toy’s head as shown (Pic 1). You will have two ends of yarn. Tie both pieces together to secure the antenna (Pic 2). Now place the smaller tail of yarn on your needle and bring it inside the toy to hide, cutting any excess yarn from that tail of yarn (Pic 3).
Now we are left with 1 piece of yarn. Tie a knot in the same spot 2 times to form the antenna as shown (Pic 4). Once done, cut the yarn just above the knot (Pic 5). Done!
1. 2.
2. 3.
3. 4.
4.
Smile:
In black embroidery thread
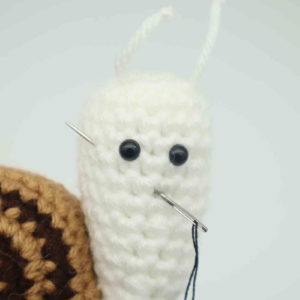
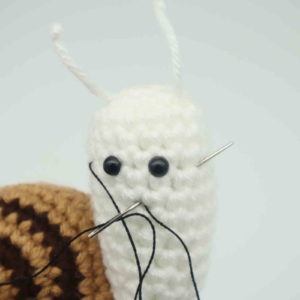
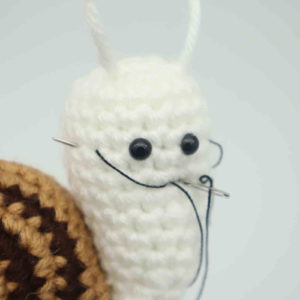
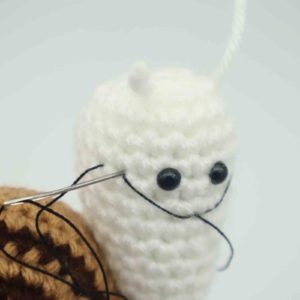
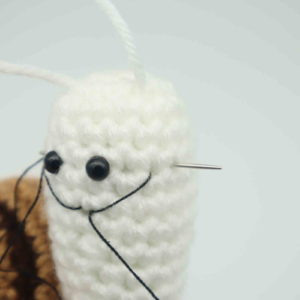
Insert needle with thread into the middle of the toy’s face as shown (Pic 1). Pull needle out about 2 stitches to the left of the left eye as shown (Pic 1). Reinsert needle into the middle area, then pull needle out about 2 stitches to the right of the right eye (Pic 2). Reinsert needle into the middle area, then pull needle out 1 stitch to the left of the left side of the smile (Pic 3). Insert needle 1 stitch to the right as shown (Pic 4). Pull needle out 1 stitch to the right of the right side of the smile (Pic 5). Reinsert needle 1 stitch to the left (Pic 6) and pull needle out at the middle area once again (Pic 6). Tie both tail ends of yarn together into a firm knot. Bring the knot inside the snail’s head to hide, cutting any excess thread. Done!
1. 2.
2. 3.
3. 4.
4. 5.
5. 6.
6. 7.
7.


4 Comments
Thank you I think this little guy is so cute! <3 🙂
Was totally great and easy! I really enjoy it. Thnx
I just want to say I think your little creations are so cute. I get your newsletter and I can’t wait for it to come to see what new little fellow you have made. This snail made me giggle when I opened up and saw him staring at me with that cute smile of his. Thank you very much for making all the cute things you make and thank you for sharing them with us.
So cute! Thanks for the pttern