Succulent Amigurumi – Free Crochet Pattern
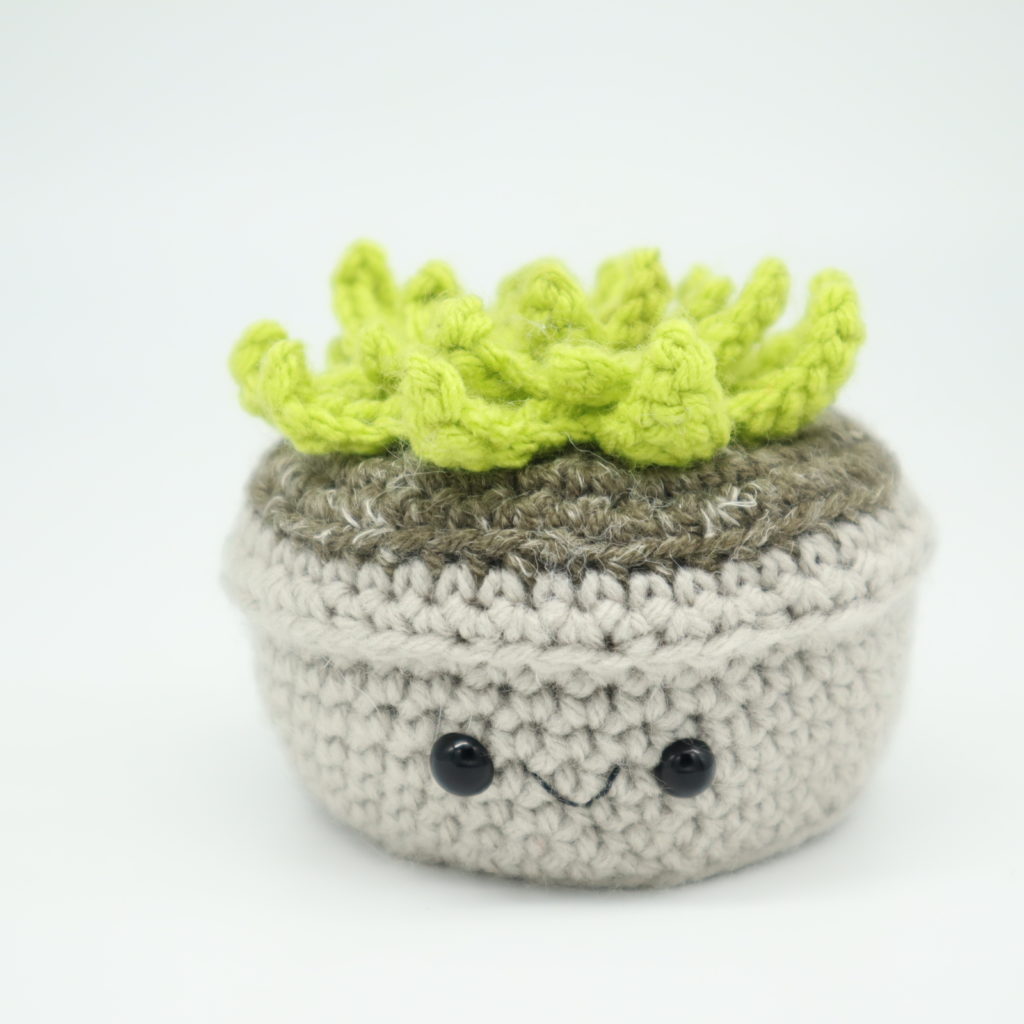
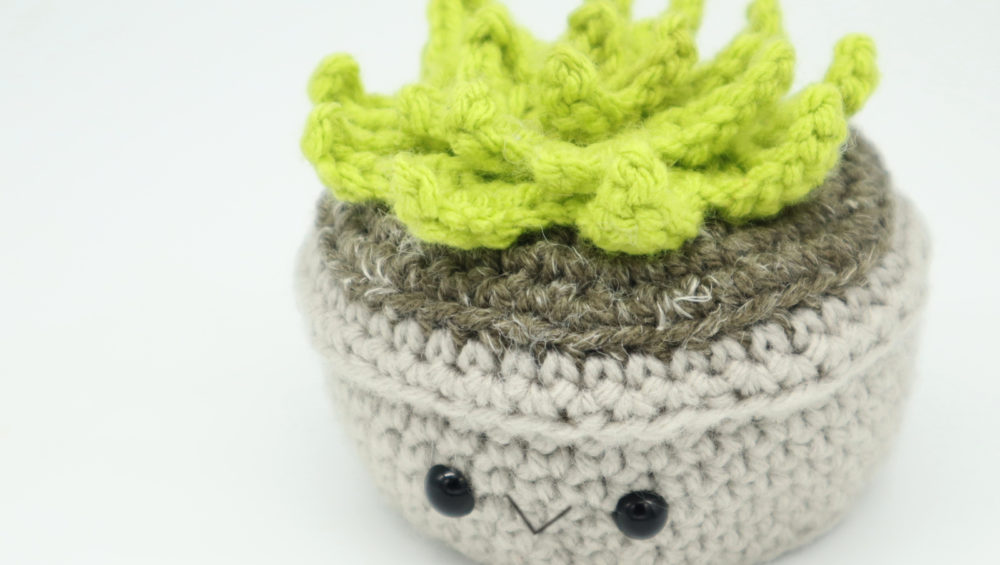
Hello! This week I wanted to showcase some fun new spring-y garden-y patterns! So here is a free succulent amigurumi crochet pattern! One of my all time favorite plants definitely has to be the succulent. They are just super cute and I love how small they can be 🙂 So I knew it would make for the perfect amigurumi! Do you need an adorable desk buddy to keep you smiling throughout the day? This cute succulent is your new best friend! He’s low maintenance (requires no water!) and is pretty easy to make.
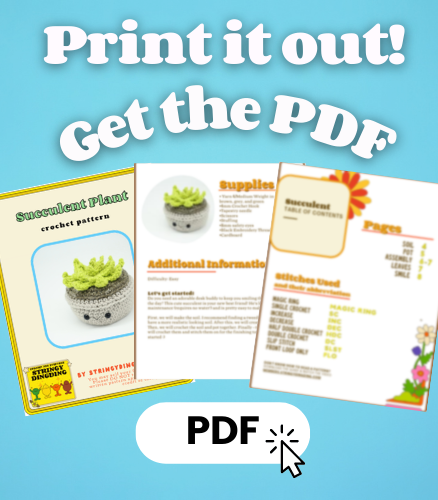
Print this pattern out – purchase the PDF version here!
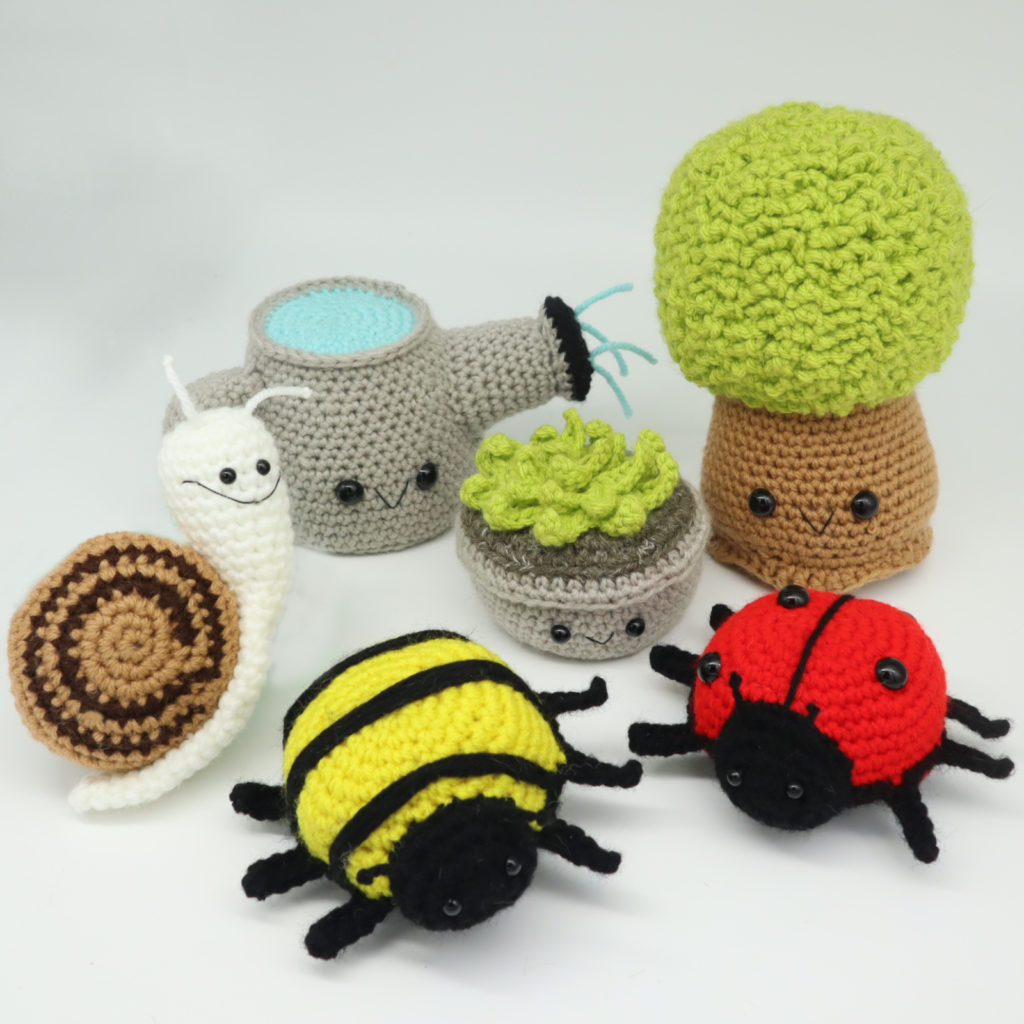 This is 1 of 5 different patterns in my Spring amigurumi bundle! Want to see the rest of the free Spring patterns? Click here!
Want the PDF version of the Spring bundle amigurumis? Click here!
Supplies:
• Yarn 4/Medium Weight in:
brown, grey, and green
•4mm Crochet Hook
•Tapestry needle
•Scissors
•Stuffing
•8mm safety eyes
•Black Embroidery Thread
•Cardboard
Additional Information:
Difficulty: Easy
Let’s get started!
First, we will make the soil. I recommend finding a tweed brown yarn to have a more realistic looking soil. After this, we will create the pot. Then, we will crochet the soil and pot together. Finally – the leaves! We will crochet them and stitch them on for the finishing touch. Let’s get started 🙂
Soil:
In brown
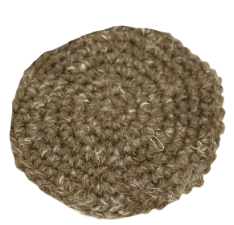
Round 1: 6 Sc into a Magic Ring (6)
Round 2: *Inc* all around (12)
Round 3: *Inc, Sc in the next st* all around (18)
Round 4: *Inc, Sc in the next 2 st* all around (24)
Round 5: *Inc, Sc in the next 3 st* all around (30)
Round 6: *Inc, Sc in the next 4 st* all around (36)
Round 7: *Inc, Sc in the next 5 st* all around (42)
Finish off now.
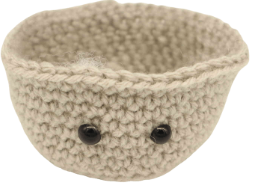
Pot:
In grey or orange
Round 1: 6 Sc into a Magic Ring (6)
Round 2: *Inc* all around (12)
Round 3: *Inc, Sc in the next st* all around (18)
Round 4: *Inc, Sc in the next 2 st* all around (24)
Round 5: *Inc, Sc in the next 3 st* all around (30)
Round 6: *Inc, Sc in the next 4 st* all around (36)
Round 7: *Inc, Sc in the next 5 st* all around (42)
Round 8: In the BLO, *Sc* all around (42)
Round 9-11: In BOTH loops, *Sc* all around (42)
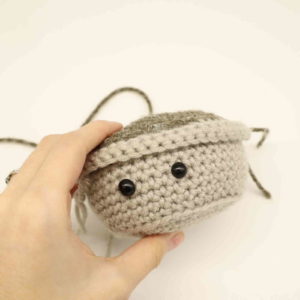
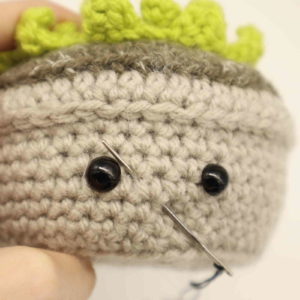
Now we will mark where to place the safety eyes. Add an eye stitch marker into the 15th and 19th stitch in Round 11.
Round 12-13: *Sc* all around (42)
Round 14: *Inc, Sc in the next 6 st* all around (48)
Round 15: *Sc* all around (48)
Add the eyes into the marked areas now.
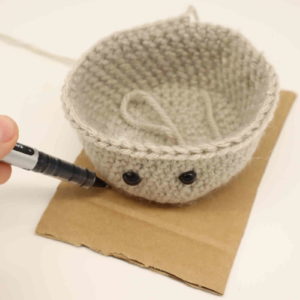
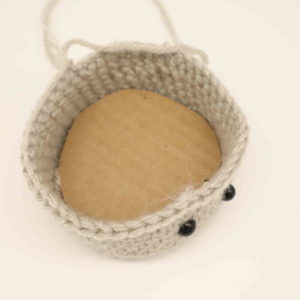
Now we will add in cardboard so the bottom and top of the pot sit flat!
Step 1. Place the pot on cardboard and trace around the entire bottom of the pot (Pic 1)
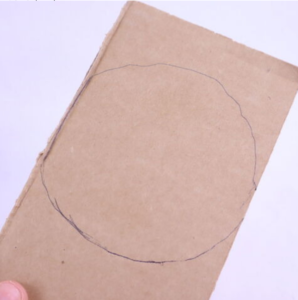
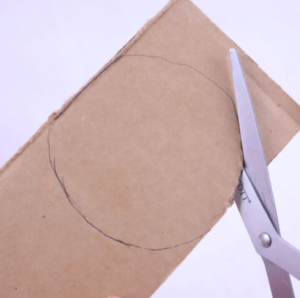
Step 2. You will have a circle (Pic 2). Cut around the circle with scissors (Pic 3-4)
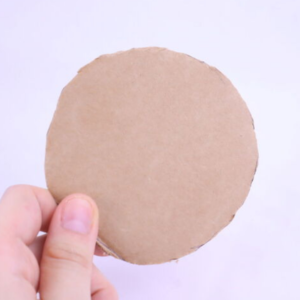
Step 3. Repeat steps 1-2 again. You will now have a total of 2 cardboard pieces. Place one piece into the bottom of the pot (Pic 5), stuff the pot firmly, then place the second piece of cardboard into the top of the pot (Pic 6).
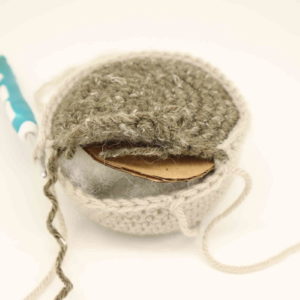
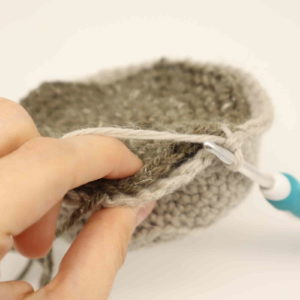
Assembly:
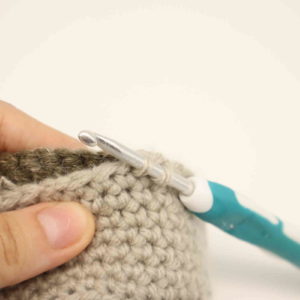
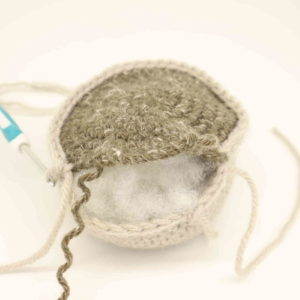
Place the soil and pot together so the stitches line up as shown (Pic 1). Insert your hook going though both loops of the pot, and only the front loop of the soil (Pic 2).
1. 2.
2.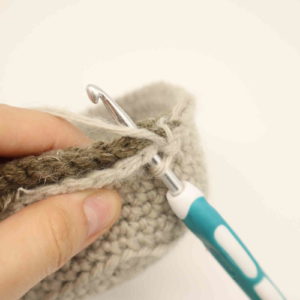
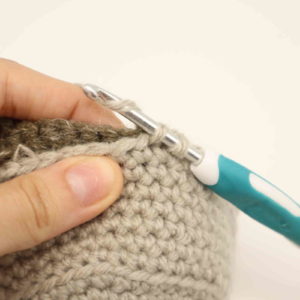
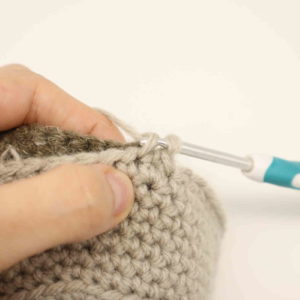
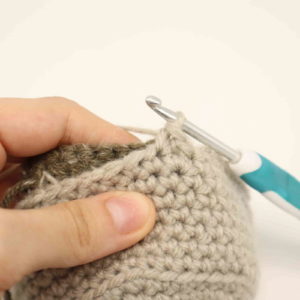
Make a single crochet (Pic 3-8). Repeat this process of going through both stitches of the pot and only the front loop of the soil. Once you have about 15 stitches left, stuff the pot (Pic 9), add in the second piece of cardboard as shown (Pic 10) and continue crocheting closed (Pic 11).
3. 4.
4. 5.
5. 6.
6. 7.
7. 8. 9.
8. 9.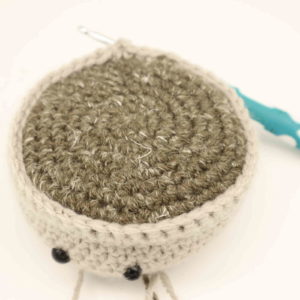 10.
10.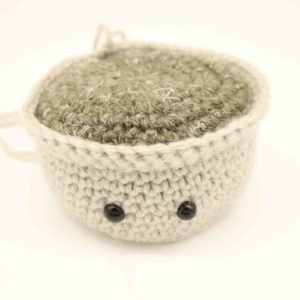
Round 16-17: *Sc* all around
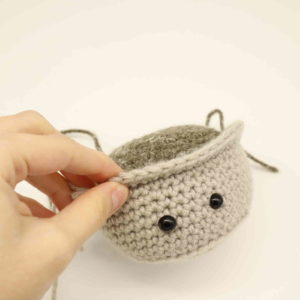
Finish off, leaving a long tail for sewing. Fold the lip over and sew it down. This will create the rim of the pot. Once done, finish off and weave in ends.
Leaves:
In green
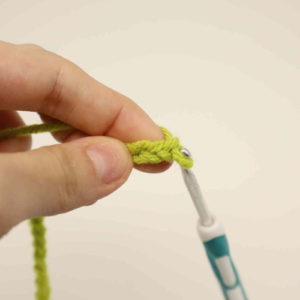
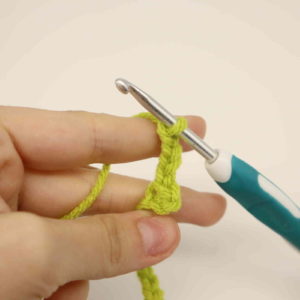
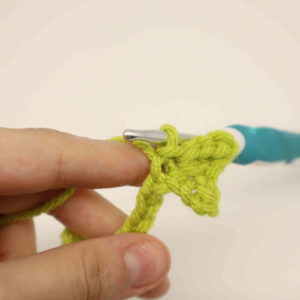
Row 1: Ch 56 (Pic 1). Skip the 2nd ch from the hook, SlSt in the 3rd ch (Pic 2). Repeat *Ch 4, SlSt in the 2nd ch from the hook, Sc in the next ch, Hdc in the next ch. Skip the next st on the Ch, SlSt in the next st on the Ch.* 5 times, Pic 3-6.
1. 2.
2. 3.
3. 4.
4.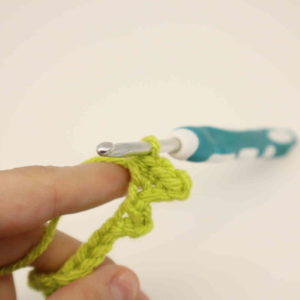 5.
5.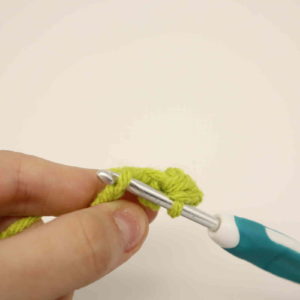 6.
6.
Repeat *Ch 5, SlSt in the 2nd Ch from the hook, Sc in the next ch, Hdc in the next 2 Ch. Skip the next st, SlSt in the next Ch* 2 times.
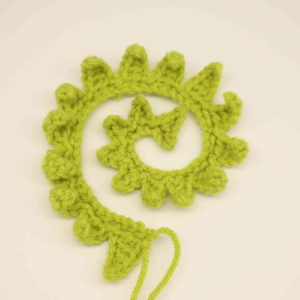
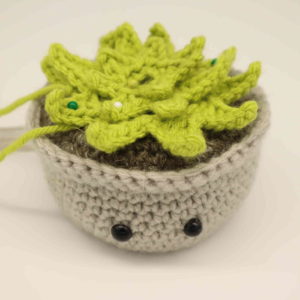
Repeat *Ch 6. SlSt in the 2nd ch. Sc next st, Hdc in the next 2 st, Dc in the next st. Skip in the next 2 st, SlSt in the next 3 st.* 13 times. Finish off, leaving a long tail for sewing. Starting with the larger side of the leaves, pin them on the outer edge in a circle. Continue pinning the leaves down in a spiral until the smallest leaves are in the very middle (Pic 7). Once done, sew on. Weave in ends.
7.
Smile:
In black embroidery thread
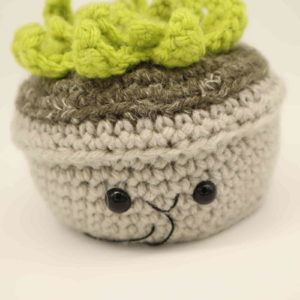
Insert needle with thread into the middle mouth area of the toy, and pull the needle out next to the toy’s left eye as shown (Pic 1). Reinsert needle into the middle mouth area (Pic 2) and pull needle out next to the right eye (Pic 2). Reinsert needle into the middle mouth area and pull needle out a few stitches over. Tie the ends of thread into firm knots and bring them inside the toy to hide. This will secure the smile. Done!
1. 2.
2.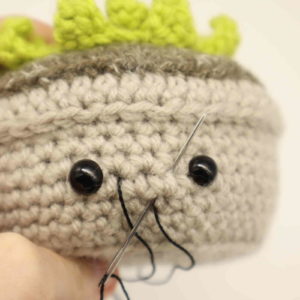 3.
3.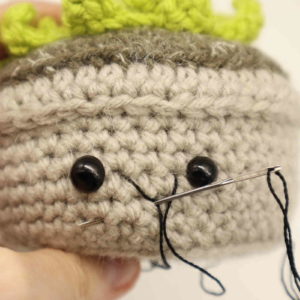 4.
4.


4 Comments
Hi Olive! This pattern is so cute! I am just confused about one thing though: since the pot and soil have a different stitch count (pot having 48 and soil having 42), how do you properly crochet them together?
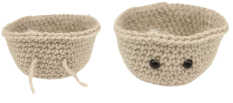
Thanks for asking this. I’m not sure if the official answer, but I saw what you meant and thought the soil wouldn’t join correctly. My solution was that didn’t increases to 48 stitches in rows 14 and 15 – just carried on with 42 stitches to match the soil. I then increased to 48 in row 16 instead and did 48 stitches for row 17 as well. Hope that helps. It seemed to work fine – here’s my finished pot.
Loving the pattern so far – it looks really cute. Thanks to Olive for creating it.
Yeah I ended up just doing another increase. Thank you! And your pot looks so cute!
I’ve been wanting to try this pattern out for a while, and it came out so cute! The perfect spring crochet project 🙂