
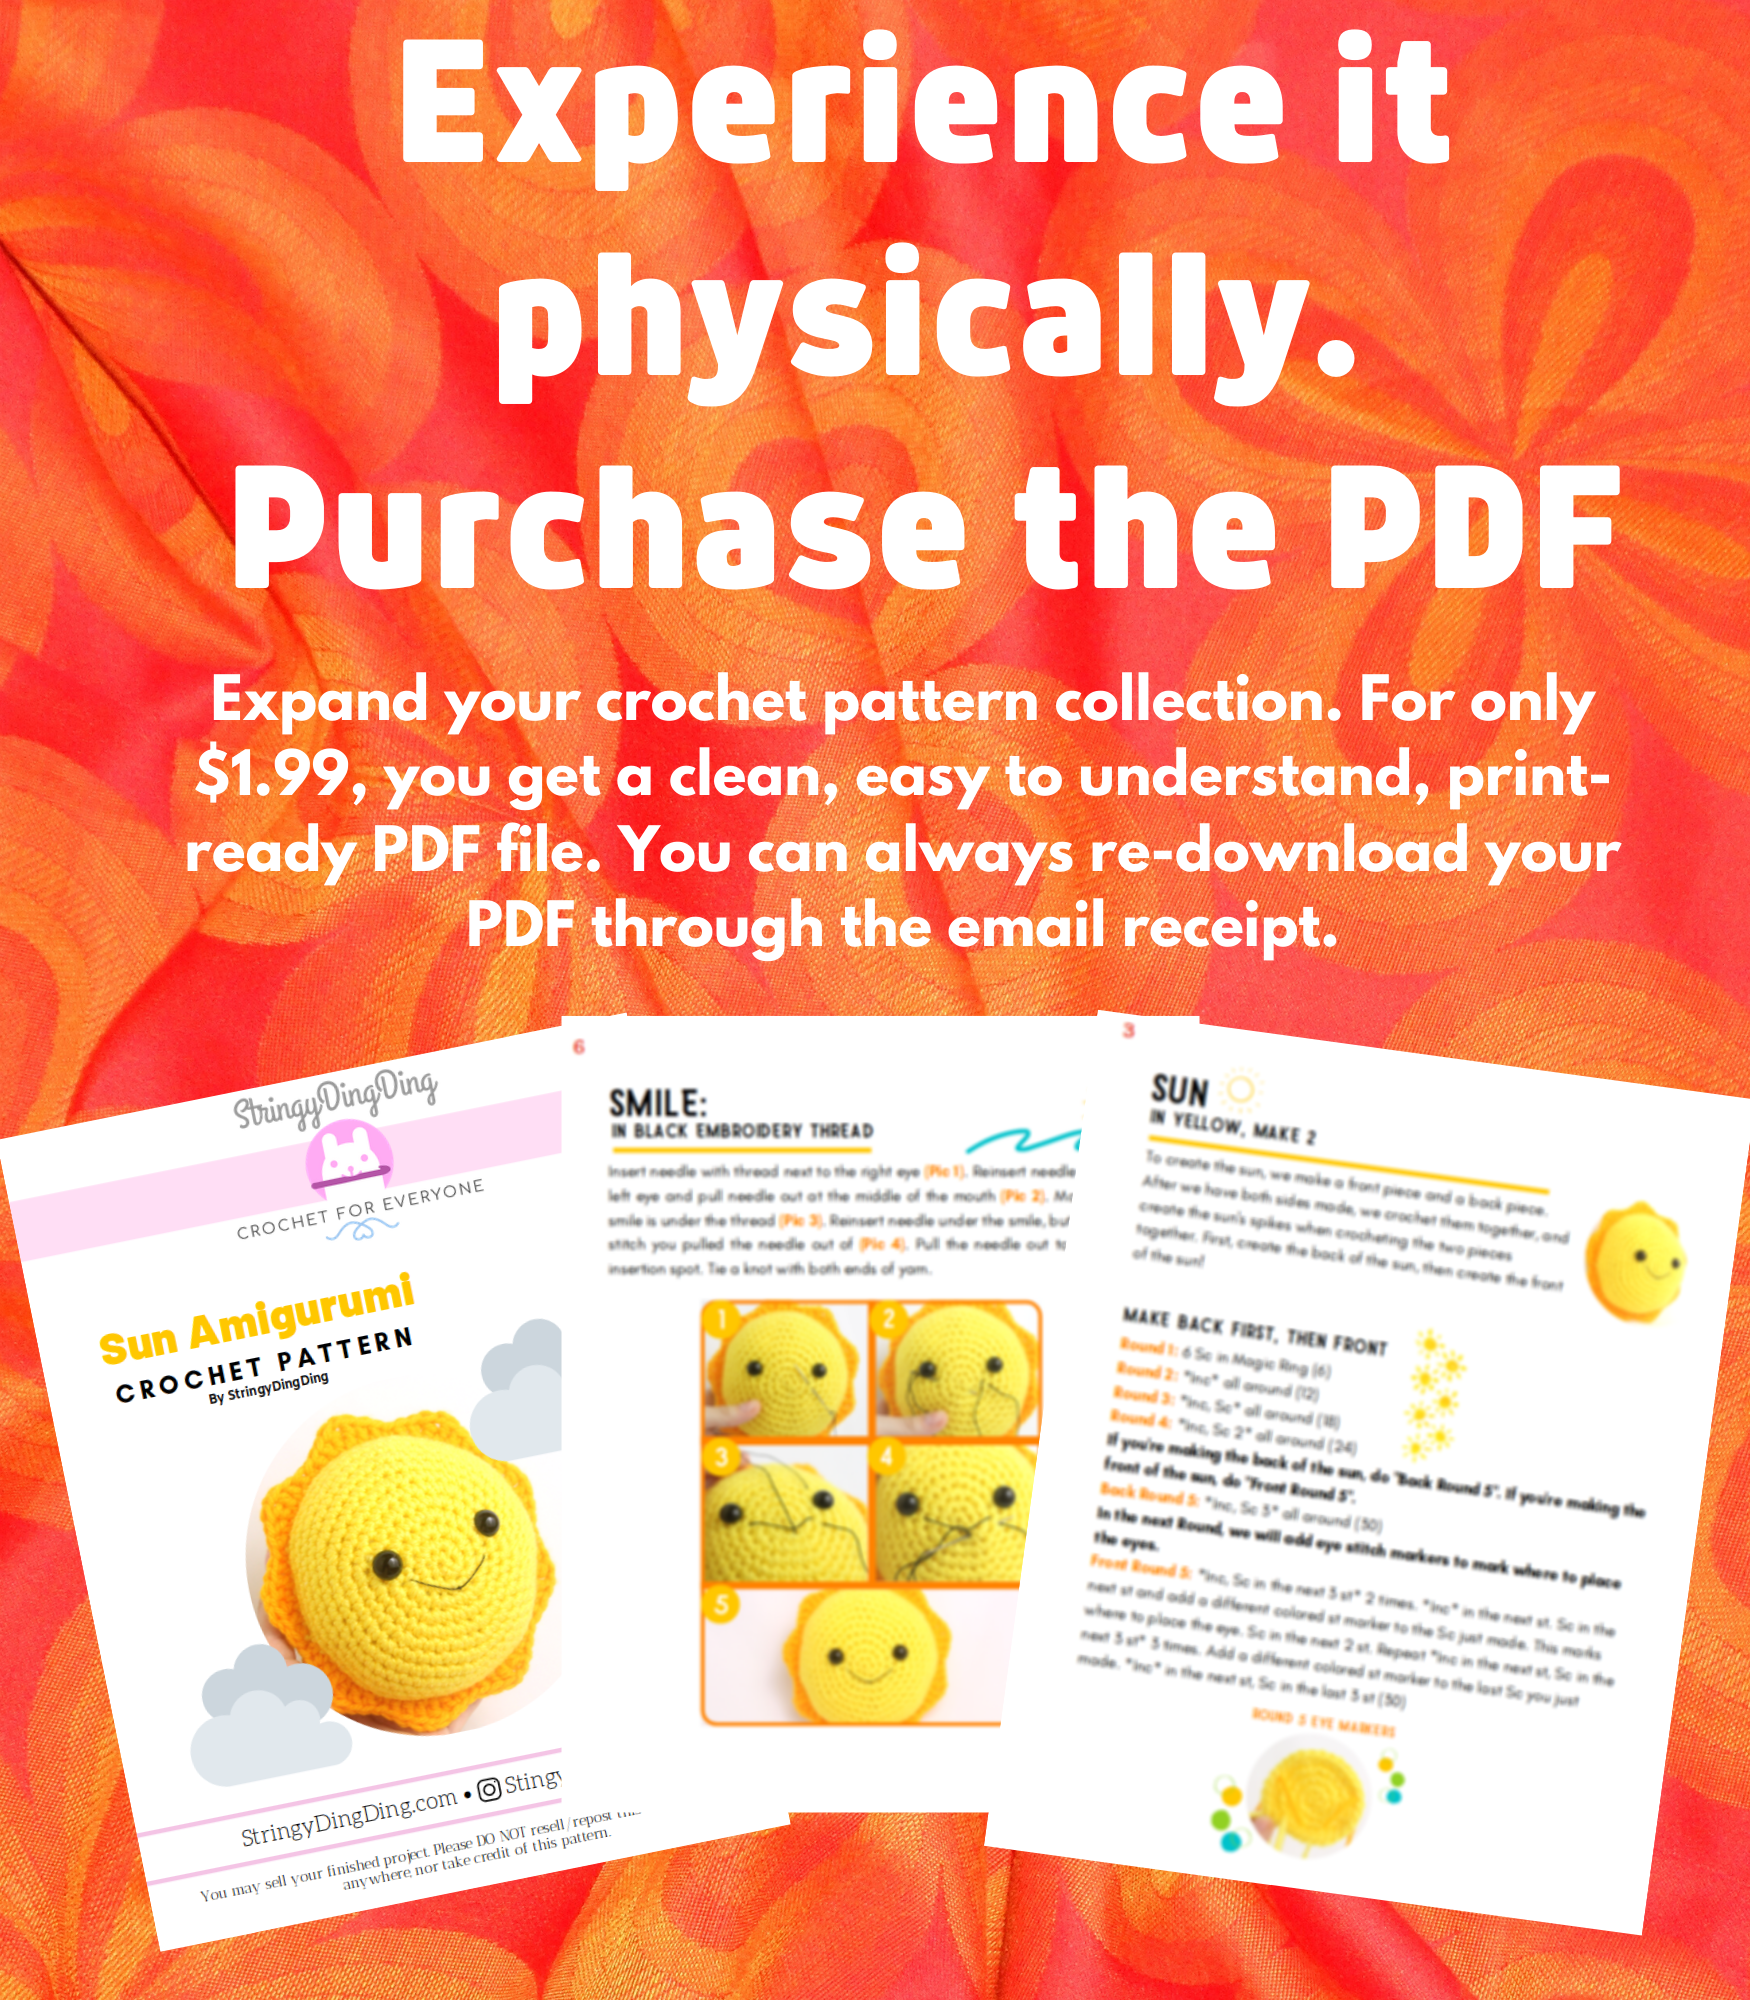
Purchase the PDF version here!

Or purchase the entire PDF bundle here!
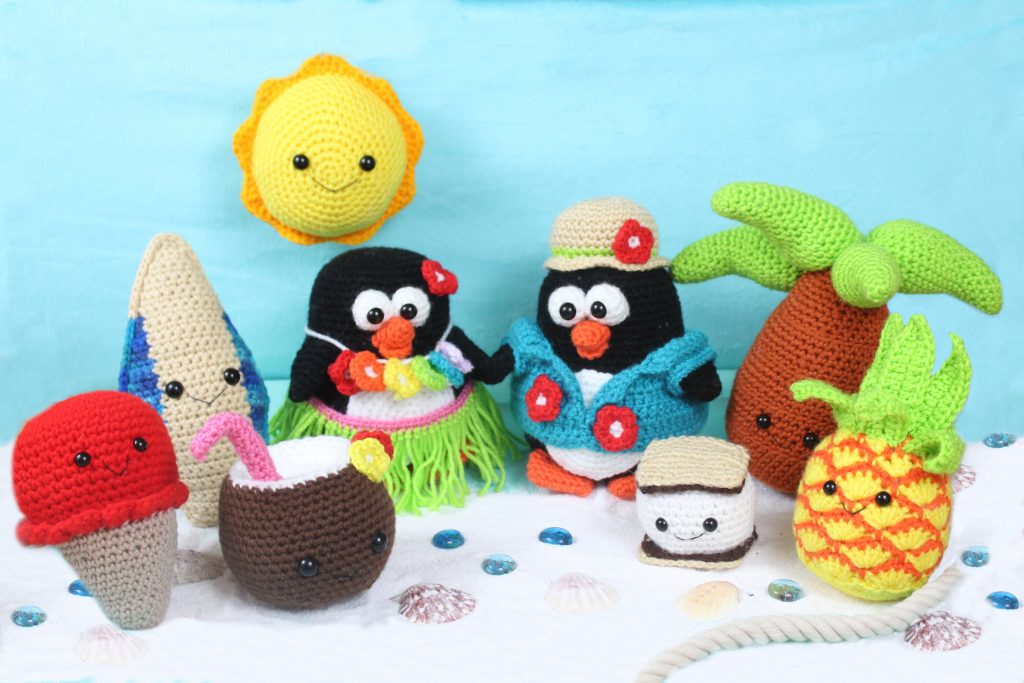
Enter our Summer Amigurumi Crochet Along!
If you make this pineapple amigurumi anytime from July 5-August 31, just post a picture in the CAL blog post to enter in for a chance to win a $25 gift card to a craft store of your choice!
Supplies:
4/Medium weight yarn in…
Yellow
Dark Yellow
4mm crochet hook, 12mm safety eyes, tapestry needle, scissors, black embroidery thread, and stuffing.
Additional Information:
Difficulty: Easy
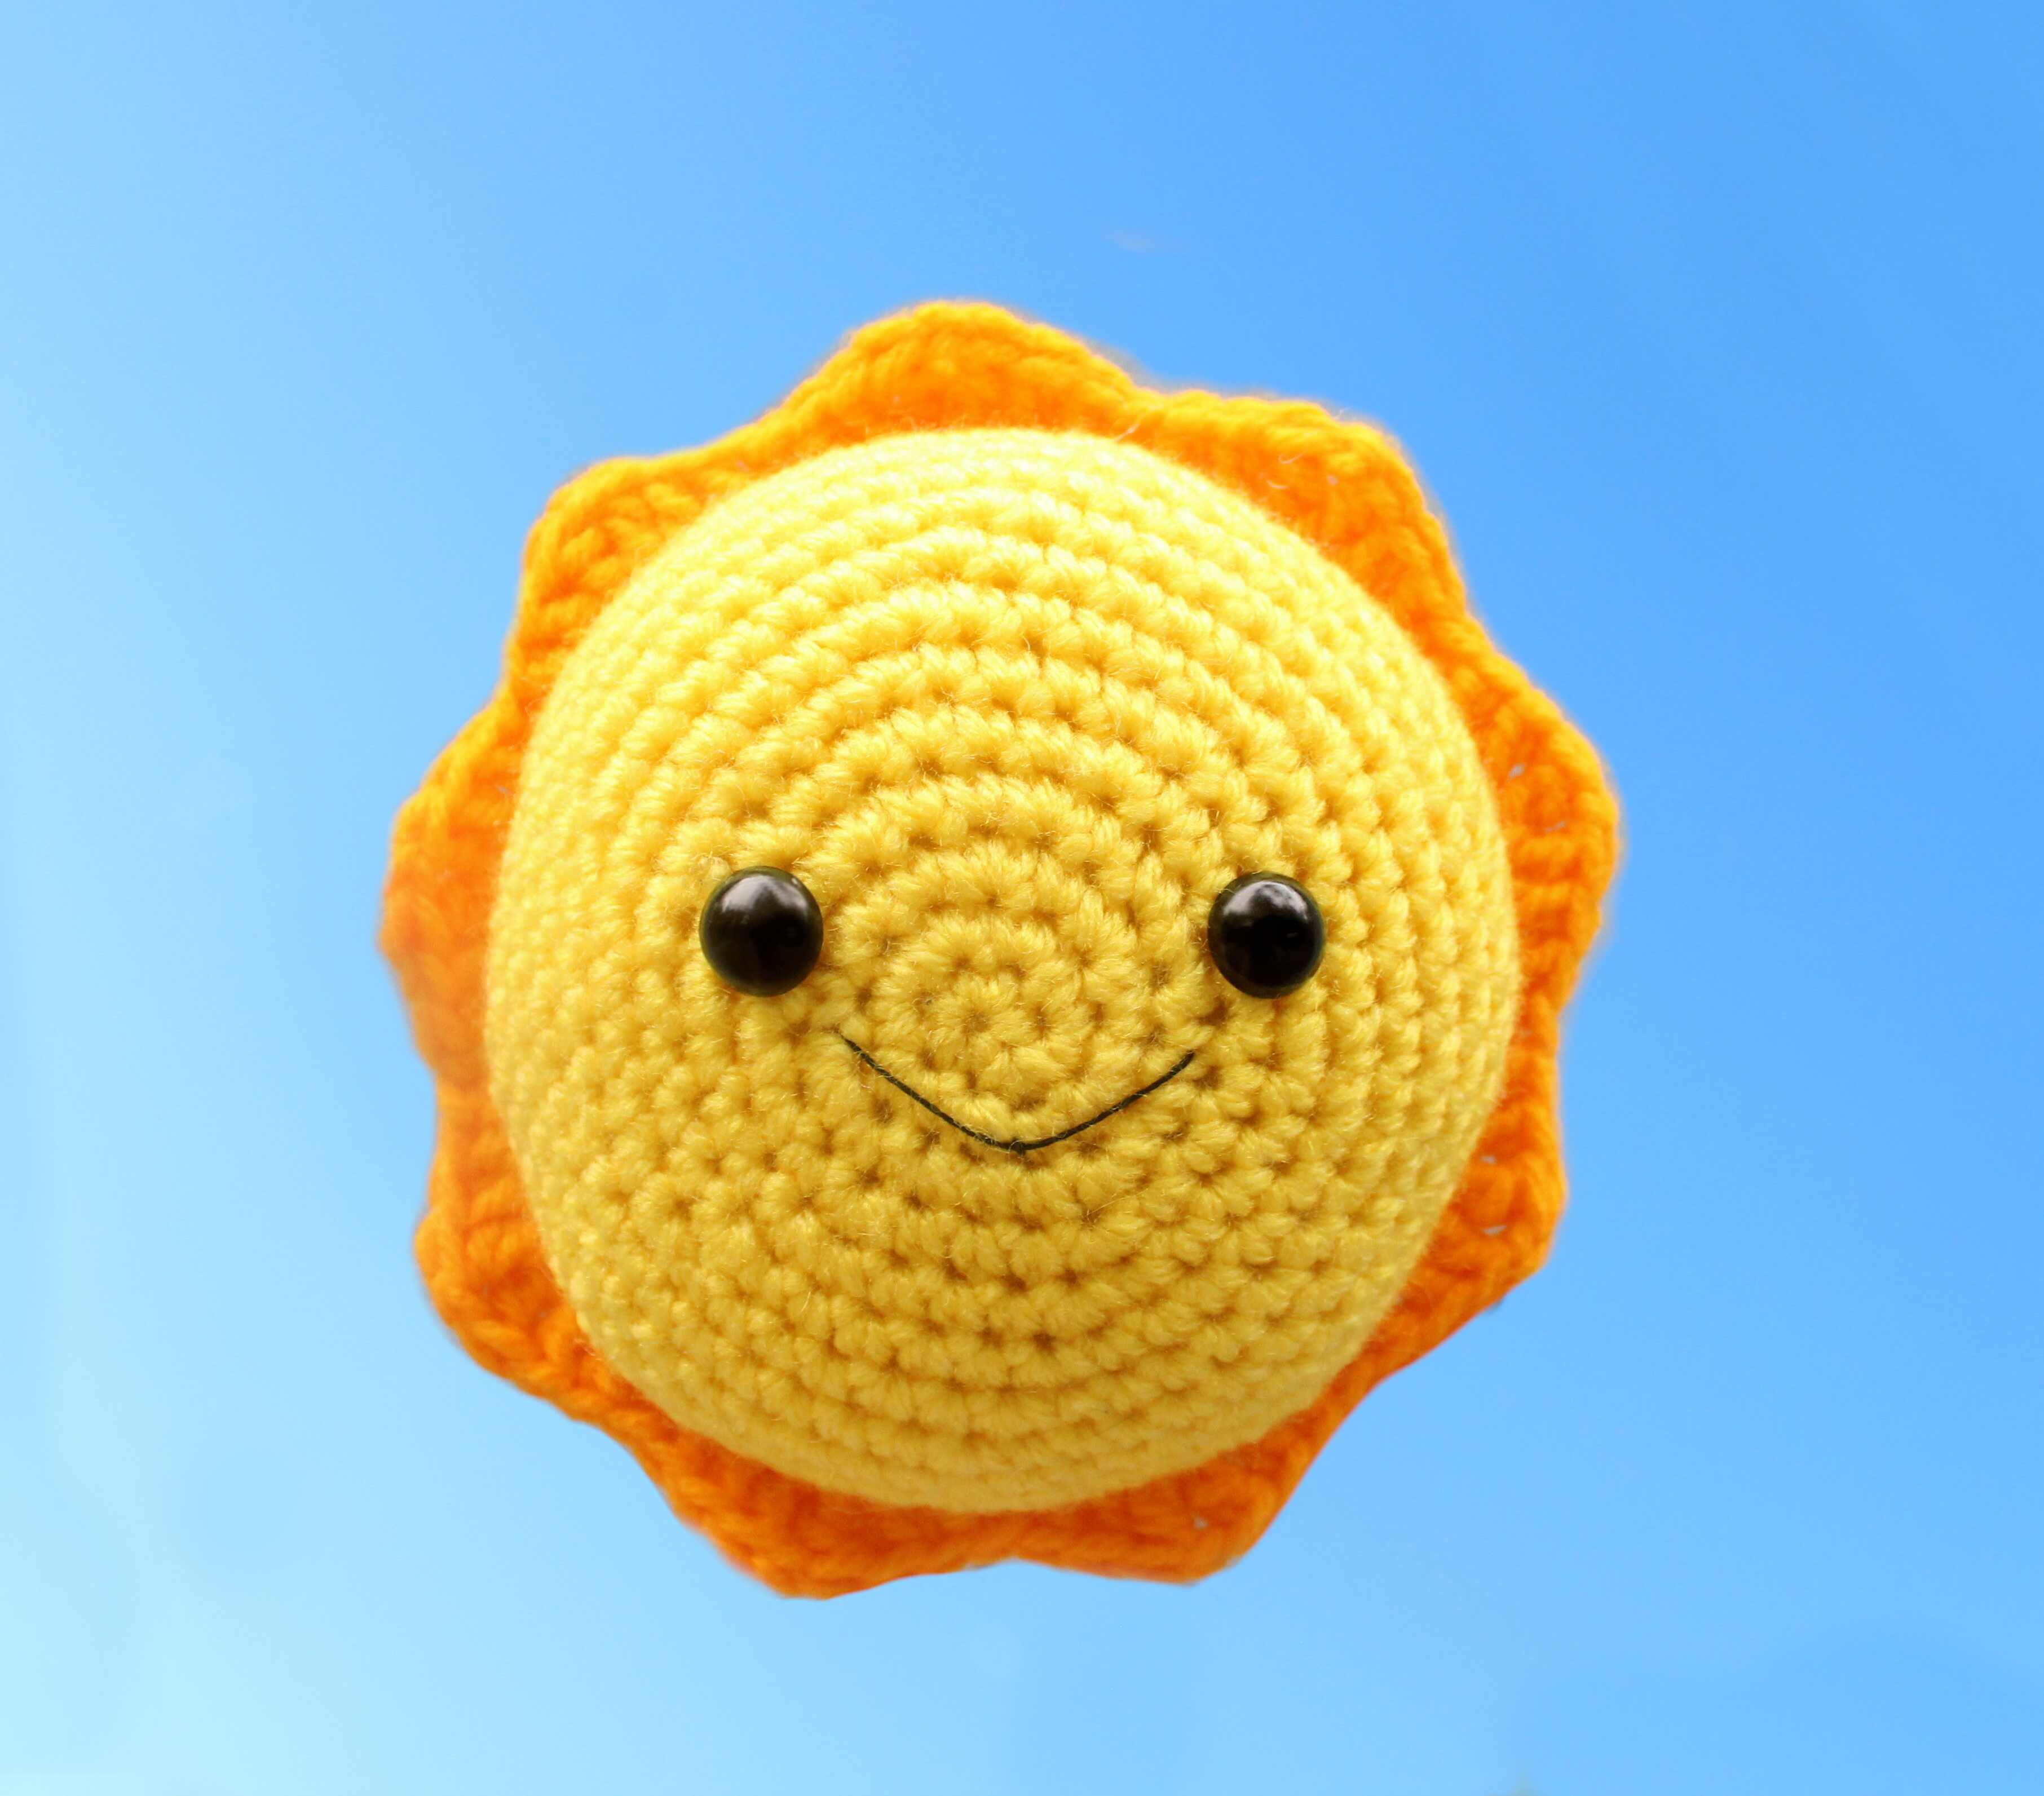
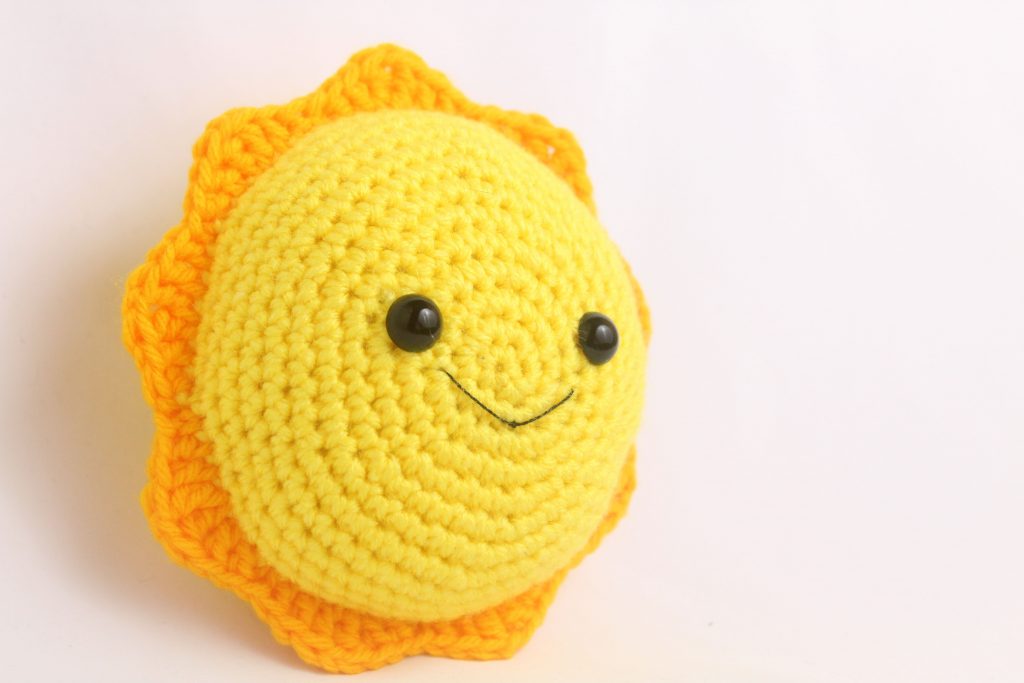
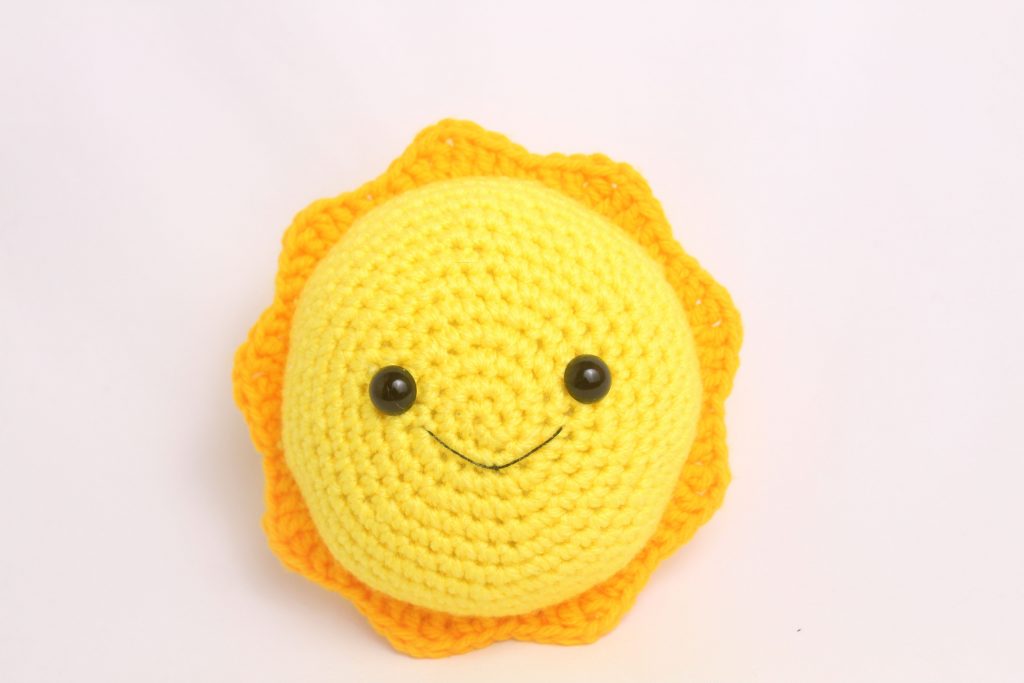
This sun is very FUN to make! We start by creating the back then front of the sun, then crochet them together. As we crochet them together, we’re making the sun’s “triangles”. Next, we add the smile!
Sun (Make 2. Make back first, then front)
In Yellow
To create the sun, we make a front piece and a back piece. After we have both sides made, we crochet them together, and create the sun’s spikes when crocheting the two pieces together. First, create the back of the sun, then create the front of the sun!
Round 1: 6 Sc in Magic Ring (6)
Round 2: *Inc* all around (12)
Round 3: *Inc, Sc* all around (18)
Round 4: *Inc, Sc 2* all around (24)
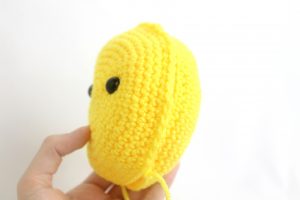
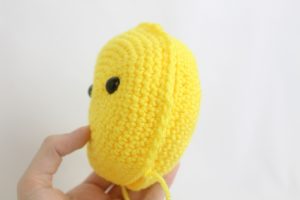
If you’re making the back of the sun, do “Back Round 5”. If you’re making the front of the sun, do “Front Round 5”.
Back Round 5: *Inc, Sc 3* all around (30)
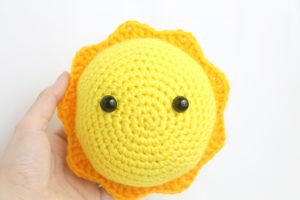
In the next Round, we will add eye stitch markers to mark where to place the eyes.
Front Round 5: *Inc, Sc in the next 3 st* 2 times. *Inc* in the next st. Sc in the next st and add a different colored st marker to the Sc just made. This marks where to place the eye. Sc in the next 2 st. Repeat *Inc in the next st, Sc in the next 3 st* 2 times. Add a different colored st marker to the last Sc you just made. *Inc in the next st, Sc in the next 3 st* (30)
Round 5 Eye Markers Pictured Below
Round 6: *Inc, Sc 4* all around (36)
Round 7: *Inc, Sc 5* all around (42)
Round 8: *Inc, Sc 6* all around (48)
Round 9: *Inc, Sc 7* all around (54)
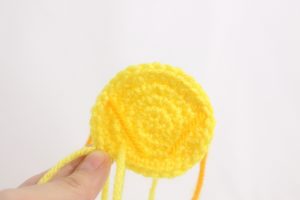
Round 10-13: *Sc* all around (54)
Finish off back sun. If making the front sun, switch to a darker yellow and continue onto the assembly. Also, add safety eyes in the marked areas from Round 5 now.
Assembly:
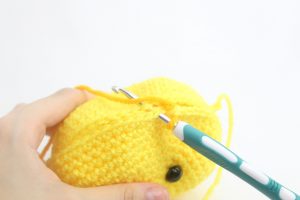
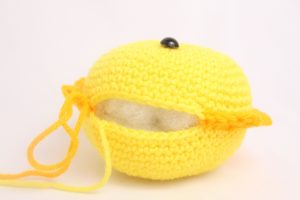
Line up the front and back of the sun as shown, the right sides facing out (Pic 1). Now insert your crochet hook under BOTH the front and back sun (Pic 2)
1. 2.
2.
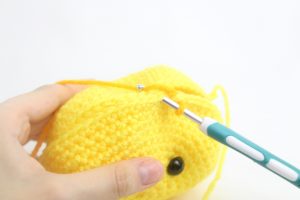
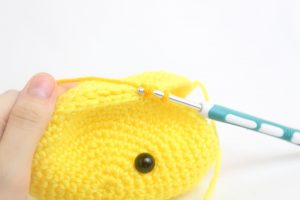
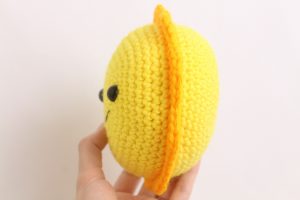
Repeat *Sc in the next st, Dc in the next 2 st, Trc in the next st, Ch 1, Trc in that same st, Dc in the next 2 st* all around, under BOTH the front and back sun (Pic 3-8). Stuff the sun before fully crocheting shut (Pic 9)
3. 4.
4.
5. 6.
6.
7. 8.
8.
9.
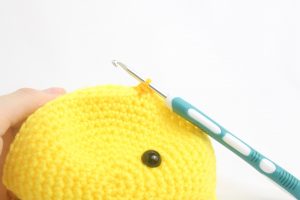
This will create little triangles and crochets the two pieces together (Pic 10-12).
10. 11.
11.
12.
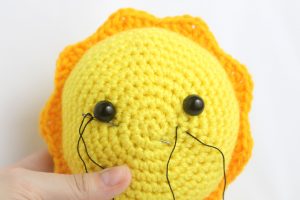
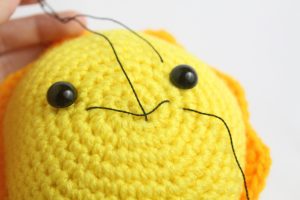
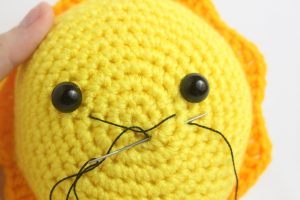
Smile:
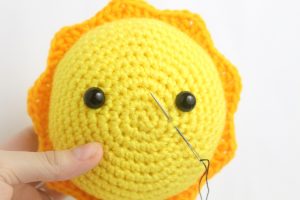
In Black Embroidery Thread
Insert needle with thread next to the right eye (Pic 1). Reinsert needle next to the left eye and pull needle out at the middle of the mouth (Pic 2). Make sure the smile is under the thread (Pic 3). Reinsert needle under the smile, but in the same stitch you pulled the needle out of (Pic 4). Pull the needle out to the original insertion spot. Tie a knot with both ends of yarn.
1. 2.
2.
3. 4.
4.
5.
Done! If you made a sun I would LOVE to see! You can show me by “trying” it on Pinterest, or by adding a photo in the comments section below this post.


9 Comments
This little guy came out just great! I made one modification, just for ease. I connected the front and back with a single crochet before his orange corona. This is the first amigurumi I’ve completed! Yay!
Hi Nicole! Oh my gosh is that really your first amigurumi?! It looks AWESOME! I would have never guessed that’s your first try at amigurumi, definitely keep it up because you’re great at it 🙂 Your modifications work out perfectly too, how cute! I love how your sun came out, I really appreciate that you shared a picture 😋
Made my little sunshine! This was so easy and quick! Thanks for these adorable summer patterns! 🙂
Aw your sun amigurumi makes me smile! Your sun is so awesome ❤️ I think he will go perfectly with the pineapple you made! I’m so happy that you found the pattern quick and easy too! Keep up the super cute work 🙂
Thank you so much for all your adorable patterns! I finished this one tonight. I did a row of SC to close it up and then did the wavy part because I wanted that to be a little bit bigger. Otherwise I followed it exactly and it’s just so cute!
Hi Tammi! You made the sun all in one night? That’s great! Hopefully it was fun and easy to do 🙂
I just love how your sun came out! The wavy part on yours is really cute too, I think that was a great call on your part! I love the extra round of SC because it kinda makes his waves more wavy 😋 Cute cute cute!!! Thank you so much for taking the time to share your sun with me ❤️
Just finished this sun in two days! So cute! Thank you for this pattern! I’m making a rocketship and sun and moon for a friend’s baby’s outer space first birthday! I added crinkle paper inside for extra fun. 🙂
Hi Ashli! Awww that is so kind of you to make toys for your friend’s baby’s birthday! You picked the perfect toys to make, those will go so awesome with the space theme 😍 How fun that you thought to add crinkle paper on the inside, that’s so creative! I’m sure that will be a lot of fun for the baby to play with ❤️ Thank you so much for sharing a picture, I know both your friend and her baby will love the toys you made!
Made this little guy last night and I’m super pleased with how he turned out. Thank you for the pattern!