Bear with Flower Amigurumi – Free Crochet Pattern
Print this pattern out – purchase the PDF version!


 Supplies:
• Yarn 4/Medium Weight Yarn in…
Brown, white, light yellow, green, and pink
•4mm Crochet Hook
•Tapestry needle
•Scissors
•Stuffing
•Hot glue gun (optional)
•12mm safety eyes
•10mm safety nose
Additional Information:
•Difficulty: Easy
•Size: 6.5″ tall from foot to tip of ear
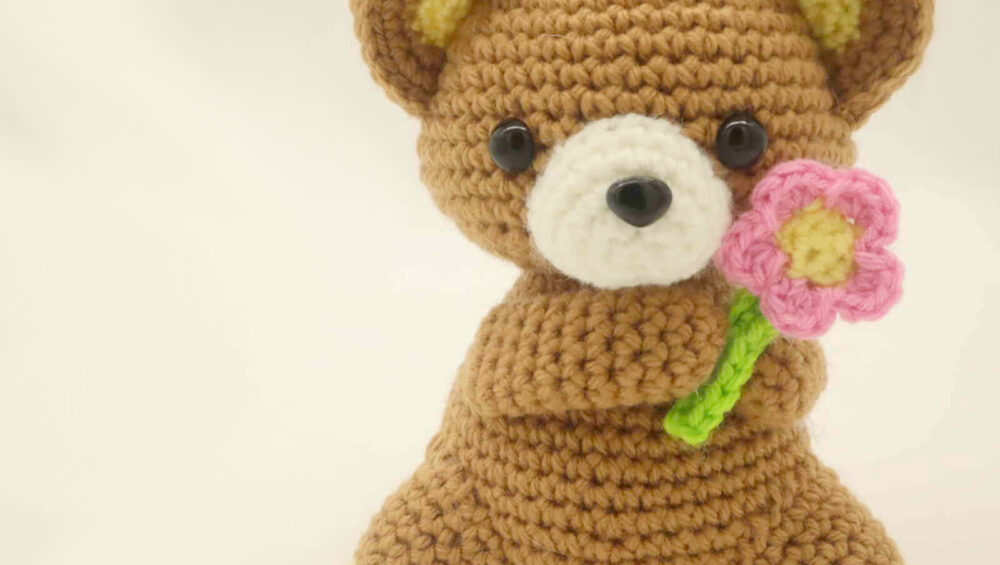
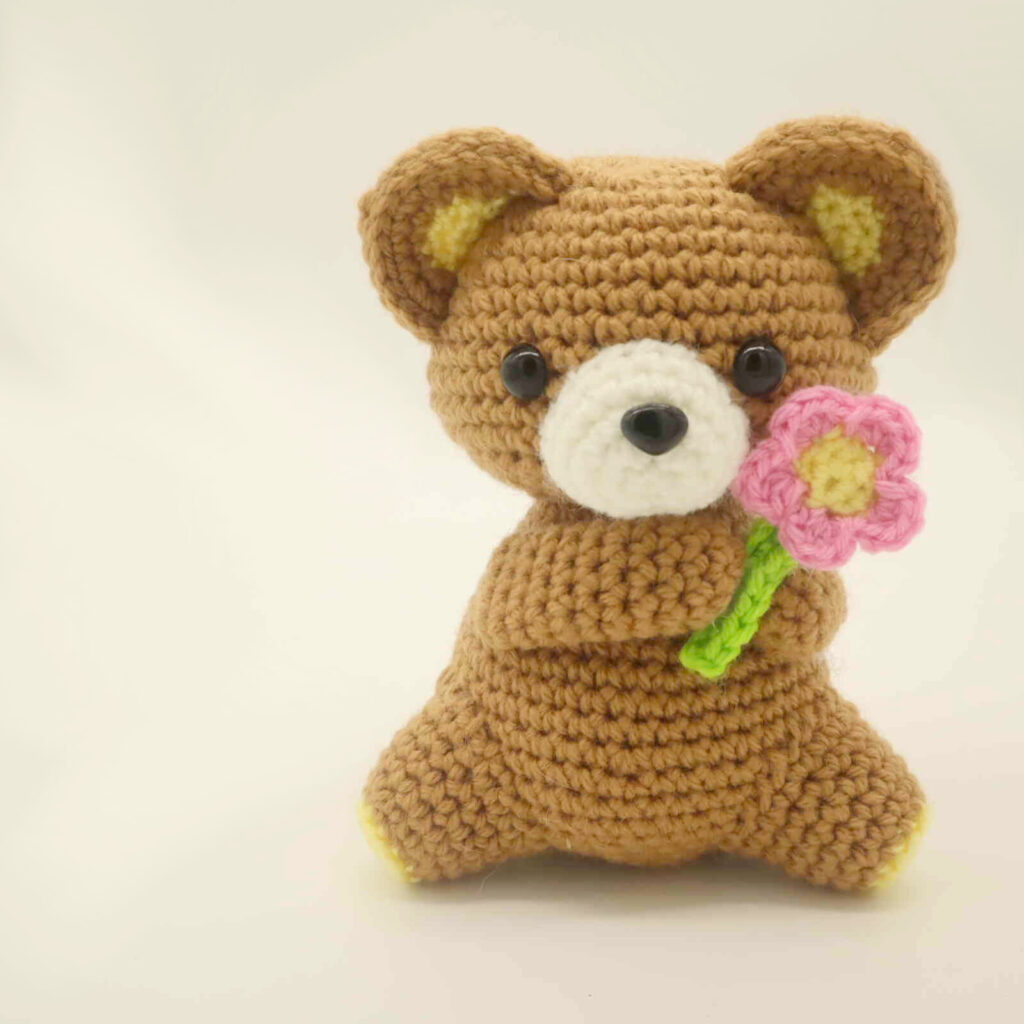
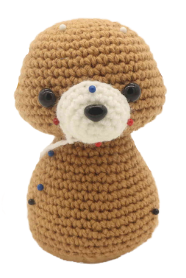
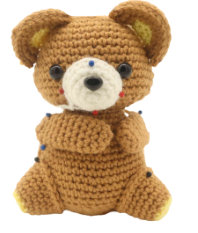
Nothing makes me smile more than an adorable amigurumi. This cute bear holding a flower is the perfect gift for someone you love! It makes a great gift for plenty of different occasions, such as a birthday, Mother’s Day, a “get well soon” gift, etc.!
This bear is easy to make and beginner friendly.
Let’s get started!
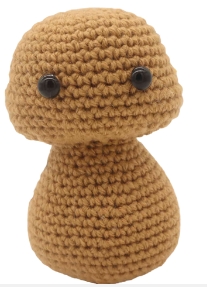
Body:
In Brown
Round 1: 6 Sc into a Magic Ring (6)
Round 2: *Inc* all around (12)
Round 3: *Inc, Sc in the next st* all around (18)
Round 4: *Inc, Sc in the next 2 st* all around (24)
Round 5: *Inc, Sc in the next 3 st* all around (30)
Round 6: *Inc, Sc in the next 4 st* all around (36)
Round 7-11: *Sc* all around (36)
Round 12: Sc in the next 10 st. Inc in the next 6 st. Sc in the next 14 st. Inc in the next 6 st (48)
Now we will mark where to add the safety eyes. Add a different colored eye stitch marker into the 26th and 33rd stitch in Round 12.
Round 13-17: *Sc* all around (48)
Round 18: Sc in the next 10 st, *Dec* 6 times, Sc in the next 14 st, *Dec* 6 times (36)
Round 19: *Dec, Sc in the next 4 st* all around (30)
Add the safety eyes into the marked areas now.
Round 20: *Dec, Sc in the next 3 st* all around (24)
Round 21: *Dec, Sc in the next 2 st* all around (18)
Round 22: In the FLO (Front Loop Only), *Sc* all around (18)
Round 23: In BOTH loops, *Inc, Sc in the next 2 st* all around (24)
Round 24: *Sc* all around (24)
Round 25: *Inc, Sc in the next 3 st* all around (30)
Round 26: *Sc* all around (30)
Round 27: *Inc, Sc in the next 4 st* all around (36)
Stuff the head firmly now.
Round 28: *Sc* all around (36)
Round 29: *Inc, Sc in the next 5 st* all around (42)
Round 30-31: *Sc* all around (42)
Round 32: *Inc, Sc in the next 6 st* all around (48)
Round 33-35: *Sc* all around (48)
Round 36: *Dec, Sc in the next 6 st* all around (42)
Round 37: *Dec, Sc in the next 5 st* all around (36)
Round 38: *Dec, Sc in the next 4 st* all around (30)
Round 39: *Dec, Sc in the next 3 st* all around (24)
Stuff the body firmly now. Continue stuffing after each round.
Round 40: *Dec, Sc in the next 2 st* all around (18)
Round 41: *Dec, Sc in the next st* all around (12)
Round 42: *Dec* all around (6)
Finish off, leaving a long tail for sewing. Sew the remaining stitches closed and weave in ends.
Muzzle:
In White
Round 1: 6 Sc into a Magic Ring (6)
Round 2: *Inc* all around (12)
Round 3: *Inc, Sc in the next st* all around (18)
Round 4-5: *Sc* all around (18)
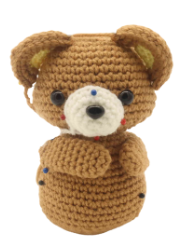
Finish off, leaving a long tail for sewing. Add safety nose in between Round 2 and 3. Now pin the muzzle on as shown and sew on. Add stuffing before fully sewing closed. Once done, weave in ends and cut any excess yarn.
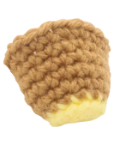
Ears: (Make 2)
Start in Light Yellow
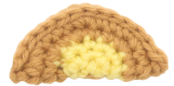
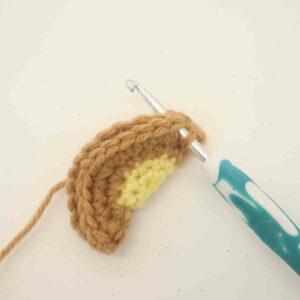
Round 1: Make a magic ring. In yellow, Sc 3 times into the magic ring. Change to brown. Now Sc 3 times into the magic ring (6)
Round 2: In yellow, *Inc* in the next 3 st. Change to brown and *Inc* in the next 3 st (12)
Round 3: In yellow, repeat *Inc, Sc in the next st* 3 times. Change to brown and repeat *Inc, Sc in the next st* 3 times (18)
Round 4: Change to brown. *Inc, Sc in the next 2 st* all around (24)
Round 5: *Inc, Sc in the next 3 st* all around (30)
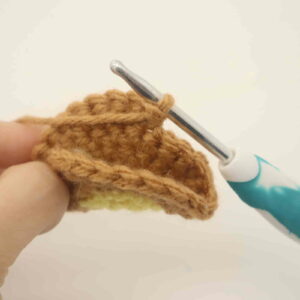
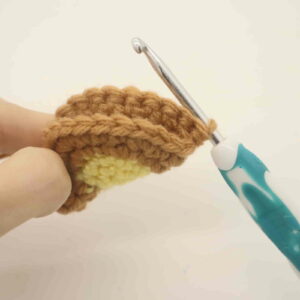
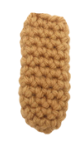
Fold the ear in half (Pic 2). Fold it so the yellow circle looks as shown (Pic 3). Once correct, align the stitches together and SlSt the remaining stitches together (Pic 4). Note: Your hook may not land in the corner of the ear (as shown in pic 2), which means you won’t be able to SlSt the ear closed correctly. To fix this, simply make a Sc in the next 3-4 stitches in order for your stitch to land in the correct corner area of the ear to correctly (as shown in pic 3). SlSt the remaining stitches closed. Pin on as shown and sew on (Pic 5). Weave in ends.
1. 2.
2. 3.
3. 4.
4. 5.
5.
Arms: (Make 2)
In Brown
Round 1: 6 Sc into a Magic Ring (6)
Round 2: *Inc, Sc in the next st* all around (9)
Note: When you make the left arm, only go to Round 10 and then finish off. The left arm needs to be slightly shorter.
Round 3-12: *Sc* all around (9)
Finish off, leaving a long tail for sewing. Pin the arm on as shown now and sew on.
Legs: (Make 2)
Start in Light Yellow
Round 1: 6 Sc into a Magic Ring (6)
Round 2: *Inc, Sc in the next st* all around (9)
Round 3: Change tao brown. In the BLO (Back Loop Only), *Sc* all around (9)
Round 4: In BOTH loops, repeat *Inc, Sc in the next 2 st* all around (12)
Round 5-7: *Sc* all around (12)
Round 8: *Inc, Sc in the next st* all around (18)
Finish off, leaving a long tail for sewing. Pin the legs on as shown now and sew on. Stuff the legs before fully sewing on. Once sewn on, weave in ends and cut any excess yarn.
Flower Stem:
In Green

Row 1: Ch 12. Sc in the 2nd Ch from the hook. Sc in the next 10 st (11)
Finish off, leaving a long tail for sewing. Set this piece aside for now.
Flower:
In Light Yellow
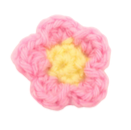
Round 1: 6 Sc into a Magic Ring (5)
Round 2: *Inc* all around (10)
Round 3: Change to pink. SlSt in the next st. 4 Hdc into that same st. SlSt in the next st. Repeat *4 Hdc into the next st, SlSt into the next st* 4 times (26)
Finish off, leaving a long tail for sewing. Sew or hot glue the flower to the stem, them sew or hot glue the flower between the toy bear’s hands.

All done! If you made this bear, I would LOVE to see! You can show me by posting a picture in the comments section underneath this post 🙂


4 Comments
Really enjoyed making this and turned out great! Thanks so much for the pattern.
I love how it turned out for Mother’s Day! Great project!
Couldn’t get the ears perfect but for a beginner I’m happy how it turned out! Great tutorial
Great pattern. Easy and quick. I love my little valentines bear.