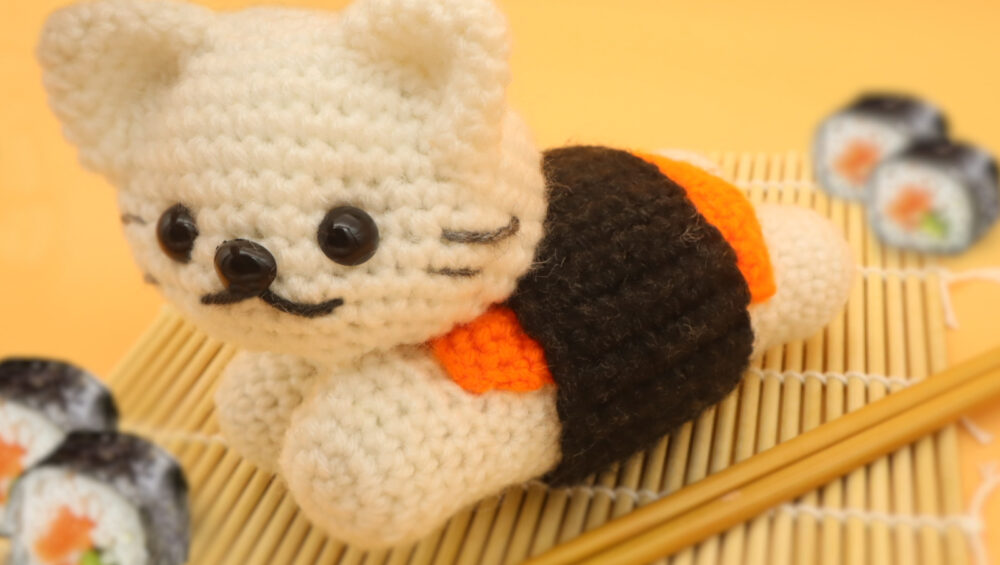
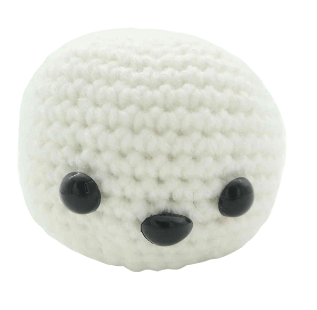
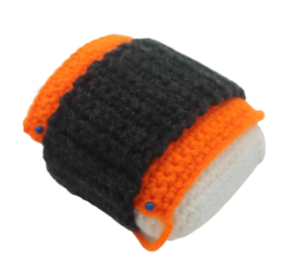
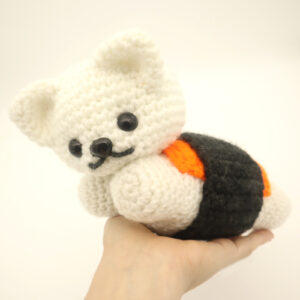
Cute Sushi Cat Amigurumi – Free Crochet Pattern
Print this pattern out – purchase the PDF version here!

 Supplies:
• Yarn 4/Medium Weight in:
White, orange, dark grey, and black
•4mm Crochet Hook
•Tapestry needle
•Scissors
•Stuffing
•12mm safety eyes and 10mm safety nose
Additional Information:
•Difficulty: Easy
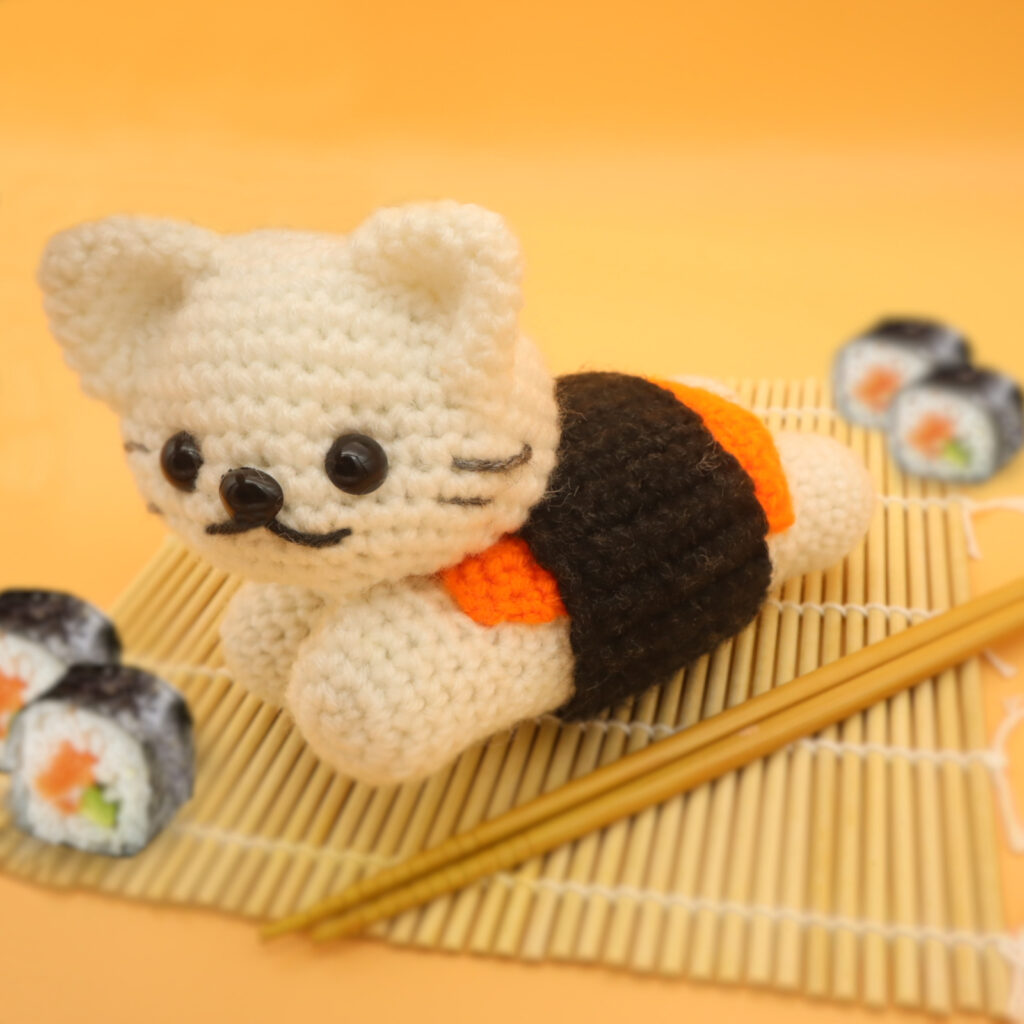
•Size: From tip of ears to tip of toes: 9″
Body height: 2.5″
Bottom of body to top of head: 4″
This sushi cat was one of my first ever patterns! At that time I wasn’t making PDFs for all of my patterns. On my website this has been a fairly loved patterns, so I though it deserved an update and a nicely formatted PDF! I decided to revamp the pattern and include pictures on each of the steps, as my old pattern had 0 pictures!
This pattern is pretty easy, as this pattern uses very simple stitches. You will have to know how to work in an oval, but I included the steps on how to do this!
Let’s get started!
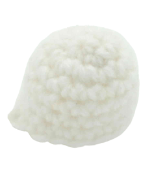
Head:
In white
Round 1: 6 Sc into a Magic Ring (6)
Round 2: *Inc* all around (12)
Round 3: *Inc, Sc in the next st* all around (18)
Round 4: *Inc, Sc in the next 2 st* all around (24)
Round 5: *Inc, Sc in the next 3 st* all around (30)
Round 6: *Inc, Sc in the next 4 st* all around (36)
Round 7: *Inc, Sc in the next 5 st* all around (42)
Round 8-13: *Sc* all around (42)
Now we will mark where to place the safety eyes. Add a different colored stitch marker into the 11th and 18th stitch in Round 13. This will mark where to add the eyes later.
Round 14: *Sc* all around (42)
Now we will mark where to place the safety nose. Add a different color stitch marker into the 15th stitch in Round 14.
Round 15: *Sc* all around (42)
Round 16: Sc in the next 15 st. Repeat *Dec, Sc in the next 2 st* 3 times. Sc in the next 3 st. Repeat *Dec, Sc in the next 2 st* 3 times (36)
Add the safety eyes and safety nose into the marked areas now.
Round 17: Sc in the next 15 st. Repeat *Dec, Sc in the next st* 3 times. Sc in the next 3 st. Repeat *Dec, Sc in the next st* 3 times (30)
Round 18: *Dec, Sc in the next 3 st* all around (24)
Stuff the head now. Continue stuffing after each round.
Round 19: *Dec, Sc in the next 2 st* all around (18)
Round 20: *Dec, Sc in the next st* all around (12)
Round 21: *Dec* all around (6)
Finish off now, leaving a long tail for sewing. Sew the remaining stitches closed now.
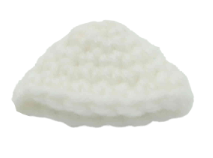
Ears: (Make 2)
In White
Round 1: 6 Sc into a Magic Ring (6)
Round 2: *Sc* all around (6)
Round 3: *Inc* all around (12)
Round 4: *Sc* all around (12)
Round 5: *Inc, Sc in the next st* all around (18)
Round 6: *Sc* all around (18)
Finish off, leaving a long tail for sewing. Pin the ears onto the head as shown. Sew the ears on. Once done, weave in ends.

Body:
In white
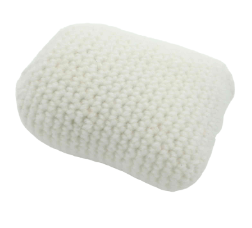
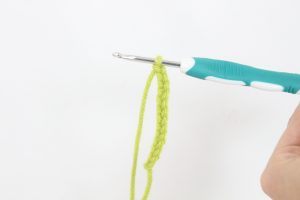
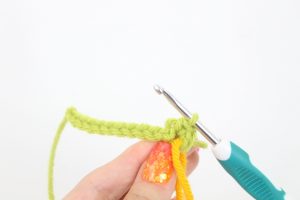
We will create the body by creating a chain and working completely around the chain to form a round.
Row 1: Ch 12 (Pic 1). Sc 3 times into the 2nd ch from the hook (Pic 2)
1. 2.
2.
. Sc in the next 12 st. Sc 3 times into the last chain (Pic 3). Now we meet the end of the chain.
3.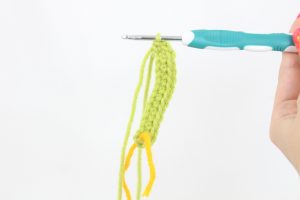
Now working on the OTHER side of the chain, where we haven’t made ANY stitches yet, Sc in the next 12 st (Pic 4-5)
4.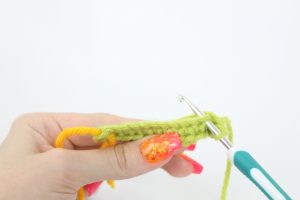 5.
5.
Row 2: *Inc* in each of the next 3 st. Sc in the next 12 st. *Inc* in each of the next 3 st. Sc in the next 12 st (36)
Row 3-20: *Sc* all around (36)
Round 21: Sc in the next 3 st. Repeat *Dec, Sc in the next 2 st* 4 times. Sc in the next 2 st. Repeat *Dec, Sc in the next 2 st* 3 times. Dec 1 time, Sc in the next st (28)
Round 22: Sc in the next 3 st. Repeat *Dec, Sc in the next st* 4 times. Sc in the next 2 st. Repeat *Dec, Sc in the next st* 3 times. *Dec* 1 time (20)
Round 23: *Dec, Sc in the next 3 st* all around (16)
Stuff the body here. Continue stuffing after each round.
Round 24: *Dec, Sc in the next 2 st* all around (12)
Round 25: *Dec, Sc in the next st* all around (8)
Finish off, leaving a long tail for sewing. Sew the remaining stitches closed and weave in ends.
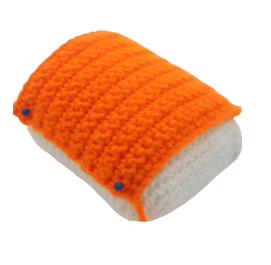
Filling:
In orange
Row 1: Ch 20. Sc into the 2nd ch from the hook. Sc in the next 18 ch (19)
Row 2-17: Ch 1 and turn. Sc in the next 19 st (19)
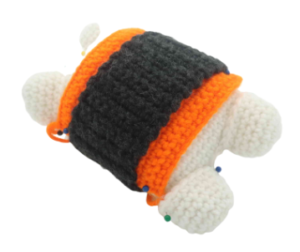
Finish off, leaving a long tail for sewing. Pin the seaweed onto the body as shown and sew on. Once sewn on, weave in ends. Cut any excess yarn.
Seaweed:
In black
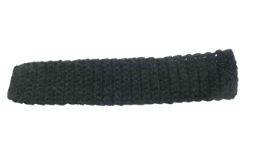
Row 1: Ch 10. Sc into the 2nd Ch from the hook. Sc in the next 8 ch (9)
Now we will create the length of the black seaweed. Since the black seaweed is worked in short rows back and forth, you can crochet the rows without counting each row. Just make sure to occasionally wrap the seaweed around the body to see if it wraps around the body. If it does, finish off and pin the seaweed onto the body, sewing it on.
If you’d prefer to count each row, follow the instructions below:
Row 2-47: Ch 1 and turn (9)
Finish off, leaving a long tail for sewing. Pin the seaweed around the body as shown and sew on. Once done, weave in ends, cutting any excess yarn.
Limbs: (Make 4)
In white
Round 1: 6 Sc into a Magic Ring (6)
Round 2: *Inc* all around (12)
Round 3: *Inc, Sc in the next 2 st* all around (16)
Round 4-7: *Sc* all around (16)
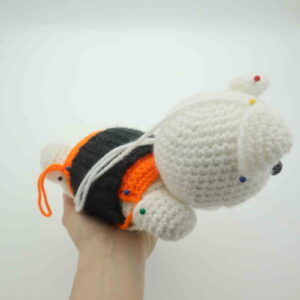
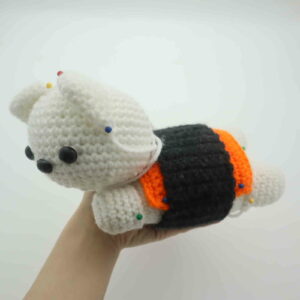
Finish off, leaving a long tail for sewing now. Pin the arms and legs onto the body as shown, making sure the limbs point forward. Sew on, making sure to add stuffing into the arms and legs before fully sewing on. Once done, weave in ends and cut any excess yarn.
Head Assembly:
In white
Pin the head onto the toy’s body as shown. I pinned the head so it was facing one side, however, you could pin the head so it’s facing straight! Once pinned on, sew the head to the body. Then, weave in the ends. Cut any excess yarn.
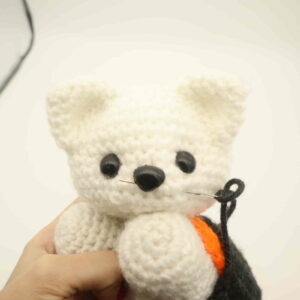
Smile:
In black
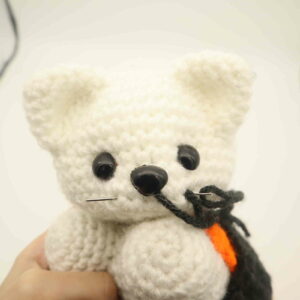
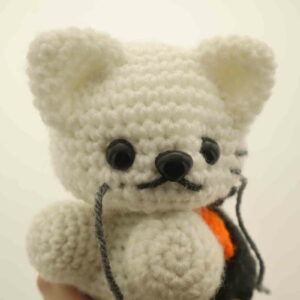
Insert needle with thread into the right area, 1 round below the nose of the toy as shown (Pic 1). Pull needle out where the toy’s nose is (Pic 1).
1.
Reinsert needle into the original insertion spot (Pic 2) and pull needle out at the left side of the toy’s face, 1 round below the nose (Pic 2).
2.
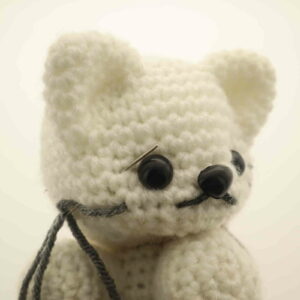
Reinsert needle below the toy’s nose (Pic 3) and pull needle out at the original insertion spot (Pic 3). Tie both ends of yarn into a firm knot, then bring the knot into the toy to hide. Cut any excess yarn.
3.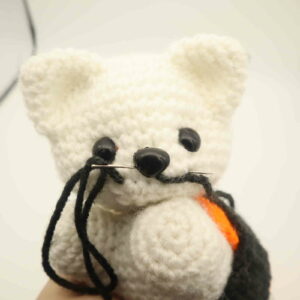 4.
4.
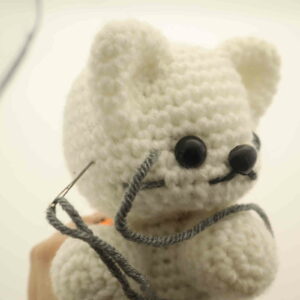
Whiskers:
In dark grey
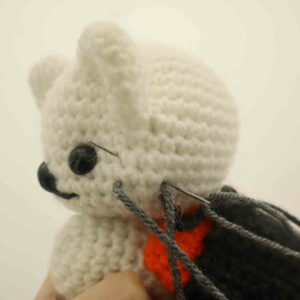
Insert needle with thread a few stitches to the right of the toy’s right eye as shown (Pic 1) and pull needle out a few stitches to the left (Pic 1).
1.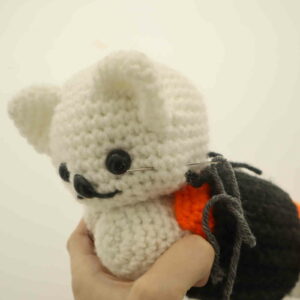
Reinsert needle into the original insertion spot (Pic 2) and pull needle out at the left area as shown (Pic 2).
2.
Reinsert needle a few stitches to the right (Pic 3).
3.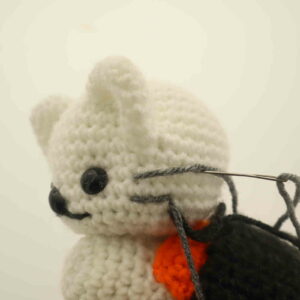
Pull needle out at the left side of the toy as shown (Pic 4).
4.
Reinsert needle a few stitches to the right (Pic 5) and pull needle out next to the left eye as shown (Pic 5).
5.
Reinsert needle a few stitches to the left (Pic 6). Now tie the ends of yarn into a firm knot, then bring the knot to the inside of the toy to hide, cutting any excess yarn.
6. 7.
7.
Done! If you made this sushi cat, I would LOVE to see! You can show me by posting a picture in the comments section underneath this post 🙂


7 Comments
Love your patterns can’t wait for the next one I want to be a member but I must wait on funds
I made the whole thing out of 4ply cotton because eye strain is fun, it looks so cute!
Hi, love the pattern, but I think there may be a mistake for the body. It says to start with a chain of 12 but in the photo it’s a chain of 13. I am a bit confused! Thank you.
I just started the body a few minutes ago. The start of the pattern (for body) should be 14 ch.
do you mean the pics in green. they are not pics for this pattern they just show how to work around a chain
Hi, think there may be a mistake in the body part of the pattern. The written pattern says to start with a chain of 12 but in the photo it’s a chain of 13. I am a bit confused! Thank you.
Hello! in Head round 4, what does *Inc, Sc in the next 2st* all around (24) mean? because on the previous round theres supposed to be 18 stitches.. and round 4 should have 24.. but i keep making 27 stitches for round 4 :'(
isnt it supposed to mean inc then sc then just repeat it until you reach the end?