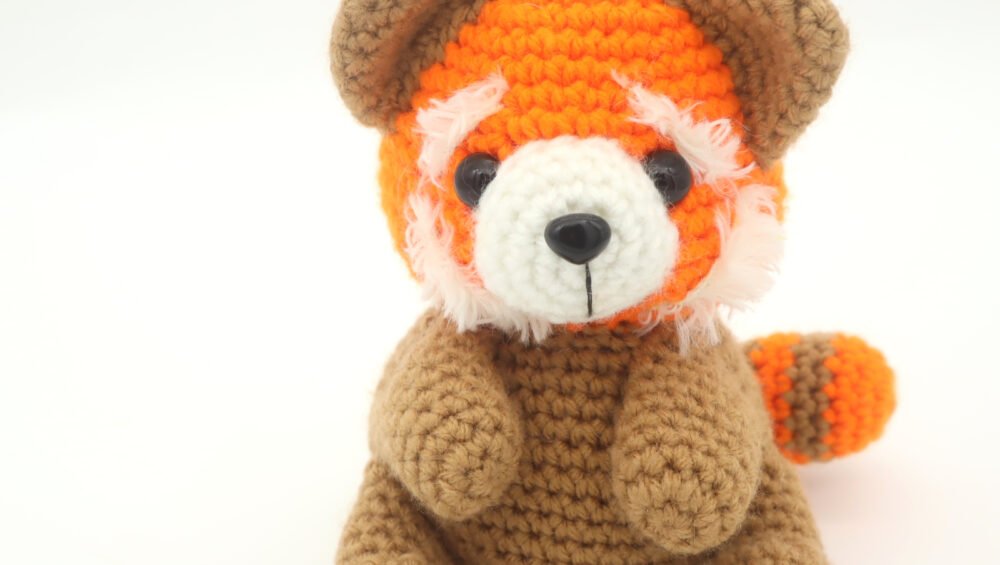
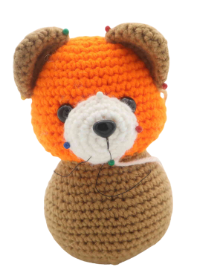
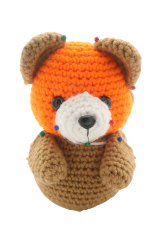
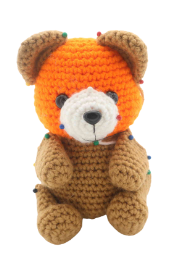
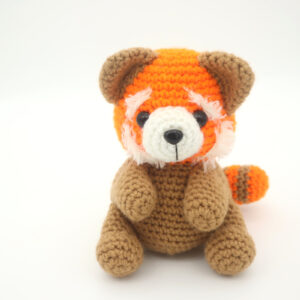
Red Panda Amigurumi – Free Crochet Pattern

Print this pattern out – purchase the PDF version here!


 Supplies:
• Yarn 4/Medium Weight in:
Orange, brown, white, and fuzzy white yarn
•4mm Crochet Hook
•Tapestry needle
•Scissors
•Stuffing
•Black Embroidery Thread
•12mm safety eyes and 10mm safety nose
Additional Information:
•Difficulty: Easy
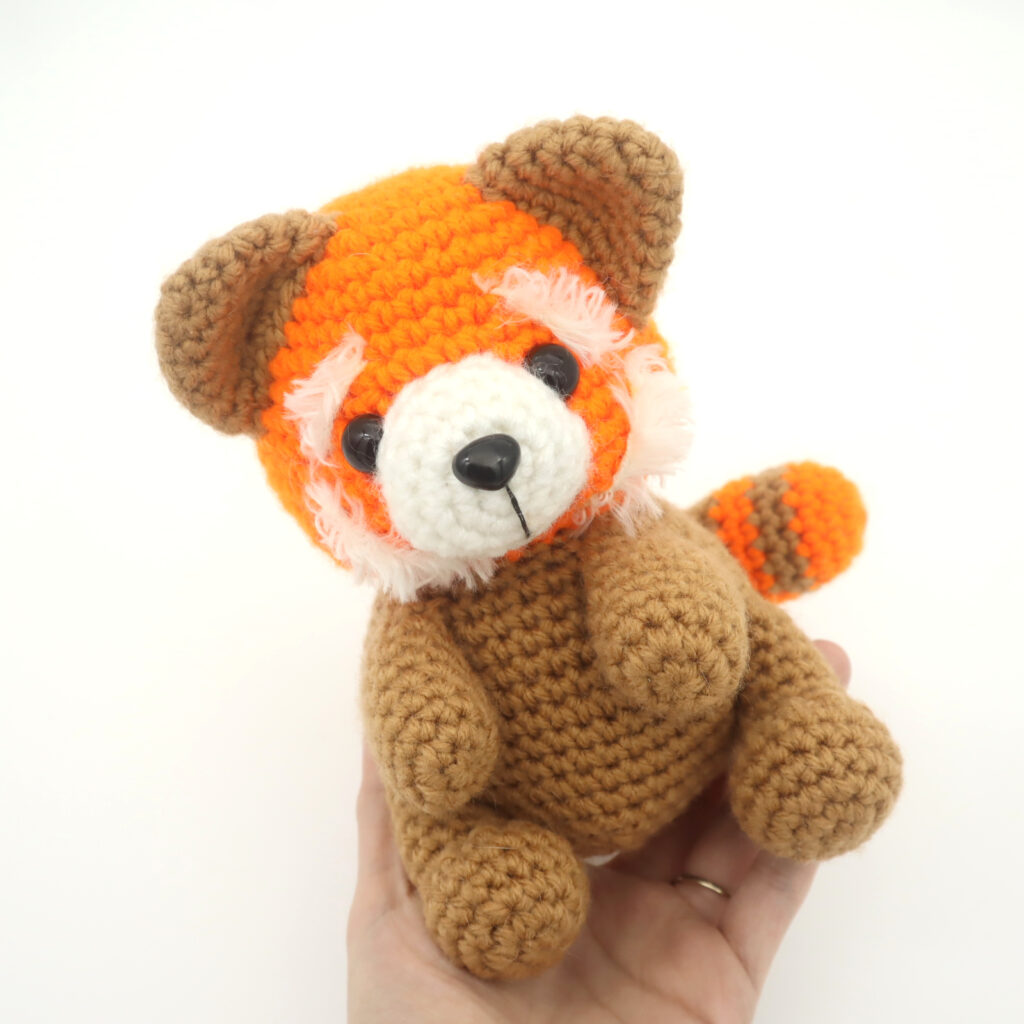
•Size: From top to bottom 6.5″
This is one animal I’ve wanted to make into a pattern for a long time. Red Pandas are so loveable and definitely one of my favorite animals! I love how fuzzy they are 🙂
To make it, we will start at the tip of the head and work our way down. The head and body are made in one, continuous piece. After this, we will make the ears, muzzle, arms, legs, and tail.
Let’s get started!
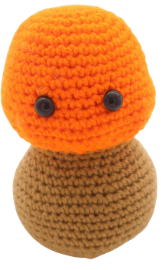
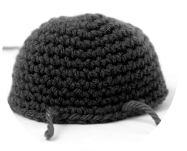
Head/Body:
Start in orange
Round 1: 6 Sc in Magic Ring (6)
Round 2: *Inc* all around (12)
Round 3: *Inc, Sc* all around (18)
Round 4: *Inc, Sc 2* all around (24)
Round 5: *Inc, Sc 3* all around (30)
Round 6: *Inc, Sc 4* all around (36)
Round 7-11: *Sc* all around (36)
In the next round we will add eye stitch markers. These will mark where to place the eyes later.
Round 12: Sc in the next 15 st. Sc in the next st and add a different colored st marker to the Sc just made. This will mark the eye. Sc in the next 4 st. Sc in the next st and add a different colored st marker to the Sc just made. Sc in the next 15 st (36)
Round 12 eye markers will look like this
Round 13: Repeat *Inc, Sc in the next 2 st* 12 times (48)
Round 14: Repeat *Inc, Sc 7* all around (54)
Add the safety nose between the rounds 13 & 14, between the eyes markers
Round 15-16: *Sc* all around (54)
Round 17: Repeat *Dec, Sc in the next st* all around (36)
Round 18: Repeat *Dec, Sc in the next 4 st* all around (30)
Round 19: *Dec, Sc 3* all around (24)
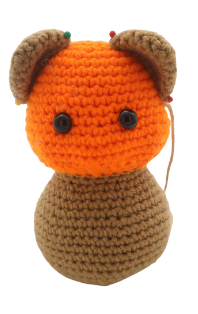
Add the safety eyes in the marked areas from Round 12 now. Stuff the head. Now we’re working on making the body.
Round 20: Change to brown. In the FLO (Front Loop Only), *Sc* all around (24)
Round 21: *Inc, Sc 3* all around (30)
Round 22: *Sc* all around (30)
Round 23: *Inc, Sc 4* all around (36)
Round 24: *Sc* all around (36)
Round 25: *Inc, Sc 5* all around (42)
Round 26: *Inc, Sc 6* all around (48)
Round 27-32: *Sc* all around (48)
Round 33: *Dec, Sc 6* all around (42)
Round 34: *Dec, Sc 5* all around (36)
Round 35: *Dec, Sc 4* all around (30)
Stuff firmly here. Continue stuffing after each round
Round 36: *Dec, Sc 3* all around (24)
Round 37: *Dec, Sc 2* all around (18)
Round 38: *Dec, Sc* all around (12)
Round 39: *Dec* all around (6)
Finish off, leaving a tail. Sew closed and set the body aside for now.
Ears: (Make 2)
In brown
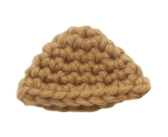
Round 1: 6 Sc into a Magic Ring (6)
Round 2: *Sc* all around (6)
Round 3: *Inc* all around (12)
Round 4: *Sc* all around (12)
Round 5: *Inc, Sc in the next 2 st* all around (16)
Round 6: *Sc* all around (16)
Round 7: *Inc, Sc in the next 3 st* all around (16)
Finish off, leaving a long tail for sewing. Pin the ears onto the head as shown and sew on. Weave in ends and cut any excess yarn.
Muzzle:
Start in white
Round 1: 6 Sc into a Magic Ring (6)
Round 2: *Inc* all around (12)
Round 3: *Inc, Sc in the next st* all around (12)
Round 4-5: *Sc* all around (12)
Finish off, leaving a long tail for sewing. Place a safety nose in between Rounds 1 and 2. Now pin the nose onto the head as shown and sew on. Make sure to stuff the nose before fully sewing on. Once sewn on, weave in ends. Cut any excess yarn.
Arms: (Make 2)
Start in brown
Round 1: 6 Sc into a Magic Ring (6)
Round 2: *Inc* all around (12)
Round 7-14: *Sc* all around (12)
Finish off, leaving a long tail for sewing. Stuff the arms firmly, making sure to not stuff the last few rounds of the arm. Doing this will help ensure the arm will lay flat. Now pin the arm onto the body as shown and sew on. Once done, weave in ends.
Legs: (Make 2)
Start in brown
Round 1: 6 Sc into a Magic Ring (6)
Round 2: *Inc* all around (12)
Round 3: *Inc, Sc in the next st* all around (18)
Round 4-6: *Sc* all around (18)
Round 7: Sc in the next 2 st, *Dec* 5 times, Sc in the next 6 st (13)
Round 8-13: *Sc* all around (13)
Finish off, leaving a long tail for sewing. Stuff the foot firmly, and lightly stuff the leg area. Do not add stuffing to the last few rounds of the leg. This will help ensure the leg will sit flat. Once done, pin the legs onto the body and sew on. After this, weave in ends and cut any excess yarn.
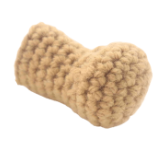
Tail:
Start in orange
Round 1: 6 Sc into a Magic Ring (6)
Round 2: *Inc* all around (12)
Round 3: *Inc, Sc in the next 3 st* all around (15)
Round 4: *Sc* all around (15)
Round 5-6: Change to brown. *Sc* all around (15)
Round 7-8: Change to orange. *Sc* all around (15)
Round 9: Change to brown. *Dec, Sc in the next 3 st* all around (12)
Round 10: *Sc* all around (12)
Round 11-12: Change to orange. *Sc* all around (12)
Round 13-14: Change to brown. *Sc* all around (12)
Round 15-16: Change to orange. *Sc* all around (12)
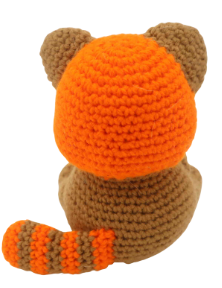
Finish off, leaving a long tail for sewing. Stuff the tail firmly now. Now pin it on as shown and sew on. Once sewn on, weave in ends. Cut any excess yarn.
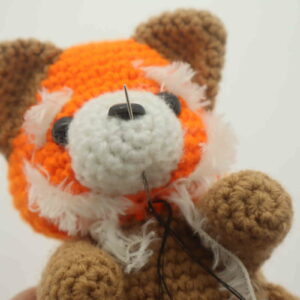
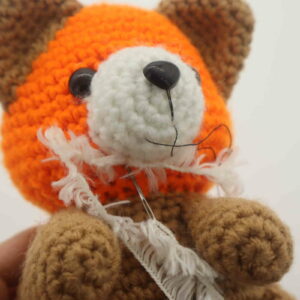
Nose Line:
In black embroidery thread
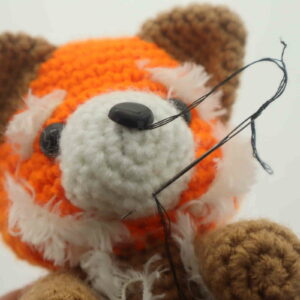
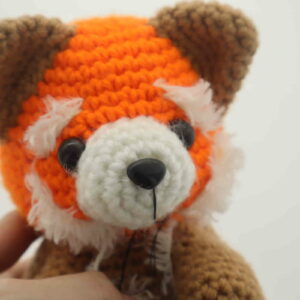
Insert needle with thread into the middle lower area of the toy’s muzzle (Pic 1). Pull the needle out under the toy’s nose (Pic 1). Reinsert needle into the original insertion spot, and pull the needle out under the toy’s nose (Pic 2). Tie ends of thread into a firm knot. Bring the knot inside the toy to hide, cutting any excess yarn.
1. 2.
2. 3.
3.
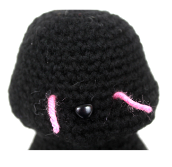
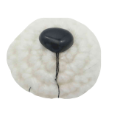
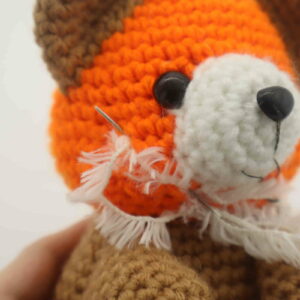
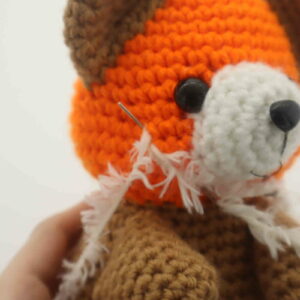
Fuzzy Face Detail:
This looks best when using fuzzy yarn. If you don’t have fuzzy yarn, you can take a long piece of white yarn and brush it with a metal brush to make the yarn fuzzy.
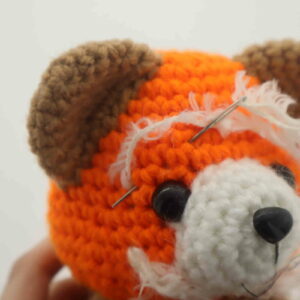
First, insert needle where shown, under the muzzle (Pic 1), and pull the needle out diagonally where shown (Pic 2). Repeat the process of *inserting the needle into the muzzle area, pulling the needle out a few rounds above, diagonally* 2-3 times (Pic 2-4). Reinsert needle into the same muzzle area (Pic 5), and pull the needle out about 2 stitches over from the toy’s eye (Pic 6). Insert needle diagonally, about 3-4 rounds above (Pic 6). Repeat the process of *pull needle out next to the toy’s eye, reinsert needle in the area 3-4 rounds above* 2-3 times (Pic 6-7). Once done, tie the ends of yarn into firm knots. Bring the knots inside the toy to hide, cutting any excess yarn.
1.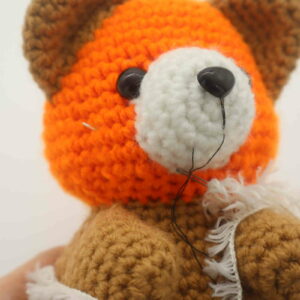 2.
2.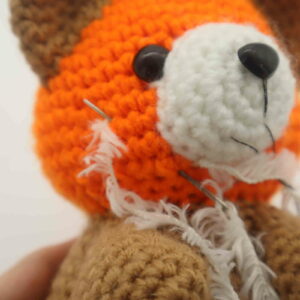 3.
3. 4.
4. 5.
5. 6.
6. 7.
7.
8.
Done! If you made a red panda… I would LOVE to see! You can show me by posting a picture in the comments section underneath this post 🙂


3 Comments
Thank you so much for the pattern!! He turned out so cute! ☺️
I made some minor adjustments, and I’m so happy with how it turned out! adorable 🥰
Added some extra details. Great pattern! Thanks