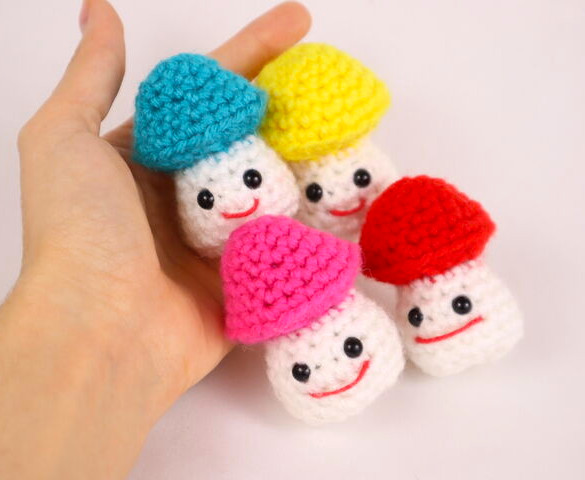
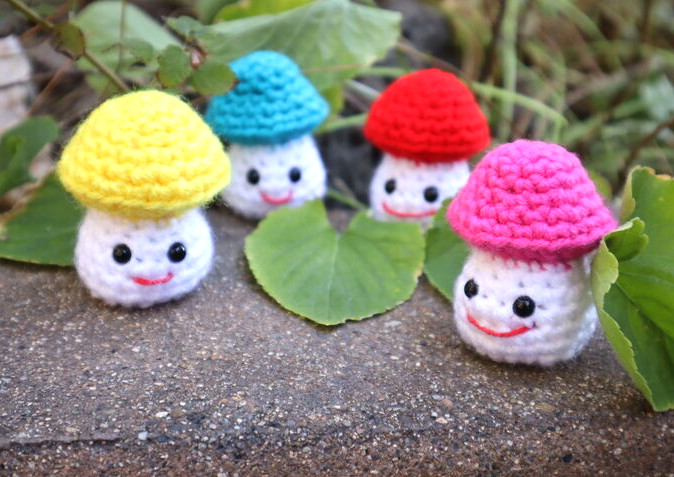
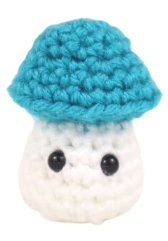
Mini Mushrooms Amigurumi – Free Crochet Pattern


Print this pattern out – purchase the PDF here!

 Supplies:
• Yarn 4/Medium Weight Yarn in…
White & Mushroom Top Color
• 4mm Crochet Hook
•6mm safety eyes
•Tapestry needle
•Scissors
•Stuffing
•Red Embroidery Thread
Additional Information:
•Difficulty: Easy
•Size: From top to bottom 3″
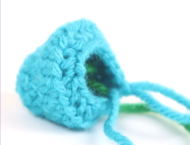
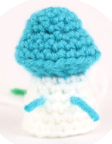
Mushrooms are beloved by many and oh so cute! The mushroom is started by making the very top colorful part, then we work our way down to the white part of the mushroom. The entire mushroom is worked in one continuous piece.
Let’s get started!
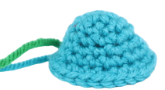
Mushroom:
In Top Part Color
Let’s start making the mushroom! To do this, we first make the very top colorful part of the mushroom.
Round 1: 6 Sc into a Magic Ring (6)
Round 2: *Inc* all around (12)
Round 3-4: *Sc* all around (12)
Round 5: *Inc, Sc* all around (18)
Round 6: *Sc* all around (18)
Round 7: *Inc, Sc 2* all around (24)
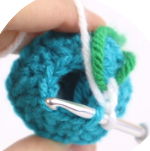
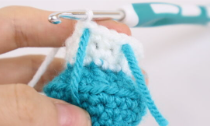
Round 8 will look like the pictures below. Working in the BLO will make the mushroom turn inwards!
Round 8: In the BLO (Back Loop Only), *Dec, Sc 2* all around (18)
1.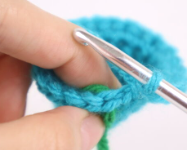 2.
2. 3.
3.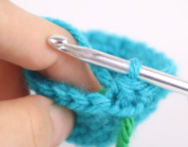 4.
4.
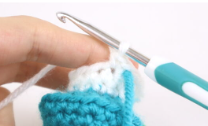
Round 9: In BOTH Loops, *Dec, Sc* all around (12)
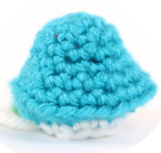
Round 10: Change to white. In the FLO, *Sc* all around (12)
Round 10 will look like the photos below:
1. 2.
2.
Round 11: In BOTH Loops, *Sc* all around (12)
In the next round we will add 2 stitch markers. These will mark where to place the eyes later!
Round 12: *Inc, Sc* 2 times. Sc into the next st and add a different colored st marker to that Sc just made. This marks where to place the eyes later (Pic 1). Sc again into that very same st (Pic 2). Sc into the next st (Pic 3). Sc into the next st and add a different colored st marker to the Sc just made (Pic 4). Sc again into that very same st. Sc into the next st. Repeat *Inc, Sc* 2 more times (18)
1. 2.
2. 3.
3. 4.
4. 5.
5.
Round 13-15: *Sc* all around (18)
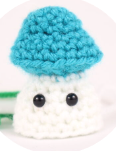
Add eyes into the stitch markers!
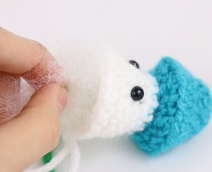
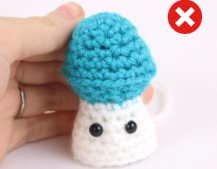
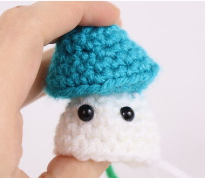
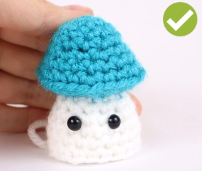
Now add stuffing to the top part of the mushroom (Pic 1). Stuff it lightly! Also make sure that your mushroom doesn’t look like Pic 2. If it does, take out a little stuffing and then squish the mushroom’s top down to flatten it (Pic 3). It should now look like Pic 4.
1. 2.
2. 3.
3. 4.
4.
Round 16: *Dec, Sc* all around (12)
Add stuffing to the body of the mushroom now.
Round 17: *Dec* all around (6)
Finish off, leaving a tail for sewing.
Sew the bottom closed and let’s move on to making the smile!
Smile:
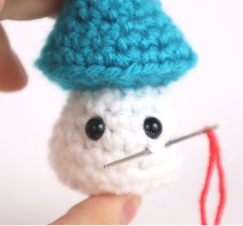
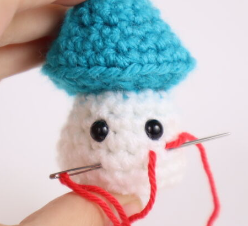
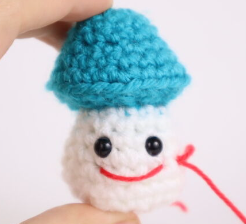
Let’s make our mushroom smile! Use red embroidery thread, or black thread.
Insert needle with thread under the right eye and pull needle out one stitch to the left (Pic 1). Reinsert needle about 3 stitches to the left and pull needle out at original insertion spot (Pic 2). You will then have a smile! (Pic 3). If you want a smaller smile, do this process but pull needle out only 2 stitches away (Pic 4).
1. 2.
2. 3.
3. 4.
4.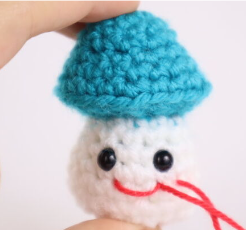
All done! If you made a mushroom I would LOVE to see!


3 Comments
Hi
Made your mushroom. Added an extra row to the top as the yarn is wuite thick.
Then added a couple of rows to the base to balance.
Very cute and pleased at how it cane out.
Thanks!
i love this pattern. it’s so cute I’ve made 2 and i’m SUPER happy with how they came out. thank you for ALL your patterns.
I made one of these on a fencing trip, and he came out ok, but now I am making one for a market. Thank you for this pattern, Olive! 😊