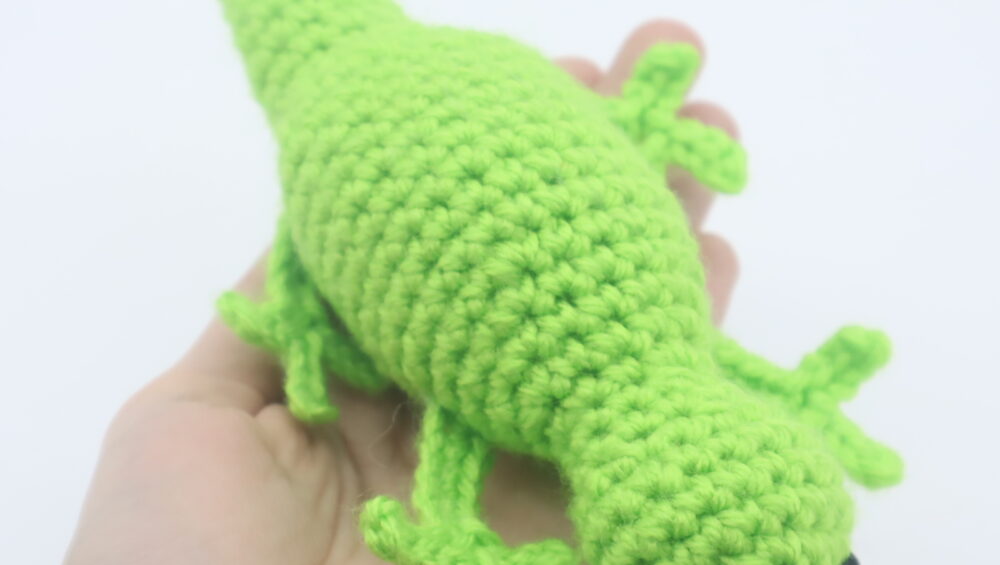
Easy Lizard Amigurumi – Free Crochet Pattern


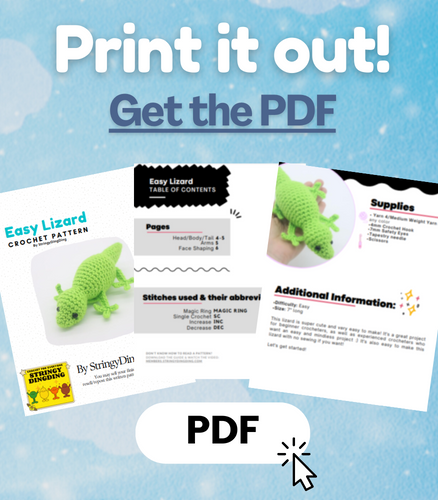
Print this pattern out – purchase the PDF here!

 Supplies:
• Yarn 4/Medium Weight Yarn in…
any color
•4mm Crochet Hook
•7mm Safety Eyes
•Tapestry needle
•Scissors
Additional Information:
•Difficulty: Easy
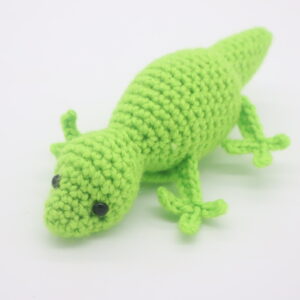
•Size: 7″ long
This lizard is super cute and very easy to make! It’s a great project for beginner crocheters, as well as experienced crocheters who want an easy and mindless project 🙂 It’s also easy to make this lizard with no sewing if you want!
Let’s get started!
Head/Body/Tail:
In any color

The head, body, and tail are worked in one continuous piece. We will start with the head.
Note: You can make this a no-sew lizard if you make the arms/legs first, then simply crochet the leg and body together for 1 stitch while crocheting the body. I recommend connecting the arms on Round 16. Connect the legs on Round 33. Space the legs out about 5 stitches apart.
Round 1: 6 Sc into a Magic Ring (6)
Round 2: *Inc, Sc in the next st* all around (9)
Round 3: *Sc* all around (9)
Round 4: *Inc, Sc in the next 2 st* all around (12)
Round 5: *Inc, Sc in the next 3 st* all around (15)
Now we will mark where to place the safety eyes. Add a differently colored stitch marker into the 5th and 11th stitch in Round 5. Later we will replace the markers with safety eyes.
Round 6: *Inc, Sc in the next 4 st* all around (18)
Round 7-9: *Sc* all around (18)
Round 10: *Dec, Sc in the next st* all around (12)
Round 11: *Sc* all around (12)
Place the safety eyes in the marked areas now.
Round 12: *Dec, Sc in the next 2 st* all around (9)
Round 13: *Inc, Sc in the next 2 st* all around (12)
Round 14: *Inc, Sc in the next 3 st* all around (15)
Round 15: *Inc, Sc in the next 4 st* all around (18)
Round 16: *Inc, Sc in the next 5 st* all around (21)
Stuff the head here.
Round 17: *Inc, Sc in the next 6 st* all around (24)
Round 18-25: *Sc* all around (24)
Round 26: *Dec, Sc in the next 2 st* all around (18)
Stuff here. Continue stuffing after every few rounds.
Round 27: *Dec, Sc in the next st* all around (12)
Round 28-30: *Sc* all around (12)
Round 31: *Dec, Sc in the next 2 st* all around (9)
Round 32-33: *Sc* all around (9)
Round 34: *Dec, Sc in the next st* all around (6)
Round 35: *Sc* all around (6)
Finish off now, leaving a long tail for sewing. Sew the remaining stitches together. Once done, weave in ends and cut any excess yarn.
Arms:
In any color
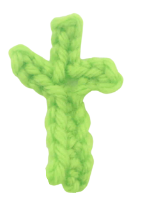
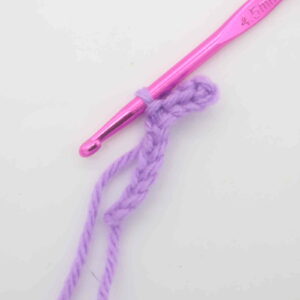
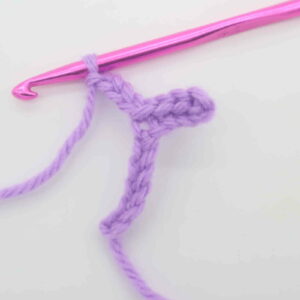
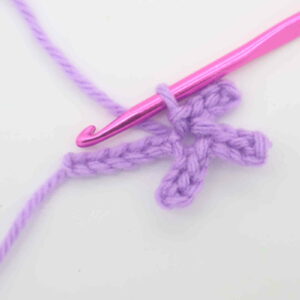
Row 1: Ch 10 (Pic 1). SlSt in the 2nd Ch from the hook. SlSt in the next 3 ch (Pic 2). This forms the first finger.
1. 2.
2.
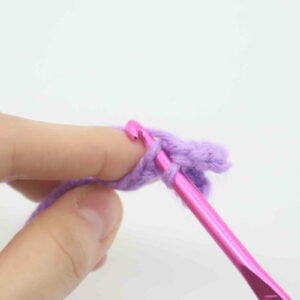
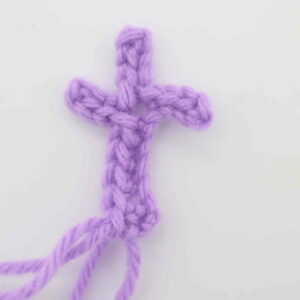
Repeat *Ch 4. SlSt in the 2nd Ch from the hook. SlSt in the next 3 ch. SlSt into the same st where the first finger is (Pic 5-6).* 2 times. Working back on the arm, Sc in the next 5 ch (Pic 8). Finish off, leaving a long tail for sewing. Pin the arms/legs on as shown and sew/hot glue on. Once done, weave in ends and cut any excess yarn.
3. 4.
4.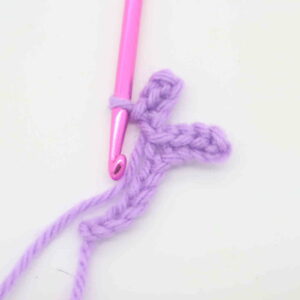 5.
5. 6.
6.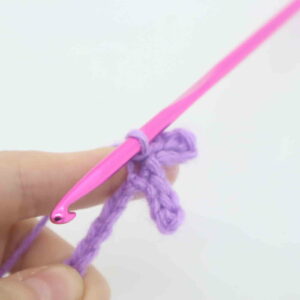 7.
7. 8.
8.
Finish off, leaving a long tail for sewing. Pin the arms/legs on as shown and sew/hot glue on. Once done, weave in ends and cut any excess yarn.
Face Shaping:
In any color
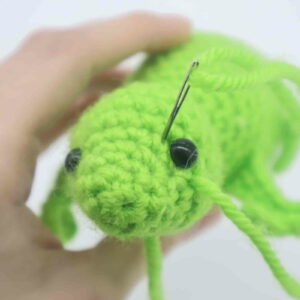
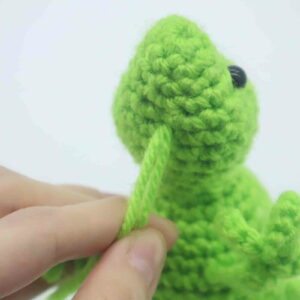
Insert the needle into the bottom of the toy’s face as shown (Pic 1). Pull the needle out at the right side of the toy’s right eye as shown (Pic 2).
1.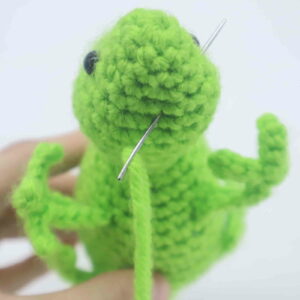 2.
2.
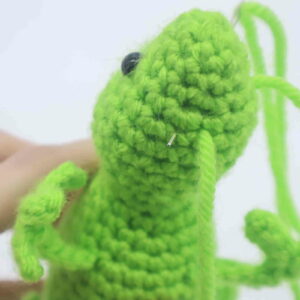
Reinsert needle a few stitches to the left as shown (Pic 3). Pull needle out at the lower face area of the toy (Pic 4).
3. 4.
4.
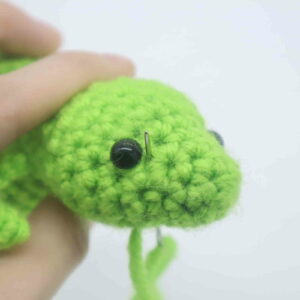
Reinsert needle one stitch over (Pic 5). Pull needle out at the right side of the toy’s left eye (Pic 6).
5. 6.
6.
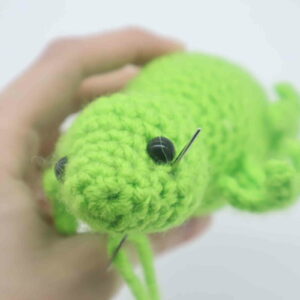
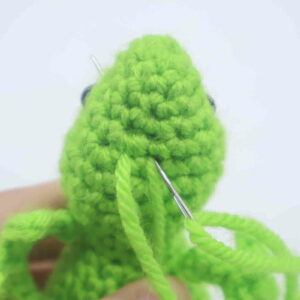
Reinsert needle a few stitches to the left (Pic 7). Pull needle out at the same stitch where the tail of yarn is coming out (Pic 8).
7. 8.
8.
Pull both ends of yarn to form the face shaping (Pic 9). Now tie both ends of yarn into a firm knot. Bring the knot inside the toy to hide, cutting any excess yarn.
9. 10.
10.
Done!


2 Comments
For the arms (2nd and 3rd fingers), you say to ch 4 then work in the 2nd from the hook and then to do 3 more, but there are only 2 more ch you can work in if you want the next stitch to be in the same spot as finger 1?
In crochet, the slip knot that starts a chain does not count as part of your chain #.