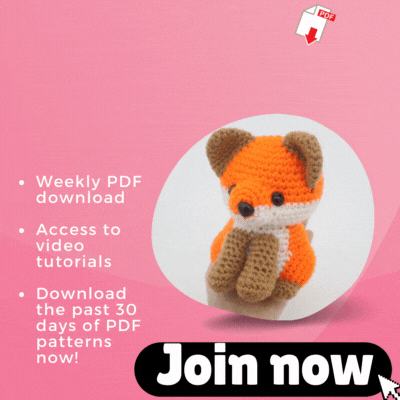
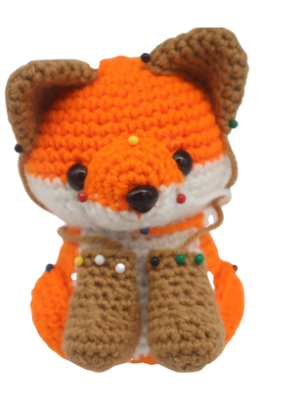
Fox Amigurumi – Free Crochet Pattern
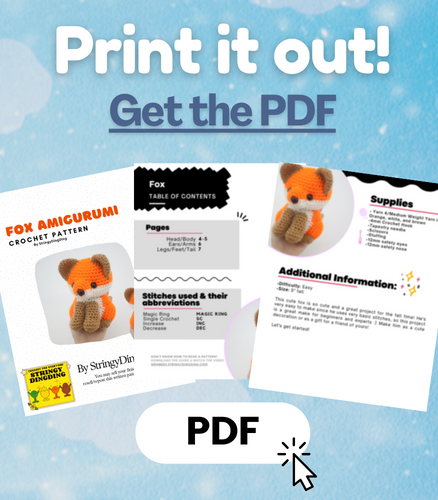
Print this pattern out! Purchase the PDF version here

 Supplies:
• Yarn 4/Medium Weight Yarn in…
Orange, white, and brown
•4mm Crochet Hook
•Tapestry needle
•Scissors
•Stuffing
•12mm safety eyes
•12mm safety nose
Additional Information:
•Difficulty: Easy
•Size: 5″ tall
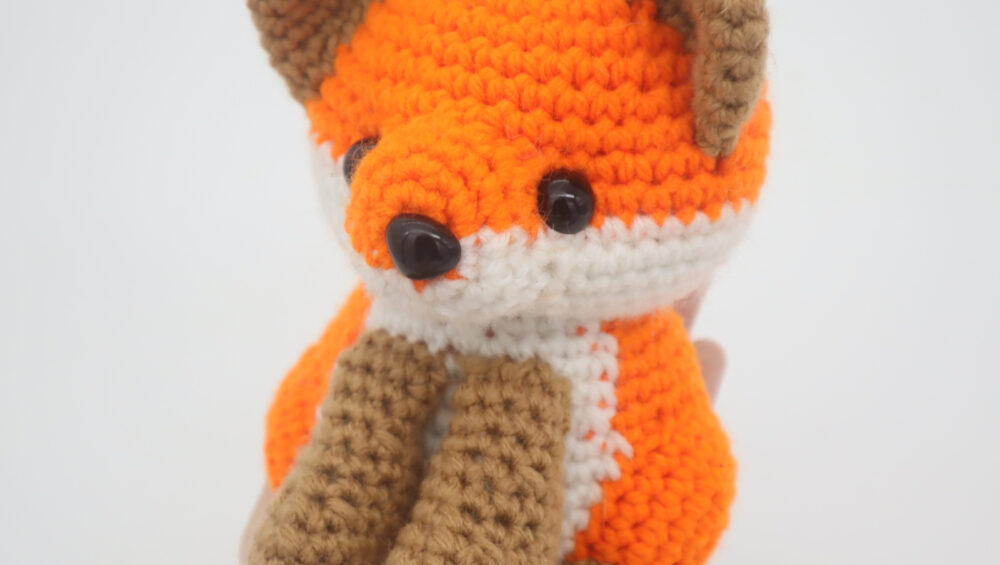
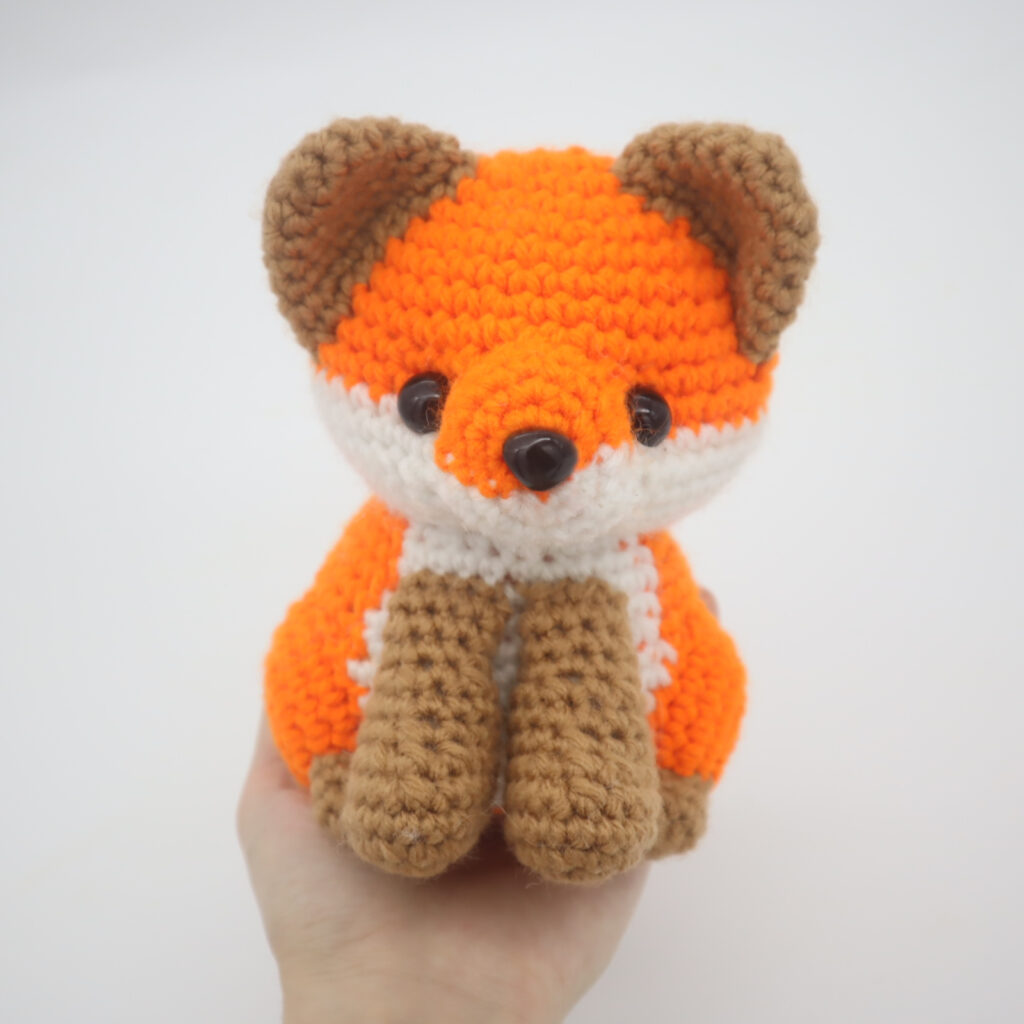
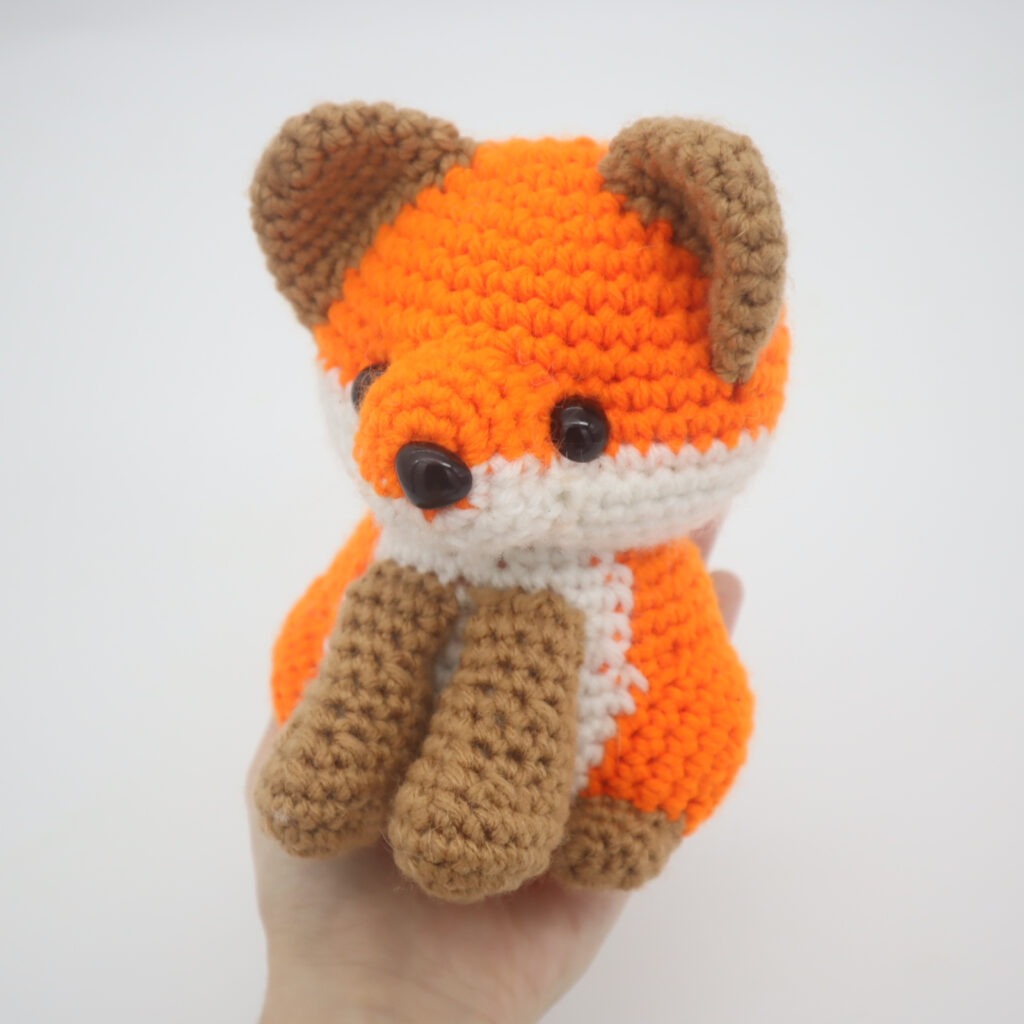
This cute fox is so cute and a great project for the fall time! He’s very easy to make since he uses very basic stitches, so this project is a great make for beginners and experts 🙂 Make him as a cute decoration or as a gift for a friend of yours!
Let’s get started!
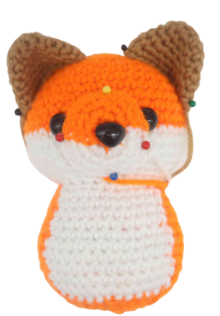
Head/Body:
Start in Orange
We will first start by creating the head, which will work into the body.
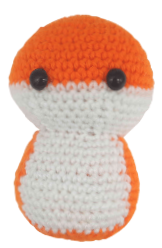
Round 1: 6 Sc into a Magic Ring (6)
Round 2: *Inc* all around (12)
Round 3: *Inc, Sc in the next st* all around (18)
Round 4: *Inc, Sc in the next 2 st* all around (24)
Round 5: *Inc, Sc in the next 3 st* all around (30)
Round 6: *Inc, Sc in the next 4 st* all around (36)
Round 7-8: *Sc* all around (36)
Round 9: *Inc, Sc in the next 5 st* all around (42)
Round 10-11: *Sc* all around (42)
Round 12: *Inc, Sc in the next 6 st* all around (48)
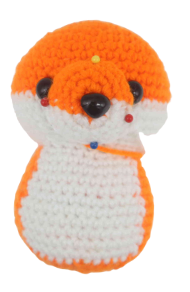
Now we will mark where to place the safety eyes. Add a different colored eye stitch marker in the 16th and 23rd stitch in Round 12.
Round 13-14: Change to White. *Sc* all around (48)
Round 15: *Dec, Sc in the next 6 st* all around (42)
Round 16: *Dec, Sc in the next 5 st* all around (36)
Round 17: *Sc* all around (36)
Round 18: *Dec, Sc in the next 4 st* all around (30)
Round 19: *Dec, Sc in the next 3 st* all around (24)
Round 20: In the FLO (Front Loop Only) Inc in the next st, Sc in the next 3 st. Inc in the next st, Sc in the next 2 st. Change to White and Sc in the next st. Inc in the next st, Sc in the next 3 st. Inc in the next st, Sc in the next 2 st. Change to Orange and Sc in the next st. Repeat *Inc, Sc in the next 3 st* 2 times (30)
Add the safety eyes into the marked areas from Round 12 now.
Round 21: In Orange repeat *Inc, Sc in the next 4 st* 2 times. Change to White and repeat *Inc, Sc in the next 4 st* 2 times. Change to Orange and repeat *Inc, Sc in the next 4 st* 2 times (36)
Round 22: Sc in the next 13 st. Change to White and Sc in the next 11 st. Change to Orange and Sc in the next 12 st (36)
Round 23: Sc in the next 13 st. Change to White and Sc in the next 11 st. Change to Orange and Sc in the next 12 st (36)
Round 24: Sc in the next 13 st. Change to White and Sc in the next 11 st. Change to Orange and Sc in the next 12 st (36)
Stuff the head firmly here.
Round 25: Repeat *Inc, Sc in the next 4 st* 2 times. Inc in the next st, Sc in the next 3 st. Change to White and Sc in the next st. Repeat *Inc, Sc in the next 4 st* 2 times. Change to Orange and repeat *Inc, Sc in the next 4 st* 2 times. Sc in the next st (43)
Round 26-27: Sc in the next 17 st. Change to White and Sc in the next 13 st. Change to Orange and Sc in the next 13 st (43)
Round 28-29: Sc in the next 18 st. Change to White and Sc in the next 13 st. Change to Orange and Sc in the next 12 st (43)
Round 30: Sc in the next 19 st. Change to White and Sc in the next 12 st. Change to Orange and Sc in the next 12 st (43)
Round 31: Repeat *Dec, Sc in the next 4 st* 7 times. Sc in the next st (36)
Round 32: *Dec, Sc in the next 4 st* all around (30)
Round 33: *Dec, Sc in the next 3 st* all around (24)
Stuff the body firmly here. Continue stuffing after each round.
Round 34: *Dec, Sc in the next 2 st* all around (18)
Round 35: *Dec, Sc in the next st* all around (12)
Round 36: *Dec* all around (6)
Finish off, leaving a long tail for sewing. Sew the remaining stitches
Muzzle:
Start in Orange

Round 1: 6 Sc into a Magic Ring (6)
Round 2: In orange *Inc* in the next 3 st. Change to white and *Inc* in the next 3 st (12)
Round 3: In orange *Inc, Sc in the next st* 3 times. Change to white and *Inc, Sc in the next st* 3 times (18)
Round 4-5: In orange Sc in the next 9 st. Change to white and Sc in the next 9 st (18)
Finish off, leaving a long tail for sewing. Add a 12mm safety nose into the middle of the nose. Pin the nose onto the toy’s head as shown. Sew on. Add stuffing into the nose before fully sewing on. Once sewn on, weave in ends. Cut any excess yarn.
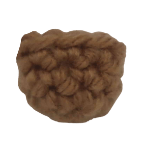
Ears: (Make 2)
Start in Brown
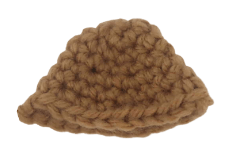
Round 1: 6 Sc into a Magic Ring (6)
Round 2: *Inc* all around (12)
Round 3-4: *Sc* all around (12)
Round 5: *Inc, Sc in the next st* all around (18)
Round 6: *Sc* all around (18)
Round 7: *Inc, Sc in the next 2 st* all around (24)
Finish off, leaving a long tail for sewing. Pin the ears onto the toy’s head as shown. Sew on. Once sewn on, weave in ends. Cut any excess yarn.
Arms: (Make 2)
Start in Brown

Round 1: In tan, 6 Sc in Magic Ring (6)
Round 2: *Inc* all around (12)
Round 3: *Inc, Sc* all around (18)
Round 4: *Sc* all around (18)
Round 5: Sc in next 3 st, Dec 1 time, Sc in next 13 st (17)
Round 6: Sc 1, *Dec* 3 times, Sc in next 10 st (14)
Round 7: Sc 2, *Dec* 1 time, Sc in next 10 st (13)
Round 8: *Sc* all around (13)
Round 9: *Dec, Sc in the next st* 4 times. Sc in the next st (9)
Round 10-15: *Sc* all around (9)
Finish off and stuff. Pin to the bottom part of the body.

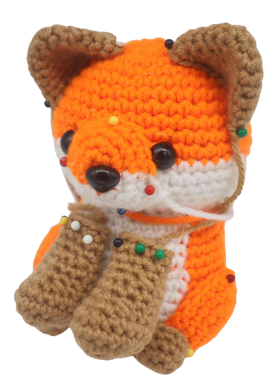
Legs: (Make 2)
Start in Orange

Round 1: 6 Sc into a Magic Ring (6)
Round 2: *Inc* all around (12)
Round 3: *Inc, Sc in the next st* all around (18)
Round 4: *Inc, Sc in the next 2 st* all around (24)
Round 5-6: *Sc* all around (24)
Finish off, leaving a long tail for sewing. Pin the leg onto the toy as shown and sew on. Stuff the leg firmly before fully sewing closed. Once done, weave in ends and cut any excess yarn.
Feet: (Make 2)
Start in Brown
Round 1: 6 Sc into a Magic Ring (6)
Round 2: *Inc, Sc in the next st* all around (9)
Round 3-4: *Sc* all around (9)
Finish off, leaving a long tail for sewing. Stuff the foot firmly. Pin the feet onto the toy as shown and sew on. Once done, weave in ends and cut any excess yarn.
Tail:
Start in White
Round 1: 6 Sc into a Magic Ring (6)
Round 2: *Sc* all around (6)
Round 3: *Inc* all around (12)
Round 4-6: *Sc* all around (12)
Round 7: Change to Black. *Sc* all around (12)
Round 8-15: Change to Orange. *Sc* all around (12)
Finish off, leaving a long tail for sewing. Stuff the tail now. Pin the tail onto the butt area of the toy and sew on. Once sewn on, weave in ends and cut any excess yarn.
 All done! If you made this fox, I would LOVE to see! You can show me by posting a picture in the comments underneath this post 🙂


11 Comments
I struggled a bit with the color changes, but other than that I love the pattern, I think it’s really cute
I doesn’t at ALL look like you struggled with the color changes. It looks great!
Fun Pattern.
I made him with blanket yarn and he turned out so cute.
When you say use front loop only how long do I continue with the flo
For the whole round
How much yarn dose it use?
Great pattern
Here’s mine. Really cool
I’ve made him twice now, once as a regular fox and once as an arctic. They both have a cutie mark on their butts and I stitched the tail to one side on both of them, cause leaving them straight just looked a little…. questionable.
I think row 20 is missing the step to start on orange for the first 7 stitched before going back to white? That might be what Belle was talking about above too? Otherwise it’s a great little pattern, meets all my foxing needs. Thank you!
Great pattern and very easy to follow! I struggled with the hind legs, just couldn’t get them to look right so I ended up making two more tiny arms instead. Also made the tail a little fluffier just because it was cute! I love how he came out!