Pumpkin Treat Bag – Free Halloween Crochet Pattern
Print this pattern out! Purchase the PDF version here
 Supplies:
• Yarn 4/Medium Weight Yarn in…
Orange and black
•4mm Crochet Hook
•Tapestry needle
•Scissors
•Hot glue gun
Additional Information:
•Difficulty: Easy
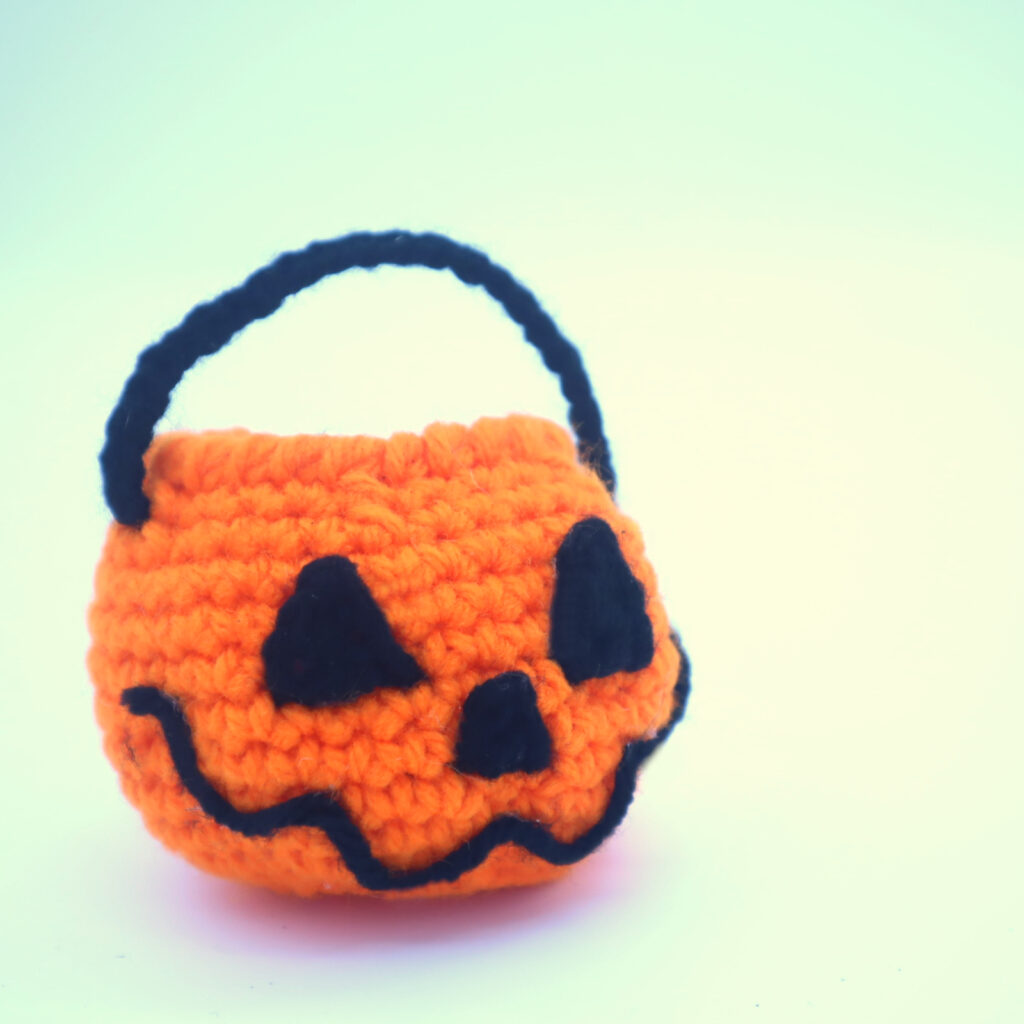
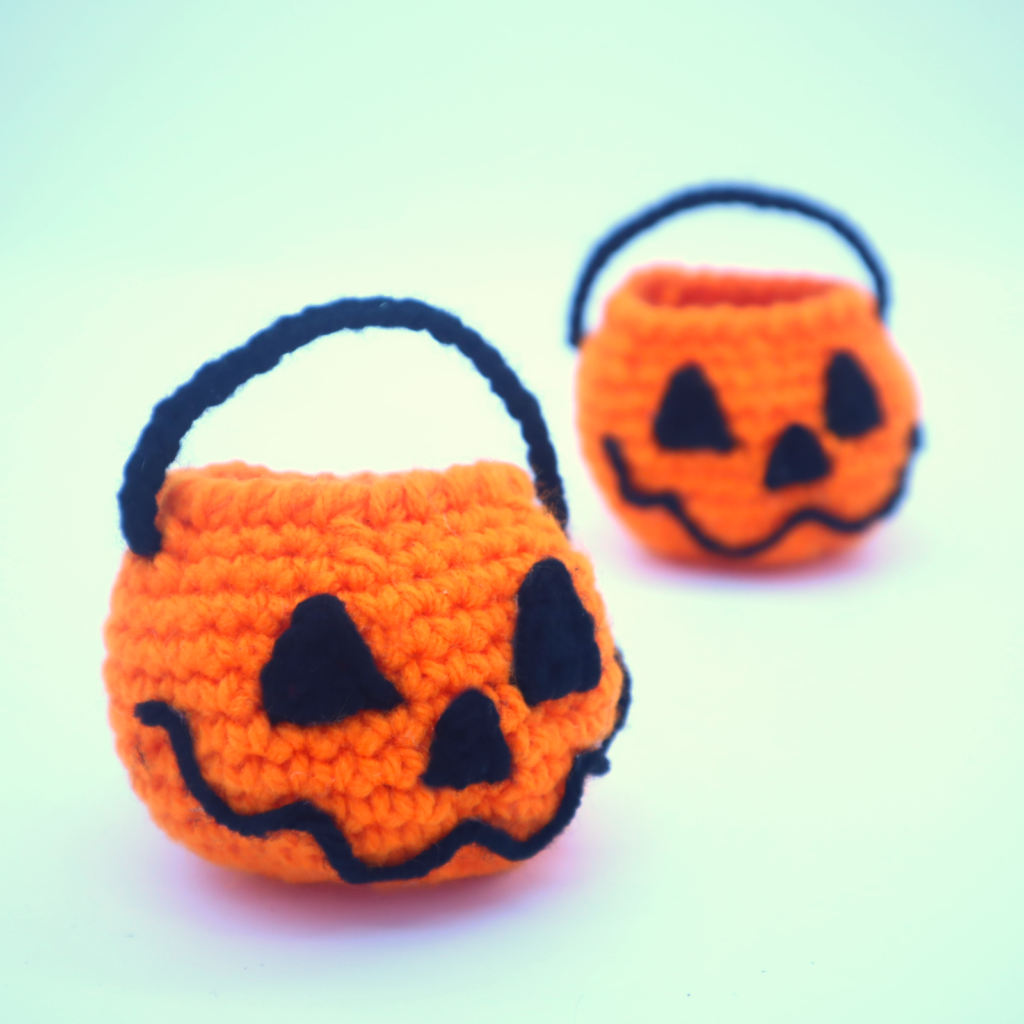
•Size: 2.5″ tall, 9″ circumference
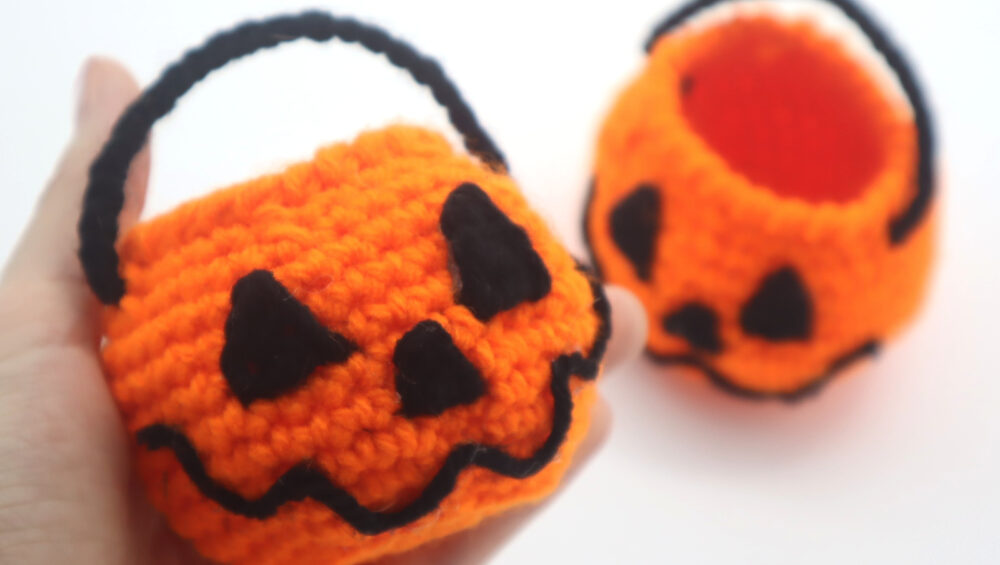
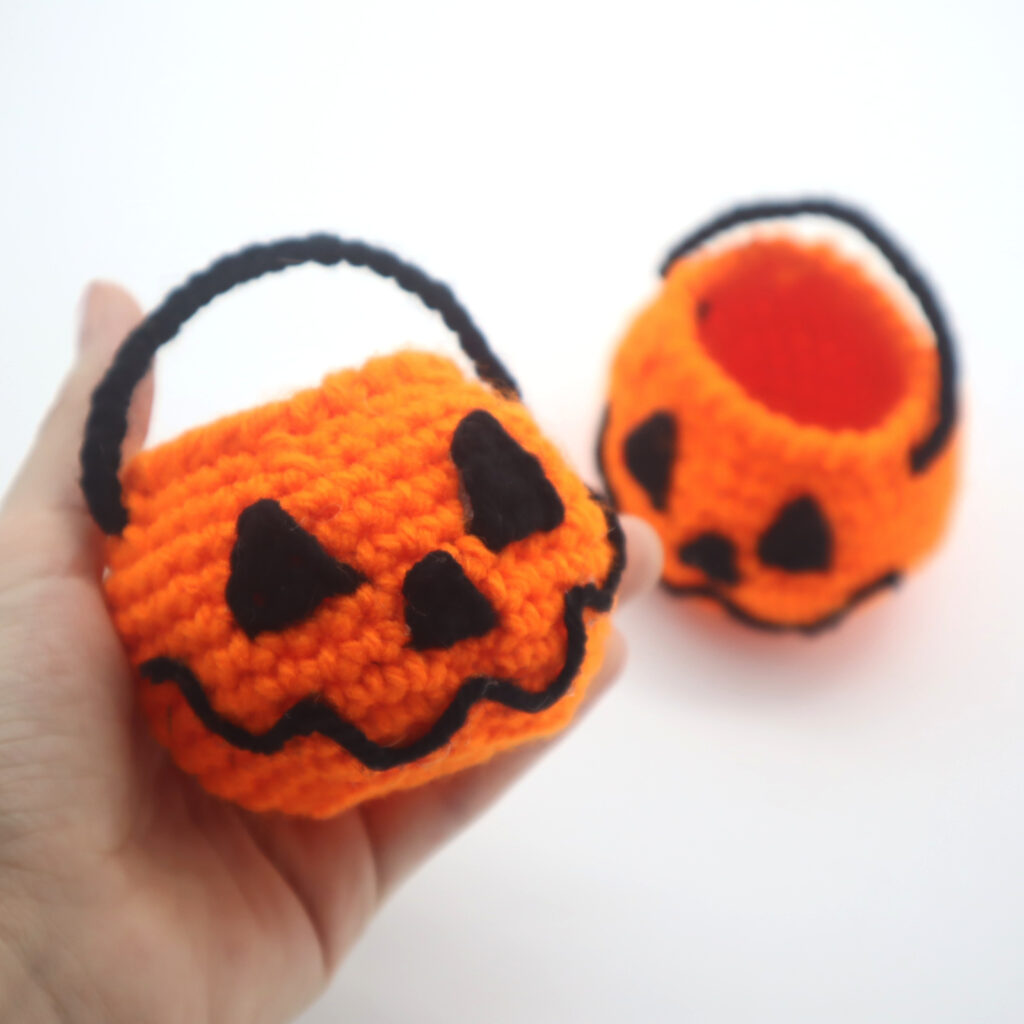
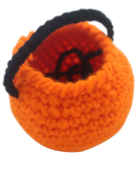
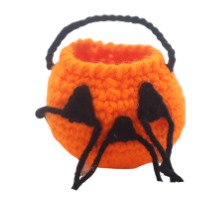
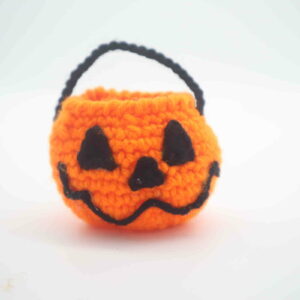
Get in the Halloween spirit by crocheting these cute mini pumpkin treat bags! These bags make a great party favor or just a cute gift for someone you love! This pattern uses simple basic stitches, and it also uses a crab stitch for the edging of the bucket. If you don’t know how to do a crab stitch, no worries! I include a step-by-step tutorial on how to do it 🙂 You can make these pumpkins in any color! I think making one in the classic bucket colors, such as orange, dark purple, and green, would be so cool! You can also make one in white, which would make the pumpkin look more like a skull!
Let’s get started!
Bag:
Start in Orange
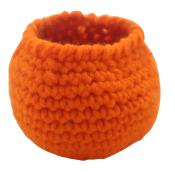
Round 1: 6 Sc into a Magic Ring (6)
Round 2: *Inc* all around (12)
Round 3: *Inc, Sc in the next st* all around (18)
Round 4: *Inc, Sc in the next 2 st* all around (24)
Round 5: In the BLO (Back Loop Only), *Inc, Sc in the next 3 st* all around (30)
Round 6: In BOTH loops, *Inc, Sc in the next 4 st* all around (36)
Round 7-13: *Sc* all around (36)
Round 14: *Dec, Sc in the next 4 st* all around (30)
Round 15: *Dec, Sc in the next 3 st* all around (24)
Round 16: Now we will do a crab stitch. This will help create an edging around the bucket of the pumpkin. Doing a crab stitch, *Sc* all around (24)
Finish off and weave in ends. Cut any excess yarn.
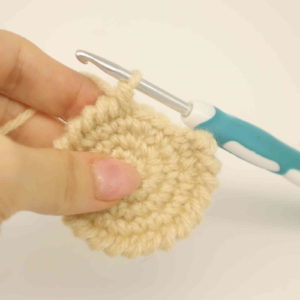
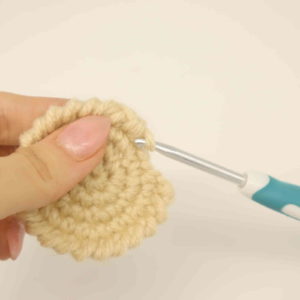
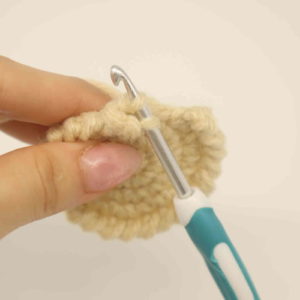
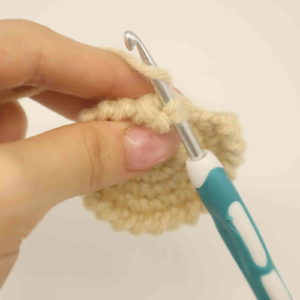
How to do a Crab Stitch:
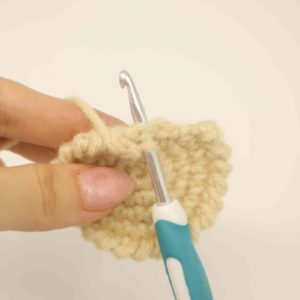
Insert your hook into the next stitch to your right (Pic 1-3).
1. 2.
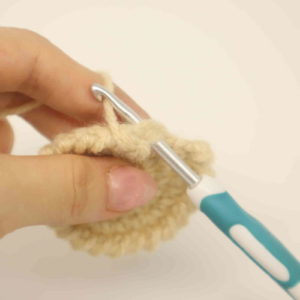
2. 3.
3.
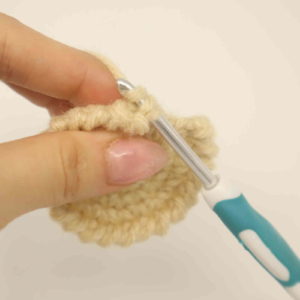
Yarn over, and pull the yarn through (Pic 4-6). You will have two loops on your hook (Pic 6).
4. 5.
5.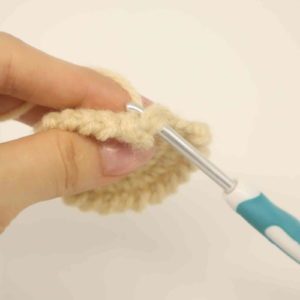 6.
6.
Yarn over and pull through both loops (Pic 7-9). You have completed 1 crab stitch! See, it’s simply making 1 single crochet into the next stitch to your right! Repeat making 1 crab stitch all around until you’ve completed a round. Slip stitch the first and last stitch together.
7. 8.
8. 9.
9.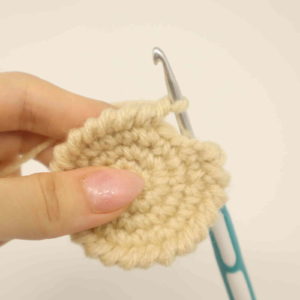 10.
10.
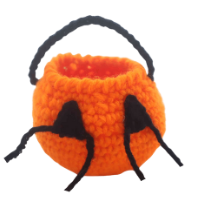
Handle:
Start in Black
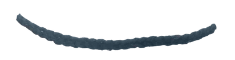
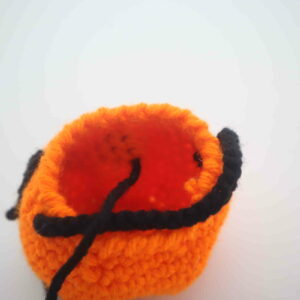
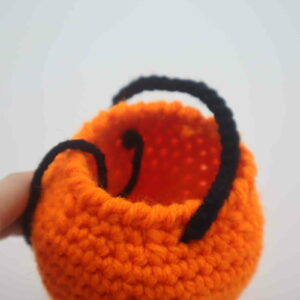
Row 1: Ch 24. Finish off, leaving a long tail for sewing. Place the tail ends of yarn into the bucket as shown. Tie the tail ends of yarn into firm knots. Cut any excess yarn.
Eyes: (Make 2)
Start in Black
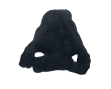
Row 1: Ch 4. SlSt in the 2nd Ch from the hook. Hdc in the next Ch, Dc in the last Ch.
Finish off. Place hot glue on the back of the pumpkin’s eye, then stick the toy’s eye to the pumpkin as shown. Lightly hold it in place, being cautious to not burn your finger from the glue. After holding it in place for about 15 seconds, it should be secured on. Repeat this process with the second pumpkin’s eye.

Nose:
Start in Black
Row 1: Ch 3. SlSt in the 2nd Ch from the hook. Hdc in the next ch.
Finish off. Place hot glue on the back of the pumpkin’s nose, then stick the toy’s nose to the pumpkin as shown. Lightly hold it in place, being cautious to not burn your finger from the glue. After holding it in place for about 15 seconds, it should be secured on.
Place the tail ends of yarn inside the pumpkin (Pic 1). The the ends of yarn into firm knots (Pic 2), then cut the excess yarn.
1. 2.
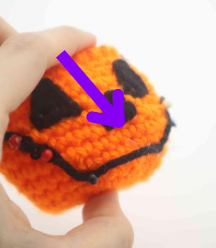
Smile:
Start in Black
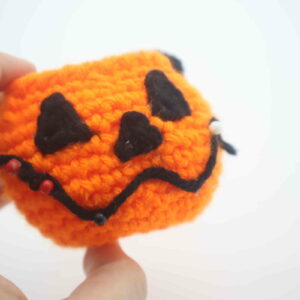
Take a long piece of black yarn. Carefully pin the yarn onto the pumpkin and form the shape of the smile you’d like (Pic 1). Now take a hot glue gun, unpin 1 pin (Pic 2), place a small dot of glue in that area (Pic 3),
1. 2.
2. 3.
3.
then gently place the yarn over the glued area (Pic 4). Hold it lightly for a few seconds to secure. Repeat this process until you’ve glued down each pinned section (Pic 5). After this, cut the excess yarn on the sides of the pumpkin’s smile.
4. 5.
5.


1 Comment
I have made several of your patterns and have always found your patterns easy to understand. And great fun to make and give away. This pumpkin treat bucket was no exception. I made 26 to give away to the kids in our neighborhood at Halloween. They were a big hit!