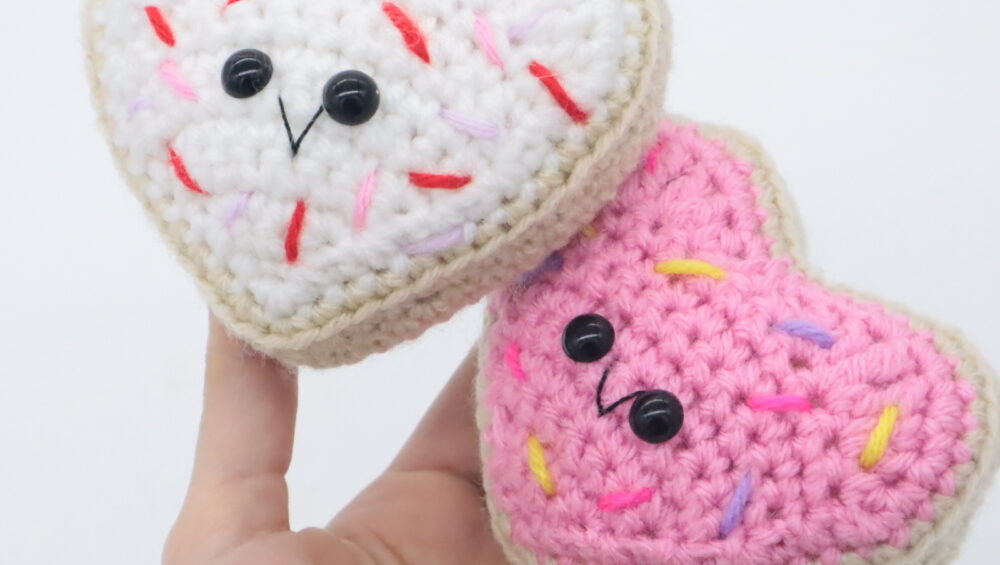
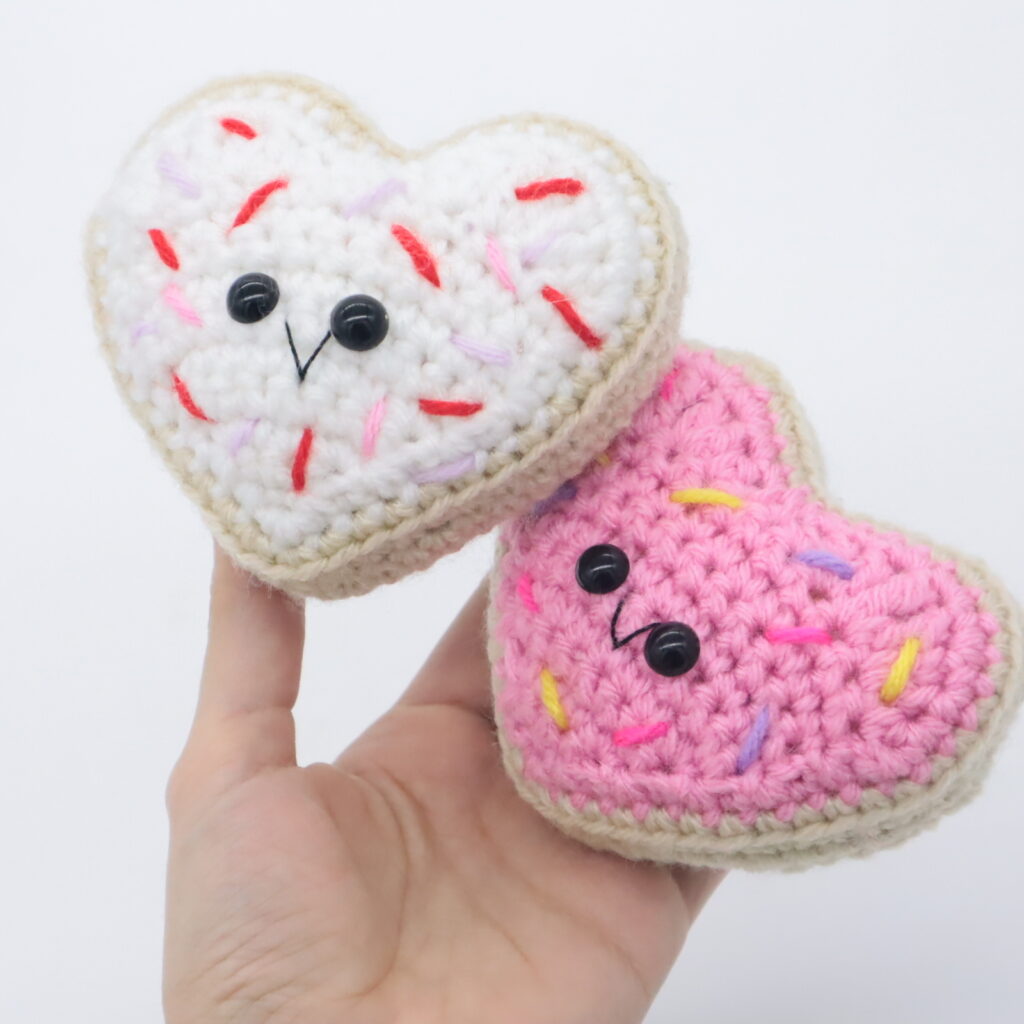
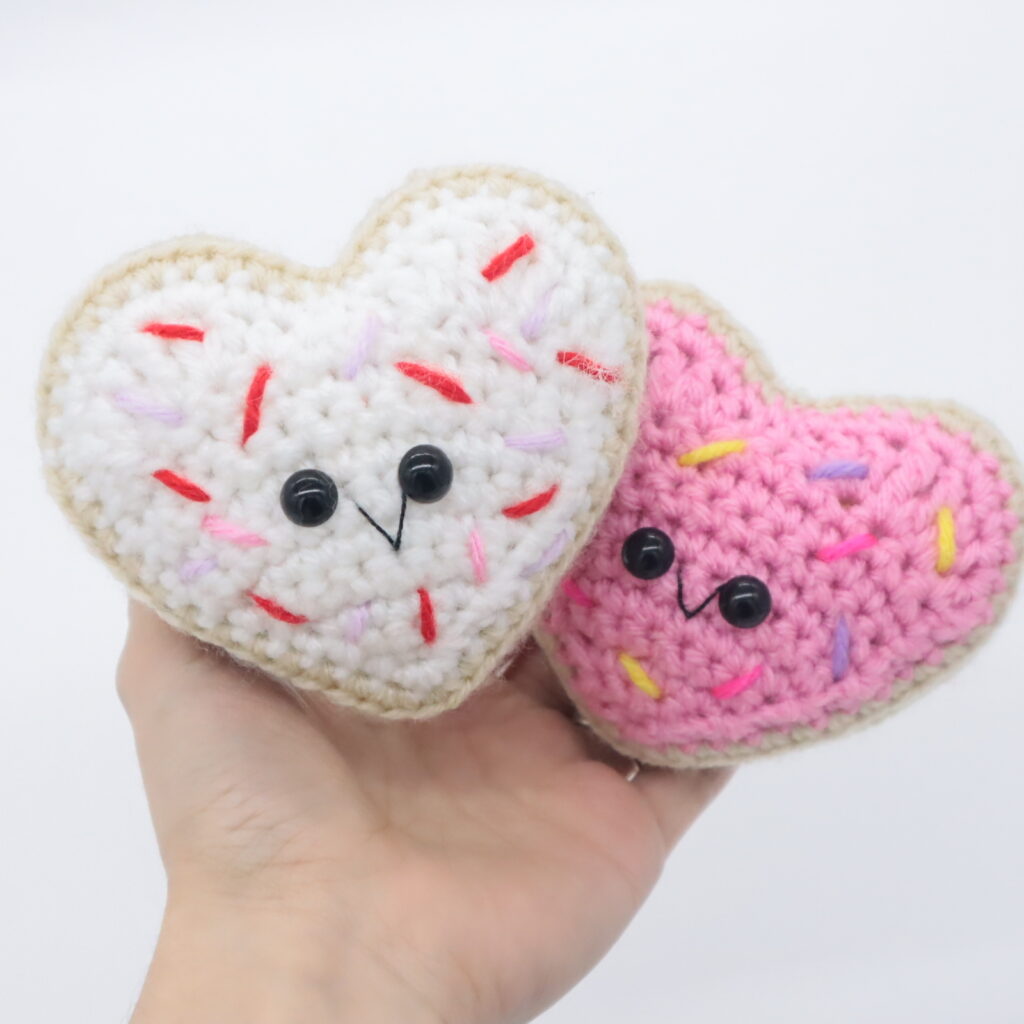
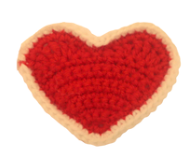
Heart Sugar Cookies Amigurumi – Free Crochet Pattern
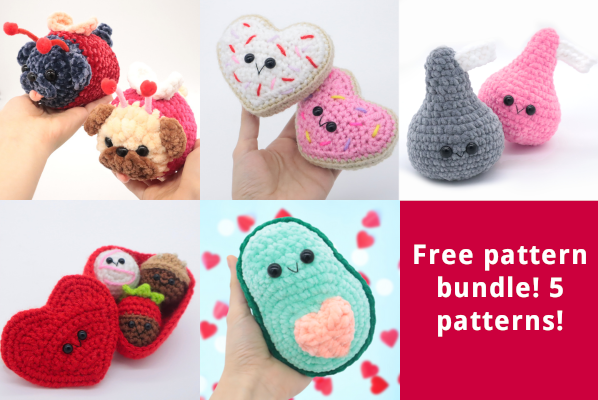
This is only 1 of 5 patterns in this free bundle! Click here for the other patterns!
Print this pattern out – purchase the PDF version here!
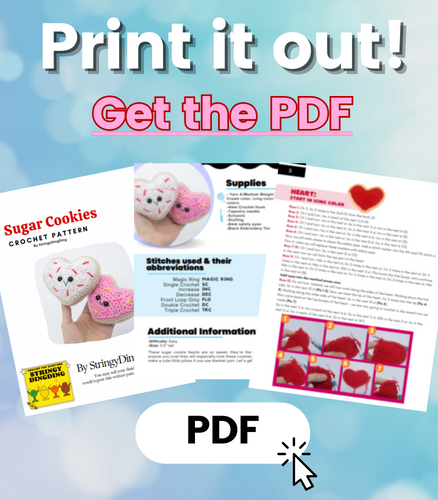
 Supplies:
• Yarn 4/Medium Weight Yarn in…
Cream color, icing color, and sprinkle colors
•4mm Crochet Hook
•Tapestry needle
•Scissors
•Stuffing
•8mm safety eyes
•Black Embroidery Thread
Additional Information:
•Difficulty: Easy
•Size: 3.5″ tall
These sugar cookie hearts are so sweet, they’re the perfect gift for anyone you love! Kids will especially love these cookies, and could even make a cute little pillow if you use blanket yarn. Let’s get started!
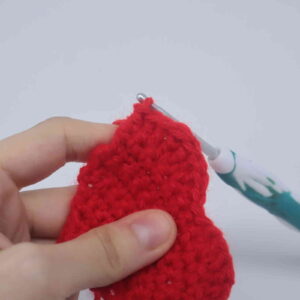
Heart:
Start in Icing Color
Row 1: Ch 2. Sc 2 times in the 2nd Ch from the hook (2)
Row 2: Ch 1 and turn. Inc in each of the next 2 st (4)
Row 3: Ch 1 and turn. Inc in the next st, Sc in the next 2 st, Inc in the next st (6)
Row 4: Ch 1 and turn. Inc in the next st, Sc in the next 4 st, Inc in the next st (8)
Row 5: Ch 1 and turn. Inc in the next st, Sc in the next 6 st, Inc in the next st (10)
Row 6: Ch 1 and turn. Inc in the next st, Sc in the next 8 st, Inc in the next st (12)
Now we will mark where to place the safety eyes. Add a stitch marker into the 4th and 7th stitch in Row 6. Later we will replace these markers with safety eyes.
Row 7-10: Ch 1 and turn. Sc in the next 12 st (12)
In the next row we will form the top part of the heart
Row 11: Ch 1 and turn. Hdc in the next st, Dc 2 times in the next st, Trc 2 times in the next st, Dc 2 times in the next st, Hdc in the next st, SlSt in the next 2 st. This forms the first bump. Let’s continue.
Hdc in the next st, Dc 2 times in the next st, Trc 2 times in the next st, Dc 2 times in the next st, Hdc in the next st (18)
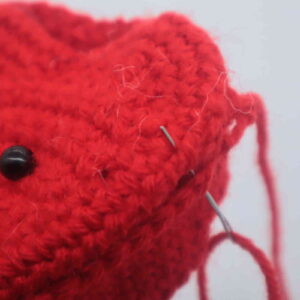
Add eyes into the marked areas now.
Row 12: Do not turn. Instead, we will now work along the sides of the heart. Working down the first side, Sc in the next 10 st (Pic 1-3).
1. 2.
2.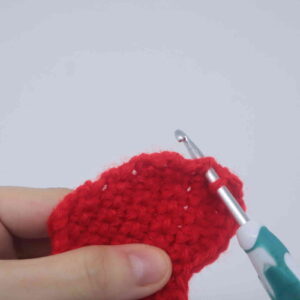 3.
3.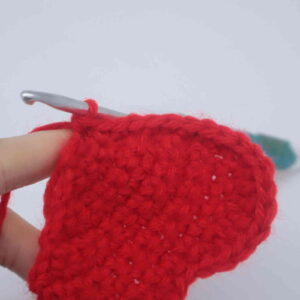
Now we meet the tip of the heart. Sc 2 times into the tip (Pic 4-5). Working along the other side of the heart, Sc in the next 10 st (Pic 6).
4. 5.
5. 6.
6.
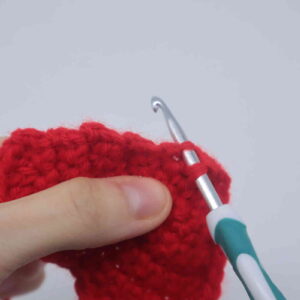
Now we’re back at the top bumps of the heart – we are now going to crochet in the recent row we made (Pic 7).
Sc in the next 2 st, Inc in each of the next 4 st, Sc in the next 2 st, SlSt in the next 2 st. Sc in the next 2 st, Inc in each of the next 4 st, Sc in the next st (47)
7.
Row 13: Change to a light cream color – this will be the cookie part.
Working along the side of the heart, Sc in the next 11 st. Now we meet the tip, Inc in each of the next 2 st. Working along the side of the heart, Sc in the next 16 st, Inc in each of the next 2 st. Sc in the next 4 st, SlSt in the next 2 st, Sc in the next 4 st, Inc in each of the next 2 st, Sc in the next 5 st (54)
Row 14: Working in the BLO (Back Loop Only), Sc in the next 39 st. SlSt in the next 2 st. Sc in the next 13 st (54)
Row 15: Working in the BOTH loops, Sc in the next 39 st. SlSt in the next 2 st. Sc in the next 13 st (54)
Finish off now, leaving a very long tail for sewing. Later we will use this tail end of yarn to sew the two heart pieces together.
Heart Back Piece:
Work in Cream Color Only
Work rows 1-13 using the cream color yarn the entire time. After row 13, stop and finish off.
Assembly:
In Cream Color
Align both heart pieces together, making sure the stitches and heart shape match together. Using the long tail end of yarn, sew the two pieces together. Make sure to stuff before fully sewing closed. Once done, weave in ends and cut any excess yarn.
Sprinkles:
In Multiple Colors
Embroider random lines, each line being about 2 stitches long. For the pink cookie, do about 4 sprinkles for each color. Be sure to spread the colors evenly, you don’t want one color too focused in one place. After you’re done embroidering the sprinkles, tie the ends of yarn into a firm knot. This knot will secure the embroidery in place. Bring the knot inside the toy to hide and cut any excess yarn.
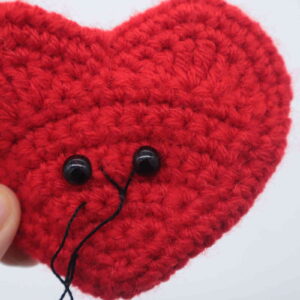
Smile:
In Black Embroidery Thread
Insert needle into the middle area of the toy as shown (Pic 1) and pull needle out at the left of the toy’s eye as shown (Pic 1). Reinsert needle into the middle of the toy (Pic 2) and pull needle out next to the toy’s right eye (Pic 2). Reinsert needle into the middle of the toy as shown (Pic 3) and pull needle out nearby. Tie ends of thread into firm knots and bring knots inside the toy to hide. Cut any excess yarn.
1.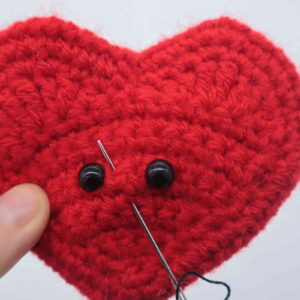 2.
2.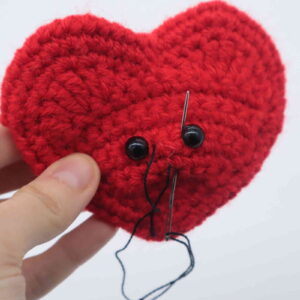 3.
3.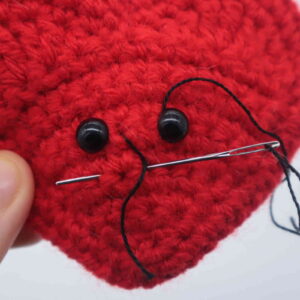 4.
4.
Done! If you made these sugar cookies, I would LOVE to see! You can show me by posting a picture in the comments section underneath this post 🙂


2 Comments
LOVE THESE PATERNS
LOVE THESE PATERNS