Purchase the PDF version here

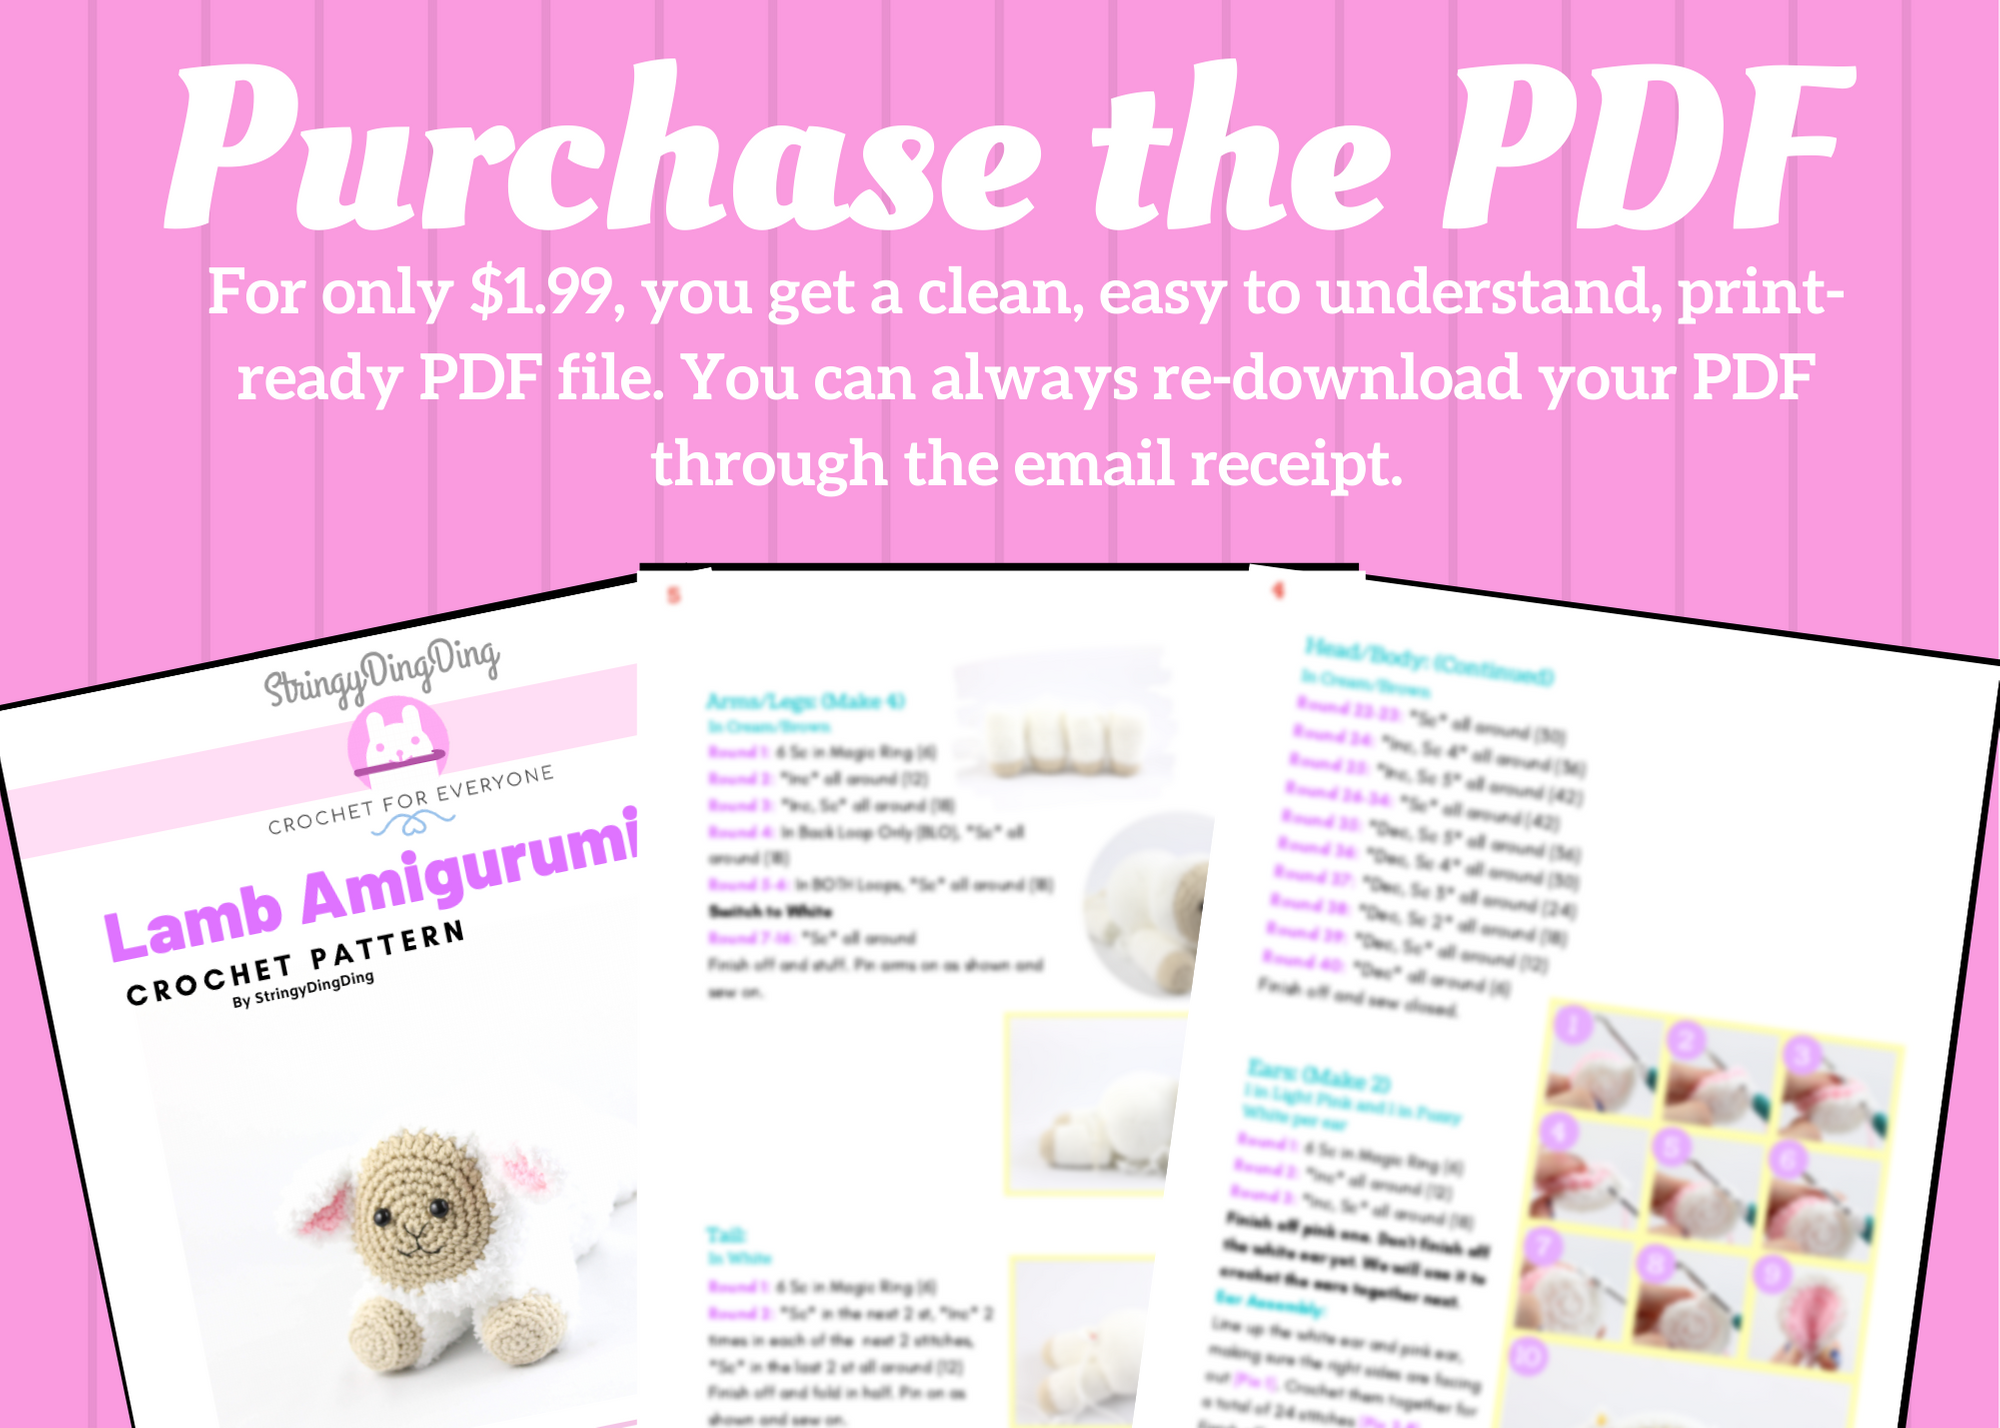
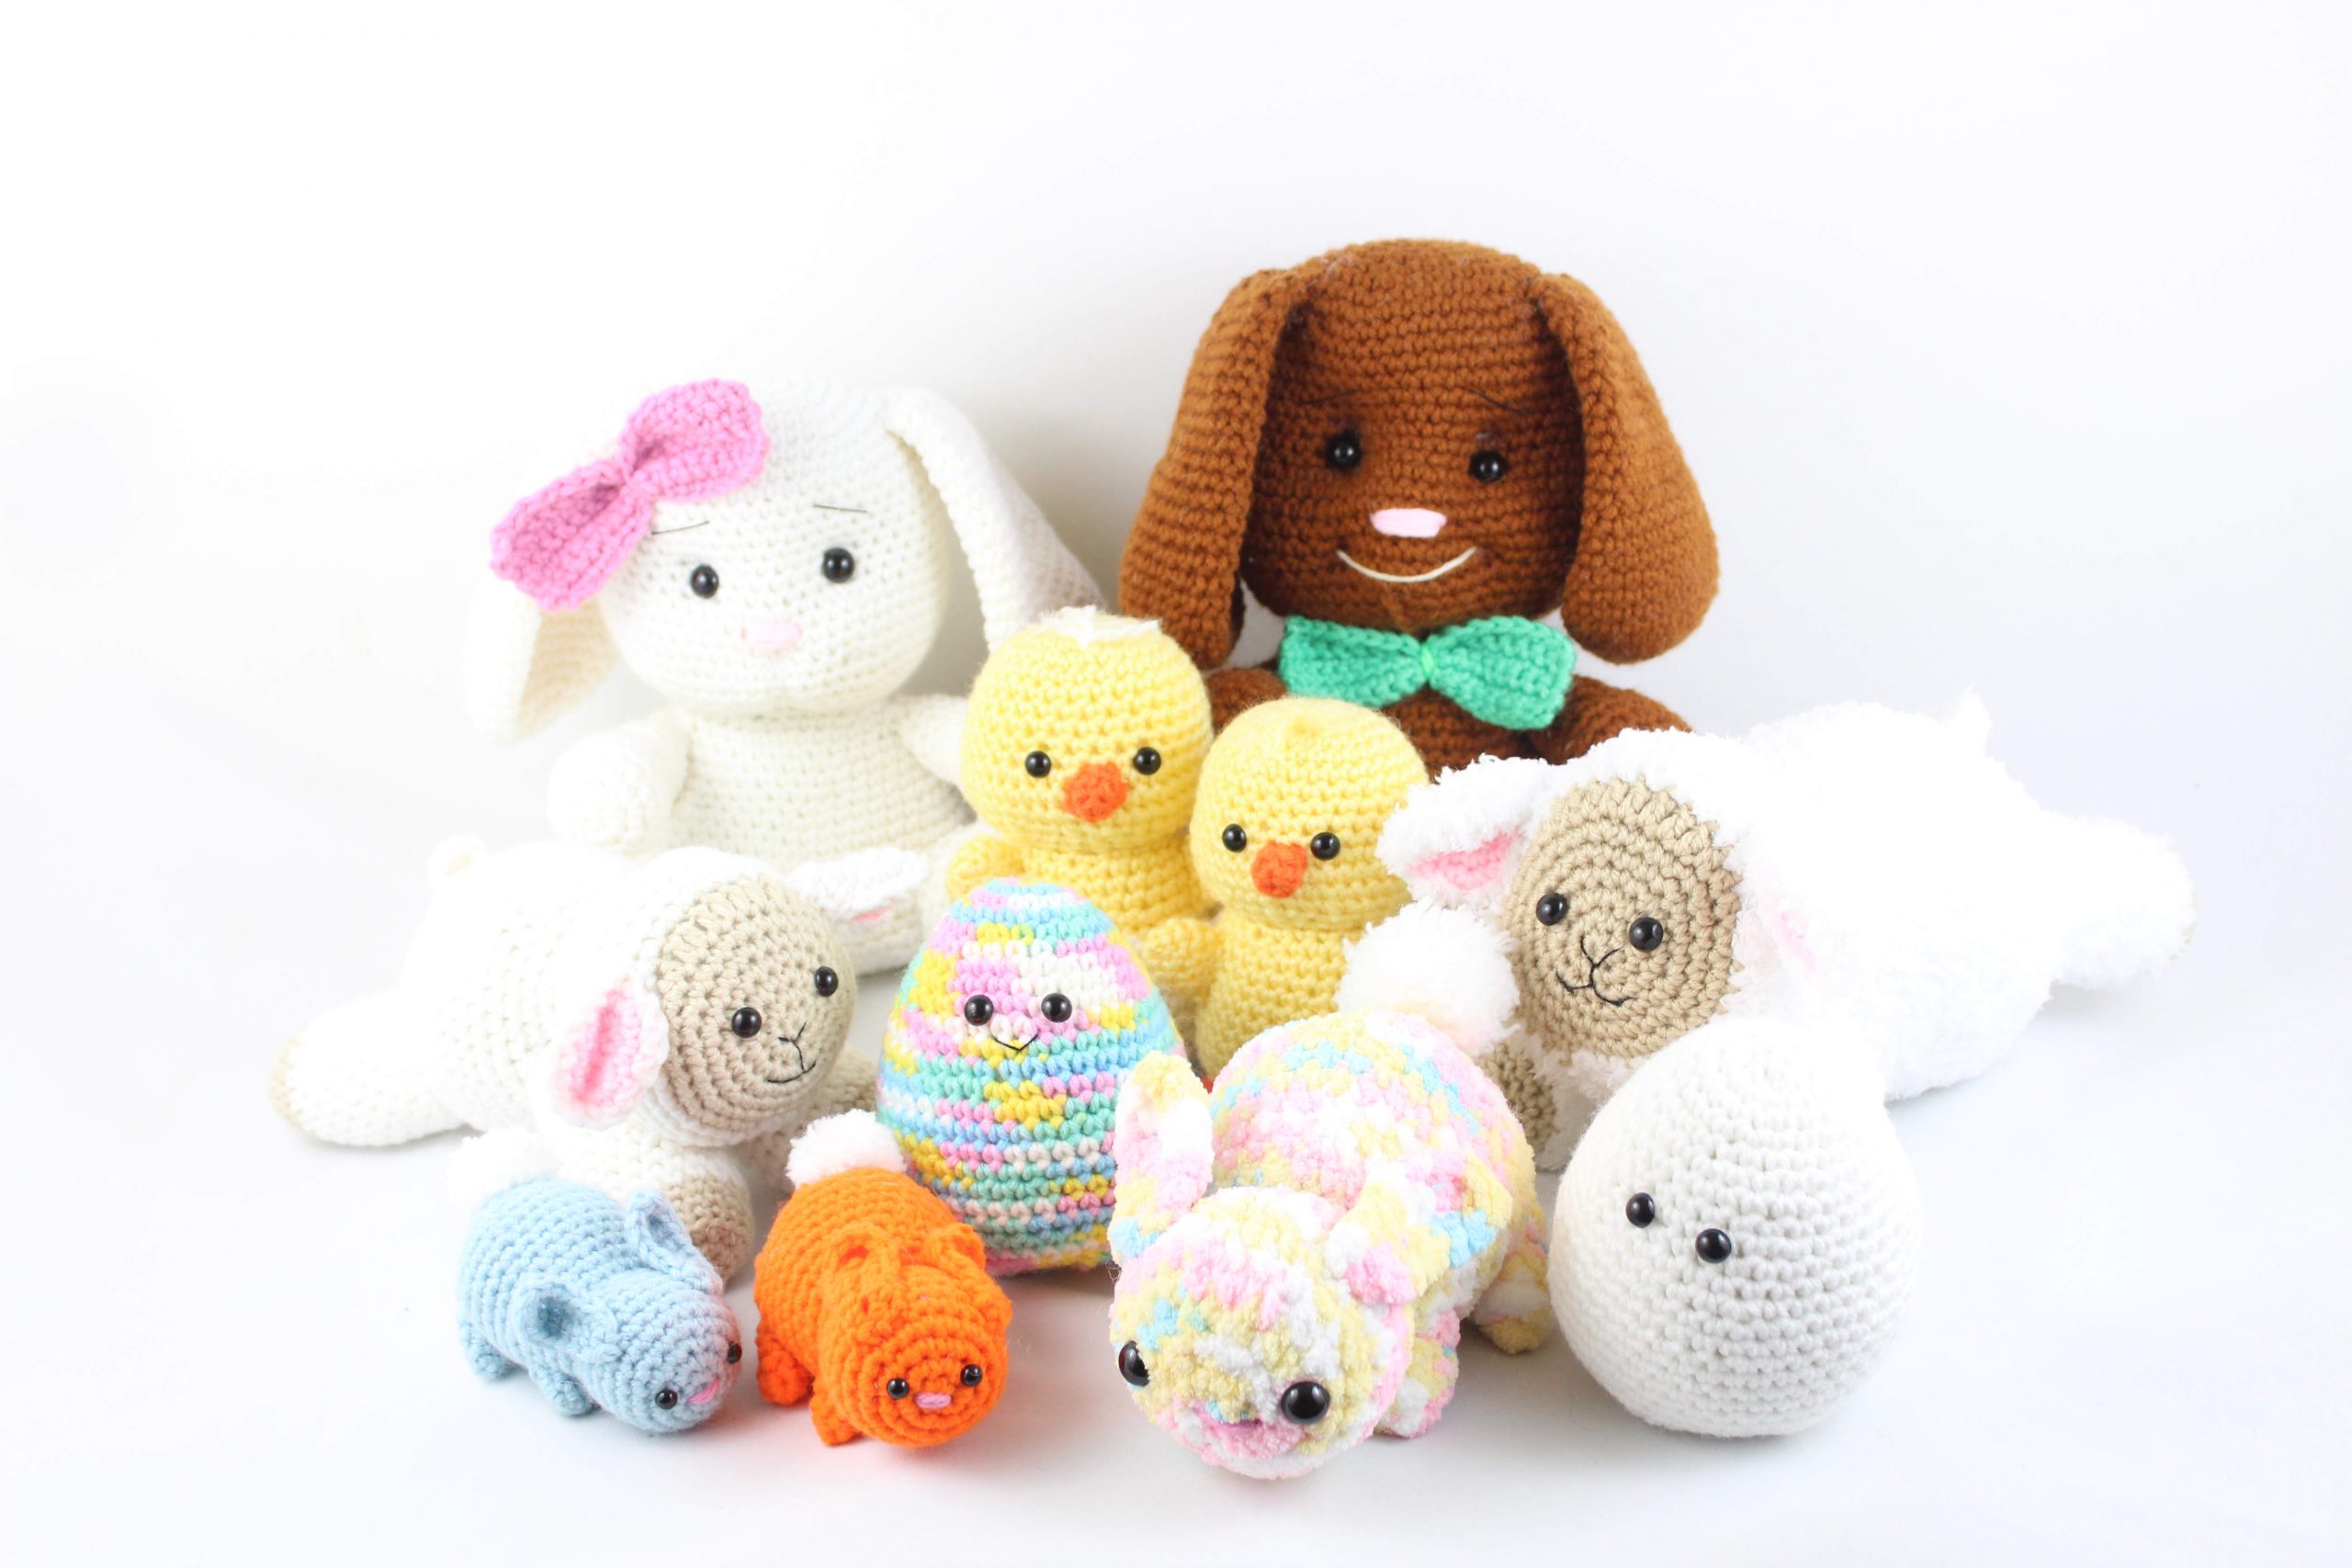
Or purchase the entire Easter Amigurumi PDF Bundle here!
Supplies:
4mm crochet hook, 4/Medium weight yarn in white and light pink. 9mm safety eyes, tapestry needle, scissors, and stuffing.
Additional Information:
Difficulty: Easy
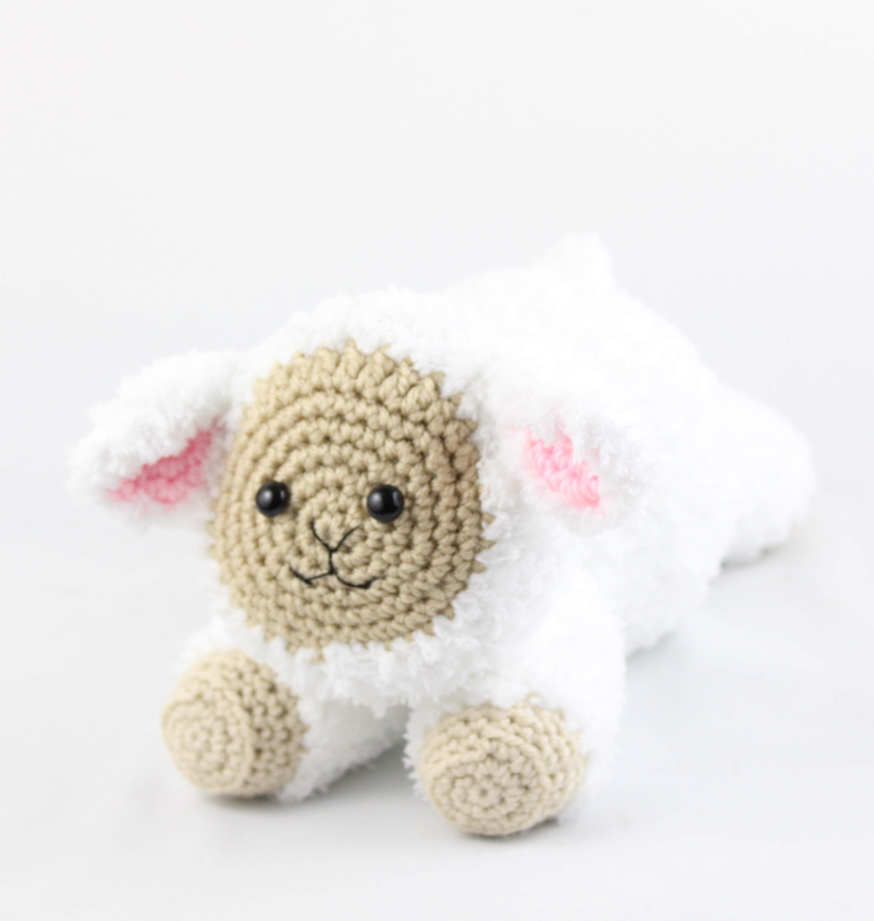
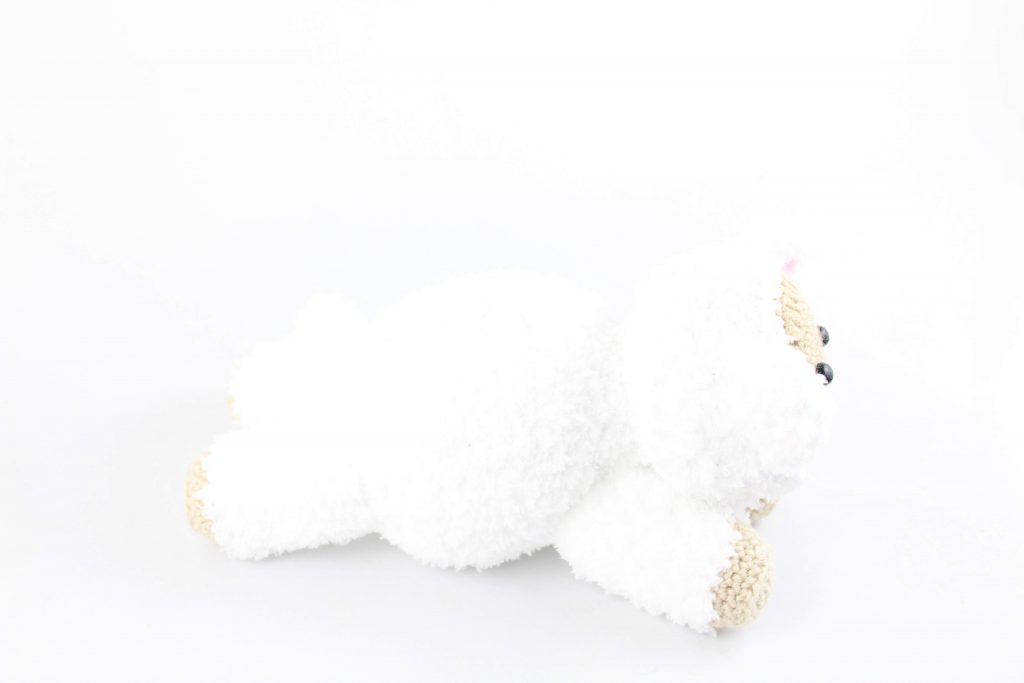
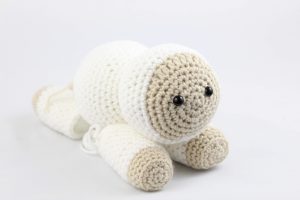
We start by making the head, which leads into the body. The head and body are one piece. Next we make the ears, then all 4 limbs. We then make the tail, and finally create the smile. Then we’re done!
Head/Body:
In Cream/Brown
Round 1: 6 Sc in Magic Ring (6)
Round 2: *Inc* all around (12)
Round 3: *Inc* in the next st, Sc in the next sc. Sc 2 times in the next st. Add a different colored stitch marker to the Sc just made. This marks where we will place the eyes. Sc in the next st, *Inc* in the next st, Sc in the next st, *Inc* in the next st, Sc in the next st and add a different colored st marker to the Sc just made. *Inc* in the next st, Sc in the next st* 2 times (18)
Round 4: *Inc, Sc 2* all around (24)
Round 5: *Inc, Sc 3* all around (30)
Round 6: *Inc, Sc 4* all around (36)
Round 7: Sc in the next 12 st, Hdc in the next 3 st, Dc in the next 8 st, Hdc in the next 3 st, Sc in the next 10 st
Add safety eyes in marked areas now. Switch to white or fuzzy yarn now
Round 8: *Inc, Sc 5* all around (42)
Round 9-13: *Sc* all around (42)
Round 14: *Dec, Sc 5* all around (36)
Round 15: *Dec, Sc 4* all around (30)
Round 16: *Dec, Sc 3* all around (24)
Round 17: *Dec, Sc 2* all around (18)
Round 18: *Dec, Sc* all around (12)
Round 19: *Inc, Sc* all around (18)
Round 20: *Inc, Sc 2* all around (24)
Round 21: *Inc, Sc 3* all around (30)
Round 22-23: *Sc* all around (30)
Round 24: *Inc, Sc 4* all around (36)
Round 25: *Inc, Sc 5* all around (42)
Round 26-34: *Sc* all around (42)
Round 35: *Dec, Sc 5* all around (36)
Round 36: *Dec, Sc 4* all around (30)
Round 37: *Dec, Sc 3* all around (24)
Round 38: *Dec, Sc 2* all around (18)
Round 39: *Dec, Sc* all around (12)
Round 40: *Dec* all around (6)
Finish off and sew closed.
Ears: (Make 2)
1 in Pink, 1 in White per ear
Round 1: 6 Sc in Magic Ring (6)
Round 2: *Inc* all around (12)
Round 3: *Inc, Sc* all around (18)
Finish off pink one. Don’t finish off the white ear yet. We will use it to crochet the ears together next.
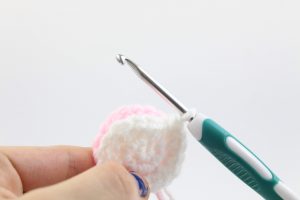
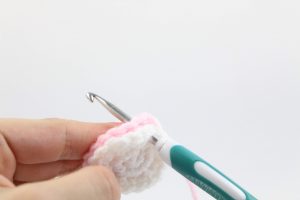
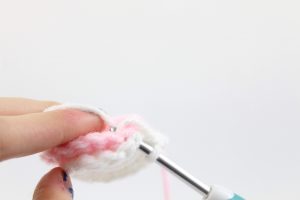
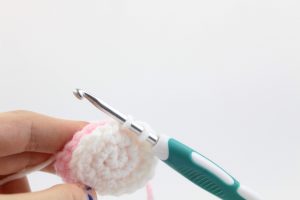
Ear Assembly:
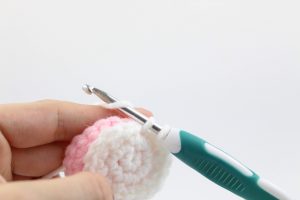
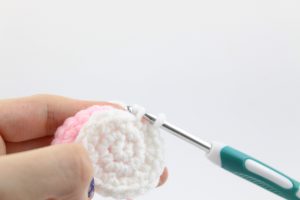
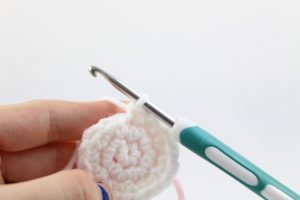
Line up the white ear and pink ear, making sure the right sides are facing out (Pic 1). Crochet them together for a total of 24 stitches (Pic 2-8).

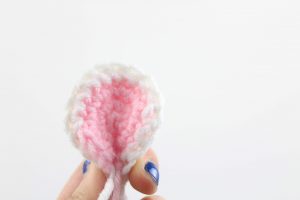
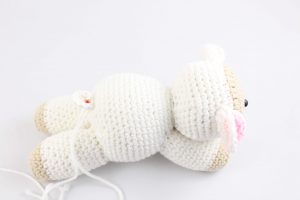
Finish off and fold in half (Pic 9). Pin to the head as shown (Pic 10) and sew on.

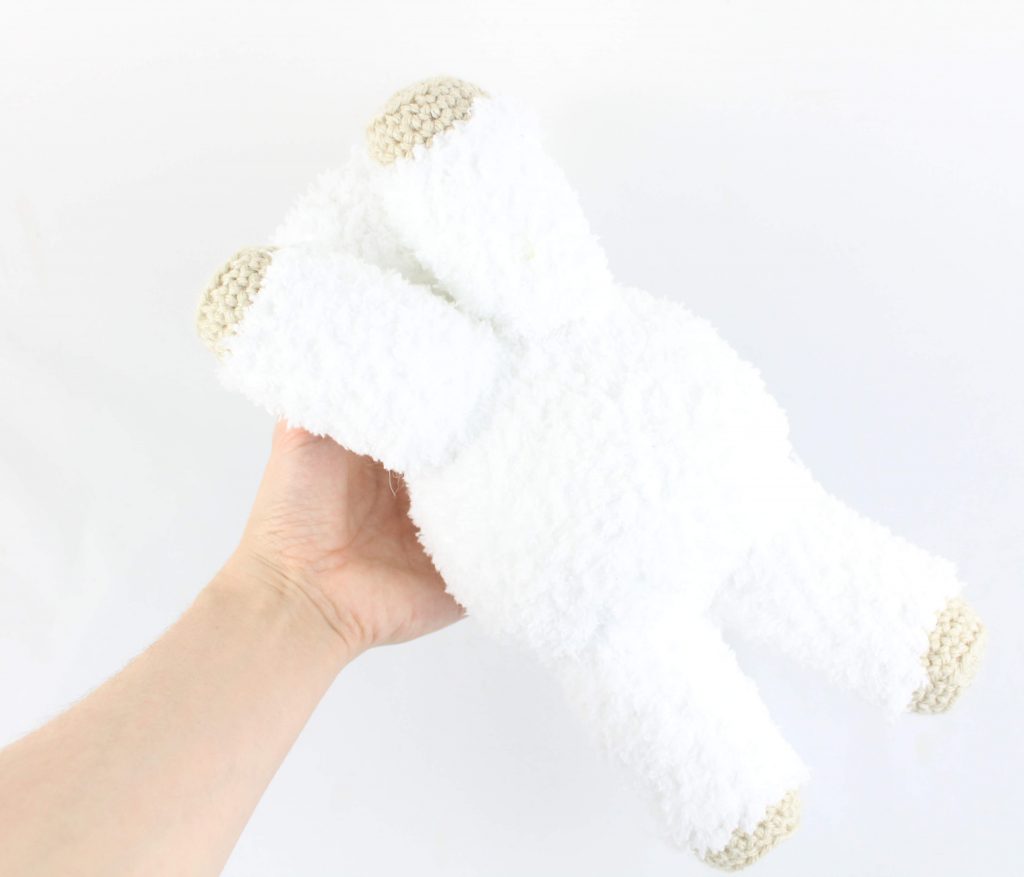
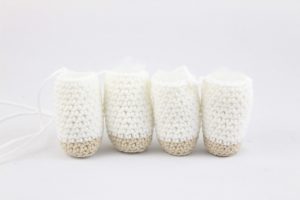
Arms/Legs: (Make 4)
In Cream/Brown
Round 1: 6 Sc in Magic Ring (6)
Round 2: *Inc* all around (12)
Round 3: *Inc, Sc* all around (18)
Round 4: In Back Loop Only (BLO), *Sc* all around (18)
Round 5-6: In BOTH Loops, *Sc* all around (18)
Switch to White
Round 7-16: *Sc* all around
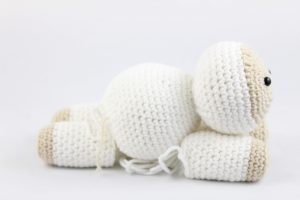
Finish off and stuff. Pin arms on as shown and sew on.
Tail:
In White
Round 1: 6 Sc in Magic Ring (6)
Round 2: *Sc* in the next 2 st, *Inc* 2 times in each of the next 2 stitches, *Sc* in the last 2 st all around (12)
Finish off and fold in half. Pin on as shown and sew on.
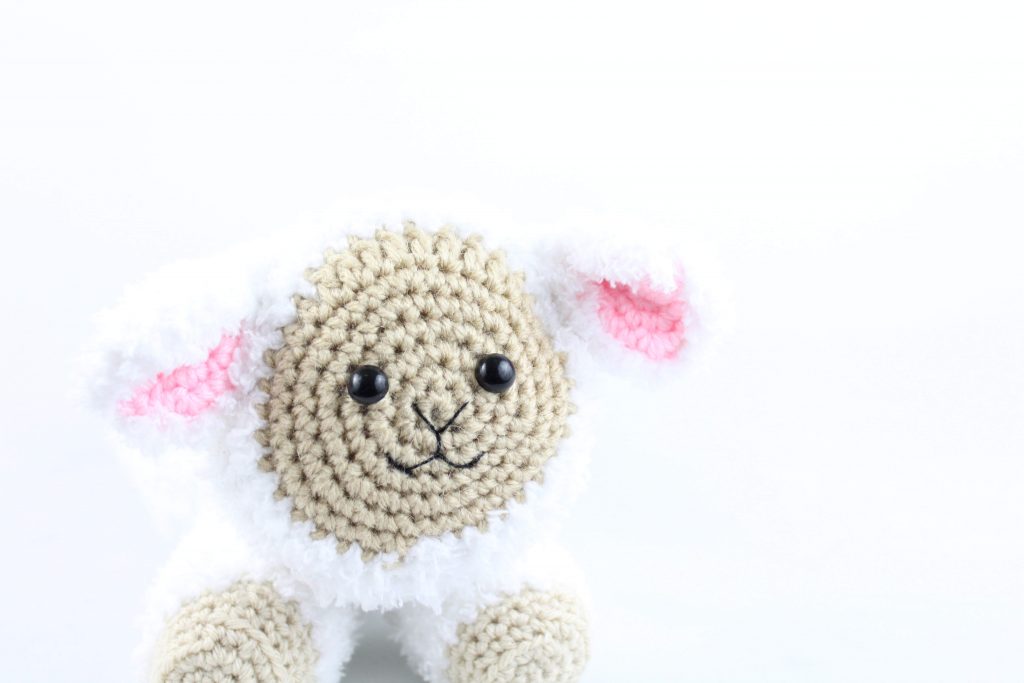
Smile Assembly:
In Black Embroidery Thread
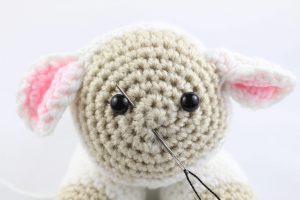
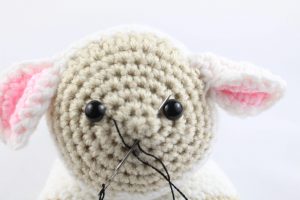
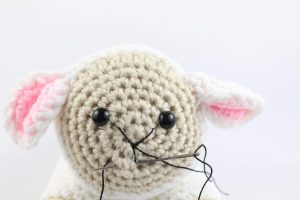
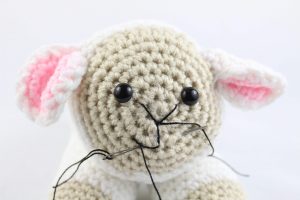
Insert needle with thread in the middle if the face, and pull out diagonal to the left (Pic 1). Reinsert needle into the middle area, and pull out diagonal to the right (Pic 2). Reinsert in the middle and pull out one stitch below the middle (Pic 3). Reinsert into the middle area and pull out where shown (Pic 4).
1. 2.
2.
3. 4.
4.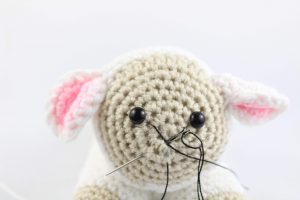
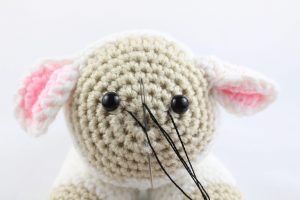
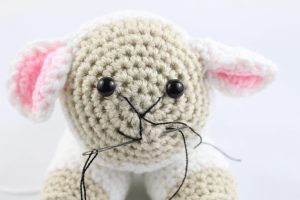
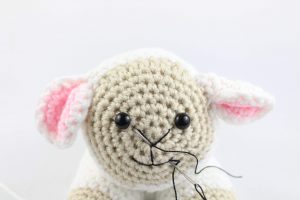
Reinsert needle into the bottom middle area, and pull out where shown (Pic 5). Reinsert needle into the same stitch, making sure the smile is between where you just pulled out and where you’re inserting the needle now (Pic 6). This is going to hold the smile in place. Pull needle out on the opposite side as shown (Pic 6). Reinsert needle into the bottom middle area, and pull needle out where shown (Pic 7). Reinsert needle into the same stitch, making sure the smile is between where you just pulled out and where you’re inserting the needle now (Pic 8). Pull needle out to the middle of the nose (Pic 8). Tie the two ends of thread together in a knot and weave the knot into the head. Done!
5. 6.
6. 
7. 8.
8.
Done! If you made a lamb I would love to see it! “Try” it on Pinterest to show me your creation 🙂


3 Comments
What is the fuzzy yarn used for the lamb please?
This is so cute! Thank you for the pattern.
Yay I’m so happy you like it! The fuzzy yarn is Bernat Pipsqueak in white 🙂
The PDF for this pattern is defective with black marks, etc throughout……I have had this problem with another pattern…..a small pumpkin…..emailed about that one but never got a response so thought I’d try here for this one…..