Mini Pumpkin Amigurumi – Free Crochet Pattern
Hello there! It’s officially October, which means I’m definitely in the best mood ever because it’s getting closer to Halloween (though I always try to be in a good mood)! Realistically, I celebrate Halloween every day of October, though 🙂 In fact, my boyfriend and I devoured a box of pumpkin-shaped cookies in less than 24 hours. To be fair, these cookies were pretty small though! So don’t give me a hard time 😁
Anyways, back to the pattern! These scrap pumpkins are apart of my “Scraptacular Halloween” series this year. I’ve released 4 different Halloween themed patterns that are all quick and easy to make with your scrap yarns 🙂 The other patterns include a mini candy corn, eyeball, and mini piece of candy. That’s not all…
Since you’re here, you must like free Halloween patterns! You’re in luck – this year I’m releasing my biggest free Halloween bundle yet, with 10 free patterns. If you’d like to see those other upcoming patterns, here’s a picture. (You can click on the picture of the set below and you’ll be taken to a post which shows each upcoming pattern’s release date.)
View the other free Halloween patterns >>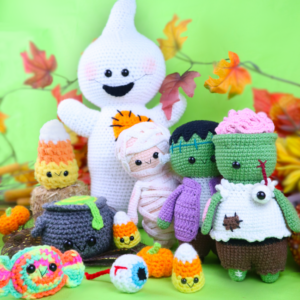
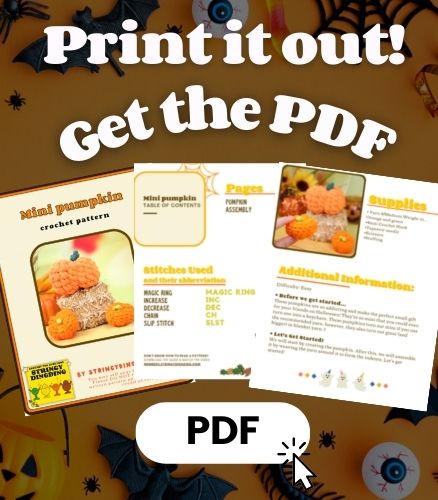
Print this pattern out – purchase the PDF here!


This is just 1 out of 10 patterns included in the Spooky Halloween Amigurumi Bundle! Every week 1 or more Halloween themed amigurumis will be released.
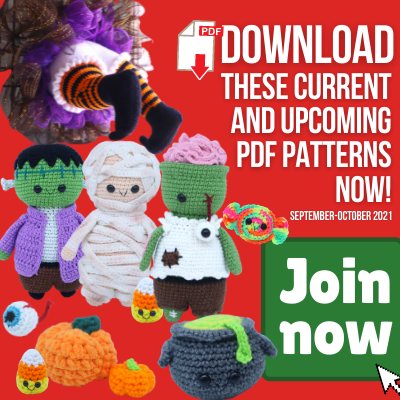
Want to see the other Halloween patterns and their release date? See them here!
Become a member to unlock each PDF pattern as they’re released!
Supplies:
• Yarn 4/Medium Weight in…
Orange and green
•4mm Crochet Hook
•Tapestry needle
•Scissors
•Stuffing
Additional Information:
Difficulty: Easy
• Before we get started…
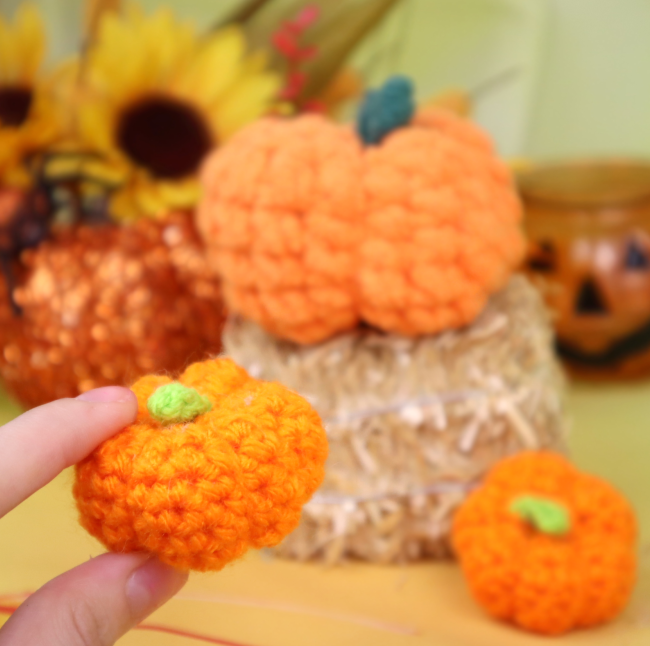
These pumpkins are so addicting and make the perfect small gift for your friends on Halloween! They’re so mini that you could even turn one into a keychain. These pumpkins turn out mini if you use the recommended yarn, however, they also turn out great (and bigger) in blanket yarn 🙂
• Let’s Get Started!
We will start by creating the pumpkin. After this, we will assemble it by weaving the yarn around it to form the indents. Let’s get started!

Pumpkin:
In orange

Round 1: 6 Sc into a Magic Ring (6)
Round 2: *Inc* all around (12)
Round 3: *Inc, Sc* all around (18)
Round 4-9: *Sc* all around (18)
Round 10: *Dec, Sc* all around (12)
Add stuffing here
Round 11: *Dec* all around (6)
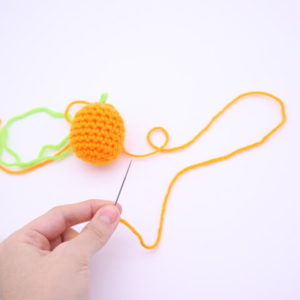
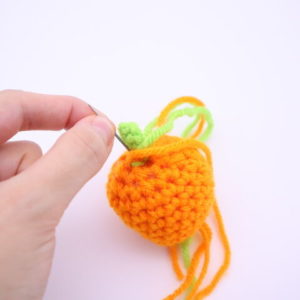
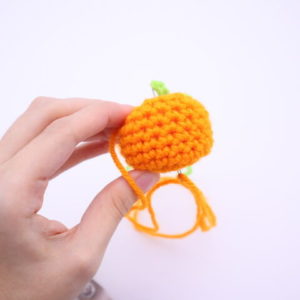
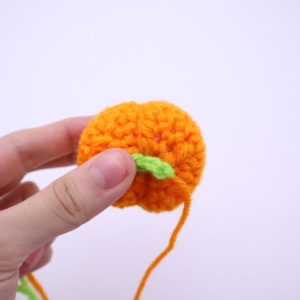
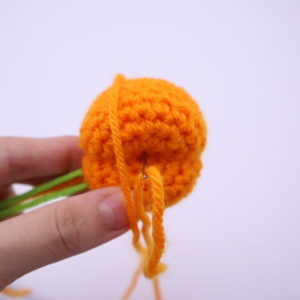
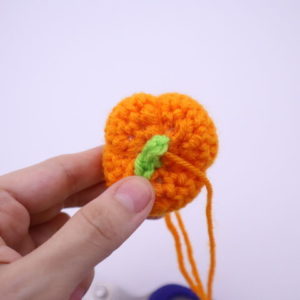
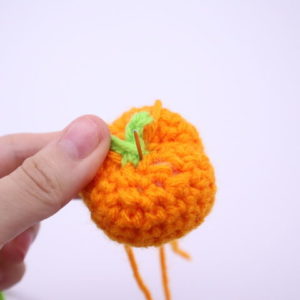
Round 12: Change to green now, when finishing off your orange color, leave a very long tail for assembly (about 12″). In green, Ch 4. SlSt in the 2nd Ch from the hook. SlSt in the next 2 st. Your stem is done (Pic 1). Continuing on the pumpkin, skip the next 2 st and SlSt in the 3rd st (Pic 2-3). Finish off, leaving a tail for sewing. Sew the remanding stitches closed with the green tail end of yarn (Pic 4). Weave in ends of green yarn. Now we will use the orange tail! Continue on next step…
1.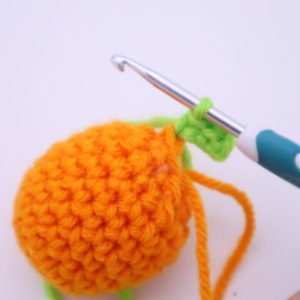 2.
2.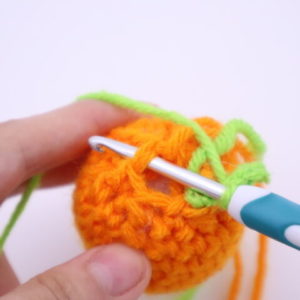
3.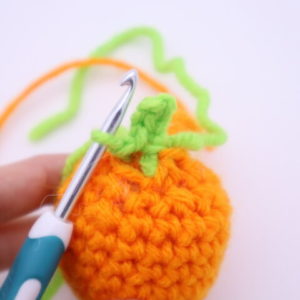 4.
4.
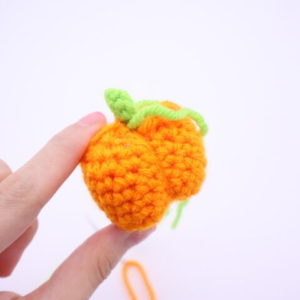
5.
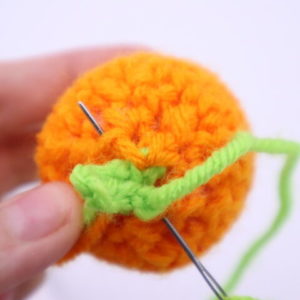
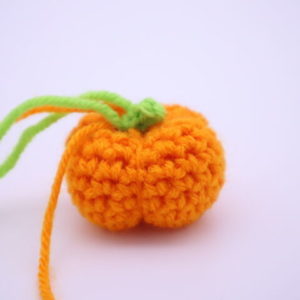
Pumpkin assembly:
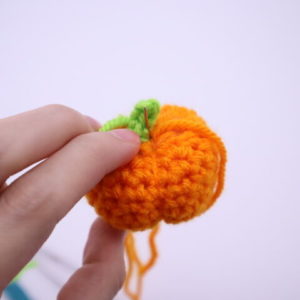
Insert the tail end of orange yarn into the very middle of the bottom of the pumpkin (Pic 2), and pull the yarn to the top middle of the pumpkin (Pic 3). Pull the yarn firmly (Pic 4). This creates the crease of the pumpkin. Reinsert into the very bottom middle of the pumpkin (Pic 5), and pull back up to the top middle of the pumpkin (Pic 6). Pull fairly tight. Repeat this process a total of 4-8 times (Pic 7-11). I did this a total of 8 times. Once finished, make a knot with remaining yarn and bring the knot into the pumpkin to hide.
1. 2.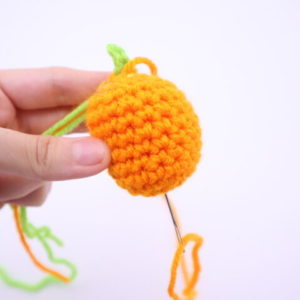
3. 4.
4.
5. 6.
6.
7. 8.
8.
9. 10.
10.
11. 12.
12.
Done! If you made this scrap pumpkin, I would LOVE to see! You can show me by posting a photo in the comments below this blog post 🙂


8 Comments
Absolutely loving these little ones. I am thinking of adding them to a harvest garland.
Thank you for the pattern. As a newby these littles and pics are super helpful. This blog is one of my new favorites.
Olive! These little sweeties are adorable! I have a mini Halloween tree on my desk at work and this is the perfect size to make ornaments for it! Thank you for sharing your patterns with us!
My pumpkins keep coming out square! 🙁 I can’t get the sides to curve when I go to wrap the sides of the pumpkin. Any ideas how to fix?
Hello! Thank you for this lovely pattern! How do I change colours please? Thank you so much!!
Hi Cerys!
Usually you change colours when finishing the last stitch of the previous colour. I e. For the last loop you pull through, use the new colour. That said, I didn’t need to with this pattern, as you can pull both colours right and they sort of disappear into the base of the stalk.
I hope that makes sense! 🙂
Thanks for the really cute pattern! I made a teeny one but felt compelled to add a face… 🎃 I then made a slightly larger one, also with a face. I love these!
(The teeny one.)
Why are they apart from your halloween decorations? That seems to make no sense since they literally are halloween decorations.