No-Sew Turtle Amigurumi – Free Crochet Pattern
Print this pattern out – purchase the PDF here!

 Supplies:
• Yarn 4/Medium Weight Yarn in…
Color 1 (first shell color), Color 2 (the darker shell color), Skin Color (the turtle’s skin color), and Brown for the bottom shell.
•4mm Crochet Hook
•Tapestry needle
•Scissors
•Stuffing
•7mm safety eyes
Additional Information:
•Difficulty: Intermediate
•Size: 3″ long
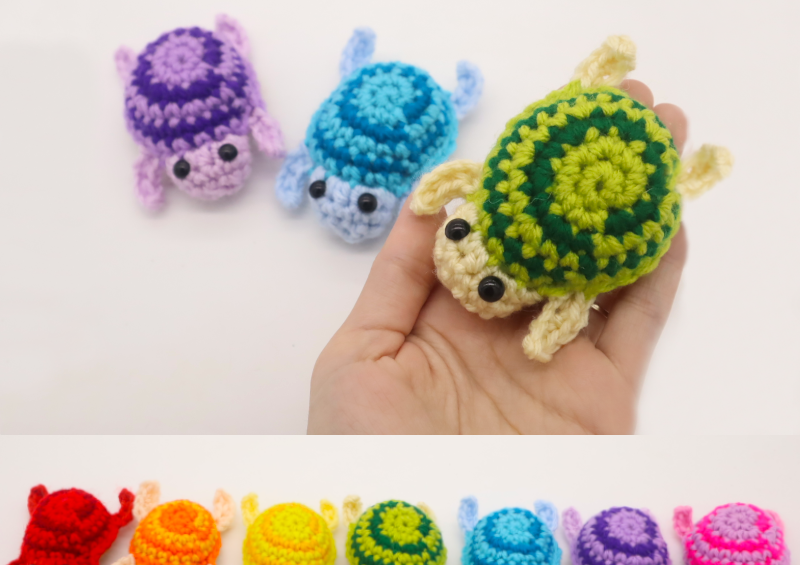
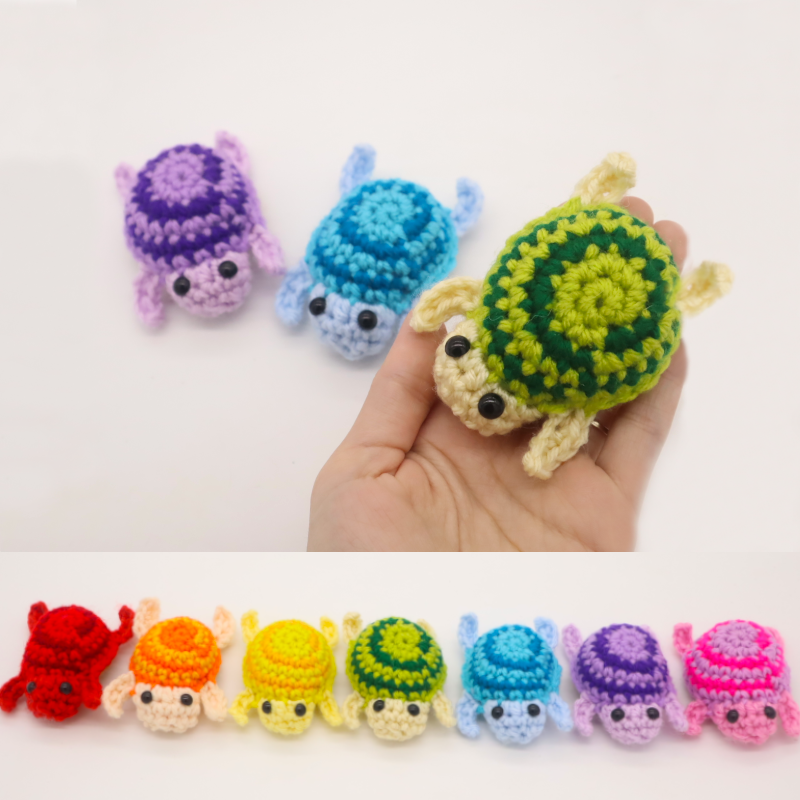
Everyone loves turtles, they’re slow but fast to win over everyone’s heart! What else is fast? This pattern! You will not need to sew any parts on with this pattern! The shells, arms, and head are all crocheted together, making this pattern work up quickly. Once you’ve made a few, the pattern works up a little faster each time. Just be sure to follow along carefully the first few times, then you’ll be whipping these turtles up like a pro!
Let’s get started!
Bottom Shell:
In Brown
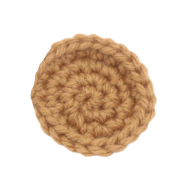
Round 1: 6 Sc into a Magic Ring (6)
Round 2: *Inc* all around (12)
Round 3: *Inc, Sc in the next st* all around (18)
Round 4: *Inc, Sc in the next 2 st* all around (24)
Finish off now, leaving a tail for sewing. Weave in ends and cut any excess yarn.
Top Shell:
Start in Color 1
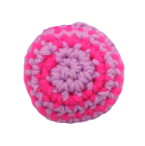
Round 1: 6 Sc into a Magic Ring (6)
Round 2: *Inc* all around (12)
Round 3: Change to Color 2. Repeat *Inc, Sc in the next st* all around (18)
Round 4: Change to Color 1. Repeat *Inc, Sc in the next 2 st* all around (24)
Round 5: Change to Color 2. *Sc* all around (24)
Round 6: Change to Color 1. Cut Color 2’s yarn, we will no longer use it. Now *Sc* all around (24)
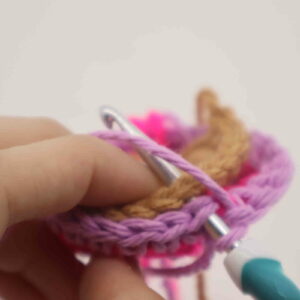
Now we will attach both pieces together. In this following round we will also create the arms, legs, and head.
Note that after making an arm, be sure to make your following stitch into the NEXT stitch of the shell. Sometimes it can be hard to see and you may accidentally crochet into the SAME stitch that the arm is coming out of, and this will result in you having too many stitches when it comes time to form the head. Make extra sure after you make each arm that you crochet into the following stitch, not the same stitch as the arm!
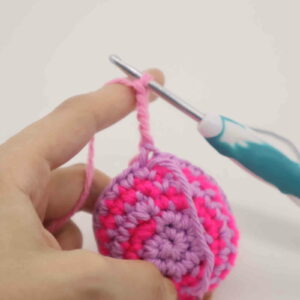
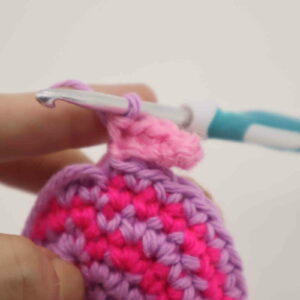
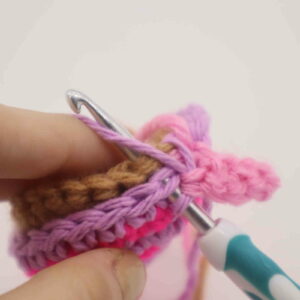
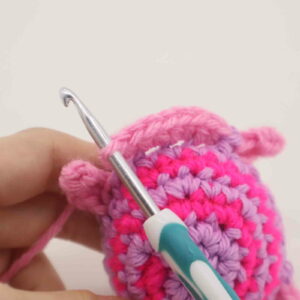
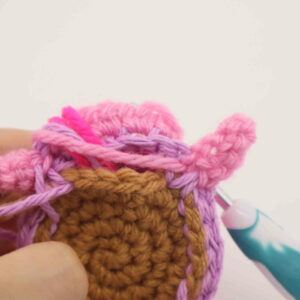
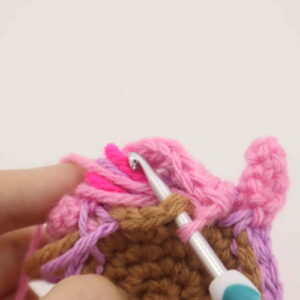
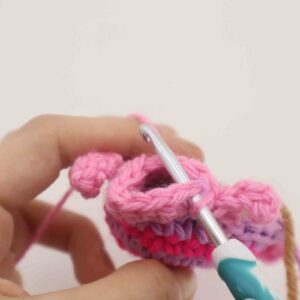
Round 7: Align shells together so the stitches line up (Pic 1). Going through BOTH shells at the same time (Pic 2), still using Color 1, Sc in the next st. Change to Skin Color. Ch 5 (Pic 3), Sc in the 2nd Ch from the hook, Sc in the next ch, Inc in the next st, Sc in the last ch.
1. 2.
2. 3.
3.
4.
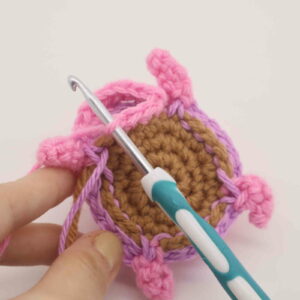
Round 7: (Continued) Change to Color 1. Working through BOTH shells, SlSt in the next 6 st (Pic 5).
5.
Change to Skin Color. Ch 7. Sc in the 2nd Ch from the hook, Dec 2 times, Sc in the next Ch.
Change to Color 1. Working through BOTH shells, SlSt in the next 6 st.
Change to Skin Color. Ch 5, Sc in the 2nd Ch from the hook, Hdc in the next Ch, Inc in the next ch, Sc in the last Ch.
Change to Color 1. Working through BOTH shells, SlSt in the next 6 st.
Change to Skin Color. Ch 7. Sc in the 2nd Ch from the hook, Dec 2 times. Sc in the next Ch.
Change to Color 1. Sc in the next st.
6.
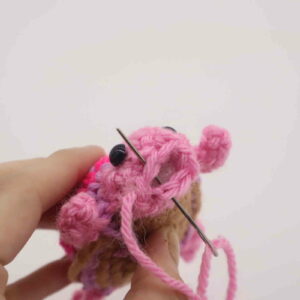
Change to Skin color. Now we are forming the head. Add a stitch marker to the first stitch you’ll make in this round – this will mark the start of the new rounds. Working in the Front Loop Only (FLO), Hdc 2 times in each of the next 4 st (Pic 1).
Turn the turtle around so you see it’s belly. Working through BOTH loops of the belly, Sc in the next 4 st (Pic 2-4).
1. 2.
2. 3.
3. 4.
4.
Round 8: Turn the turtle around (Pic 5). Work through BOTH loops for the rest of the round. *Sc* all around (12)
5.
Round 9: Dec 1 time, Sc in the next st, Dec 2 times, Sc in the next 2 st, Dec 1 time, Sc in the next st (8)
Finish off, leaving a long tail for sewing. Stuff the body and head firmly now. Attach a pair of 7mm safety eyes to the turtle’s head. Once done, sew the remaining stitches together and weave in ends (Pic 8). Cut any excess yarn.
6.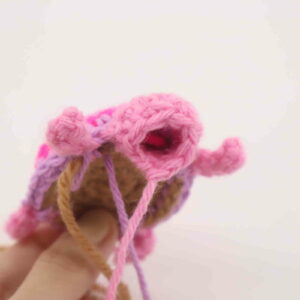 7.
7. 8.
8.
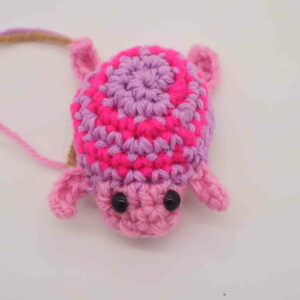
Done! If you made a turtle, I would LOVE to see! You can show me by posting a picture in the comments section underneath this post.


9 Comments
This was so much fun, this turtle is very cute. Will make more for sure. Thank you.
This pattern is so cute
This was the first time I did three color changes in a pattern. I think he came out well,
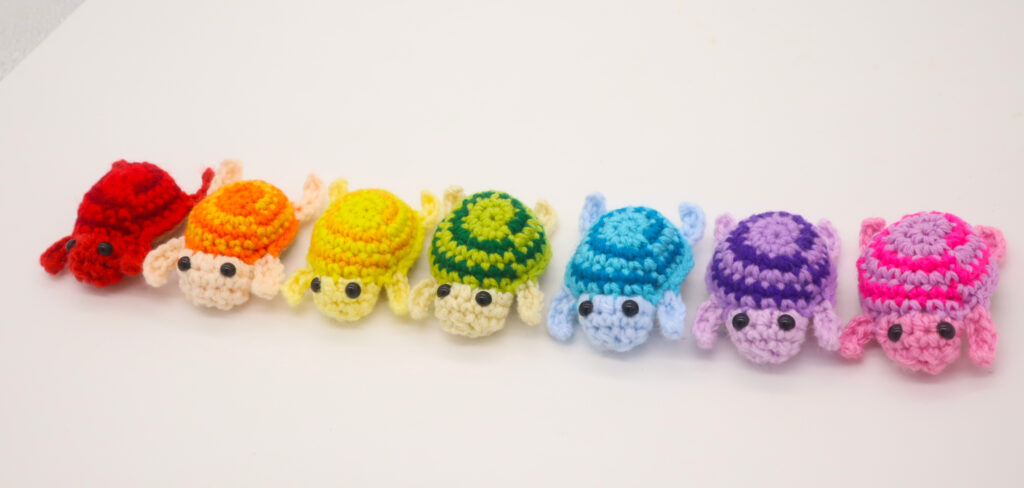
I love the multi-colored yarn you used for the body parts. It came out adorable!!
Love the turtle pattern!
Love this turtle pattern!
I love this pattern!! Super easy and my kids get to pick random colors to make the turtles
I have made several of your patterns and have always found your patterns easy to understand. And great fun to make and give away. This turtle was no exception. I made 30 in a variety of color combinations to give away in the goodie bags for my daughter’s 8th birthday. They were a big hot!
Very cool