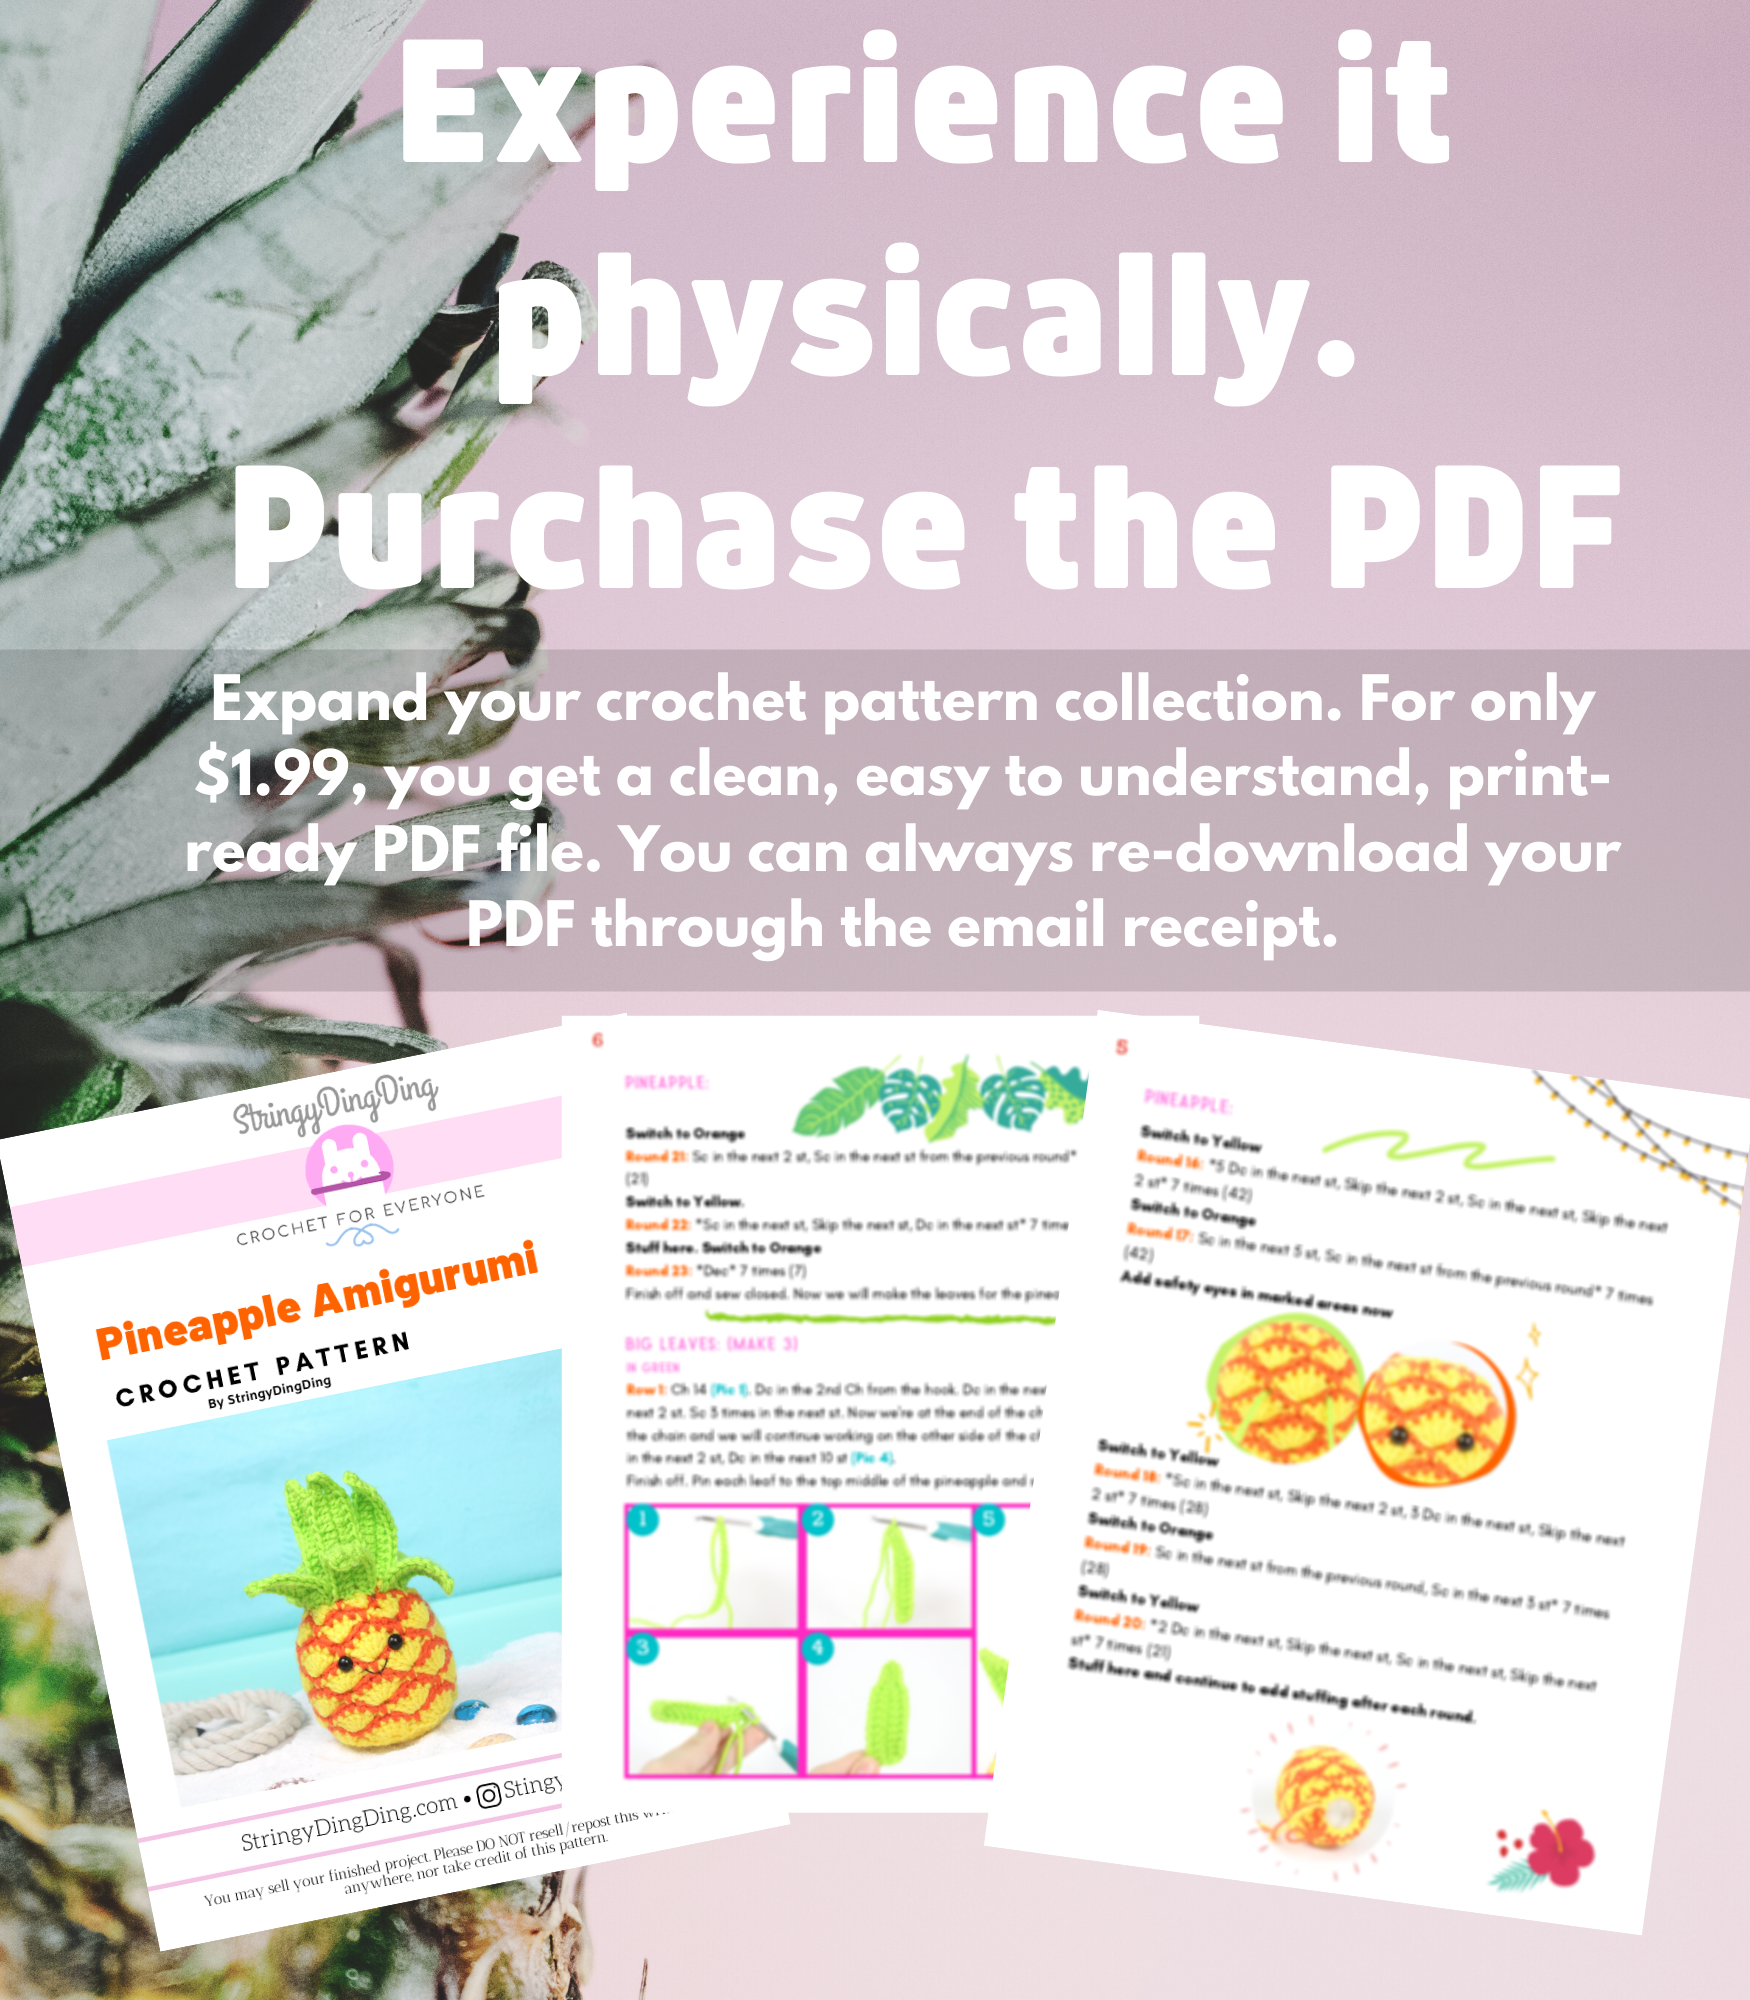
Purchase the PDF Version here

Or purchase the entire PDF Bundle!
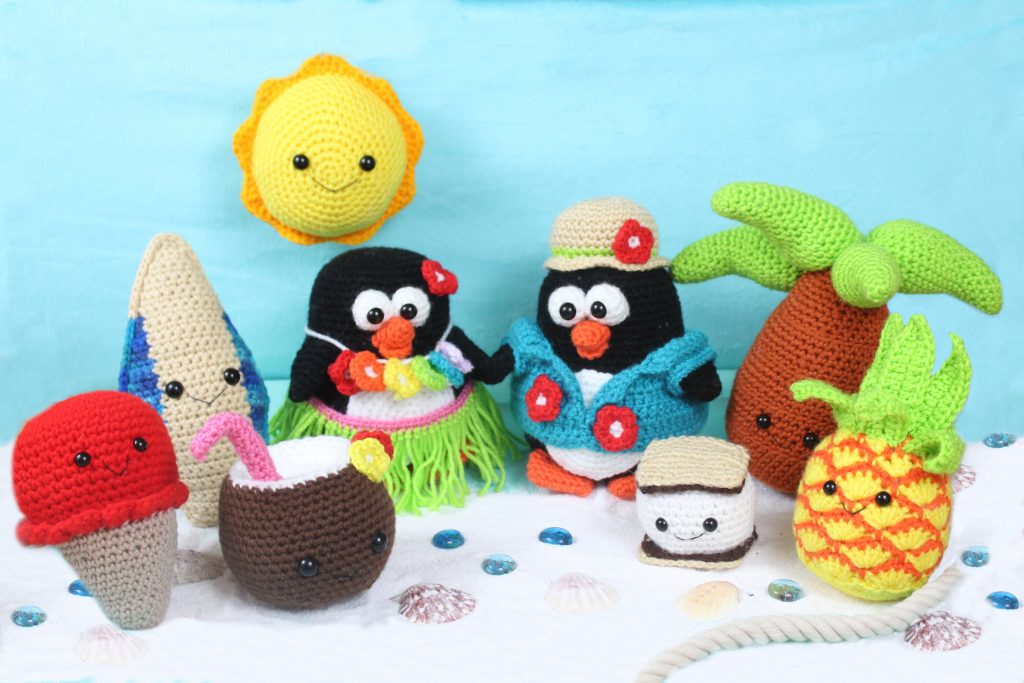
Enter our Summer Amigurumi Crochet Along!
If you make this pineapple amigurumi anytime from July 5-August 31, just post a picture in the CAL blog post to enter in for a chance to win a $25 gift card to a craft store of your choice!
Supplies:
4/Medium weight yarn in the following:
Yellow
Orange
Green
8mm safety eyes, black embroidery thread, tapestry needle, scissors, and stuffing.
Additional Information:
Difficulty: Easy
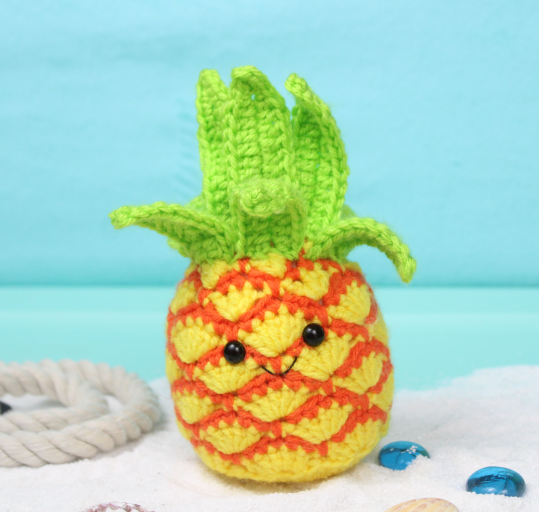
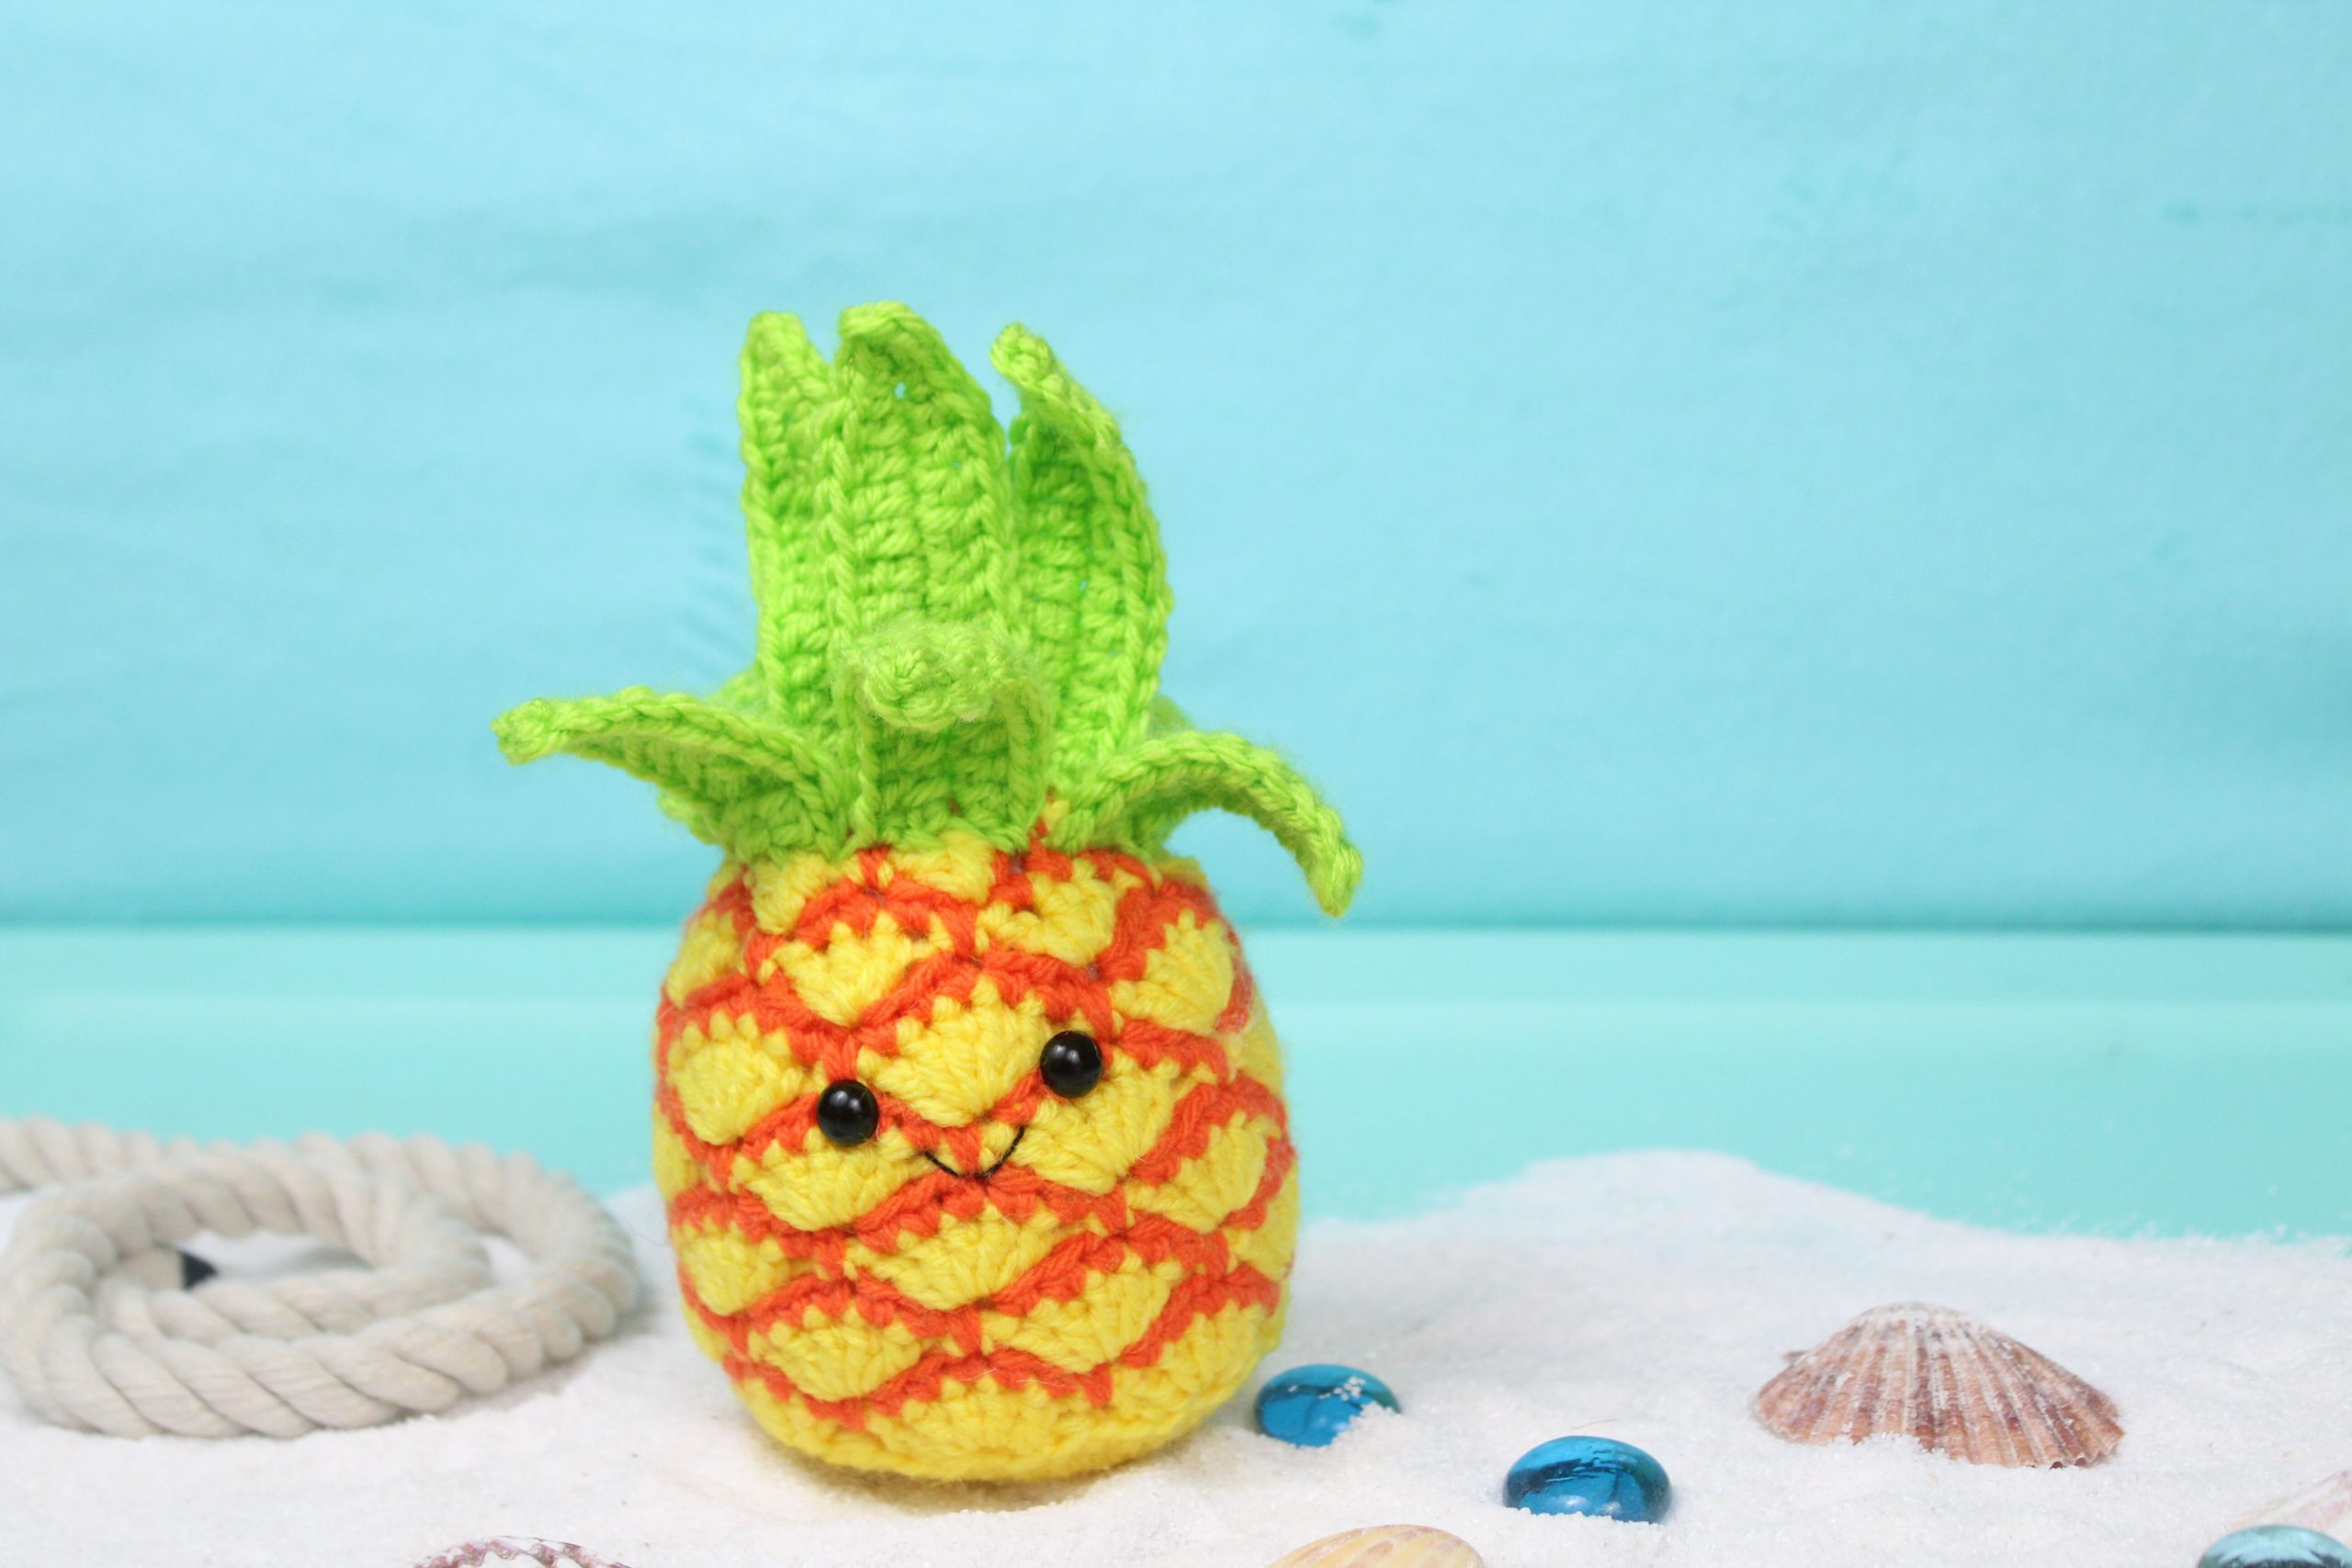
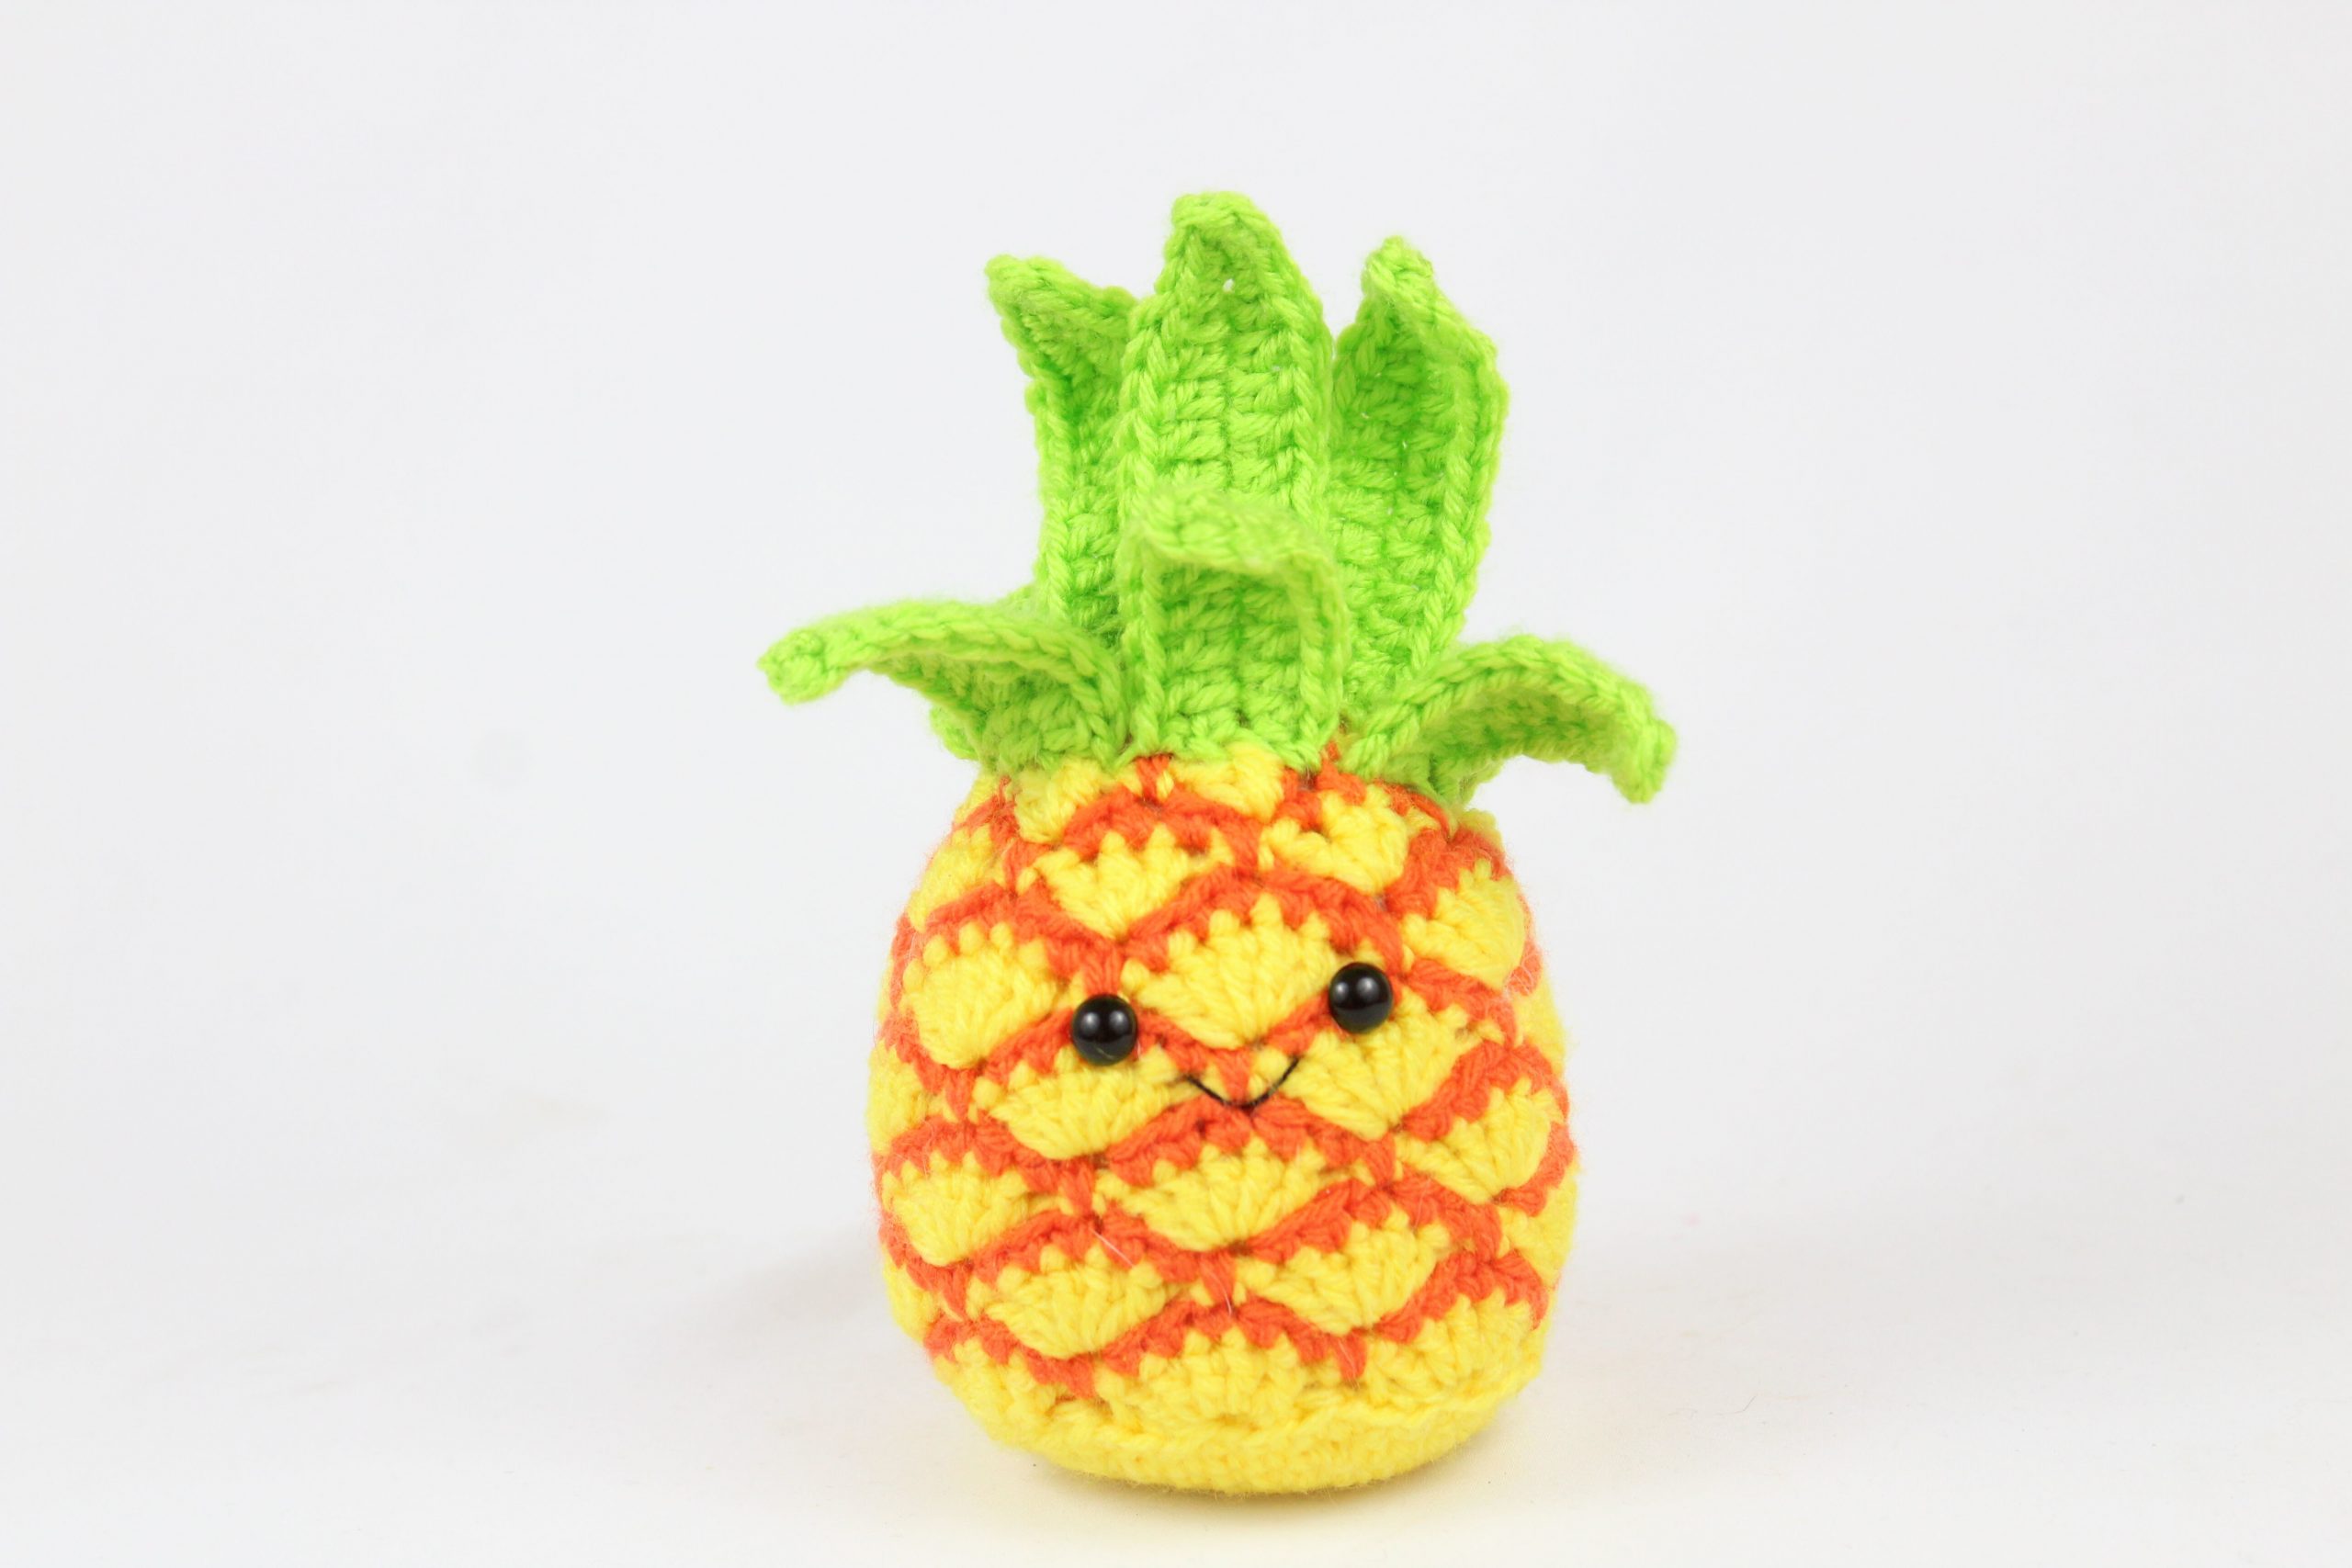
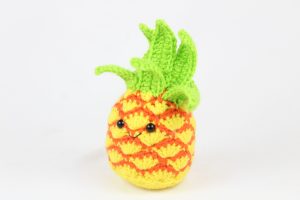
We start by making the bottom of the pineapple and work our way up to the top of the pineapple. After creating the pineapple, we then make the big leaves, small leaves, and finally the smile!
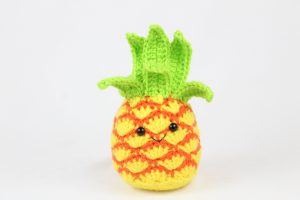
Pineapple
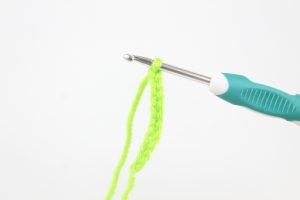
We start by creating the base of the pineapple and work our way up to the top of the pineapple. To make the cool texture of the pineapple, we make a “shell” type stitch.
Pineapple:
In Yellow
Round 1: 6 Sc in Magic Ring (6)
Round 2: *Inc* all around (12)
Round 3: *Inc, Sc* all around (18)
Round 4: *Inc, Sc 2* all around (24)
Round 5: *Inc, Sc 3* all around (30)
Round 6: *Inc, Sc 4* all around (36)
Round 7: *Inc, Sc 5* all around (42)
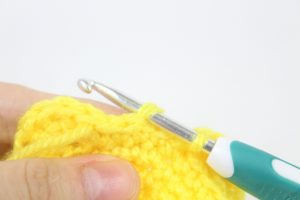
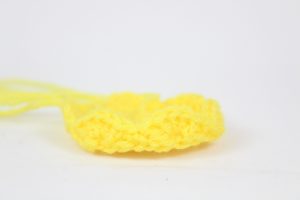
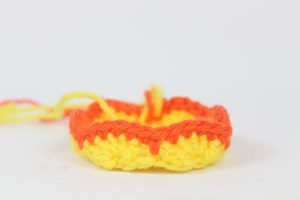
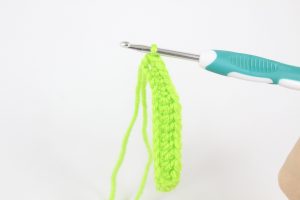
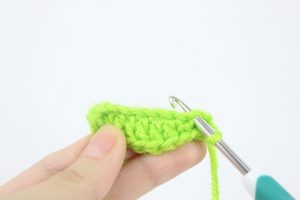
Round 8: In the BLO (Back Loop Only), Repeat *Dc 5 times in the next st, Skip the next 2 st, Sc in the next st, Skip the next 2 st* 7 times (42)
Round 8 Will Look Like this
Switch to Orange now
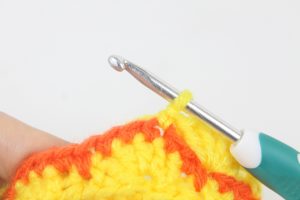
Round 9: In BOTH Loops, *Sc in the next 5 st, Sc in the next st from the previous round (Pic 1-2)* 7 times (42)
1.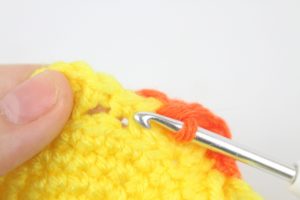 2.
2.
3.
Switch to Yellow
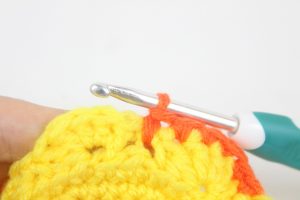
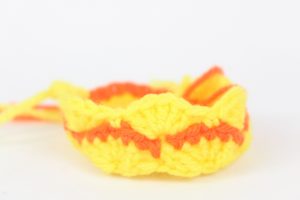
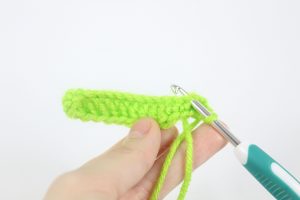
Round 10: *Skip the next 2 st, Sc in the next st (Pic 1), Skip the next 2 st, 5 Dc in the next st (Pic 2)* 7 times (42)
1. 2.
2.
3.
Switch to Orange
Round 11: *Sc in the next st from the previous round, Sc in the next 5 st* all around 7 times (42)
Switch to Yellow
Round 12: *Dc 5 times in the next st, Skip the next 2 st, Sc in the next st, Skip the next 2 st* 7 times (42)
Switch to Orange
Round 13: *Sc in the next 5 st, Sc in the next st from the previous round* 7 times (42)
Switch to Yellow
Round 14: *Skip the next 2 st, Sc in the next st, Skip the next 2 st, 5 Dc in the next st* 7 times (42)
Switch to Orange
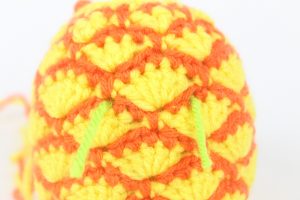
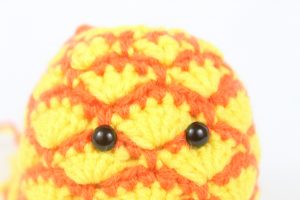
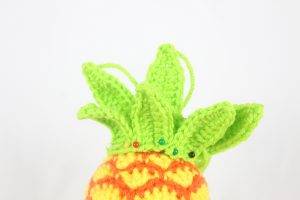
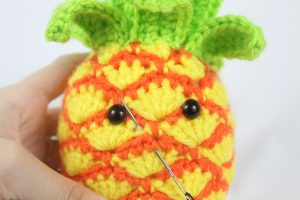
Round 15: *Sc in the next st from the previous round, Sc next 5 st* 7 times. (42) In this round, add two different colored eye stitch markers a total of 5 st apart. This will mark where to place the eyes later.
Round 15 Eye Markers Will Look Like This

Switch to Yellow
Round 16: *5 Dc in the next st, Skip the next 2 st, Sc in the next st, Skip the next 2 st* 7 times (42)
Switch to Orange
Round 17: Sc in the next 5 st, Sc in the next st from the previous round* 7 times (42)
Add safety eyes in marked areas now
Switch to Yellow
Round 18: *Sc in the next st, Skip the next 2 st, 3 Dc in the next st, Skip the next 2 st* 7 times (28)
Switch to Orange
Round 19: Sc in the next st from the previous round, Sc in the next 3 st* 7 times (28)
Switch to Yellow
Round 20: *2 Dc in the next st, Skip the next st, Sc in the next st, Skip the next st* 7 times (21)
Stuff here and continue to add stuffing after each round.
Switch to Orange
Round 21: Sc in the next 2 st, Sc in the next st from the previous round* 7 times (21)
Switch to Yellow.
Round 22: *Sc in the next st, Skip the next st, Dc in the next st* 7 times (14)
Stuff here. Switch to Orange
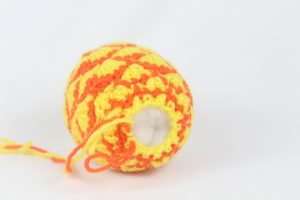
Round 23: *Dec* 7 times (7)
Finish off and sew closed. Now we will make the leaves for the pineapple.
Big Leaves: (Make 3)
In Green
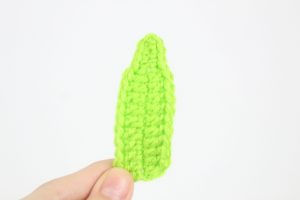
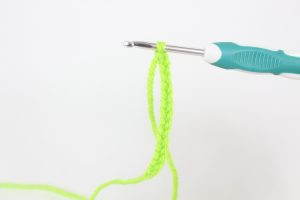
Row 1: Ch 14 (Pic 1). Dc in the 2nd Ch from the hook. Dc in the next 9 st. Sc in the next 2 st. Sc 3 times in the next st. Now we’re at the end of the chain (Pic 2). Turn the chain and we will continue working on the other side of the chain (Pic 3). Sc in the next 2 st, Dc in the next 10 st (Pic 4).
1. 2.
2.
3. 4.
4.
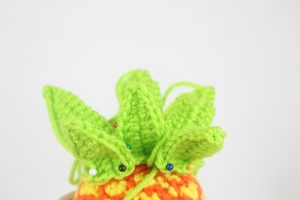
Finish off. Pin each leaf to the top middle of the pineapple and sew on (Pic 5).
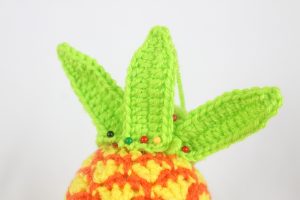
Small Leaves: (Make 6)
In Green
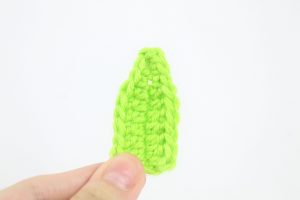
Row 1: Ch 11 (Pic 1). Dc in the 2nd Ch from the hook. Dc in the next 6 st. Sc in the next 2 st, Sc 2 times in the next st. Now we’re at the end of the chain (Pic 2). Turn the chain and we will continue working on the other side of the chain (Pic 3). Sc in the next 2 st, Dc in the next 7 st (Pic 4).
1. 2.
2.
3. 4.
4.
Finish off. Pin 3 of the small leaves in front of the big leaves (Pic 5), and 3 leaves behind the big leaves (Pic 6).
5. 6.
6.
Smile:
In Black Embroidery Thread
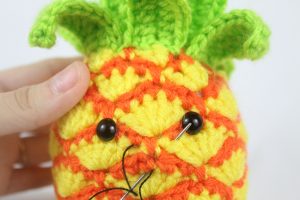
Insert needle with thread into the middle of the mouth area and pull needle out under the left eye (Pic 1). Reinsert needle into the middle and pull out under the right eye (Pic 2). Reinsert needle into the middle of the mouth (Pic 3). Tie the ends into knots and weave in ends.
1. 2.
2.
3.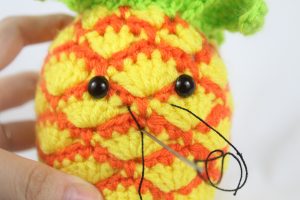 4.
4.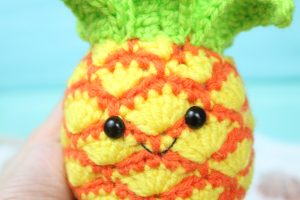
Done! I hope you enjoyed this pattern. If you made a pineapple I would LOVE to see! You can show me by “trying” it on Pinterest.


30 Comments
What size crochet hook did you use? Such a cute pattern!
Thank you so much! 🙂 Please use a 4.0mm hook for this pattern ❤️
Rounds 13 thru 15 are listed twice in the pineapple pattern ;
love the way it’s looking
Haha looks like I really wanted you to crochet round 13-15 🙂 Thank you so much for letting me know, good eye! I went ahead and corrected that ❤️
how do I print or save this page?
To save a page and come back to it later, you can “bookmark” it by pressing ctrl+b on your computer.
If you’d like to print this pattern you can find the printable PDF version here: https://stringydingding.com/product/pineapple-amigurumi-pdf/
Thanks 🥰
Just finished mine!!! I used a “D” hook for leaves and a “C” hook for the body. I added a fourth big leaf, by accident, but came out super cute!!
Oh my gosh I love it!! Maybe adding the 4th leaf was a happy accident because the leaves look great on it! Yours looks like a real pineapple, great job on him 🙂 Thank you so very much for sharing a photo, I hope you are enjoying the summer themed amigurumis 😄
I love this…. half way through and it looks so cute already! I am using a browny colour instead for the 2nd, I didnt have any orange… cant wait to show you!
That’s so great! I think a brown color would work perfectly fine too 🙂 I’m so glad that you’re enjoying the pattern so far, I can’t wait to see! Please let me know if you have any questions 🙂
Here he is!!! Love it, great design, and easy pattern to follow, thank you!
Awesome!!! I love to hear that you liked the pattern 🙂 Your pineapple came out so cute! His smile is just adorable, makes me smile just looking at him! Thank you so much Jenny!!
Thanks so much for the cute pineapple!❤️ I love him!)❤️ He is too cute and makes me smile!)❤️
Hi Irina! Wow I really love love love your pineapple! That’s so creative to switch up his colors every other row! It looks so awesome 😍 You have great photography skills as well! Thank you so very much for posting a photo ❤️
Thank you very much for the many kind words! I made this cute pineapple and I’m happy !! Thank you very much for the great design !!❤️❤️❤️
This is literally the CUTEST thing I have ever made! Everyone I have shown keeps telling me how adorable he is! Thanks for a great pattern! I can’t wait to make the other summer themed items! Yay!
Awww that is SO kind!!! Haha that really is so awesome to read ❤️ It’s awesome that it sounds like everyone you show loves how cute he is! (I have to agree – he’s too cute!) You did such a great job on it, can’t wait to see what else you decide to make! Thank you for sharing 😍
I love this pineapple so much! Tried to get him started twice now, but for some reason I keep getting it wrong…. 🙁
Should I have 6 or 7 ‘shells’ of 5 in row 8? I keep ending up with 6, but it says to repeat * -* 7 times? Sorry if I am doing something silly easy wrong: only just started crocheting 🙂
Loving all these patterns though! Made loads of the hearts!
Hi Laura! Yay that’s so cool you liked making the little hearts! And haha no worries, this shell stitch was even a bit hard for me to get started, but once you get the hang of it, it’s much easier!
In round 8 you should end up with a total of a total of 7 shells 🙂
To break it down, here’s why:
Repeat *Dc 5 times in the next st (uses 1 stitch), Skip the next 2 st (uses 2 stitches), Sc in the next st (uses 1 stitch), Skip the next 2 st (uses 2 stitches)* 7 times (42)
Repeat what’s inside the *example* a total of 7 times. That ** sequence uses a total of 6 stitches per repeat, so repeating it a total of 7 times (6×7) uses a total of 42 stitches in the round. First I would make sure you have 42 stitches in Round 7! If you have say 36 stitches, this may be why you end up with only 6 shell stitches.
Next, the shell stitch is *Dc 5 times in the next st*. Doing that will give us 1 shell stitch, so since we repeat that 7 times we will end up with a total of 7 shell stitches 🙂
I hope this was able to clarify it a bit! But if not, please don’t hesitate to let me know and I’m happy to explain further 🙂
Hello! Love this pattern but I feel like I’ve missed something. When I follow the directions row 10 ends up identical to row 8, instead of forming that alternating pattern. Shouldn’t row 10 be 5 DC immediately and then skip two, 1 SC, skip two? Thanks for your help!
Hi Robyn! So happy to hear that you like this pattern 😊
I took a look at the section you mentioned and I can see how it may not line up the way we want. I went ahead and slightly altered the pattern, so it should work now! In Round 10, we must skip the first 2 stitches, then Sc in the next stitch. This Sc lands in the middle of the “fan” stitch, meaning this is where it’s alternating the pattern. Then skip the next 2 stitches and make 5 dc in the next stitch. These 5 Dcs land on the previous round’s “deep” Sc. So now it should alternate! If you still have trouble please let me know because I want to help 😍
Thanks so much for your comment Robyn! Please let me know if you run into anything else!
Olive
Thanks for updating it! I finished it today and it’s so cute!
I saw the picture you uploaded in the CAL! Super awesome job Robyn 🙂
can i change the leaf colour into turquoise ?
because idont have the colour green
Hi Nazmin! You can totally change the leaf color to turquoise! I actually think it would look really cool with that color 🙂 Plus it’s close enough to green to still look like a pineapple. I hope it goes well – let me know if you have any questions!
🙂
Yay what an adorable pineapple! He’s got the cutest smile 🙂 I just want to squish him, that’s how cute it is! Thank you so much for sharing. You did a really good job!! I also love the big leaves under him 🙂
I think I’m doing something wrong. Any suggestions? I’ve tried twice and I end up with holes under the shells. I don’t know how to show photo. Any help is appreciated!
I figured it out lol here is a photo of Pete the Pineapple! ( my daughter named him)
Hi, I just found out that the 18 row is wrong. It says “sc in the next st, skip the next 2 st, 3 Dc in the next st, skip the next 2 st” but if I do like this the Dc won’t be in the middle of the 2 of the row before (instead they will be on top of them). You should correct it and write “skip the next 2 st, sc in the next st, skip the next 2 st, 3 Dc in the next st”. Like this they will all be in the correct position like in the image. Have a nice day!!!