Platypus Amigurumi – Free Crochet Pattern

Print this pattern out – purchase the PDF here!

 Supplies:
• Yarn 4/Medium Weight Yarn in…
White, yellow, and dark yellow
•4mm Crochet Hook
•12mm Safety Eyes
•Tapestry needle
•Scissors
•Stuffing
•Hot Glue
•Ribbon
Additional Information:
•Difficulty: Easy
•Size: 11″ long
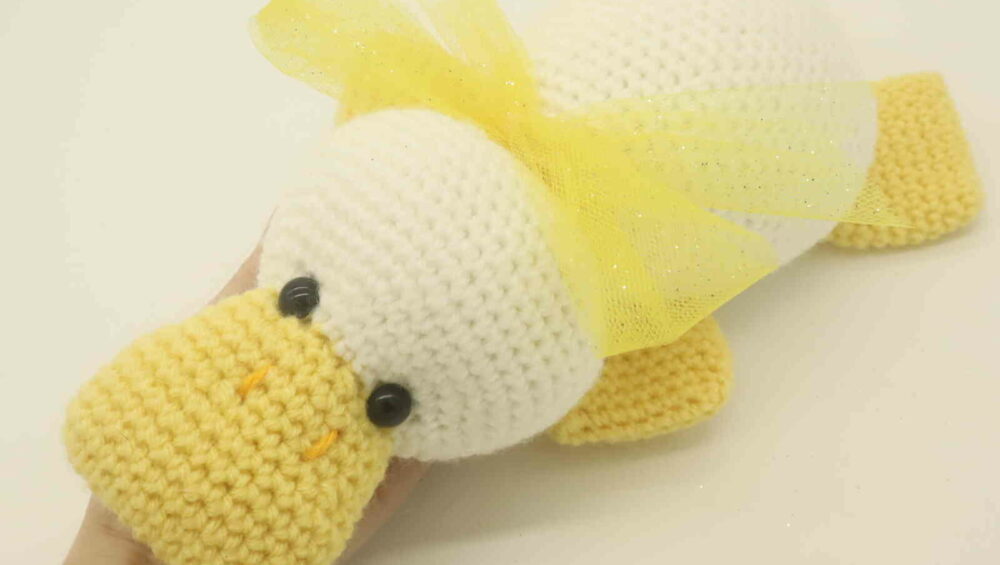
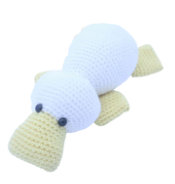
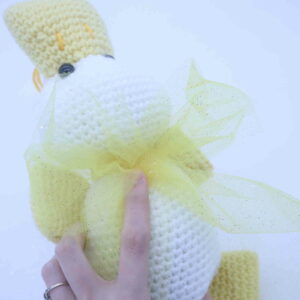
This platypus is so cute and easy to make! This pattern is a great project for the Spring since it uses pastel colors. Adding the bow gives this platypus a nice pop! He’s sure to be an adorable toy or decoration!
Let’s get started!
Head/Body:
Start in Yellow
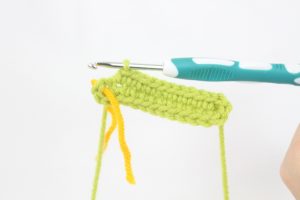
Round 1: Ch 11 (Pic 1). Sc in the 2nd Ch from the hook. Sc 2 times in the same st (Pic 2). Sc in the next 8 st (Pic 3). Sc 3 times in the next st. Now we meet the end of the Ch. Turn to the OTHER side of the chain, where we haven’t made any stitches (Pic 4). Sc in the next 8 st (22)
1.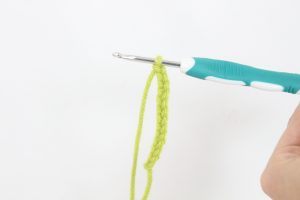 2.
2.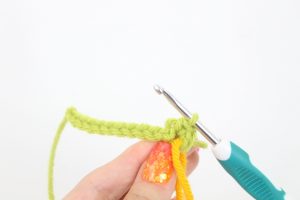 3.
3.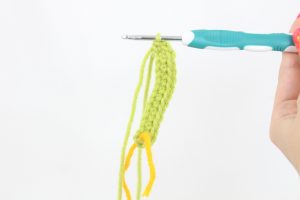 4.
4.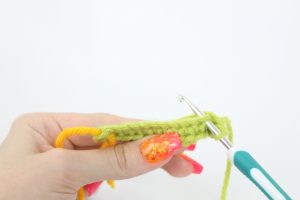 5.
5.
Round 2: *Inc* in each of the next 3 st, Sc in the next 8 st. *Inc* in each of the next 3 st, Sc in the next 8 st (28)
Round 3-7: *Sc* all around (28)
Round 8: Repeat *Dec, Sc in the next 4 st* 4 times. Sc in the next 4 st (24)
Round 9-11: *Sc* all around (24)
Round 12: Repeat *Dec, Sc in the next 2 st* all around (18)
Round 13: Change to White. In the FLO (Front Loop Only), repeat *Inc, Sc in the next 2 st* (24)
Now we will mark where to place the safety eyes. Add an eye stitch marker in the 6th and 11th stitch.
Round 14: Working in BOTH loops, *Inc, Sc in the next 3 st* all around (30)
Round 15: *Inc, Sc in the next 4 st* all around (36)
Round 16: *Inc, Sc in the next 5 st* all around (42)
Now add in the safety eyes into the marked areas in Round 13.
Round 17: *Inc, Sc in the next 6 st* all around (48)
Round 18-24: *Sc* all around (48)
Round 25: *Dec, Sc in the next 6 st* all around (42)
Round 26: *Dec, Sc in the next 5 st* all around (36)
Round 27: *Dec, Sc in the next 4 st* all around (30)
Round 28: *Dec, Sc in the next 3 st* all around (24)
Round 29: *Dec, Sc in the next 2 st* all around (18)
Round 30: In the FLO, repeat *Inc, Sc in the next 2 st* all around (24)
Round 31: *Sc* all around (24)
Round 32: *Inc, Sc in the next 3 st* all around (30)
Round 33: *Sc* all around (30)
Round 34: *Inc, Sc in the next 4 st* all around (36)
Round 35: *Sc* all around (36)
Round 36: *Inc, Sc in the next 5 st* all around (42)
Round 37: *Sc* all around (42)
Round 38: *Inc, Sc in the next 6 st* all around (48)
Round 39-47: *Sc* all around (48)
Round 48: *Inc, Sc in the next 7 st* all around (54)
Round 49-51: *Sc* all around (54)
Round 52: *Dec, Sc in the next 7 st* all around (48)
Round 53: *Dec, Sc in the next 6 st* all around (42)
Round 54: *Dec, Sc in the next 5 st* all around (36)
Round 55: *Dec, Sc in the next 4 st* all around (30)
Round 56: *Dec, Sc in the next 3 st* all around (24)
Round 57: *Dec, Sc in the next 2 st* all around (18)
Round 58: *Dec, Sc in the next st* all around (12)
Round 59: *Dec* all around (6)
Finish off, leaving a long tail for sewing. Sew the remaining stitches closed. Weave in ends.
Feet: (Make 4)
Start in Yellow
Round 1: Ch 10. Sc 3 times in the 2nd Ch from the hook. Sc in the next 7 st. Sc 3 times in the next st. Now we meet the end of the chain. Turn to the OTHER side, where we haven’t made any stitches yet. Sc in the next 7 st (20)
Round 2-8: *Sc* all around (20)
Round 9: Repeat *Dec, Sc in the next 3 st* all around (16)
Round 10: *Sc* all around (16)
Round 11: *Dec, Sc in the next 2 st* all around (12)
Finish off, leaving a long tail for sewing. Pin the arms on as shown and sew on. Once sewn on, weave in ends.
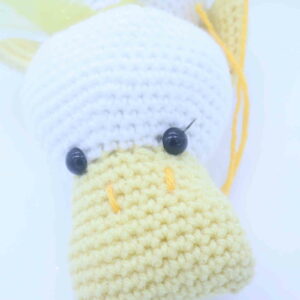
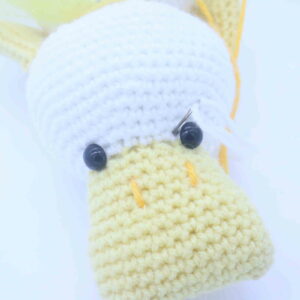
Nostrils:
In Dark Yellow
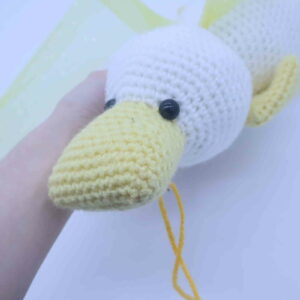
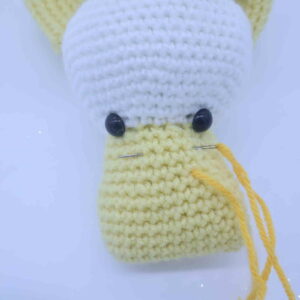
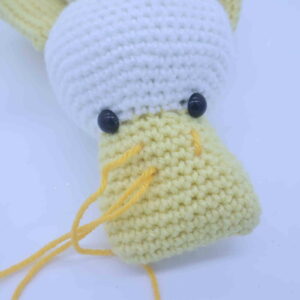
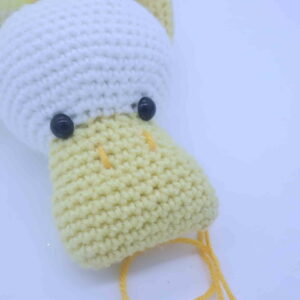
Insert needle with thread into the bottom of the beak, pulling the needle out in the nostril area (Pic 1). Insert needle a few stitches above, then pull needle out a few stitches to the left (Pic 2). Insert needle a few stitches below and pull needle out anywhere (Pic 3). Weave in ends.
1. 2.
2. 3.
3. 4.
4.
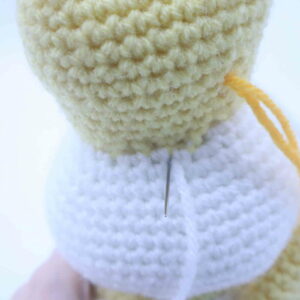
Face Definition:
In White
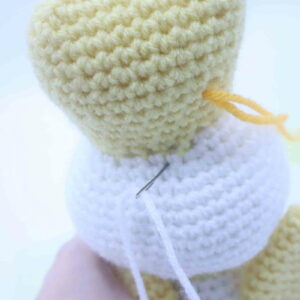
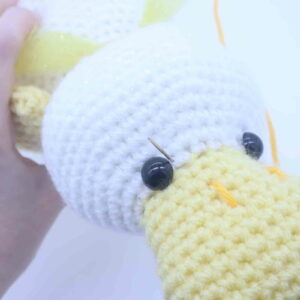
Take a 12″ piece of yarn and place it on a needle. Insert the needle where shown (Pic 1). Pull needle out next to the right of the toy’s eye (Pic 2).
1. 2.
2.
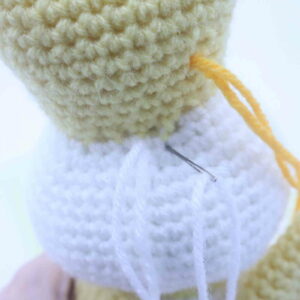
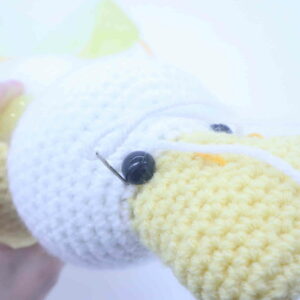
Reinsert needle to the left of the toy’s eye (Pic 3). Pull needle out where shown, about 1 stitch over from where we originally inserted the needle (Pic 4).
3. 4.
4.
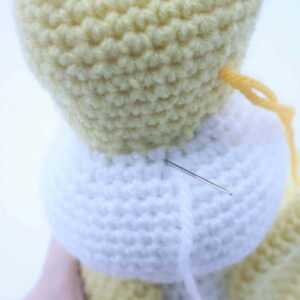
Reinsert needle 1 stitch over (Pic 5). Pull needle out at the right side of the left eye (Pic 6).
5. 6.
6.
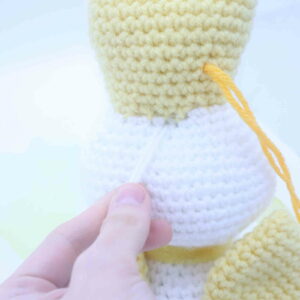
Reinsert needle at the left side of the left eye (Pic 7). Pull needle out at the same stitch where we originally inserted out needle (Pic 8). Pull both ends of yarn firmly to tighten the toy’s face (Pic 9). Tie both ends of yarn together a few times to form a knot. Bring the tail ends of yarn into the toy’s head to hide the knot. Cut excess yarn. Done!
7. 8.
8. 9.
9. 10.
10.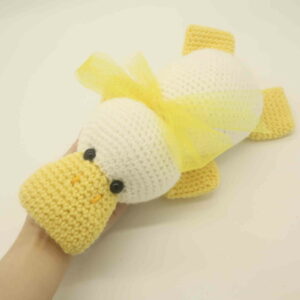
Bow:
With Ribbon
Take a long piece of ribbon and place it around the toy’s neck as shown (Pic 1) Tie as shown (Pic 2). Bend the ribbon as shown and secure with hot glue (Pic 3-4). Done!
1.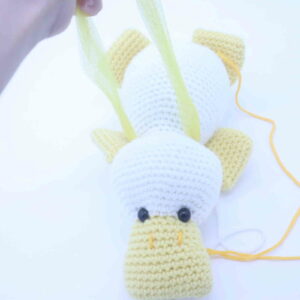 2.
2.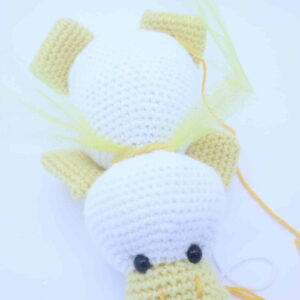 3.
3.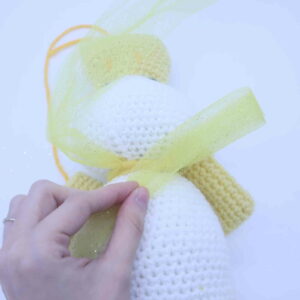 4.
4.


4 Comments
is there a tail add on?
I’m very disappointed to find there are no directions for a tail! Platypuses have a fairly long tail. To leave off such an integral part of the animal is unacceptable in my opinion especially on a paid pattern.
It’s literally free?
Love this pattern but there is no tail a platypus has a tail