Pom Pom Pomeranian – Free Crochet Pattern
Print this pattern out – purchase the PDF version here!

 Supplies:
• Yarn 4/Medium Weight Yarn in…
Any color for the body. White for the nose
•4mm Crochet Hook
•Tapestry needle
•Scissors
•Hot glue gun
•Three 6mm safety eyes
•Felt (optional for the bow)
Additional Information:
•Difficulty: Easy
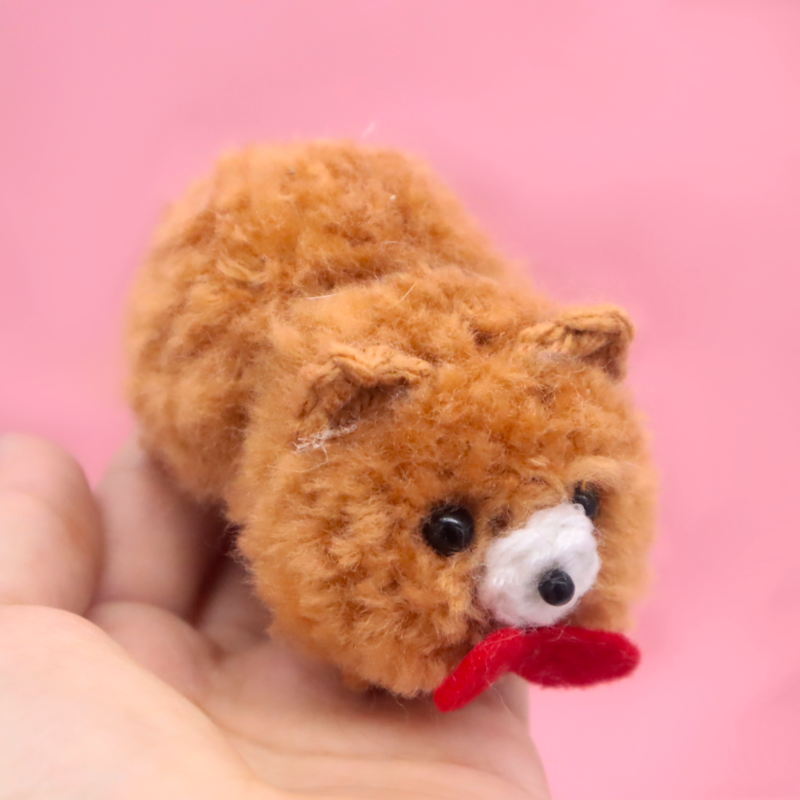
•Size: 9.5″ tall from base of cone to tip of whipped cream
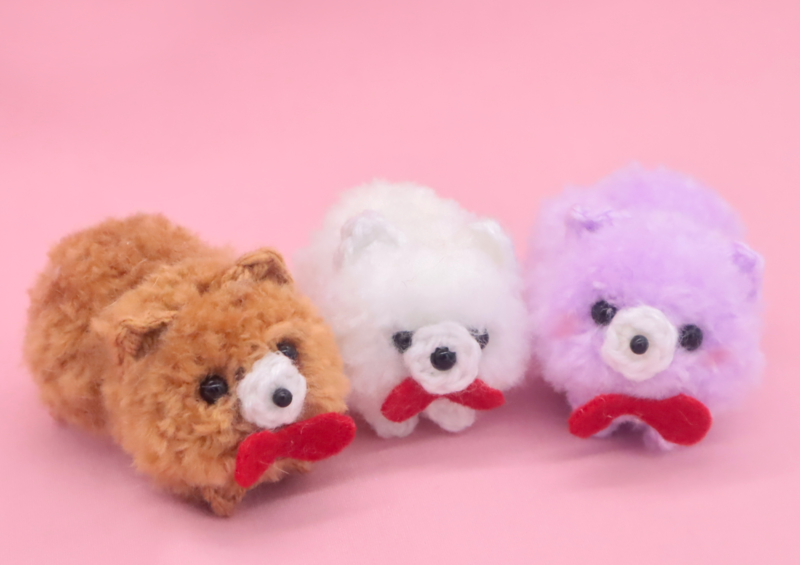
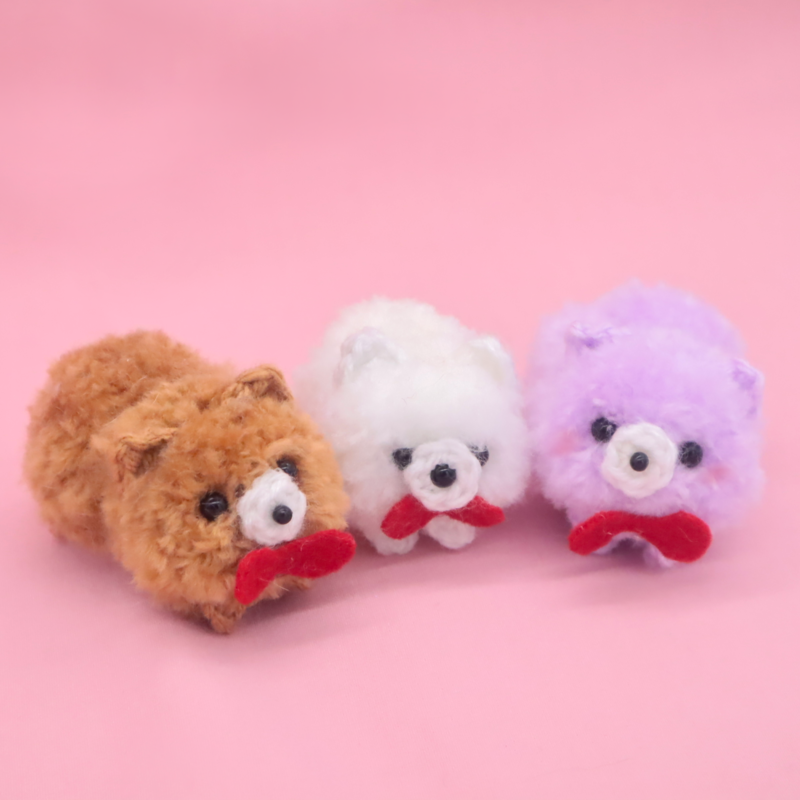
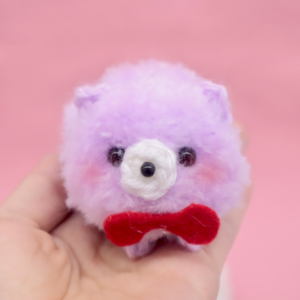
If you love crochet but have never made a pom pom for a crochet project, you will totally fall in love with making pom poms after tying out this pattern! These pom pom Pomeranians are made by creating pom poms, then crocheting and hot gluing on small pieces, such as the ears, eyes, nose, bow, and arms.
This is a very easy pattern with lots of step-by-step pictures. If you’ve never made a pom pom, no worries! This pattern will show you how to do it 🙂 Let’s get started!
Pom Pom (Make 2)
In Any Color
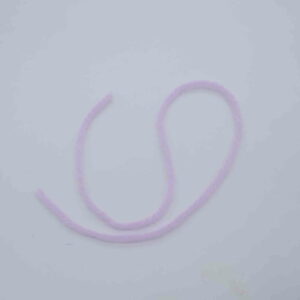
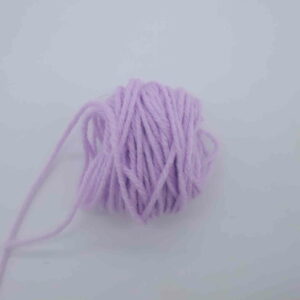
We make the head and body by creating a pom pom. First, cut a long piece of main color yarn (Pic 1). Set this yarn aside, we will use it later.
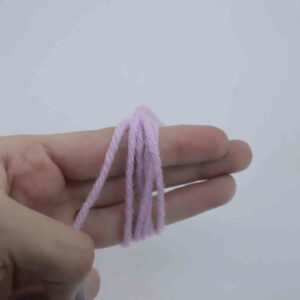
Now, with three fingers pointing out, place the tail end of your yarn over the three fingers as shown (Pic 2). The tail end of yarn will face you (Pic 2). Hold this yarn in place with your thumb. Now wrap the yarn around all thee fingers a total of 100 times (Pic 3-4). Wrap a little loosely, you don’t want to wrap too tight because it could hurt your fingers.
1. 2.
2. 3.
3. 4.
4.
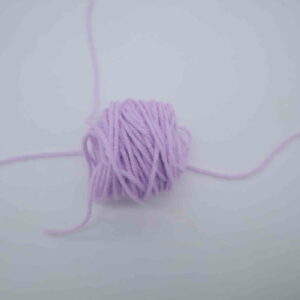
Now, slide the yarn off your fingers, being careful to keep the shape of the yarn (Pic 5). Take the long piece of yarn we cut at the beginning and place it under the yarn ball we made (Pic 6). Now, with both ends of the original yarn, wrap around and tie very firmly around the yarn ball (Pic 7-8). Tie another knot to secure. It’s very important that you tie very firmly around the yarn ball. If you don’t, the pompom can come undone. After this, turn the yarn ball to the other side and using the same tail ends of yarn, tie firmly around this other side of the yarn ball. Tie one more firm knot to secure. You can trim the tail ends of yarn.
5. 6.
6. 7.
7. 8.
8.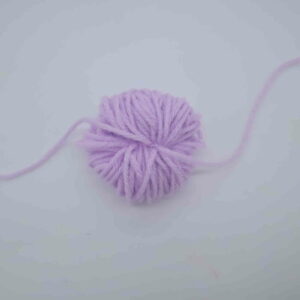
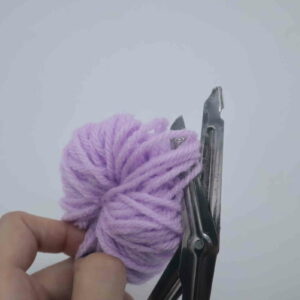
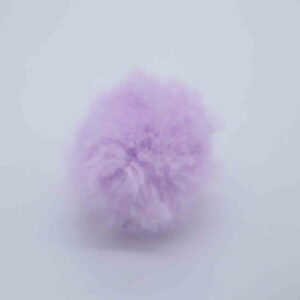
Now, take a pair of scissors and cut the loops of the yarn ball (Pic 9). Be careful to not cut the original yarn we tied around the yarn ball, this will undo all the yarn pieces!
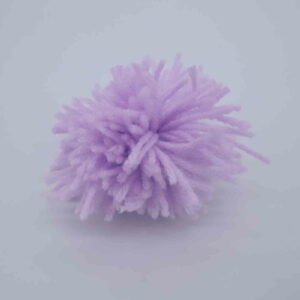
After cutting all the loops, your ball will look floppy (Pic 10). Trim all around the ball, the closer we get to the center the more thick and full the ball will be (Pic 11-12). Be cautious to not get too close to the center, we don’t want the ball to be too small.
9. 10.
10. 11.
11. 12.
12.
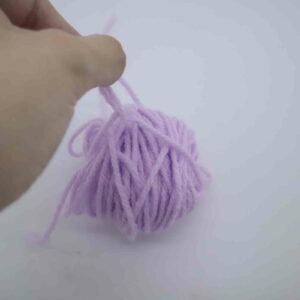
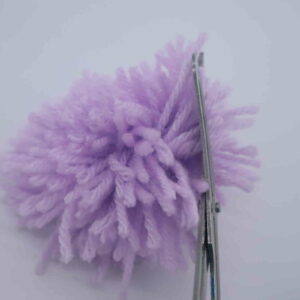
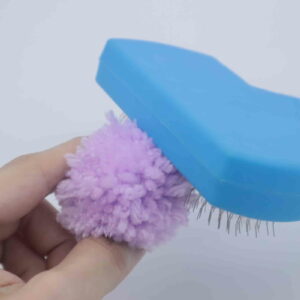
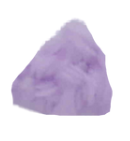
Now taking a metal pet brush, lightly brush the pom pom out for a furry look. Don’t brush too hard or you may pull the yarn out. For best results, spread a section and brush out in small sections, brushing gently (Pic 13-14).
13. 14.
14.
Once done, trim to make the ball look cleaner. If you’re making the second ball, do NOT trim the ball yet. Instead, set the second ball aside for now.
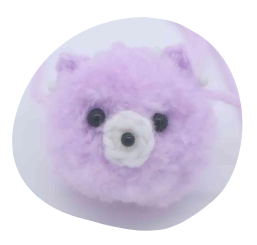
Now we will make the face pieces. Place two 6mm safety eyes into the pom pom now. You can hot glue them in place now, or wait until you have the face pieces made and pinned on to ensure you like where you placed the eyes.
Ears: (Make 2)
In Main Color
Row 1: Ch 3. Sc in the 2nd Ch from the hook, Dc in the next st. Finish off, leaving a tail of yarn. Pin the ears on as shown. Hot glue on. Once done, weave the ends of yarn into the toy and cut any excess yarn.
Nose:
In White
Round 1: 6 Sc into a Magic Ring (6)
Finish off, leaving a tail of yarn. Weave the tail ends of yarn into the piece and cut any excess yarn. Place a 6mm safety eye into the middle of the magic ring. Hot glue onto the toy where shown.
Now cut a small bow from a piece of felt and hot glue on.
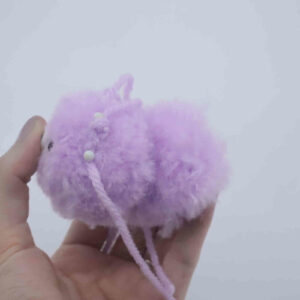 Now hot glue the second pom pom to the back of the toy’s head. This will form the body. Squeeze the pieces firmly together as you glue on, this will ensure they are better connected. After this, you can trim the butt area of the pom pom to make sure it blends better with the head area.
Arms/Legs: (Make 4)
In Main Color
Row 1: Ch 3. Sc in the 2nd Ch from the hook, Hdc in the next Ch. Finish off, leaving a tail end of yarn. Pin the legs on and hot glue on. Weave the tail ends of yarn into the toy and cut any excess yarn.

Done!


2 Comments
Love the pom pom dogs. I like your patterns so easy to follow. Thank you xx
I LOVE this pattern I am making this for one of my friends and it’s really easy to follow! This Pomeranian is an easy last minute project and I very much enjoyed making this 🥰🥰